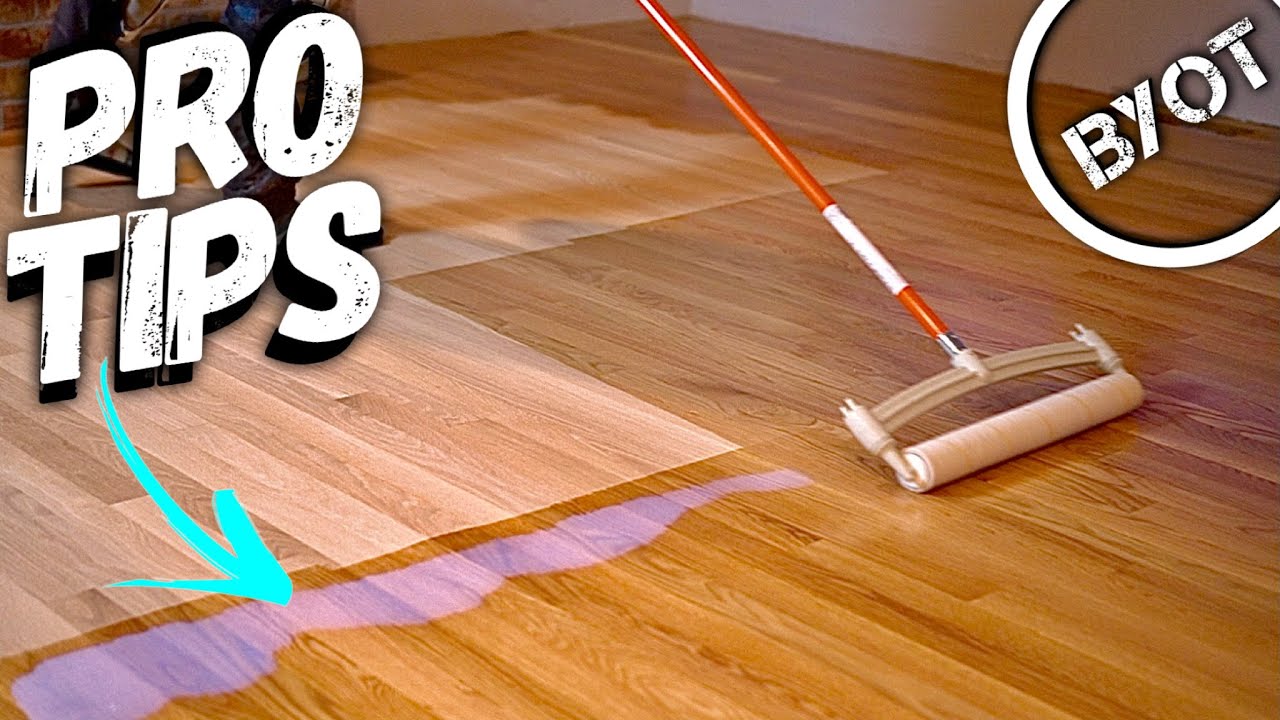
Hardwood Floor Refinishing
About This Project
A high-level outline for DIY hardwood floor refinishing, including assessment, preparation, sanding, staining (optional), and finishing. This process aims to restore the appearance and protection of existing hardwood floors.
Tools & Materials
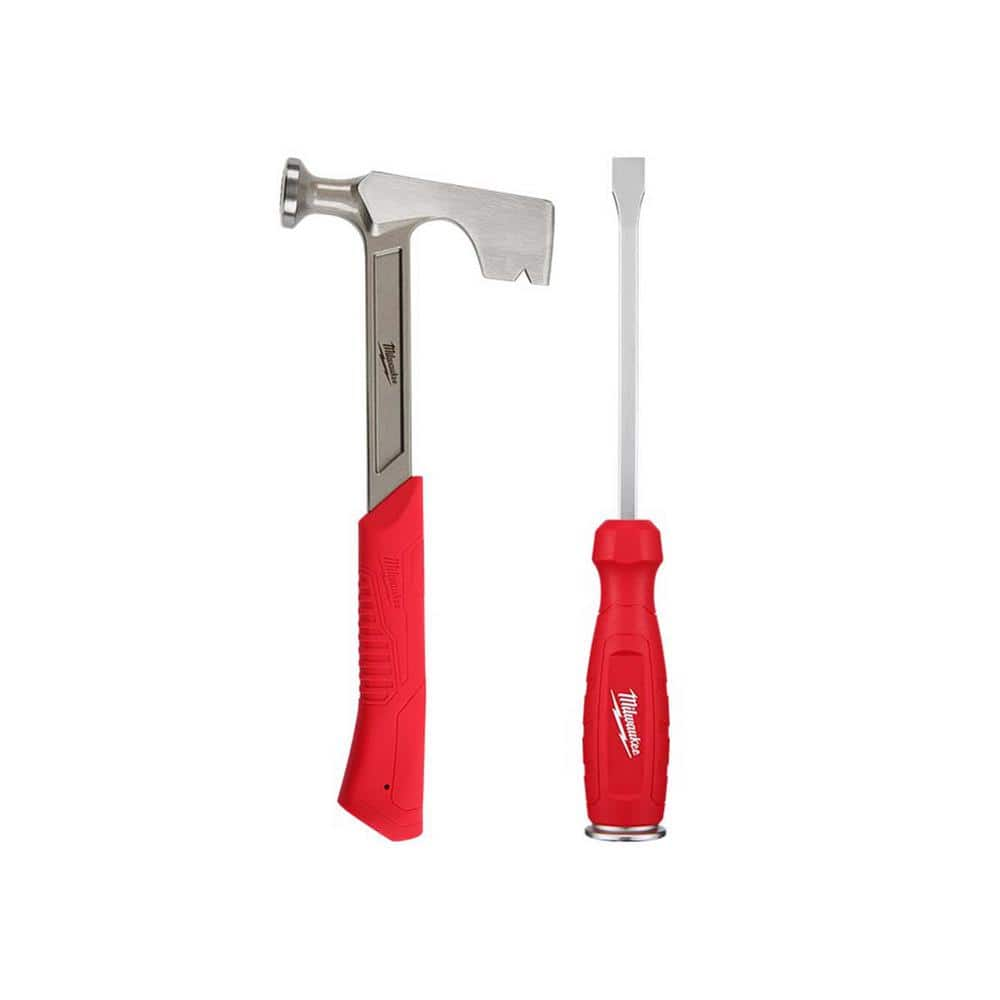
Milwaukee 15 oz. Drywall Hammer with Demolition Screwdriver 48-22-9060-48-22-2859

VEVOR 4 Gal. 1200-Watt Vacuum Cleaner Bagless Corded HEPA Filter with 47.2 in. Hose Multisource in Black Canister Vacuum ZKXHQJL110V1Y7RQ8V1

HDX Smooth Sweep Indoor Angle Broom with Dustpan 2060
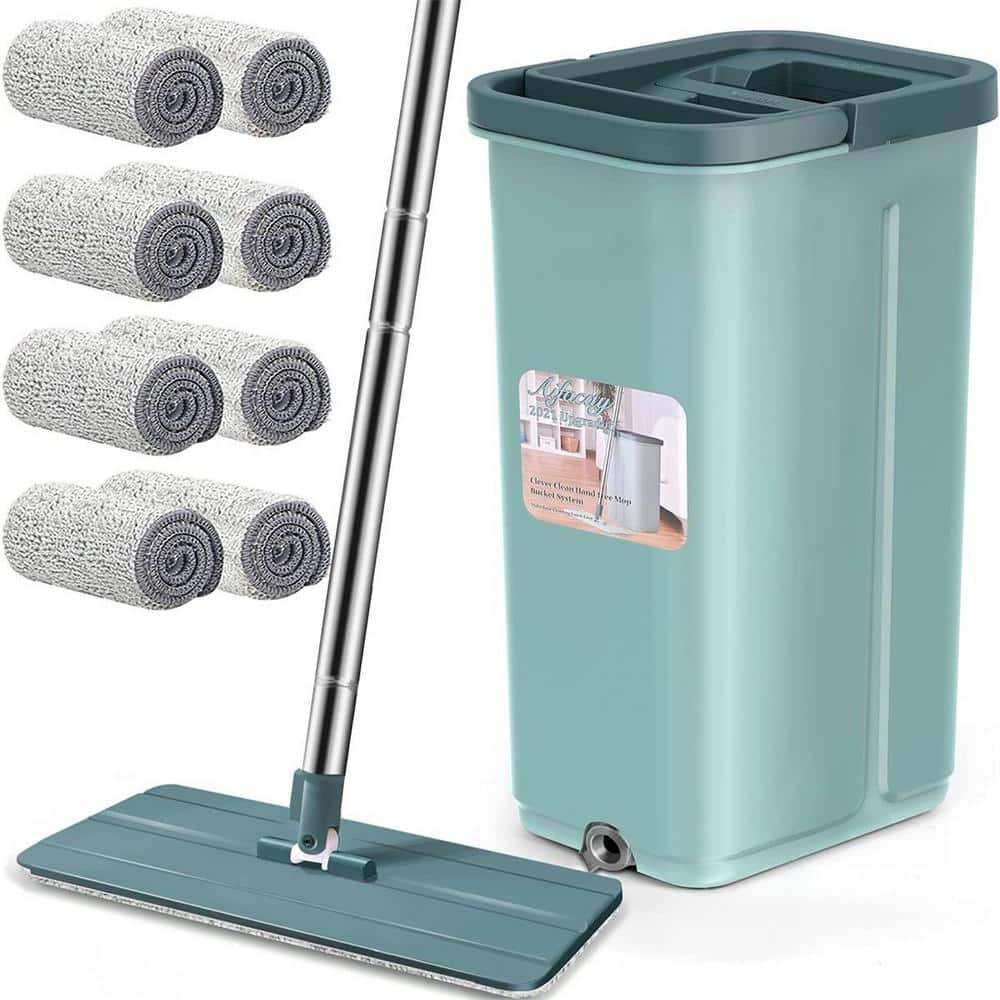
Mop and Bucket system, Head Width 14 in. Microfiber Mop Head, Wet and Dry Dual Urpose Flat Mop HPJ4PSYM
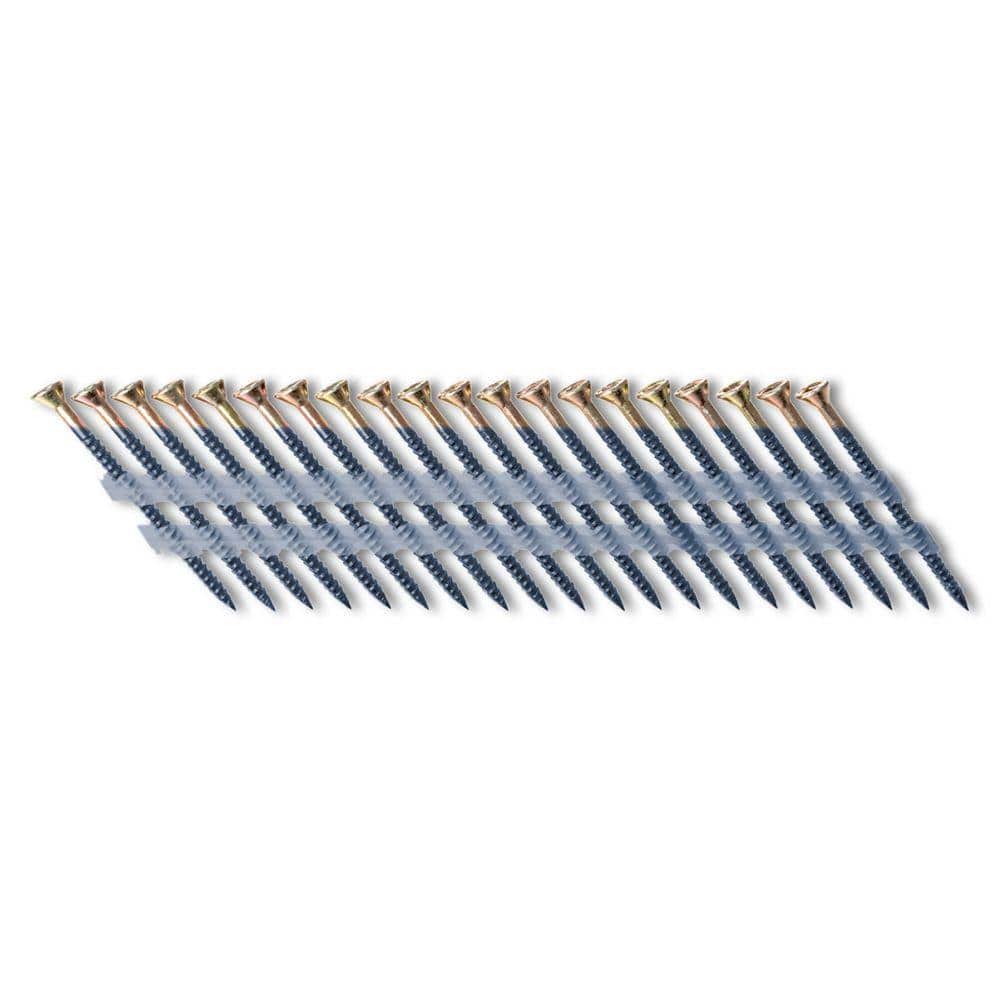
Scrail 2-1/4 in. x 1/9 in. 33-Degree Plastic Strip Versa Drive-Head Nail Screw Fastener (1,000-Pack) SCPS713FVEGSF
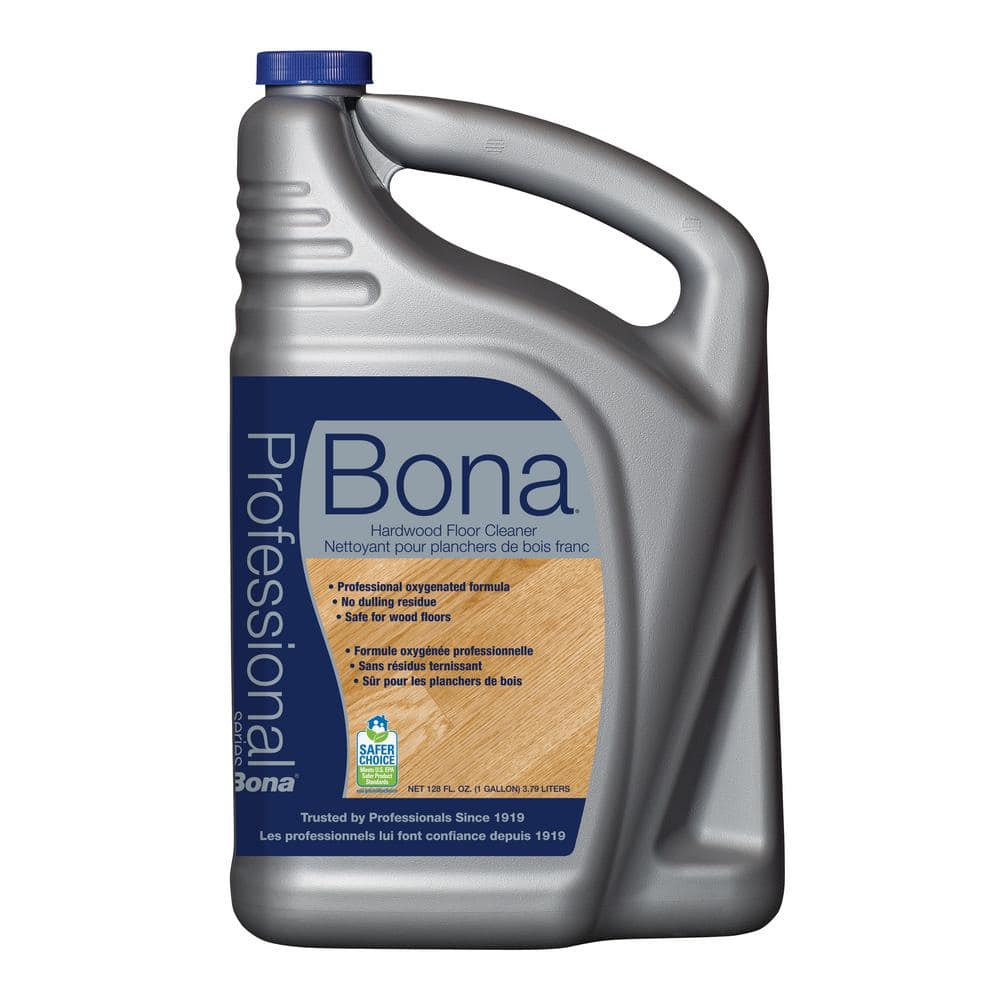
Bona Pro Series 128 oz. Hardwood Floor Cleaner WM700018174
Milwaukee 15 oz. Drywall Hammer with Demolition Screwdriver 48-22-9060-48-22-2859
The Milwaukee Drywall Hammer is designed to reduce vibration with a reinforced handle. The drywall hammer is equipped with our SHOCKSHIELD Grip, reducing vibration up to 10X more than the competition and is the most durable grip in the industry. The drywall hammer's I-Beam handle is designed to provide a lifetime of service without bending. This hammer's precision balanced design provides more control for a smooth striking experience. Our Demolition Driver features a reinforced full-metal core designed to give you maximum jobsite toughness and durability. The hammer-ready steel strike cap and 5/16 in. prying and chiseling tip are the largest in the industry and designed to withstand the most aggressive demolition applications. The forged steel shank offers 2X longer life and features a wrench-ready square design to deliver additional leverage.
VEVOR 4 Gal. 1200-Watt Vacuum Cleaner Bagless Corded HEPA Filter with 47.2 in. Hose Multisource in Black Canister Vacuum ZKXHQJL110V1Y7RQ8V1
VEVOR Electric Ash Vac-Your All-in-One Ash Vacuum Solution! From fireplaces to office corners, tackle it all with our multi-purpose ash vacuum! With 1200 Watt of powerful performance, dust and grime DON'T
HDX Smooth Sweep Indoor Angle Broom with Dustpan 2060
With this HDX Broom you will enjoy an effective and efficient sweeping experience with minimal labor. The smooth soft bristles are perfect for cleaning pet hair, dirt and dust from floors. Use for indoor
Mop and Bucket system, Head Width 14 in. Microfiber Mop Head, Wet and Dry Dual Urpose Flat Mop HPJ4PSYM
This floor mop and bucket set includes 8 microfiber mop pads, which are super-absorbent and can absorb water quickly, and remove dust, and grime easily. The stainless steel handle can extend to 57.8 in.
Scrail 2-1/4 in. x 1/9 in. 33-Degree Plastic Strip Versa Drive-Head Nail Screw Fastener (1,000-Pack) SCPS713FVEGSF
Install subflooring faster while virtually eliminating squeaks with this nail-screw hybrid. Install with the speed of collated nails, but with the holding power of screws. Coated with a special adhesive
Bona Pro Series 128 oz. Hardwood Floor Cleaner WM700018174
Bona Pro Series Hardwood Floor Cleaner is a professional strength, environmentally responsible, water based cleaner. It is specially formulated for use on all types of unwaxed, polyurethane finished hardwood
Steps
Inspect and Clean the Floor
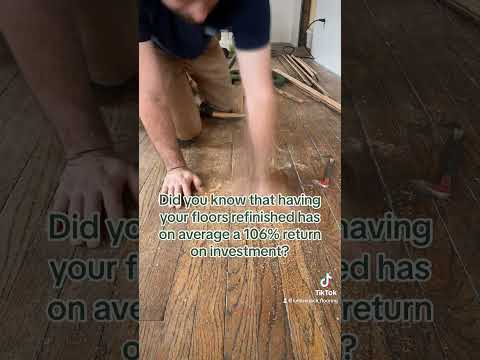
120 minutesBefore any sanding or finishing can begin, a comprehensive inspection of the hardwood floor is essential. Look for any areas with loose boards, protruding nails, or persistent squeaks. Address these issues by securing loose boards with screws or nails and lubricating squeaky floorboards. Following the inspection, a thorough cleaning is paramount. Sweep and vacuum the entire floor to remove all loose dirt, dust, pet hair, and any other debris. For a deeper clean, use a slightly damp mop with a hardwood floor cleaner, ensuring not to oversaturate the wood. Allow the floor to dry completely before proceeding.
Watch: Clean the Floor
Masking and Protection
90 minutesBefore starting the sanding process, it's crucial to protect surrounding areas from dust and potential finish drips. Use high-quality painter's tape to mask off baseboards, door frames, window trim, and any built-in cabinetry. Apply plastic sheeting over doorways and large openings to create a barrier against dust. Cover HVAC vents with plastic sheeting and tape to prevent dust from circulating through the home's ventilation system. Ensure all tape is pressed down firmly to create a good seal.
Watch: Protect Surfaces from Dust
Rough Sanding (Drum Sander)
180 minutesAttach a coarse-grit sandpaper (typically 36-grit) to the drum sander. Start sanding at one end of the room and proceed in long, slow, overlapping passes, always moving with the direction of the wood grain. Avoid stopping the sander while the drum is in contact with the floor, as this can cause gouges. Work your way across the room, ensuring even coverage. After completing a section, lift the drum slightly as you move to the next pass to prevent sanding marks. Empty the dust collection bag frequently.
Watch: Drum Sander Test Run and Operation
Edging and Corner Sanding
120 minutesAfter the main floor has been rough sanded with the drum sander, use an edger sander to tackle the perimeter of the room. This machine is designed to get close to walls and into corners. Operate the edger in a smooth, steady motion, slightly overlapping the areas already sanded by the drum sander. Be careful not to over-sand any one area, which can create a noticeable dip. For tight corners, a sanding block or a detail sander may be necessary.
Watch: Sand Edges with Edging Sander
Intermediate Sanding (Buffer/Orbital Sander)
150 minutesOnce the rough sanding is complete, switch to a buffer or orbital sander. Attach 80-grit sandpaper and work systematically over the entire floor, again moving with the grain. This step is crucial for smoothing out any potential scratches or unevenness left by the drum sander. Ensure complete coverage, overlapping passes to create a uniform surface. This intermediate grit begins to prepare the wood for the final sanding stages.
Watch: Buffing with Orbital Sander
Fine Sanding (Buffer/Orbital Sander)
120 minutesFor the final sanding pass, use a buffer or orbital sander fitted with fine-grit sandpaper, such as 120-grit or 150-grit. This step is critical for achieving a glassy-smooth surface. Continue to sand the entire floor, ensuring all areas are covered and that you are working with the grain. This fine sanding removes any faint scratches left by the medium grit and polishes the wood, making it receptive to stain and finish. Check the surface visually and by feel for any remaining imperfections.
Watch: Fine Grit Sanding and Smoothing
Thorough Dust Removal
180 minutesAfter the final sanding, dust is the enemy of a good finish. Start by vacuuming the entire floor thoroughly with a shop vacuum equipped with a brush attachment to capture as much dust as possible. Pay close attention to edges, corners, and any crevices. Follow up by wiping down all surfaces, including walls, baseboards, window frames, and any remaining furniture, with tack cloths. For very dusty environments or large areas, a leaf blower can be used to blow dust towards an open doorway or window, after which it should be thoroughly vacuumed and wiped down again. Ensure the air in the room is as dust-free as possible before applying any finish.
Watch: Thorough Dust Removal
Stain Application (Optional)
120 minutesIf you are staining the floors, apply the stain evenly using a foam applicator, lamb's wool applicator, or a clean, lint-free cloth. Work in small sections, ensuring consistent application and always moving in the direction of the wood grain. Avoid letting the stain pool or dry on the surface. Allow the stain to penetrate for the manufacturer's recommended time, typically 5-15 minutes, depending on the desired depth of color. After the penetration time, use clean, lint-free cloths to wipe away any excess stain, again following the grain. Ensure all excess stain is removed to prevent a sticky or uneven finish.
Watch: Apply Stain to Main Floor Area
Apply First Coat of Finish
90 minutesUsing a high-quality applicator such as a synthetic brush, roller, or applicator pad, apply the first coat of your wood finish. Work in manageable sections, ensuring a thin, even coat. Apply the finish by moving in long, smooth strokes with the direction of the wood grain. Avoid overworking the finish or applying it too thickly, as this can lead to drips, sags, or an uneven sheen. Allow the first coat to dry thoroughly as per the product's instructions, which can range from 4 to 24 hours depending on the type of finish and environmental conditions.
Watch: Apply First Finish Coat
Light Sanding Between Coats
60 minutesOnce the first coat of finish is completely dry to the touch, it's time for a light sanding between coats. Use very fine-grit sandpaper (220-grit or higher) or a sanding screen attached to a buffer or orbital sander. The goal here is not to remove the finish, but to lightly scuff the surface, knocking down any dust particles, brush strokes, or minor imperfections that may have settled into the finish. This creates a smoother surface for the next coat to adhere to, ensuring a more durable and professional-looking result. After sanding, thoroughly clean all dust using a vacuum and tack cloths.
Watch: Sanding the First Coat
Apply Subsequent Coats of Finish
180 minutesApply the second coat of finish using the same method as the first, ensuring an even application and working with the grain. Allow this coat to dry completely. Once dry, perform another light sanding with fine-grit sandpaper or a sanding screen, followed by thorough dust removal. Repeat this process for a third coat, or more, if necessary to achieve the desired durability and aesthetic. The number of coats depends on the type of finish and the expected wear of the floor. Allow the final coat to cure fully before allowing foot traffic.
Watch: Allowing to Dry and Applying Subsequent Coats
Final Curing and Furniture Placement
4320 minutesAfter the final coat of finish has been applied and has dried to the touch, it requires a full curing period. This curing process hardens the finish and makes it durable. The time required for full curing varies significantly by product, but it typically ranges from 3 to 30 days. During this period, avoid heavy foot traffic, placing rugs, or moving furniture. Once the finish is fully cured, carefully place furniture back onto the floor. It is highly recommended to use felt pads or other protective furniture sliders under all furniture legs and moving objects to prevent scratches and dents.
Watch: Allow Finish to CureCommon Problems
After sanding, you see swirl marks, deep scratches, or uneven patches on your floor, especially noticeable after applying a damp cloth or stain.
Solution: For swirl marks or minor scratches, go back and re-sand the affected area using the next finer grit of sandpaper (e.g., if you see them after 80-grit, re-sand with 80-grit then move to 100-grit, ensuring even overlap). For deep gouges, you might need to go back to a coarser grit (e.g., 60-grit) for the specific area, then follow the full sanding sequence again. Ensure the sander is always moving when touching the floor.
Prevention: Always keep the drum sander moving when the drum is lowered to the floor. Never stop with the drum engaged. Start moving before lowering, and lift before stopping. Overlap each pass by about half the width of the sander. Use the correct grit sequence and don't skip grits. For orbital/detail sanders, use consistent pressure and circular motions, ensuring full overlap. Regularly check for debris under the sandpaper.
Fine wood dust settles everywhere, making it hard to clean the floor effectively before staining/finishing, or you experience coughing, sneezing, and irritation from inhaling dust or finish fumes.
Solution: Immediately stop work if experiencing breathing difficulties. For dust, use your Milwaukee wet/dry vacuum with the proper attachment to thoroughly vacuum every inch of the floor, including corners and crevices. Then, use a damp cloth or tack cloths (like HDX Tack Cloths) to pick up remaining fine dust. For fumes, ensure proper ventilation by opening windows and using fans. Take breaks outside for fresh air.
Prevention: Before sanding, seal off adjacent rooms, HVAC vents, and entryways with plastic sheeting (Aluf Plastics Plastic Sheeting) and painter's tape (FrogTape). Ensure your sander's dust collection bag is properly attached and emptied frequently. Use a powerful shop vacuum continuously during and after sanding. Always wear a full-face organic vapor respirator (Parcil Safety PD-101) with appropriate filters throughout the sanding, staining, and finishing process. Ensure a tight seal.
After applying stain, some areas of the floor absorb more color than others, resulting in dark splotches or a patchy appearance.
Solution: If the stain is still wet, quickly wipe off excess product from the darker, blotchy areas using a clean rag. If the stain has already dried and absorbed unevenly, fixing it is very difficult without re-sanding the entire affected area back to bare wood and starting over. In some cases, applying another thin coat of the same stain or a slightly darker stain very carefully can help blend, but this is risky.
Prevention: Ensure your sanding is completely even from rough to fine grits, with no skipped areas or un-sanded spots. Any inconsistencies in sanding will show up under stain. For softer or more porous woods, apply a wood conditioner (like Varathane Wood Conditioner) before staining. This helps the wood absorb stain more evenly. Apply stain evenly in small sections, working with the grain. Wipe off excess stain promptly and consistently according to the manufacturer's instructions.
Your final clear coat of finish has small bubbles, visible streaks, or an uneven sheen once it dries.
Solution: For minor bubbles or streaks on a dry coat, you can gently sand the affected area with very fine-grit sandpaper (e.g., 220-grit or finer, like the Avanti Pro 220-Grit Sanding Screen) or a sanding screen on an orbital sander or buffer. Then, clean thoroughly with tack cloths and reapply a thin, even coat of finish. For severe issues, you may need to sand back to the previous coat or even bare wood in the affected section.
Prevention: Stir (do not shake!) the finish gently before and occasionally during application to avoid introducing air bubbles. Apply thin, even coats using a high-quality applicator (like the Applicator and More flocked foam floor applicator). Ensure the room temperature and humidity are within the manufacturer's recommended range. Avoid applying in direct sunlight or in very dusty conditions. Work in manageable sections, maintaining a wet edge. Avoid over-working the finish once applied.
After removing painter's tape (e.g., around baseboards or walls), you find that stain or finish has seeped underneath the tape, leaving an uneven line on the protected surface.
Solution: If the bleed is minor and wet, carefully wipe it away with a damp cloth (for water-based products) or a rag moistened with mineral spirits (for oil-based products). For dried bleed-through, you can try carefully scraping it with a utility knife (Utility Knife) or a plastic scraper, being extremely gentle not to damage the baseboard or wall paint. This is often very difficult to fix perfectly.
Prevention: Use a high-quality painter's tape designed for crisp lines, like FrogTape Multi-Surface. Press the tape down firmly along its entire edge, especially where it meets the floor, to create a tight seal. You can even run a credit card or your fingernail along the edge to ensure good adhesion. Remove the tape while the finish is still slightly wet (but not tacky) to get the cleanest line. If you wait until it's completely dry, the finish might bond to the tape, causing it to tear or pull up flakes of the newly applied finish or even paint from the wall.
You strain your back or sustain an injury from lifting or maneuvering heavy sanding equipment (like the drum sander), or you encounter electrical issues (tripped breakers, damaged cords).
Solution: For injuries, stop immediately and assess the situation; seek medical attention if needed. For electrical problems, unplug the equipment and inspect the cord for damage. If a breaker trips, reduce the load on the circuit by unplugging other items or moving the equipment to a different circuit if safe to do so. Never use equipment with damaged cords.
Prevention: Always use proper lifting techniques (lift with your legs, not your back) or ask for help when moving heavy machinery like the Grizzly Industrial Drum Sander. Break down equipment if possible for easier transport. Inspect all power cords for fraying or damage before use. Ensure you are plugging into grounded outlets. Avoid using multiple high-amp tools on the same circuit simultaneously to prevent tripping breakers. Do not operate equipment in wet conditions.
Frequently Asked Questions
Is hardwood floor refinishing truly a 'beginner' project, and what contributes to the 7-day estimate?
While categorized as beginner, this project requires careful attention, physical effort, and proficiency with powerful rental tools like drum sanders. The 7-day estimate accounts for multiple sanding stages, thorough dust removal, and crucial drying/curing times between finish coats, which cannot be rushed. Plan for a full week where the area is largely unusable.
What are the essential tools I absolutely need, and what are the main safety concerns when using them?
You'll definitely need to rent a drum sander, an edge sander, and ideally a buffer or orbital sander for intermediate and fine grit steps. Safety concerns include significant dust inhalation (wear a respirator!), extreme noise (hearing protection is crucial), and potential for injury from powerful, fast-moving sanding machines. Always follow manufacturer instructions and keep the machines moving to prevent gouging.
What's the biggest mistake beginners make during the sanding process, and how can I avoid it?
The most common mistake is stopping the drum sander while it's running and in contact with the floor, which creates deep divots or 'chatter marks.' To avoid this, always keep the drum sander moving forward or backward at a steady, controlled pace. Overlap passes by about half the drum's width and never skip grit progressions.
If I decide to stain, how can I ensure an even color and avoid blotchy results?
To achieve an even stain, thoroughly clean all sanding dust before application. If working with softwoods or woods prone to blotching, apply a wood conditioner first to help the stain absorb uniformly. Always test your chosen stain color and application method on an inconspicuous area or scrap wood from your floor.
What's the typical cost saving of DIY refinishing versus hiring a professional, and are there less intensive alternatives?
DIY refinishing typically saves significantly on labor costs, but you'll still incur expenses for tool rentals, sandpaper, stains, and finishes, which can add up. For less intensive options, consider a 'screen and recoat' or 'buff and coat' if your floors have only light surface scratches and the finish isn't worn through to bare wood. These methods refresh the topcoat without deep sanding.
How do I effectively manage the massive amount of dust generated during sanding?
Dust control is critical. Use heavy-duty plastic sheeting and painter's tape to seal off doorways, vents, and cabinetry in the work area. Continuously run a shop vacuum with a fine-dust filter alongside your sanders. After sanding, use a leaf blower to push dust towards exits, then vacuum multiple times, and finally wipe all surfaces with tack cloths.