
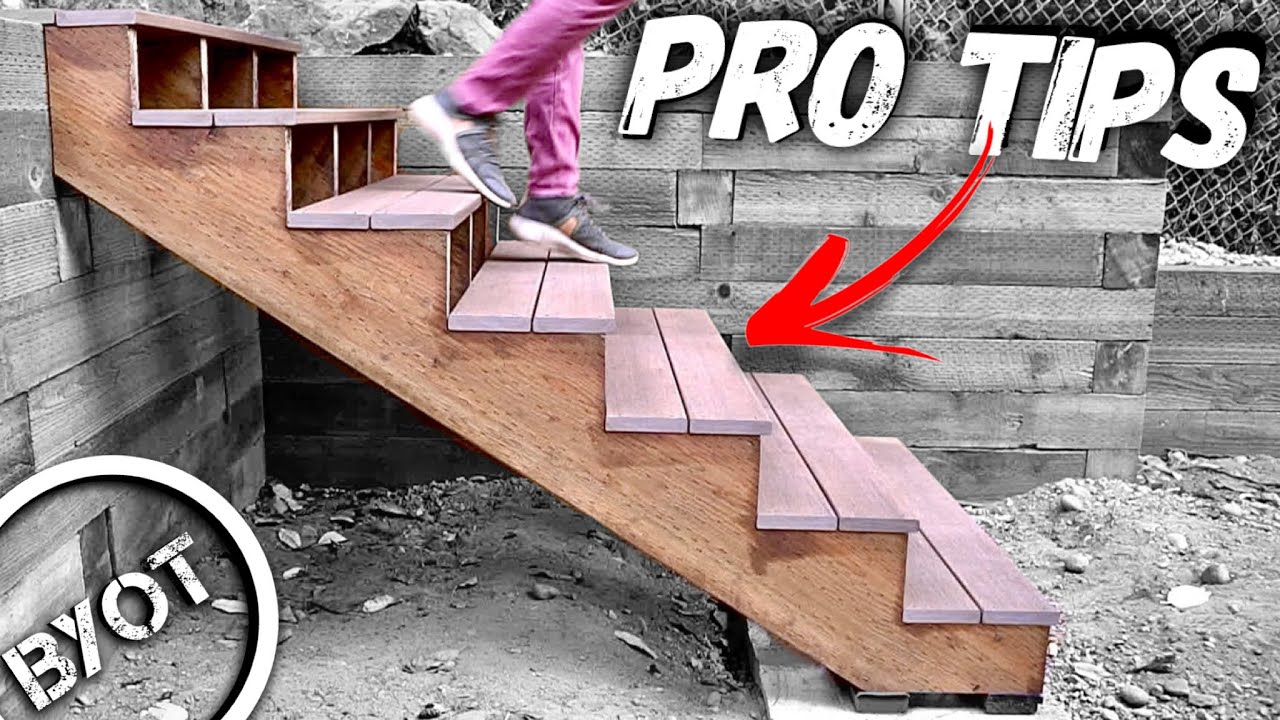
How to Build Portable Deck Steps
About This Project
Outline for building a set of portable deck steps, including planning, material selection, construction, and finishing.
Tools & Materials
Measuring Tape

Pencil

Calculated Industries Construction Master 5 Calculator 4050
2 in. x 8 in. x 10 ft. SYP #2 Standard Grade Dimensional Lumber 689246
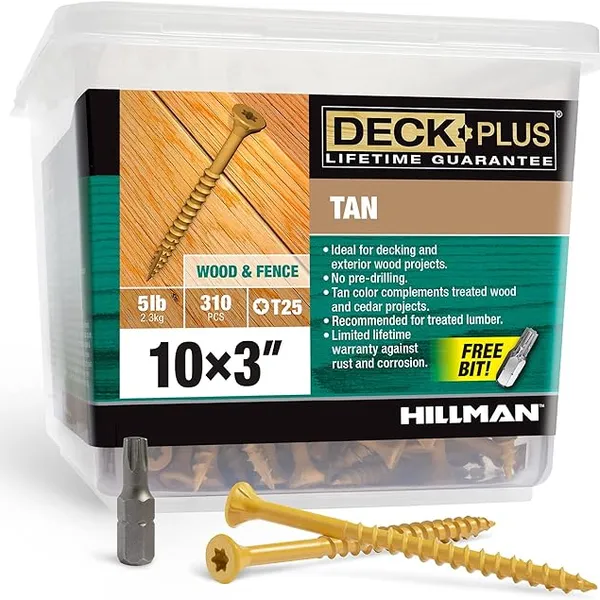
3" Decking Screws

Everbilt 1/2 in.-13 x 4 in. Galvanized Carriage Bolt 803606
Measuring Tape
For accurate measurements of plywood and components, ensuring proper assembly.
Pencil
Marks and draws with ease.
Calculated Industries Construction Master 5 Calculator 4050
The Construction Master 5 Calculator is an essential tool for construction pros. It helps you get fast, accurate construction-math calculations in the office or on the job site. Reduce the risk of expensive
2 in. x 8 in. x 10 ft. SYP #2 Standard Grade Dimensional Lumber 689246
Dimensional lumber is ideal for a wide range of structural and nonstructural applications including framing of houses, barns, sheds, and commercial construction. Every-piece meets the highest grading standards for strength in #2 grade. Can be painted and stained.
3" Decking Screws
Ideal for decking and exterior wood projects
Everbilt 1/2 in.-13 x 4 in. Galvanized Carriage Bolt 803606
Carriage bolts have a smooth rounded head with a square neck underneath that locks into wood when tightened. Use with a pre-drilled hole and secure with a hex nut and washer to prevent spinning. They are great fasteners for decks, play equipment, docks, fencing, and furniture.
Steps

Design the Deck Steps
120 minutesMeasure the total height from the ground to the deck surface. Calculate the required number of steps by dividing the total height by an ideal riser height (typically 6-8 inches). Determine the tread depth (typically 10-12 inches). Sketch the dimensions of each step, the stringers, and the overall footprint of the steps. Consider if railings are necessary for safety and code compliance. This step involves planning and visualization, not physical construction.
Watch: Calculate Step Dimensions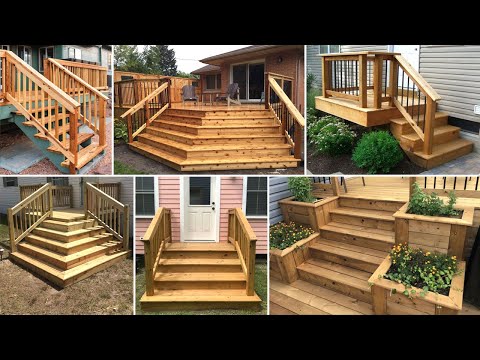
Select Materials for Steps
60 minutesSelect lumber for the main structure (stringers, treads, risers). Pressure-treated lumber is recommended for outdoor use due to its resistance to rot and insects. Cedar or redwood are also good, naturally resistant options but are more expensive. Decide on the type and size of fasteners (e.g., deck screws, galvanized or stainless steel bolts) that will resist corrosion. If painting or staining, select appropriate exterior-grade products.
Watch: Gather Pressure-Treated Wood and Other Materials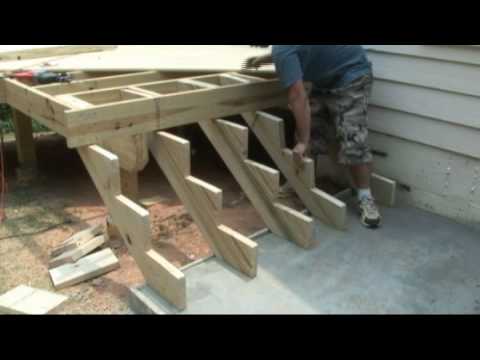
Cut Stringers
180 minutesUsing the design dimensions from Step 1, mark the rise and run on two or more lengths of 2x12 lumber to create the step stringers. A common method is to use a framing square or a specialized stringer layout tool. Carefully cut along the marked lines using a circular saw or a jigsaw. The resulting cuts will form the 'toes' where the treads will sit and the 'backs' where risers would attach (though risers are often omitted on simpler designs). Ensure all stringers are identical.
Watch: Lay Out and Cut the First Stringer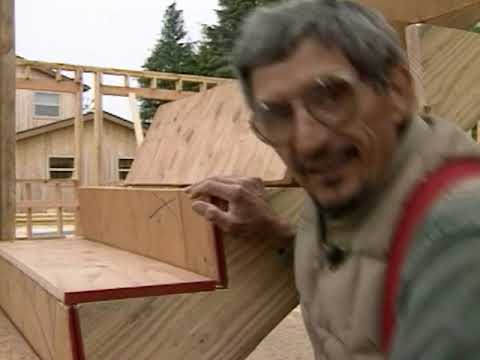
Cut Treads and Risers
90 minutesMeasure and cut the lumber for the treads. The length of each tread should match the width of the steps. The depth is determined by your design (usually 10-12 inches). If you are including risers for a more enclosed step appearance, cut these boards to the height of each step and the width of the steps. Ensure all treads and risers are cut to the same dimensions for a consistent look and feel.
Watch: Cut Treads and Risers
Assemble the Step Structure
150 minutesPosition the stringers parallel to each other, with the cut notches facing upwards. Place the tread boards onto the notches. Ensure the front edge of the tread is flush with or slightly overhangs the front edge of the stringer notch. Secure each tread to the stringers using deck screws or lag bolts. Drive at least two screws per stringer into each tread for stability. If using risers, attach them to the back of the tread and the front of the stringer below it.
Watch: Install Wooden Treads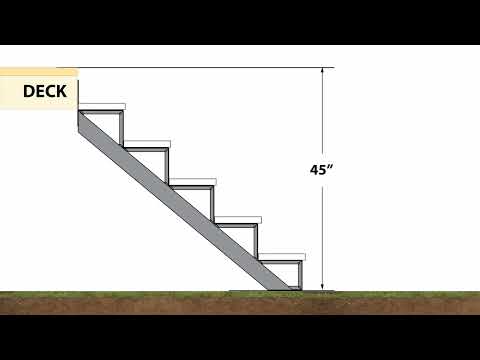
Attach Steps to Deck
60 minutesPosition the assembled steps against the deck. If the steps are designed to be permanently attached, use heavy-duty angle brackets or lag bolts to secure the top tread or stringers directly to the deck joists or rim joist. Ensure the connection is robust and can support the weight of people using the steps. If the steps are intended to be portable, consider a method that allows them to rest securely against the deck without being permanently attached, such as a sturdy base or a cleat system.
Watch: Attach Staircase to Deck
Create a Stable Base
45 minutesIf the steps are portable, ensure the bottom treads rest on a firm, level surface. This can be achieved by placing them on concrete pavers, a compact gravel bed, or by digging shallow recesses for the stringers to sit in. A stable base prevents the steps from sinking unevenly into the ground, which can cause them to become wobbly and unsafe. Ensure the ground is well-compacted and level where the steps will sit.
Watch: Prepare the Foundation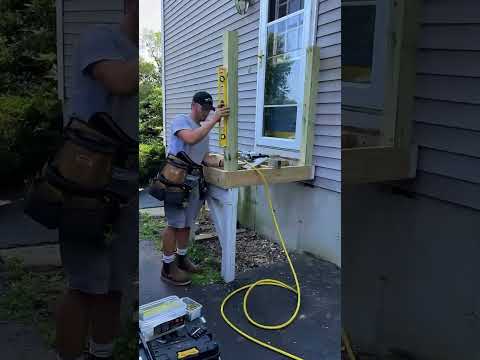
Install Railings (Optional)
120 minutesIf your design includes railings, mark the locations for the railing posts on the stringers or treads. Typically, posts are attached to the outside of the stringers using lag bolts. Once the posts are securely in place, measure and cut the handrail material to span between posts or from a post to the end of the steps. Attach the handrail to the posts using appropriate fasteners, ensuring it is at a comfortable height (usually 34-38 inches above the tread surface).
Watch: Construct and Install Railing System
Sand and Finish
180 minutesOnce the steps are fully assembled and secured, go over all surfaces, especially the treads and handrails, with sandpaper to remove splinters and rough spots. Start with a medium-grit sandpaper and finish with a finer grit for a smooth feel. Clean off all dust. Apply an exterior-grade wood stain or paint according to the manufacturer's instructions. This will protect the wood from UV rays and moisture, extending the life of your steps and improving their appearance.
Watch: Sand and Finish Steps