Asbestos Testing
About This Project
This project outlines the process for obtaining a sample of suspected asbestos-containing material (ACM) for laboratory testing. It includes identifying potential ACM, safely collecting a sample, and submitting it to an accredited laboratory for analysis. This is a preliminary step to determine the presence and type of asbestos, informing subsequent remediation or management decisions.
Tools & Materials

Defiant 2000 Lumens LED Slide-to-Focusing Aluminum Flashlight 90706

HDX 32 oz. All-Purpose Spray Bottle HDX32102
Painters Tape

VEVOR Greenhouse Polyethylene Film 32 ft. x 25 ft. 6 Mil Superior Toughness Plastic Sheeting for Landscaping Projects PEWSM3225FT000001V0

3M 6297 P100 Mold and Lead Paint Removal Reusable Respirator 6297PA1-A

Buffalo Industries SMS Disposable Coverall With Hood, Lg 68525
Defiant 2000 Lumens LED Slide-to-Focusing Aluminum Flashlight 90706
This Defiant 2000-Lumens LED Slide-to-Focusing Aluminum Flashlight features high- powered LED chips to emit up to 2000-Lumens of light, illuminating your work area and beyond. Its tough aluminum material
HDX 32 oz. All-Purpose Spray Bottle HDX32102
The HDX 32 oz. Spray Bottle is a fully adjustable spray bottle with nozzle that provides a jet stream to fine misting spray pattern and allows you to spray at any angle. The bottle has a large 1.5 in.
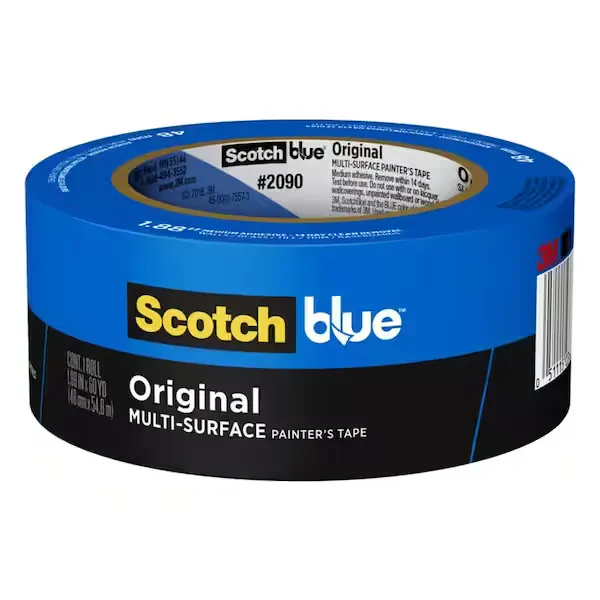
Painters Tape
Masks areas for precision painting.
VEVOR Greenhouse Polyethylene Film 32 ft. x 25 ft. 6 Mil Superior Toughness Plastic Sheeting for Landscaping Projects PEWSM3225FT000001V0
The VEVOR greenhouse polyethylene film is 32 ft. W, 25 ft. L, and 6 mil thick. It features superior strength and toughness for UV protection, tear, and weather resistance. It is designed for easy DIY and suitable for industrial, residential, construction, masonry, agriculture, and landscaping projects.
3M 6297 P100 Mold and Lead Paint Removal Reusable Respirator 6297PA1-A
3M Mold and Lead Paint Removal Respirator is used for the professional remediation of mold. In accordance with US-EPA Guidelines and for sanding and scraping lead-based paint, 3M Mold and Lead Paint Removal
Buffalo Industries SMS Disposable Coverall With Hood, Lg 68525
Contractor-grade, three-layer SMS offers an ideal combination of breathability and protection from paint and particulates. SMS material guards against liquids, sprays, powders, fiberglass and sanding dust. Zip-front, elastic wrists, ankles and waist. Poly-bagged. Sold by each. Hooded have two-way zippers and front and back pockets. Quality marine product. Limited warranty.
Steps

Identify Potential Asbestos-Containing Materials (ACM)
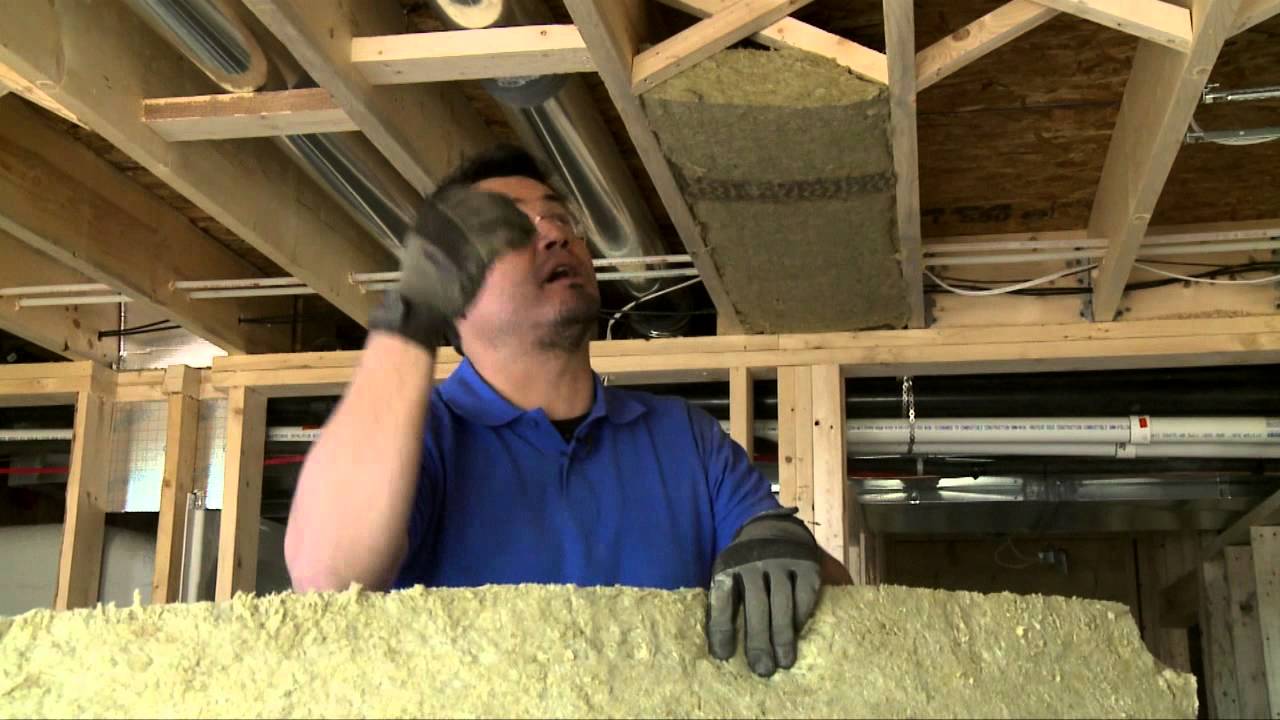
30 minutesBefore collecting any samples, it's crucial to identify materials that commonly contain asbestos. These often include textured paints and coatings, insulation (especially around pipes, boilers, and ducts), vinyl floor tiles and sheeting, asbestos cement roofing and siding shingles, and transite pipes. Look for materials that are deteriorating or show signs of damage. Common in homes built before the 1980s.
Watch: Identify Potential Asbestos Locations
Prepare Sampling Area and Personal Protective Equipment (PPE)
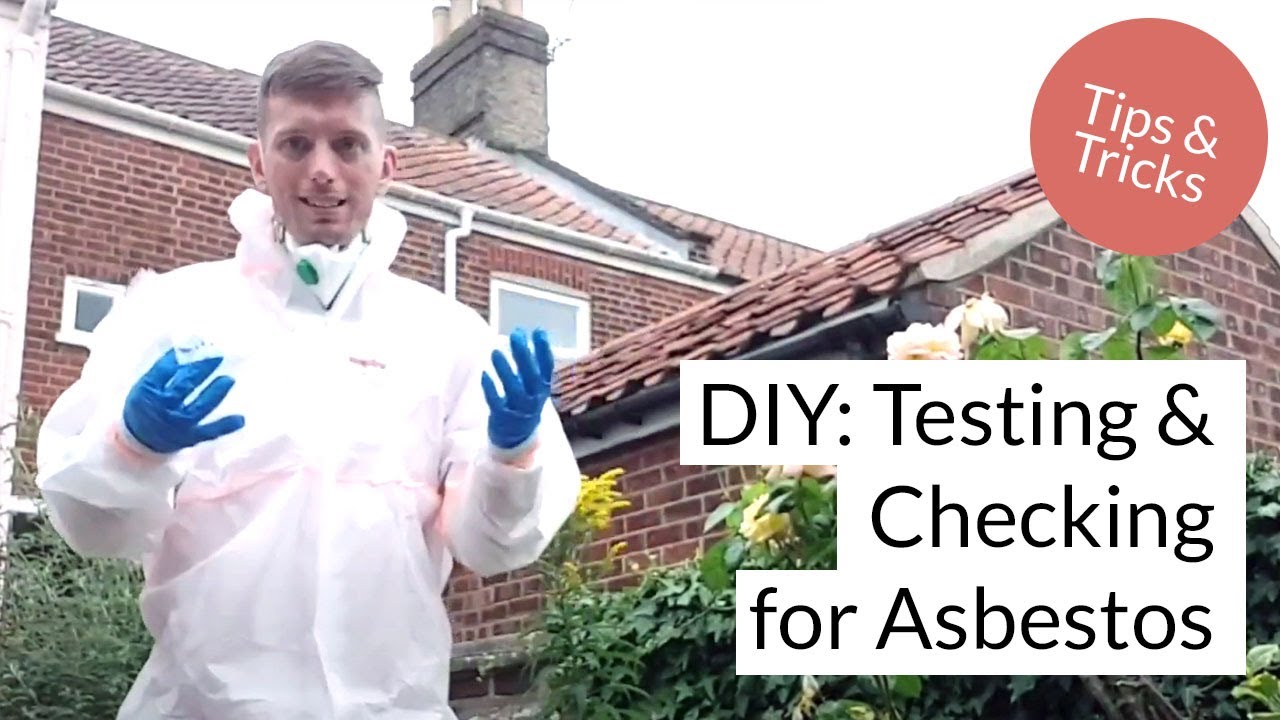
15 minutesTo prevent the release and spread of asbestos fibers, carefully seal off the room or area where you will be taking samples. Use painter's tape to close doors, windows, and vents. Lay down 6-mil polyethylene sheeting on the floor extending at least 6 feet around the sampling area. Don personal protective equipment (PPE) including a P100 respirator, disposable coveralls with a hood, and disposable gloves.
Watch: Prepare for Sampling (PPE & Wetting)
Collect Suspected Asbestos Sample
10 minutesLightly mist the suspected material with water from the spray bottle. This helps to keep the asbestos fibers from becoming airborne. Using a clean tool such as a knife, screwdriver, or pliers, carefully break off a small piece of the material, no larger than a postage stamp. Place the sample into a clean, sealable container, such as a zip-top bag or a small glass jar. Avoid creating dust. Collect a separate sample for each type of material you are testing. Label each sample clearly with its source (e.g., 'living room ceiling tile', 'attic insulation').
Watch: Collect Material Samples SafelySeal and Double Bag Samples
5 minutesAfter collecting and labeling each sample, securely seal the primary container (zip-top bag or jar). Then, place the sealed primary container into a second, larger zip-top bag and seal that bag as well. This double-bagging helps to ensure that no fibers escape during transport. Wipe down the outside of the outer bag with a damp cloth.
Watch: Secure Samples, Clean Up, and Fill Out Forms
Clean Up the Work Area
20 minutesCarefully fold the plastic sheeting inward, away from yourself, to contain any dust or debris. Place the used sheeting, disposable coveralls, gloves, and any other contaminated disposable items into a heavy-duty trash bag. Seal this bag securely. Wipe down any reusable tools with a damp cloth. Remove your PPE carefully, starting with the coveralls, then the gloves, and finally the respirator, ensuring not to spread contamination. Dispose of all contaminated waste according to local regulations, often as hazardous waste. Do not vacuum the area unless you have a HEPA-filtered vacuum designed for asbestos.
Watch: PPE Removal and Asbestos Waste DisposalSubmit Samples to an Accredited Laboratory
15 minutesContact an accredited asbestos testing laboratory to confirm their submission procedures, sample requirements, and pricing. Package the double-bagged samples securely for shipping. Include a completed chain-of-custody form or laboratory-specific request form, detailing the samples collected and the information you need from the analysis. Ship the samples via a reputable courier service. Ensure the laboratory is accredited by a recognized body, such as the National Voluntary Laboratory Accreditation Program (NVLAP).
Watch: Complete Forms and Prepare for Lab ShipmentCommon Problems
Your respirator doesn't seal correctly, allowing air to leak in, or your safety glasses are fogging up, obstructing your vision.
Solution: Immediately stop work and move to a clean, well-ventilated area if possible. Adjust the respirator straps for a tighter fit. If a proper seal can't be achieved, ensure you have the correct size or type of respirator. For fogging, ensure the respirator nosepiece is correctly molded to your face to direct breath downwards, or take a short break to clear glasses in a safe area.
Prevention: Perform a fit-check on your respirator every time you put it on. This involves covering the exhalation valve and exhaling, and covering the inhalation filters and inhaling, ensuring no air leaks. Trim facial hair that interferes with the seal. Ensure your safety glasses fit snugly.
You accidentally disturb too much material or cut a dry piece, causing visible dust or suspected asbestos fibers to spread outside the designated work area.
Solution: Immediately stop all work. Do not use a regular vacuum cleaner, as this will spread fibers further. Thoroughly re-wet the affected area and any visible dust with your spray bottle. Carefully clean up all dust and debris using wet cloths, placing them directly into a sealed plastic bag. Do not sweep dry. Ensure the area is well-ventilated, but avoid using fans.
Prevention: Always thoroughly and continuously wet the suspected asbestos-containing material before, during, and after sampling. Use plastic sheeting to cover and protect a wide area around your sampling spot. Disturb only the minimum amount of material required for the sample.
The collected sample is too small or has crumbled into fine powder, which might not be sufficient or suitable for laboratory analysis.
Solution: If safe and feasible, carefully re-sample a slightly larger, more intact piece from the same location, ensuring it's properly wetted and contained. If the material is inherently crumbly, collect a larger volume of the powdered material. Contact the testing laboratory beforehand to confirm their minimum sample size requirements (e.g., typically a 1-inch square piece or 1 teaspoon of powder).
Prevention: Before sampling, check the lab's instructions for the optimal sample size and preferred form (intact vs. powder). Use tools like pliers or a screwdriver to gently pry or cut an intact piece if possible. Avoid excessive force that could pulverize the material.
You've accidentally contaminated one sample with material from another area, or your tools weren't cleaned between taking different samples.
Solution: Assume all samples involved in the potential cross-contamination are compromised. Safely dispose of them as asbestos waste. Re-sample each suspected material separately. Ensure you clean all sampling tools thoroughly with wet wipes or use new tools (e.g., disposable knives) for each distinct sample location. Label each sample immediately and clearly to prevent mix-ups.
Prevention: Always use separate, clean tools for each distinct sample location, or meticulously clean tools between samples using wet cloths. Place each sample into its own labeled container immediately after collection to avoid accidental mixing.
The sample jar lid is loose, or the plastic bags you used to double-bag the sample have tears or aren't sealed properly, risking leakage during transport.
Solution: Immediately stop handling the sample. Carefully re-secure the lid on the sample jar, ensuring it's tight. Then, place the sealed jar into a new, intact plastic bag, seal it, and place that bag into another new, intact plastic bag, sealing the second one tightly as well. Handle with extreme care to avoid further disturbance.
Prevention: Before starting, inspect all canning jars for damage and ensure lids fit securely. Always use high-quality, heavy-duty Ziploc-style bags or contractor-grade bags for double-bagging. Press firmly along the seal of each bag to ensure it's completely closed.
Frequently Asked Questions
How critical is proper PPE and sealing the work area when collecting a suspected asbestos sample?
It's extremely critical. Asbestos fibers are hazardous when airborne and inhaled, so proper PPE, including an N95 or P100 respirator and disposable coveralls, is essential. Sealing the work area with polyethylene film helps contain any released fibers, preventing wider contamination and protecting your health.
Do I need the exact tools and materials specified, or can I use alternatives?
While the listed tools and materials are recommended for effectiveness and safety, some can be substituted. Any sturdy flashlight works, and clean, airtight containers like the canning jars are crucial for samples. The key is ensuring alternatives serve the same safety and containment function, especially for sealing the area and sample storage.
The project is listed as 'beginner' difficulty, but asbestos sounds very dangerous. Is it truly safe for a DIYer?
The 'beginner' rating refers to the straightforwardness of the sampling *process*, not the inherent risk of asbestos. While collecting a small, non-friable sample carefully can be done by a DIYer, any concerns about large amounts, friable material, or discomfort mean you should stop and call a licensed asbestos professional. Your safety is paramount.
What are the typical costs involved in asbestos testing, beyond just collecting the sample?
The main cost will be the laboratory analysis fee, which usually ranges from $25 to $75 per sample, depending on the lab and turnaround time. You'll also have minor expenses for PPE, sampling supplies (like the jars and plastic sheeting), and potentially shipping costs to the accredited laboratory.
What is a common mistake people make when collecting asbestos samples, and how can I avoid it?
A common mistake is not adequately wetting the suspected material before sampling, which can release fibers. Always thoroughly dampen the area with water from a spray bottle to minimize dust. Another error is neglecting to double-bag and clearly label each sample immediately after collection, which can lead to contamination or confusion.
Is the 2-hour estimated time realistic for this project?
Yes, 2 hours is generally a realistic estimate for collecting 1-3 samples. This timeframe includes the crucial steps of preparing the sealed work area, carefully donning all PPE, the actual sampling, and a thorough cleanup. Rushing any part, especially cleanup, can compromise safety and effectiveness.
Can I use an at-home asbestos test kit instead of sending samples to an accredited laboratory?
While some home kits exist, many still require you to mail the sample to a lab, or their accuracy for DIY interpretation may be limited. For definitive, legally defensible results that accurately inform remediation decisions, it is always recommended to use an accredited laboratory for analysis. This ensures proper identification of asbestos type and quantity.