
How to Reduce Noise from Stairs and Upstairs Floors
About This Project
This project outlines methods to reduce noise transmission from stairs and upstairs floors. The approach involves identifying common noise sources, such as creaking floorboards, impact noise from foot traffic, and airborne sound, and then implementing solutions like adding insulation, using sound-dampening underlayment, reinforcing structural elements, and sealing gaps.
Tools & Materials

Defiant 2000 Lumens LED Slide-to-Focusing Aluminum Flashlight 90706

Warner ProGrip 1-1/4 in. Flex Putty Knife 29990
Box Cutter

Klein Tools Magnetic Screwdriver with 32 Tamperproof Bits 32510

DEWALT #6 9/64 in. High Speed Steel Countersink Drill Bit DW2567
#10 3” Wood Screws
Defiant 2000 Lumens LED Slide-to-Focusing Aluminum Flashlight 90706
This Defiant 2000-Lumens LED Slide-to-Focusing Aluminum Flashlight features high- powered LED chips to emit up to 2000-Lumens of light, illuminating your work area and beyond. Its tough aluminum material
Warner ProGrip 1-1/4 in. Flex Putty Knife 29990
Flex blade that works great with heavier spackles and compounds. Standard carbon steel hollow-ground blade to provide consistent flex and proper stiffness. Professional quality tool. Tapered handle design
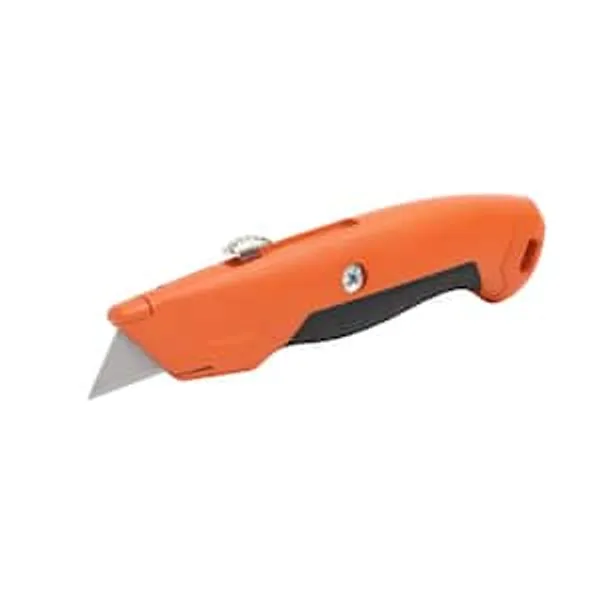
Box Cutter
Sharp and handy for precise cuts.
Klein Tools Magnetic Screwdriver with 32 Tamperproof Bits 32510
The Klein Tools Magnetic Screwdriver Set with 32 pieces provides tamperproof reliability and the flexibility to tackle a variety of jobs. A Cushion-Grip™ handle offers greater torque and comfort while
DEWALT #6 9/64 in. High Speed Steel Countersink Drill Bit DW2567
For Professional Results, demand DEWALT Accessories. This Contractor Grade countersink and drill bit is ideal for woodworking projects to provide a professional finish. The bit plus countersink provide
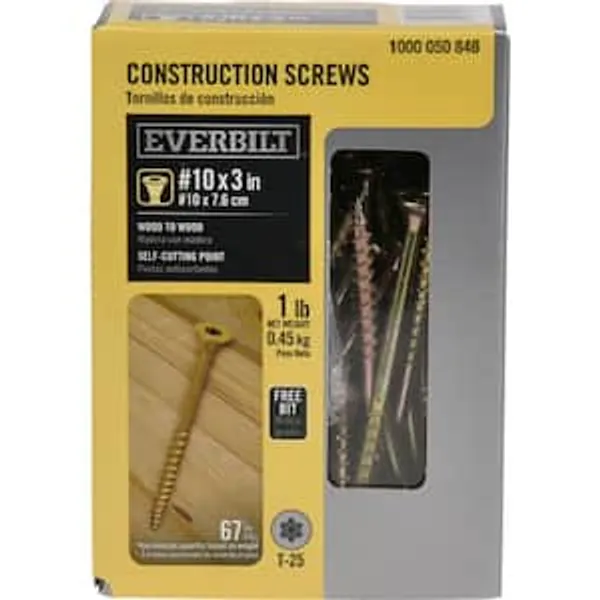
#10 3” Wood Screws
Sturdy screws ideal for wood.
Steps

Inspect for Cracks and Gaps
60 minutesBegin by carefully examining the entire stairwell and the upstairs floor area. Look for any fissures, seams, or openings in the subfloor, floorboards, walls, and ceiling below the stairs. These can be significant pathways for sound to travel. Once identified, use a suitable sealant, such as acoustic caulk or expandable foam, to fill and seal these gaps completely. Ensure the sealant is applied neatly and adheres well to the surrounding surfaces.
Watch: Seal Subfloor Gaps with Acoustic Sealant
Address Floorboard Creaks
90 minutesWalk across the floor to pinpoint the exact location of any creaking sounds. Once identified, attempt to stabilize the loose floorboards. This can be done by driving screws through the floorboards into the joists below, ensuring the screw heads are countersunk below the surface. Alternatively, creak-stopping kits, which typically involve inserting a bridge or shim between the subfloor and floorboard, can be very effective. If accessing the subfloor from below is possible, apply construction adhesive or use shims to tighten the connection between the floorboards and the joists.
Watch: Fix Squeaky Floorboards
Install Sound-Dampening Underlayment
180 minutesPrepare the floor surface by ensuring it is clean, dry, and level. If installing over a subfloor, lay the underlayment directly onto it. If installing over an existing finished floor, ensure it is also clean and smooth. Unroll the sound-dampening underlayment material, cutting it to fit the room or stair treads using a utility knife. Ensure seams between sections of underlayment are butted together tightly, or follow the manufacturer's instructions for overlapping or taping. Some underlayments may require adhesive for installation.
Watch: Install Acoustic Underlayment
Add Mass-Loaded Vinyl (MLV)
150 minutesCarefully unroll the MLV over the installed underlayment. Cut the MLV to fit the area using a sharp utility knife and a straight edge. Ensure that all seams between MLV sections are tightly butted together. Overlap the seams according to the manufacturer's recommendations, or tape them securely with acoustic tape to create an airtight barrier. The MLV should be installed smoothly without wrinkles or tears.
Watch: Seal Mass Loaded Vinyl Seams
Install New Flooring or Carpet
300 minutesFollow the manufacturer's instructions for installing your chosen final flooring material (e.g., carpet, hardwood, laminate). Ensure that the installation is done correctly, paying attention to proper fastening, expansion gaps (for hardwood/laminate), and seam placement. If installing carpet, ensure it is stretched properly. If installing hardwood or laminate, ensure it is installed as a floating floor over the soundproofing layers, or as recommended by the specific soundproofing material manufacturer.
Watch: Finish with Carpet Installation
Reinforce Stair Stringers and Treads
120 minutesExamine the stair stringers (the side supports) for any signs of weakness, cracks, or separation. Ensure they are securely attached to the upper and lower floors. If any looseness is detected, reinforce them with additional bracing or by securely fastening them. Inspect the stair treads (the part you step on) and risers (the vertical part). If they are not already secured, consider adding screws from the underside into the stringers, or use brackets to stiffen them. Ensure any existing treads are firmly attached and do not move independently.
Watch: Strengthen Stair Stringers
Insulate Between Floor Joists
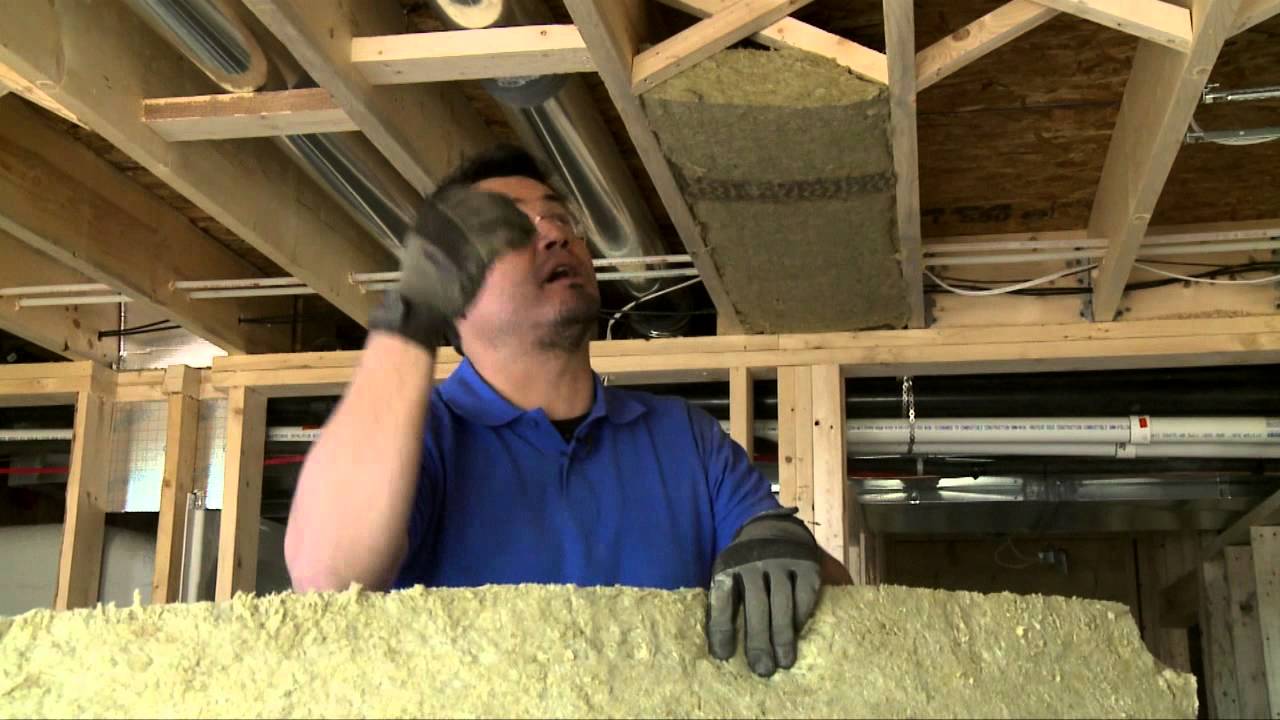
240 minutesAccess the space between the floor joists (from above) or ceiling joists (from below). Cut and fit pieces of acoustic insulation batts or blown-in insulation snugly into the cavities. Ensure there are no gaps or compression of the insulation, as this can reduce its effectiveness. If accessing from below, ensure the insulation is held in place by a backing material, such as a vapor barrier or a wire mesh, to prevent it from falling out. For stairwells, this may involve working within the wall cavities adjacent to the stairs.
Watch: Install Unfaced Insulation Between Joists