

How to Install a Safety Gate at the Top of Deck Stairs
About This Project
Outline for installing a safety gate at the top of deck stairs to prevent falls, focusing on secure mounting and proper gate function.
Tools & Materials
Measuring Tape

Pencil
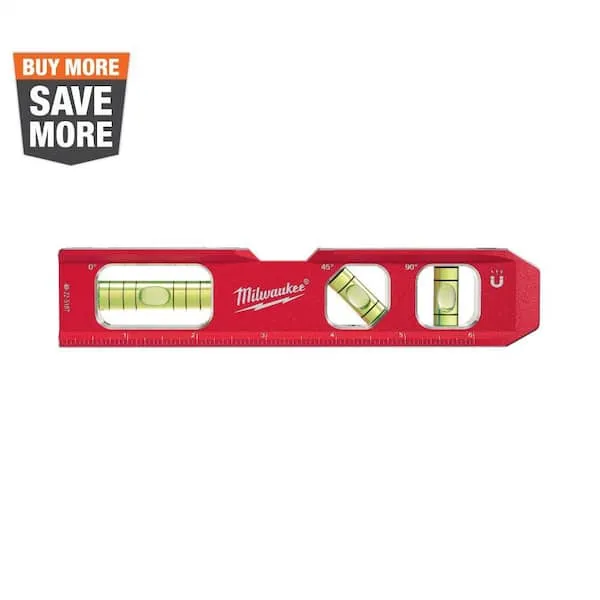
Level

Cardinal Gates 30 in. H x 27 in. to 42.5 in. W x 2 in. D Outdoor Safety Gate in White SS30WH-ODC

Drill
Drill Bits
Measuring Tape
For accurate measurements of plywood and components, ensuring proper assembly.
Pencil
Marks and draws with ease.
Level
Ensures surfaces are just right.
Cardinal Gates 30 in. H x 27 in. to 42.5 in. W x 2 in. D Outdoor Safety Gate in White SS30WH-ODC
The Cardinal Gates Stairway Special Outdoor Safety Gate (Model SS-30-ODC) is the maximum safety gate for children. As its name indicates, this gate is designed for top-of-stairway or bottom-of-stairway
Drill
A power tool used for drilling holes in various materials.
Drill Bits
Various sizes for different drilling tasks, including making holes for screws and latches.
Steps

Determine Gate and Hardware Placement
15 minutesExamine the top of your deck stairs and the adjacent railing or wall. Choose a location for the gate that allows it to swing open freely without hitting any obstacles. For the mounting posts, aim to position them on a solid surface, such as a deck railing post, a solid wall, or a securely attached vertical support. Ensure there is adequate clearance for the gate to open fully. Mark the intended positions for the top and bottom hinges and the latch mechanism on both the gate and the mounting surface.
Watch: Plan Hardware Mount Hinge Direction
Install Gate Mounting Posts/Brackets
30 minutesDepending on your gate kit and mounting surface, you may need to install separate mounting posts or brackets. If mounting to a deck railing post, align the bracket with your pencil marks and use the provided screws or bolts to secure it firmly. If mounting to a wall, ensure you are drilling into studs or using appropriate heavy-duty anchors. Use a level to ensure the brackets are plumb and level. Some gate kits may include specific adapters for different railing types; consult your gate's manual.
Watch: Install Gate to Staircase
Attach Gate Hinges to Gate
20 minutesAlign the hinge components with the pre-drilled holes or marked locations on the gate. Use the provided screws to attach the hinges securely. Ensure the hinges are oriented correctly so that the gate will hang and swing as intended. Some gates may have specific top and bottom hinges, so pay close attention to the gate's manual.
Watch: Install Hinges on Gate
Hang the Gate
15 minutesCarefully lift the gate and align its hinges with the corresponding hardware on the mounting posts or brackets. Insert the hinge pins or secure the gate according to your gate kit's design. Once hung, gently swing the gate to check for smooth operation and ensure it does not rub against any surfaces or posts. Adjustments to hinge alignment may be necessary.
Watch: Hang the Gate
Install the Gate Latch Mechanism
25 minutesPosition the latch mechanism on the gate and the strike plate on the opposing post or frame according to the gate manufacturer's instructions. Typically, the latch bolt should align with the strike plate opening when the gate is closed. Mark the screw hole locations, drill pilot holes if necessary, and securely fasten both components. Test the latch by closing the gate and ensuring it engages properly and holds the gate shut.
Watch: Mount Latch and Striker Bodies
Test Gate Functionality and Adjustments
20 minutesOpen and close the gate multiple times to ensure it swings smoothly without binding or rubbing. Verify that the latch engages securely every time the gate is closed. Check all mounting points and hardware for tightness. If the gate sags, rubs, or doesn't latch properly, refer to the gate's manual for adjustment procedures, which may involve repositioning hinges, strike plates, or tightening hardware. Ensure the gate returns to a fully closed and latched position consistently.
Watch: Final Adjustments and Testing