Ornamental Grass Planting
About This Project
A high-level outline for planting ornamental grasses, covering site selection, soil preparation, planting techniques, and initial care.
Tools & Materials
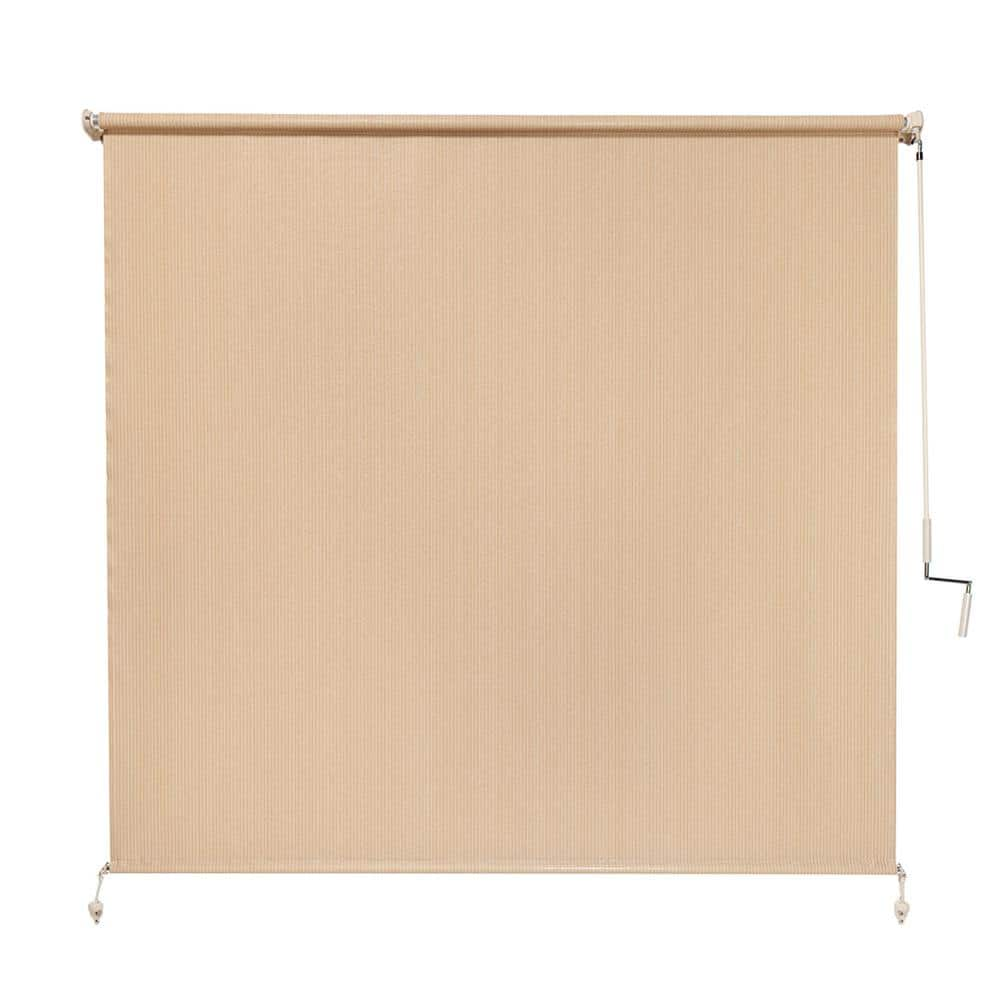
Coolaroo Southern Sunset UV Blocking Fade Resistant Fabric Exterior Roller Shade 72 in. W x 72 in. L 436612
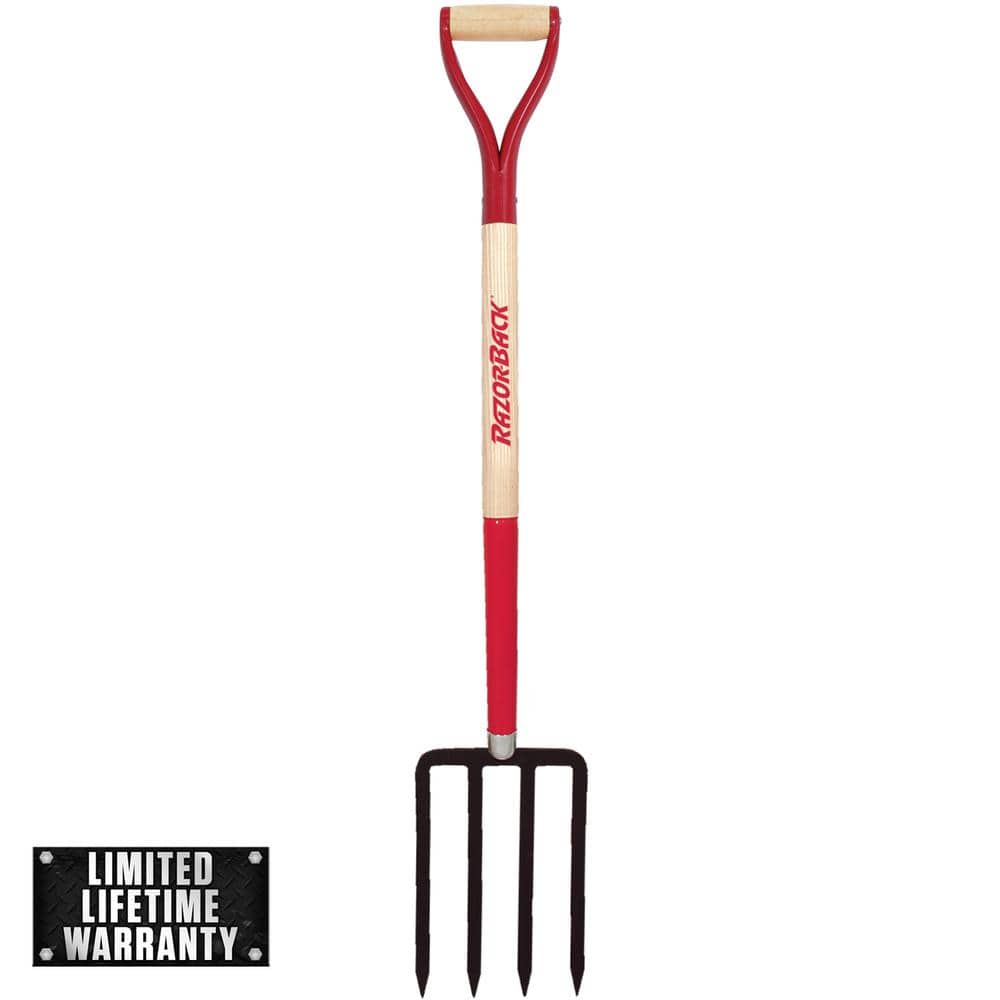
Razor-Back 4-Tine Digging Fork 72103
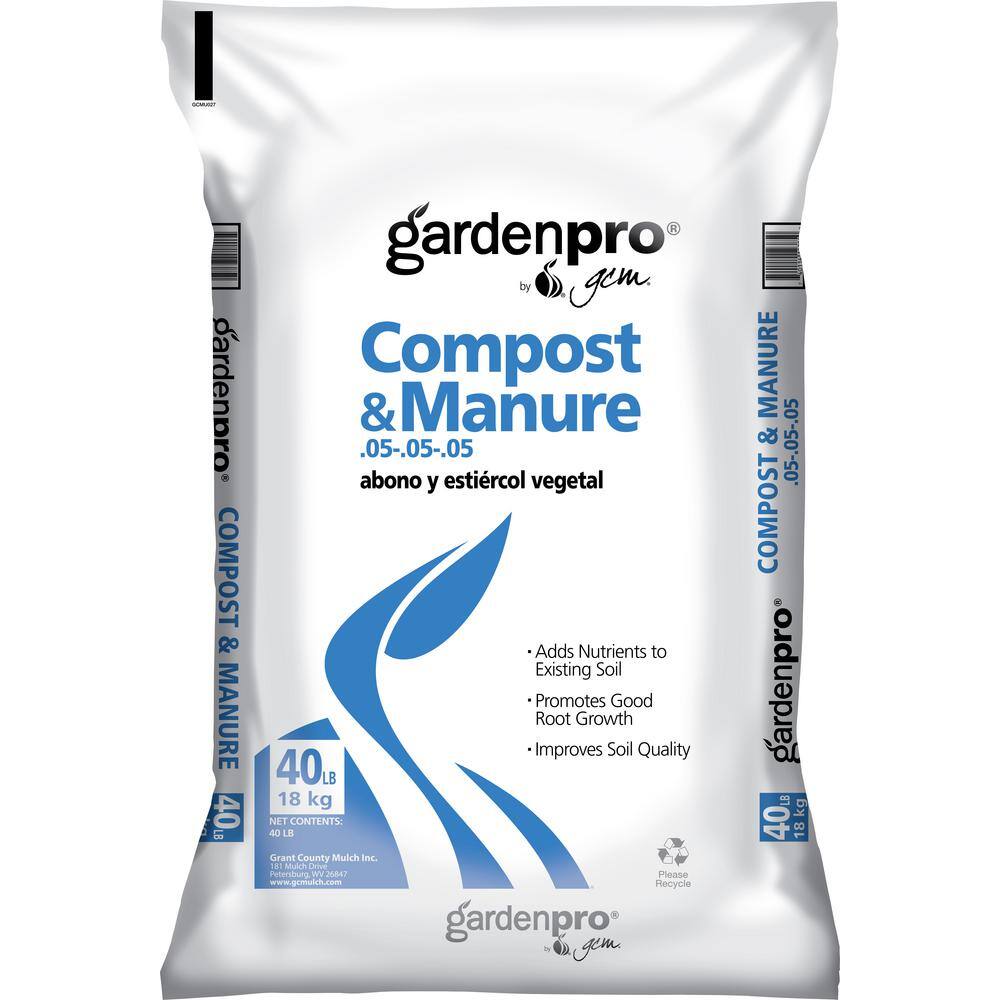
Garden Pro 40 lbs. Compost and Manure COW40G
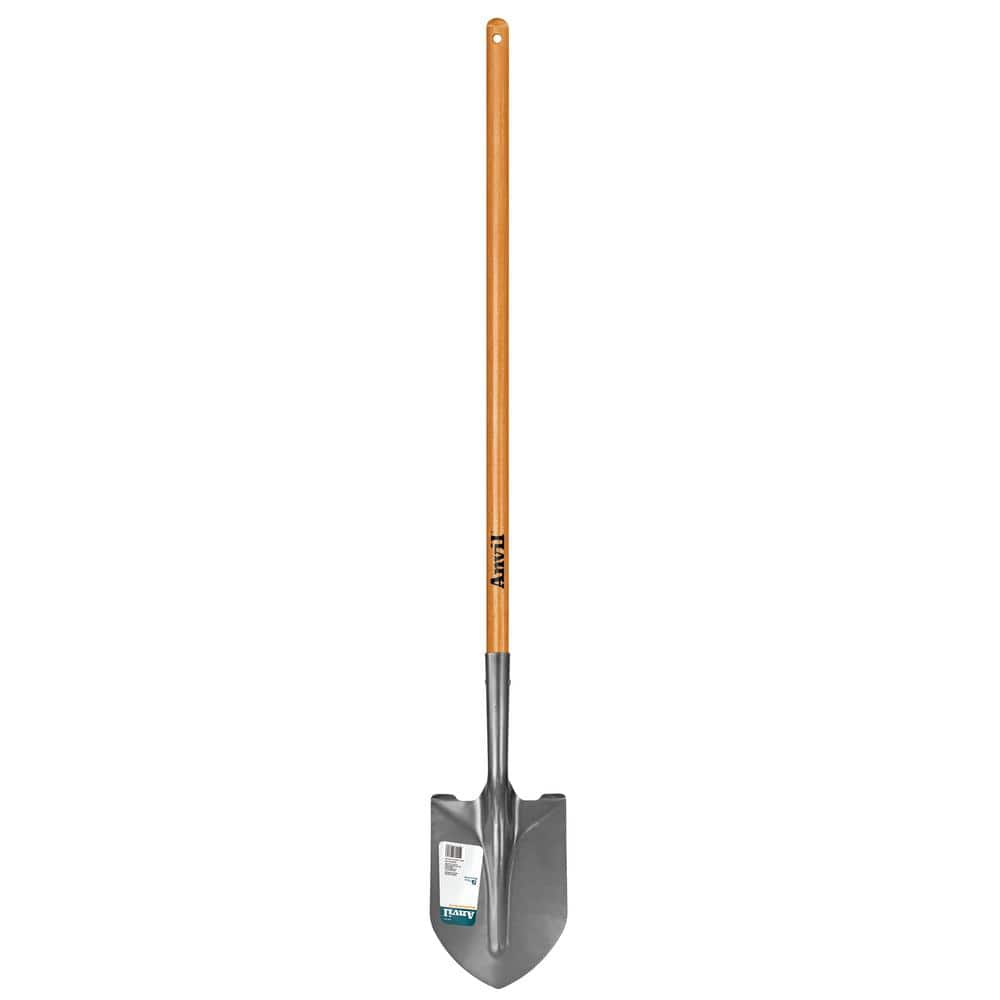
Anvil 47 in. Wood Handle Carbon Steel Digging Shovel 77470-939
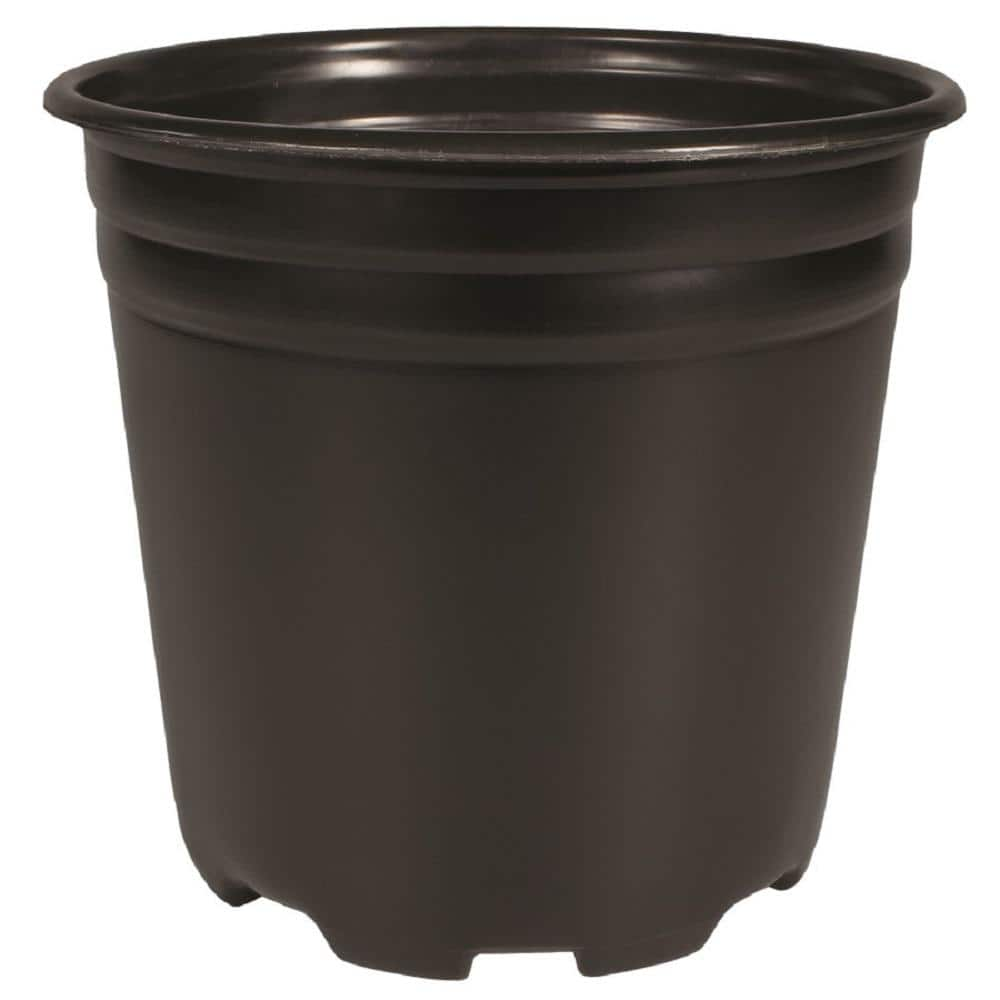
Trade 1 Gal. (2.9 Qt.) Black Thermoformed Nursery Pot TFR001G0G18
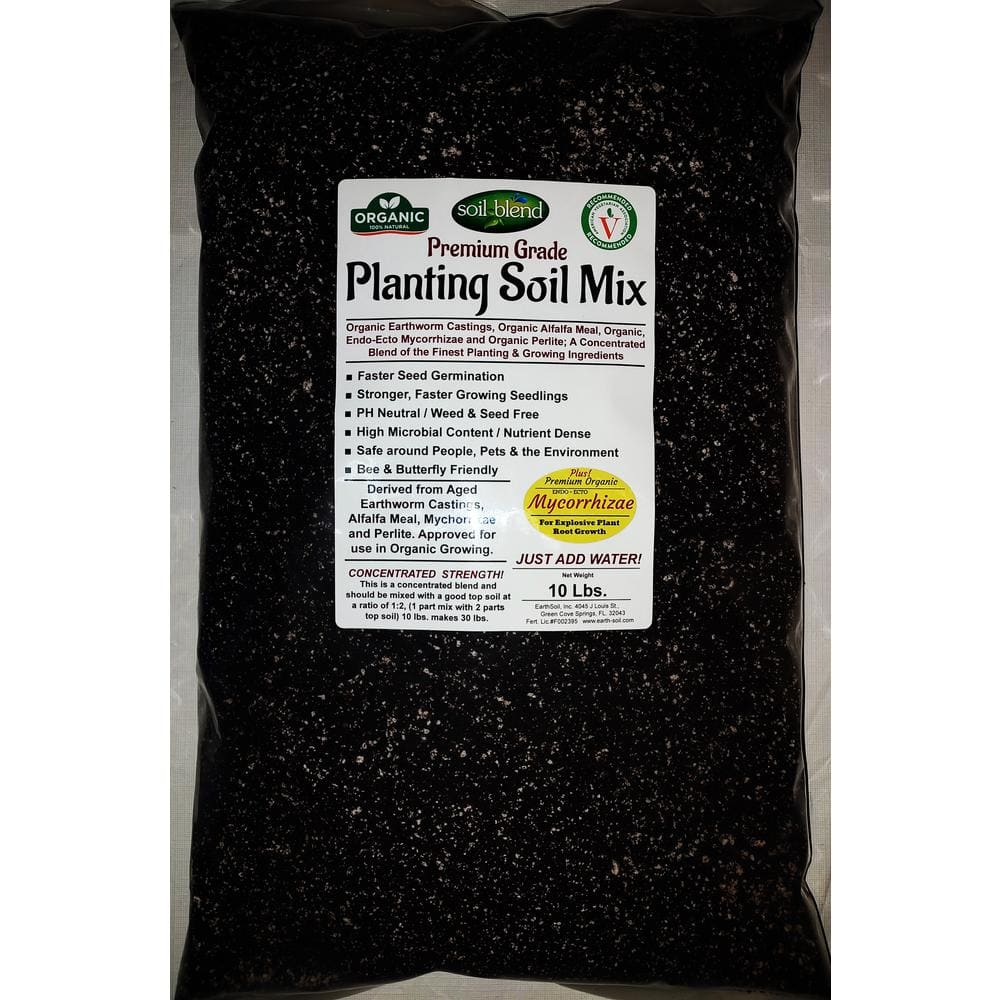
Soil Blend Premium Planting Soil Mix Special Blend with Perlite, Worm Castings, Endo and Ecto Mycorrhizae SBPS10MYCO
Coolaroo Southern Sunset UV Blocking Fade Resistant Fabric Exterior Roller Shade 72 in. W x 72 in. L 436612
Coolaroo Wand Operated 90% UV Protection Outdoor Roller Shades feature our unique high density polyethylene (HDPE) knitted fabric that provides sun protection, cooling capabilities and weather resistant
Razor-Back 4-Tine Digging Fork 72103
The Razor-Back spading fork is a multipurpose tool that can be used for turning, digging and loosening all types of soil. It can also be used to transfer loose material. The forged head is made for maximum
Garden Pro 40 lbs. Compost and Manure COW40G
This 40 lbs. bag of Garden Pro Compost and Manure is enhanced with organic compost and aged bark fines. Good for adding important nutrients for flower and vegetable growth. Garden Pro compost can be added
Anvil 47 in. Wood Handle Carbon Steel Digging Shovel 77470-939
Discover the Unparalleled Performance of the Anvil 47 in. Digging Shovel. Are you seeking a digging shovel that combines durability, strength, and reliable performance. Look no further than the Anvil Digging Shovel. Crafted with a laser-cut blade made of high-quality carbon steel, it effortlessly slices through soil, roots, and debris, making it an ideal tool for all your lawn and garden projects. What sets this shovel apart is the head, which is fully tempered for exceptional strength and durability. This means it can withstand the toughest digging tasks with ease and longevity. The 47 in. wood handle is not only functional but visually appealing as well, thanks to its varnished finish. This coating not only adds to its appearance but also provides protection against the elements, ensuring your shovel stays in top condition for years to come. This tool comes with a 5-year manufacturer warranty.
Trade 1 Gal. (2.9 Qt.) Black Thermoformed Nursery Pot TFR001G0G18
The Trade Gallon (2.9 quart) Thermoformed Nursery Pot is an economical alternative to heavy duty containers that typically aren't necessary. Bottom hole drainage allows for more efficient irrigation. While the design uses flexible Polyethylene material to make it durable, ideal for handling and transportation.
Soil Blend Premium Planting Soil Mix Special Blend with Perlite, Worm Castings, Endo and Ecto Mycorrhizae SBPS10MYCO
Soil Blend Planting Soil Mix is a Specially Formulated Blend of only the Finest, Field-Tested and Proven Certified Organic Approved Ingredients, High Grade, Aged Worm Castings, Perlite, Alfalfa Meal and
Steps

Select Planting Location
30 minutesResearch the sunlight requirements for the chosen ornamental grass variety. Most ornamental grasses thrive in full sun, requiring at least 6-8 hours of direct sunlight per day. Observe the potential planting area throughout the day to determine its sun exposure. Avoid areas that are constantly shaded or waterlogged, as these conditions can be detrimental to the grass's health.
Watch: Choose the Site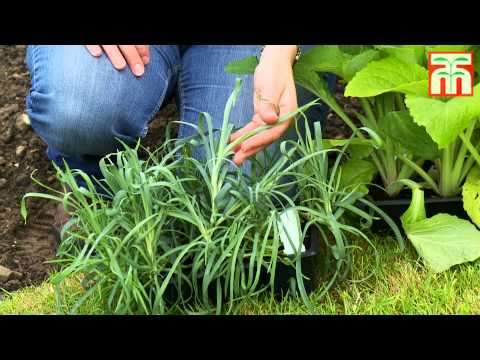
Prepare the Soil
60 minutesDig into the selected area to a depth of at least 12 inches using a shovel or garden fork. Break up any compacted soil. Mix in well-rotted compost, aged manure, or other organic matter to enrich the soil and improve its structure. This is particularly important for heavy clay soils to enhance drainage. Aim for a soil pH between 6.0 and 7.0 for most ornamental grasses.
Watch: Prepare the Soil in the Border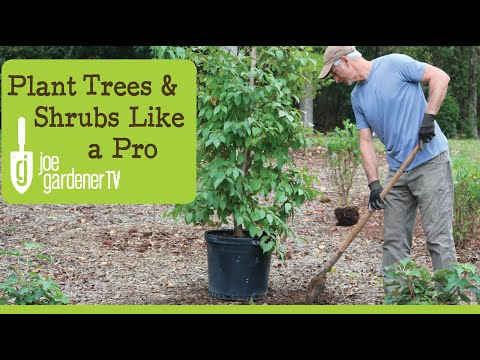
Dig the Planting Hole
15 minutesUsing a shovel, dig a hole that is approximately two times the width of the grass's root ball and equal in depth. This ensures that the roots have ample space to spread out into the loosened soil. The sides of the hole should also be roughened to prevent the roots from becoming pot-bound.
Watch: Dig the Planting Hole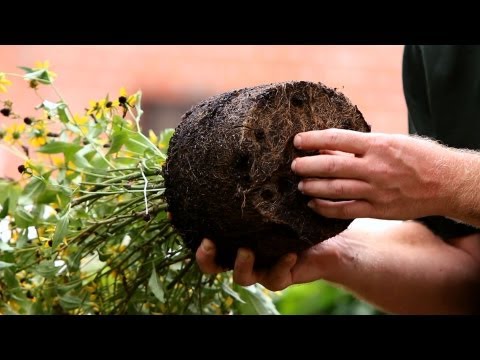
Remove Grass from Container
5 minutesGently tip the nursery pot on its side and slide the ornamental grass out. If the plant is stuck, you may need to tap the sides of the pot or gently pull on the base of the grass clump. Avoid pulling on the foliage. If the roots are tightly wound around the root ball (root-bound), gently loosen them with your fingers or a small tool.
Watch: Remove Plant from ContainerPlace Grass in Hole
5 minutesPlace the ornamental grass in the prepared hole. The top of the root ball should be level with, or slightly above, the surrounding soil surface. Adjust the depth of the hole if necessary. This prevents the crown of the plant from being buried too deeply, which can lead to rot.
Watch: Position Plant in Hole
Backfill the Hole
10 minutesUse the soil mixture you prepared earlier to backfill the hole around the root ball. Gently firm the soil with your hands or the back of your shovel to eliminate any large air pockets. Do not compact the soil too tightly, as this can hinder root growth and water penetration.
Watch: Backfill and Check Depth
Water Thoroughly
10 minutesWater the plant thoroughly immediately after planting. Ensure the water penetrates deep into the root zone. This helps to settle the soil around the roots, eliminate air pockets, and reduce transplant shock. Continue to water regularly, especially during dry periods, until the grass is established.
Watch: Water Immediately and RegularlyApply Mulch
10 minutesSpread a 2-3 inch layer of organic mulch, such as wood chips, shredded bark, or compost, around the base of the ornamental grass. Keep the mulch a few inches away from the crown of the plant to prevent moisture buildup and potential rot. Mulch helps to conserve soil moisture, regulate soil temperature, and suppress weed growth.
Watch: Apply Mulch
Initial Watering Schedule
15 minutesFor the first 2-3 weeks after planting, water the ornamental grass deeply 2-3 times per week, or more frequently if conditions are very hot and dry. The goal is to keep the soil consistently moist but not waterlogged. Once the grass shows signs of new growth, you can gradually reduce watering frequency, allowing the soil to dry slightly between waterings.
Watch: Watering and EstablishmentCommon Problems
Your newly planted ornamental grass starts to wilt or look droopy a few days after planting, even if you've watered it.
Solution: First, check the soil moisture by sticking your finger about 2 inches deep. If it's dry, water slowly and deeply until the water soaks in. If it's soggy, you might be overwatering, or your soil has poor drainage. To fix poor drainage, gently dig up the plant, amend the hole with more compost (Garden Pro 40 lbs. Compost and Manure COW40G) and grit (like small pebbles or perlite if you have it), and replant. In extreme cases, temporary shading (using a cardboard box or shade cloth) can help reduce stress from too much sun while the plant recovers.
Prevention: Ensure thorough watering immediately after planting and stick to the 'Initial Watering Schedule' for the first few weeks. Prepare your soil well with compost to ensure good drainage and aeration. Try to plant on an overcast day or in the cooler morning/late afternoon to reduce transplant shock.
The hole you've dug for your ornamental grass is too shallow or too narrow, making it hard to fit the plant properly.
Solution: If the hole is too shallow, the top of the root ball will sit above ground level. Dig it deeper using your 'Anvil 47 in. Wood Handle Carbon Steel Digging Shovel' so the top of the root ball is even with the surrounding soil. If the hole is too narrow, the roots won't have room to spread. Widen it to be at least 2-3 times the width of the root ball using your 'Razor-Back 4-Tine Digging Fork' or shovel, making sure the sides of the hole are not compacted.
Prevention: Before you start digging, measure the height and width of your grass's root ball once you've removed it from its 'Trade 1 Gal. (2.9 Qt.) Black Thermoformed Nursery Pot'. Dig the hole so it's 2-3 times wider than the root ball and just as deep, or slightly shallower, ensuring the top of the root ball will be level with or slightly above the surrounding soil.
You're having trouble getting the ornamental grass out of its 'Trade 1 Gal. (2.9 Qt.) Black Thermoformed Nursery Pot', or the roots are circling tightly around the bottom.
Solution: First, try gently squeezing the sides of the pot to loosen the soil. If it's still stuck, turn the pot on its side, gently tap the bottom against a firm surface, and carefully slide the grass out while supporting the base. If the roots are heavily circling and matted, use clean hands to gently tease them apart at the bottom and sides. For very dense root balls, you can make 2-3 shallow vertical cuts (about an inch deep) with a clean utility knife along the sides of the root ball to encourage new root growth outwards.
Prevention: Water the plant thoroughly in its pot an hour or two before planting to help the soil slide out more easily. When selecting plants, check the drainage holes for roots; a few visible roots are fine, but a dense mat indicates it might be root-bound. Choose plants that look healthy but aren't bursting out of their pots.
While digging your planting hole, your shovel hits something hard that sounds hollow or feels like a pipe or cable.
Solution: STOP DIGGING IMMEDIATELY. Do not attempt to move or investigate further. This could be an electrical line, gas pipe, water line, or communication cable, which can be extremely dangerous. Call 811 (or your local 'Call Before You Dig' service) right away and report what happened. Wait for professionals to assess the situation before resuming any digging in the area.
Prevention: ALWAYS call 811 (or your local equivalent) at least a few business days BEFORE you plan to dig, even for small projects. They will mark the location of underground utility lines on your property, helping you avoid hazardous and costly accidents. Plan your 'Select Planting Location' step with utility lines in mind.
After 'Backfill the Hole', the soil around the roots feels loose or you suspect there might be air pockets, which can dry out roots.
Solution: Once you've partially backfilled the hole (about halfway), gently water the area thoroughly. This will help settle the 'Soil Blend Premium Planting Soil Mix' around the roots and collapse any air pockets. Let the water drain, then continue 'Backfill the Hole' with the remaining soil, gently tamping it down with your hands, not your feet, to ensure good contact without compacting it too much.
Prevention: Always incorporate a mid-backfill watering step. This simple action is very effective at eliminating root-damaging air pockets and ensuring good soil-to-root contact, which is crucial for water uptake.
You've applied the 'Miracle-Gro 1.5 cu. ft. Organic All Natural Mulch' too thickly or piled it directly against the base (crown) of the ornamental grass.
Solution: Too much mulch or mulch touching the stem can trap moisture, leading to rot, or provide hiding places for pests. Gently pull back any excess mulch from the base of the plant, creating a small ring of clear space (about 2-3 inches) around the stem. Aim for an overall mulch layer of 2-4 inches deep, which is enough to suppress weeds and retain moisture without smothering the plant.
Prevention: When you 'Apply Mulch', spread it evenly in a layer 2-4 inches thick, but always leave a small gap (2-3 inches) between the mulch and the base of the plant's stem. Think of it like a donut, not a volcano. This allows for good air circulation and prevents moisture from sitting against the plant's crown.
Frequently Asked Questions
Why is a roller shade listed as a required tool for planting ornamental grasses?
The inclusion of a roller shade in the tool list for ornamental grass planting seems to be an error. Standard tools typically include a shovel, digging fork, watering can, and possibly a garden hose sprayer. You will need basic gardening tools for this project to ensure successful planting.
What are the most common mistakes beginners make when planting ornamental grasses?
A common mistake is selecting the wrong location; ensure your chosen spot meets the grass's light and space requirements for optimal growth. Another error is neglecting proper soil preparation, which is crucial for healthy root development. Also, avoid planting too deep or too shallow, and ensure consistent watering initially.
Is planting ornamental grass really a beginner-friendly project, and how long does it typically take?
Yes, planting ornamental grass is considered beginner-friendly as it involves straightforward steps like digging and watering. Most projects can be completed in about two hours, depending on the number of grasses you're planting and your specific site conditions. Proper planning and having your tools ready can help streamline the process.
Are there any specific safety precautions I should take when planting ornamental grasses?
Always wear gardening gloves to protect your hands from soil, thorns, or potential skin irritants. Use appropriate closed-toe footwear to prevent slips and protect your feet while digging with tools like a shovel or fork. Be mindful of your posture when shoveling to avoid back strain, and stay hydrated, especially on warm days.
Can I use different soil amendments or mulch than those listed, or are they essential for success?
The listed compost and premium planting soil are recommended for optimal growth and nutrient supply, but you can often use other organic composts or a general-purpose garden soil suitable for your climate. For mulch, any organic material like wood chips, straw, or pine needles can work well. Always choose materials that are readily available and beneficial for your specific plant and soil needs.
How do I know if I'm watering my newly planted ornamental grass correctly, and what's the long-term watering plan?
Initially, keep the soil consistently moist but not waterlogged to help the grass establish its root system. Check soil moisture by sticking your finger about an inch deep; if it feels dry, water thoroughly. Once established (typically after the first growing season), most ornamental grasses are quite drought-tolerant, but may still benefit from supplemental watering during extended dry periods.
My newly planted ornamental grass looks droopy or yellow after a few days. What should I do?
Drooping or yellowing can often be attributed to overwatering, underwatering, or transplant shock as the plant adjusts to its new environment. First, check the soil moisture to adjust your watering schedule appropriately, ensuring good drainage to prevent root rot. Give the plant some time to recover; it may just be adjusting and should perk up within a week or two.