Decking and Railing Installation
About This Project
This project outlines the steps for building and installing a new deck and its railing system. It covers planning, material selection, foundation, framing, decking, and railing construction and installation, emphasizing safety and structural integrity.
Tools & Materials

25 ft. Tape Measure
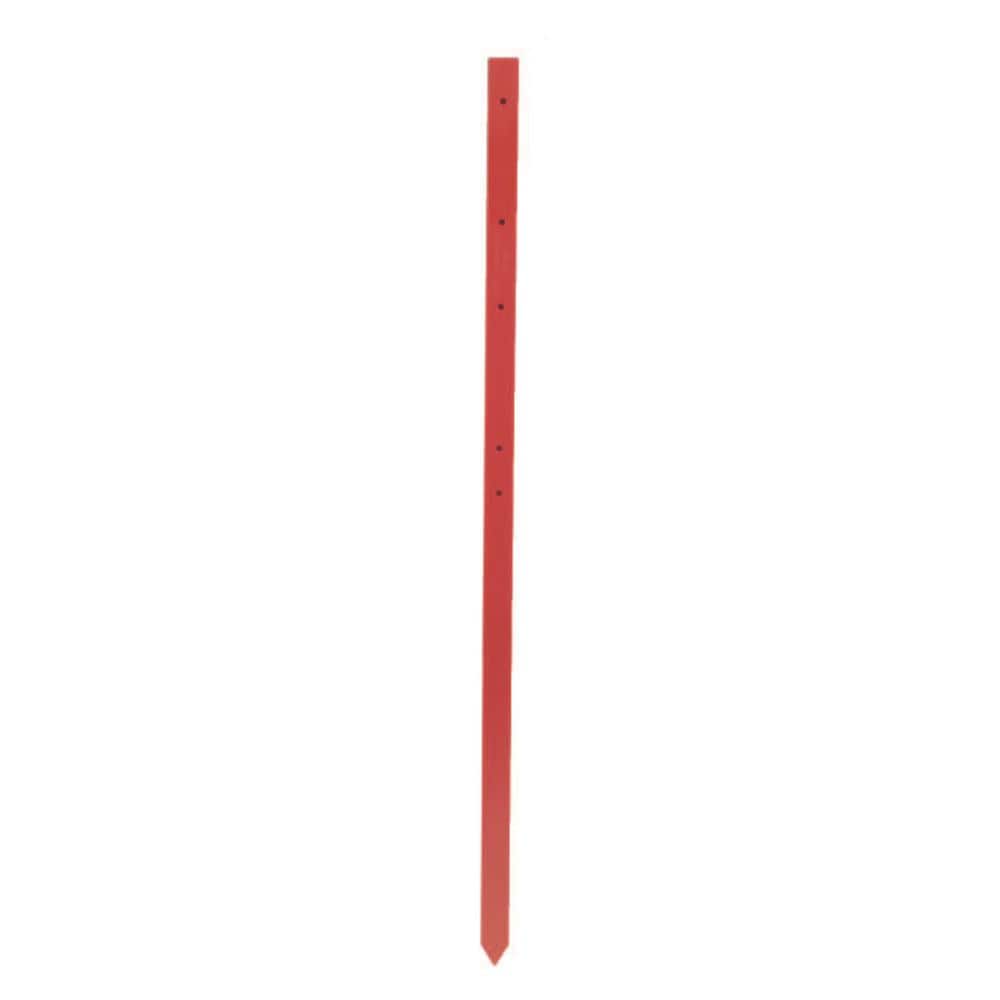
Master Mark 28 in. Snappy Stakes (24-Pack) 13120
Pencil

Designer Stencils Simple Diamond Medallion Wall Stencil 3418
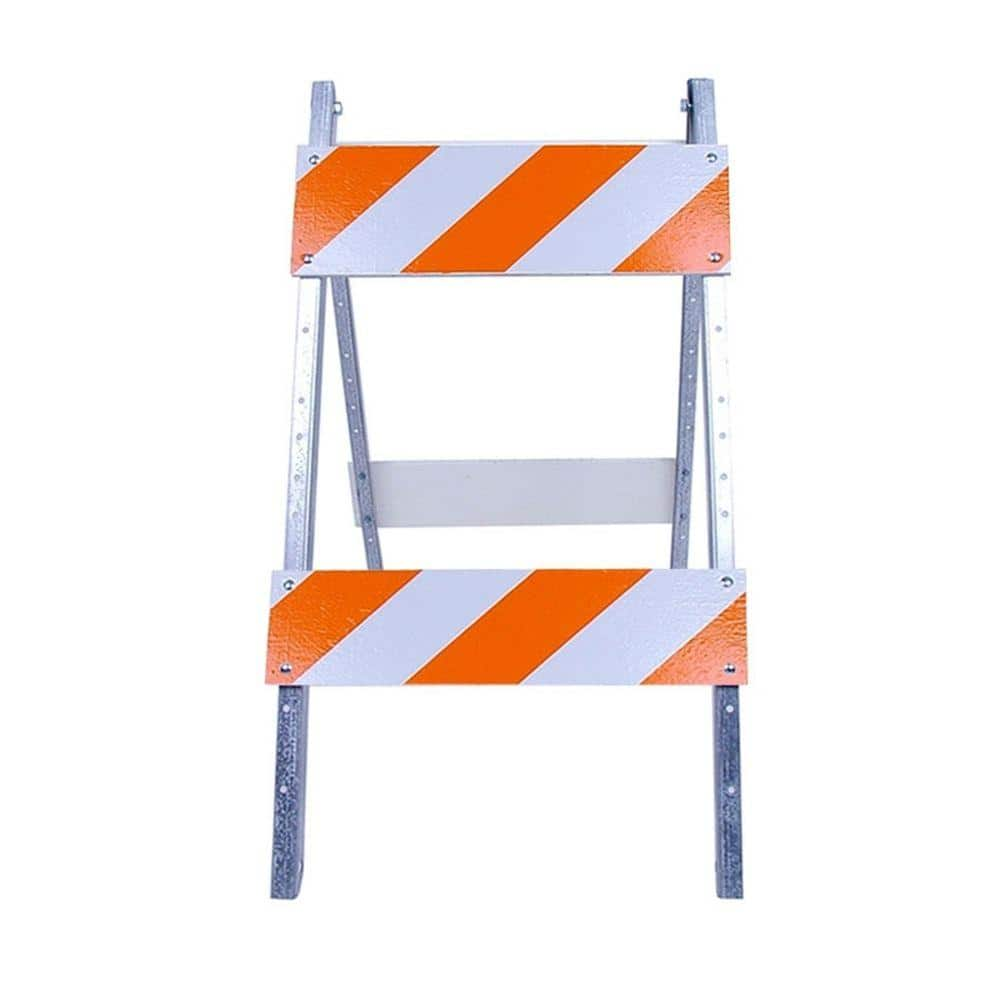
Three D Traffic Works 8/8 in. Wood and Metal EG Sheeting Type II Barricade 250426
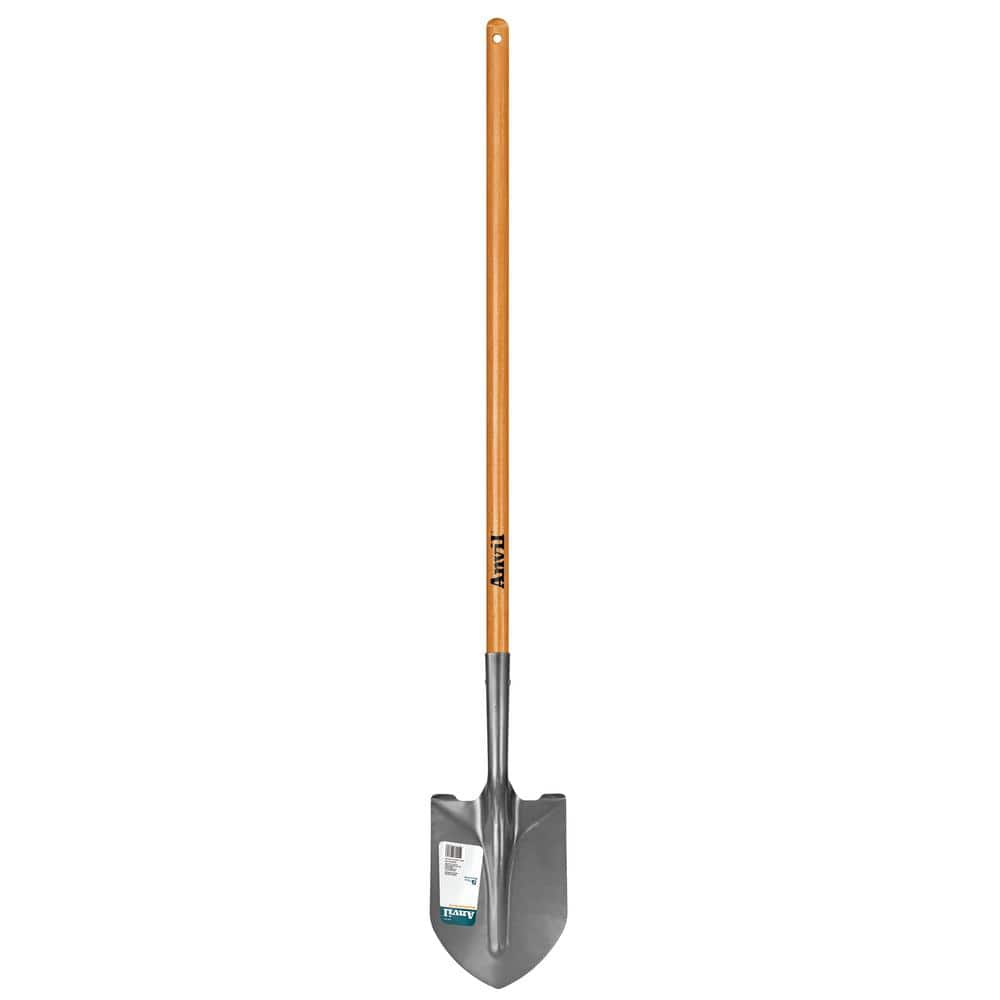
Anvil 47 in. Wood Handle Carbon Steel Digging Shovel 77470-939
25 ft. Tape Measure
Measure with precision and ease.
Master Mark 28 in. Snappy Stakes (24-Pack) 13120
Master Mark Snappy stakes are perfect for use in Lawn and Garden, as sign holders, driveway markers or support stakes. Versatile and sturdy, made of high-grade plastic. The sharpened point allows for easy ground penetration.
Pencil
Marks and draws with ease.
Designer Stencils Simple Diamond Medallion Wall Stencil 3418
This simple diamond stencil consists of one layer with the following dimensions: 14.2 in. high x 10.2 in. wide. Use this simple diamond pattern alone or repeat to create a wallpaper pattern. This wall
Three D Traffic Works 8/8 in. Wood and Metal EG Sheeting Type II Barricade 250426
Type II barricade has 8 in. x 24 in. EG grade reflective barricade sheeting on both sides and both top and bottom boards. Folds flat for easy storage. This highly durable and cost effective barricade is made in the USA.
Anvil 47 in. Wood Handle Carbon Steel Digging Shovel 77470-939
Discover the Unparalleled Performance of the Anvil 47 in. Digging Shovel. Are you seeking a digging shovel that combines durability, strength, and reliable performance. Look no further than the Anvil Digging Shovel. Crafted with a laser-cut blade made of high-quality carbon steel, it effortlessly slices through soil, roots, and debris, making it an ideal tool for all your lawn and garden projects. What sets this shovel apart is the head, which is fully tempered for exceptional strength and durability. This means it can withstand the toughest digging tasks with ease and longevity. The 47 in. wood handle is not only functional but visually appealing as well, thanks to its varnished finish. This coating not only adds to its appearance but also provides protection against the elements, ensuring your shovel stays in top condition for years to come. This tool comes with a 5-year manufacturer warranty.
Steps

Plan and Design the Deck
360 minutesMeasure and mark the deck area. Sketch a design, considering local building codes, property lines, and existing structures. Determine the deck's height and the type of foundation (e.g., concrete footings, pier blocks). Select materials for framing, decking, and railing. Consult with local building authorities to understand permit requirements and submit plans for approval.
Watch: Plan the Deck Layout and Consult Building Codes
Lay Out and Excavate Footings
240 minutesUsing the deck plan, precisely mark the locations for each footing. Dig holes for the footings, ensuring they extend below the local frost line to prevent heaving. The diameter of the holes should accommodate the footing form or concrete pier. Compact the soil at the bottom of each hole.
Watch: Dig Footing Holes and Set FormsPour Concrete Footings
180 minutesPlace concrete forms (e.g., Sonotubes) or pour concrete directly into the excavated holes. Ensure the concrete is consolidated to eliminate air pockets. Insert post anchors into the wet concrete at the center of each footing, ensuring they are level and correctly positioned according to the plan. Allow concrete to cure completely.
Watch: Pour Concrete Footings and Install Anchors
Install Deck Posts
120 minutesCut deck posts to the required length, accounting for beam height and any necessary shimming. Attach the posts to the post anchors embedded in the footings using appropriate fasteners (e.g., bolts, structural screws). Use a level to ensure each post is perfectly plumb in two directions. Brace the posts temporarily to keep them stable during framing.
Watch: Set and Cut Posts to Height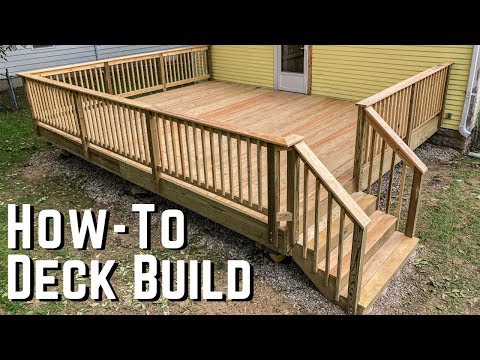
Install Beams
180 minutesCut beams (typically doubled 2x material) to length. Securely fasten the beams to the tops of the posts using appropriate connectors (e.g., post caps, structural screws, bolts). Ensure beams are level and properly aligned with the deck plan. If beams span between posts, ensure the connection details meet code requirements for load transfer.
Watch: Assemble and Secure BeamsInstall Deck Joists
300 minutesMark the joist layout on the beams according to the plan (typically 16 inches on center). Attach joists to the beams using joist hangers or by toenailing/screwing. Ensure joists are crowned upwards (slight upward bow) to counteract deflection. Install blocking or bracing between joists as required by code to prevent twisting and add rigidity.
Watch: Install Joists, Bracing, and Hangers
Install Decking Boards
480 minutesStarting from the edge of the deck, lay the first deck board, ensuring it is straight and flush with the edge. Fasten the deck boards to each joist using two deck screws or nails per joist. Maintain a consistent gap between boards (typically 1/8 inch) for drainage and expansion. Trim the ends of the deck boards flush with the deck edge after installation.
Watch: Install Decking BoardsBuild and Install Railing Posts
240 minutesDetermine the railing post spacing based on code requirements and aesthetic preference. Cut railing posts (typically 4x4 lumber) to height. Securely attach posts to the deck frame (rim joists, blocking, or ledger board) using appropriate structural connectors and fasteners. Ensure posts are plumb and adequately braced.
Watch: Build and Install Railing Posts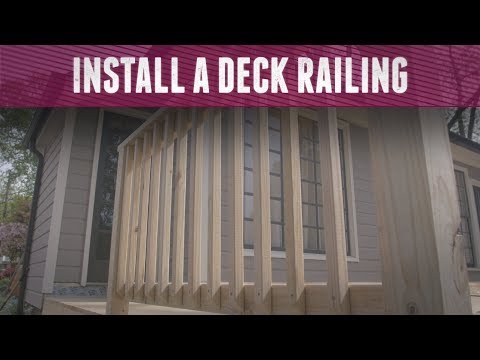
Install Top and Bottom Rails
180 minutesCut the top and bottom rails to fit between the installed posts. The top rail is typically at a specific height (e.g., 36-42 inches above the deck surface) per code. Secure the rails to the posts using screws or specialized railing connectors. Ensure the top rail is level and the bottom rail is parallel to the deck surface.
Watch: Install Top and Bottom Rails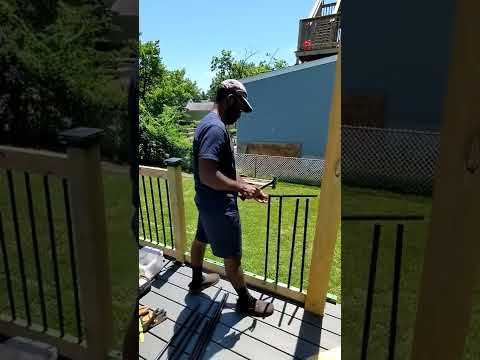
Install Balusters or Infill
360 minutesMeasure and cut balusters to fit snugly between the top and bottom rails. Space balusters according to code requirements (typically no more than 4 inches apart at their widest point). Fasten balusters to the rails using screws or specialized connectors. Ensure they are plumb and securely attached.
Watch: Install Bottom Rail and BalustersCommon Problems
Deck posts are not perfectly plumb (straight up and down) or footings are not level, leading to a crooked or unstable deck frame.
Solution: For slightly off posts, you might use shims (small pieces of material to fill gaps) between the post and its connector, or adjust the post's position within its anchor. For significantly crooked posts or uneven footings, you may need to remove the post, re-level the footing, or re-dig and re-pour concrete. Ensure any adjustments maintain structural integrity.
Prevention: Use a level (like the 'Level' mentioned in tools) frequently during excavation, concrete pouring, and post installation. Use string lines stretched taut across the footing area to ensure consistent height and straightness. Check that your post hole digger is digging vertically and not at an angle.
You miscalculated the amount of concrete needed for your footings, or the concrete starts to harden ('set') before you can finish pouring and shaping.
Solution: Immediately stop work. If you run out mid-pour for a single footing, it's best to completely remove the partially set concrete and start fresh with a new, full batch to ensure a strong, single-piece footing. If the concrete is setting too fast, work quickly to level and smooth the surface with your margin trowel as much as possible. Do not add excess water to slow setting, as this weakens the concrete.
Prevention: Accurately calculate the concrete volume required for all footings before you start, adding a 10-15% buffer for waste. For the SAKRETE 60 lb. High-Strength Concrete Mix, read the instructions carefully for the recommended water ratios and estimated setting times. If working alone or in hot, dry weather (which speeds up curing), mix smaller batches with the RYOBI Portable Concrete Mixer to give yourself more working time.
Decking boards split when fastened or they warp and cup (the edges curl up) shortly after installation, creating an uneven and unattractive surface.
Solution: For split boards, remove the fastener, and pre-drill a new pilot hole (a small hole to guide the screw) slightly away from the split, then re-fasten. Small splits can sometimes be filled with wood filler. If boards are severely cupping or warping, they may need to be replaced. Ensure your screws are driven flush with the board surface, not overtightened.
Prevention: Always pre-drill pilot holes for screws, especially when fastening near the ends of boards or with harder wood species, to prevent splitting. Allow decking boards to 'acclimate' to your local humidity for several days before installation by storing them flat and out of direct sunlight. Install boards with the 'bark side up' (where the growth rings curve downwards) to help minimize cupping if the boards get wet.
After installing the railing posts, they feel loose or wobbly, which is a significant safety hazard for anyone using the deck.
Solution: Identify where the wobble originates. If it's at the connection point to the deck frame, reinforce it immediately. This may involve adding more structural screws (like the 'Simpson Strong-Tie 1/4 in. x 5 in. Strong-Drive SDS Heavy-Duty Connector Screws') or specialized brackets to firmly attach the post to the deck's joists or rim joist. If the post itself is damaged or splitting, it may need to be replaced entirely. Ensure fasteners are long enough to penetrate adequate framing.
Prevention: Choose appropriate-sized lumber for railing posts (e.g., 4x4 or larger). Use robust, code-compliant fastening methods that connect the post directly to the deck's structural framing (joists or beams), not just the decking boards. Check your local building codes for specific railing post attachment requirements and height regulations. Ensure all connections are tight and secure before moving to the next step.
While excavating footing holes with the 'XtremepowerUS 55 cc 1-Man Post Hole Digger' or 'Anvil Shovel', you strike an underground utility line (gas, water, electrical, or communication cable).
Solution: Immediately stop all digging. If it's a gas line, evacuate the area, call emergency services (like 911 in the US), and await their instructions. For other utilities, call your local utility company (e.g., 811 in the US or your regional equivalent) to report the incident and get instructions for repair. Do NOT attempt to repair any utility lines yourself.
Prevention: ALWAYS call 811 (or your local utility locate service) at least a few business days before starting any excavation. Wait for all utilities to be marked on your property (or for confirmation that the area is clear). When digging near marked utility lines, proceed with extreme caution and consider hand-digging with the shovel rather than using power tools to avoid accidental strikes.
Deck joists are installed at inconsistent heights or are not spaced correctly, leading to an uneven decking surface or problems installing decking boards.
Solution: If joists are slightly off level, you can use shims (small, thin pieces of wood or plastic) underneath joist hangers or at the ledger board connection to raise them. For joists that are significantly too high, you might need to remove them and re-cut or re-install. If spacing is incorrect, you will need to remove and re-position the affected joists, ensuring they are placed precisely on-center for your decking material.
Prevention: Use a 25 ft. Tape Measure and a Level frequently throughout the joist installation process. Snap chalk lines on your beams or ledger board to precisely mark the location for each joist before you attach them. Ensure your beams are perfectly level before you begin installing the joists. Double-check your measurements repeatedly to maintain consistent spacing (e.g., 16 inches on-center).
Frequently Asked Questions
Do I need a permit to build a new deck, and how do I ensure it meets local building codes?
Yes, a building permit is almost always required for deck construction. Before starting, consult your local building department for specific requirements, including frost depth for footings, span tables for joists and beams, and railing specifications. This ensures your deck is safe, structurally sound, and compliant with local regulations. Always get your plans approved before beginning work.
What's a realistic estimate for the time, difficulty, and cost of building a deck?
Building a deck is an intermediate to advanced DIY project that typically takes several weekends or even weeks for an individual, not just minutes, depending on its size and complexity. Costs vary widely based on material choices (e.g., pressure-treated lumber vs. composite), the deck's dimensions, and the need for specialized tools. Always budget for unexpected expenses and permit fees.
Beyond basic hand tools, what specialized equipment is essential for a successful deck build?
Key tools include a post hole digger for footings, a concrete mixer for preparing concrete, and accurate leveling tools like a transit level or a long level. A circular saw or miter saw for precise cuts, and an impact driver for efficient fastening of deck screws, will also be invaluable. These tools ensure efficiency, accuracy, and structural integrity.
What critical safety measures should I prioritize when constructing a deck?
Always wear appropriate personal protective equipment, including safety glasses, hearing protection, and work gloves, especially when using power tools. Be mindful of heavy lifting when working with lumber and concrete, and use proper lifting techniques to prevent injury. Before any digging, always call 811 to locate and mark underground utilities to avoid striking them.
What are common structural mistakes to avoid, especially when pouring footings and framing?
Ensure footings are poured below the frost line and are adequately sized for the deck's anticipated load, as insufficient footings can lead to instability and frost heave. Pay close attention to joist spacing, beam sizing, and the secure attachment of the ledger board to the house, using proper fasteners and flashing. Always follow approved plans and local code requirements for these critical elements, as they directly impact the deck's safety and longevity.
Are there alternative materials or methods that could simplify or improve my deck project?
Consider composite decking for reduced maintenance compared to traditional wood, though it often comes at a higher upfront cost. For foundations, helical piers can be an alternative to concrete footings in certain soil conditions, potentially simplifying excavation and installation. Always research the pros and cons of alternatives and verify their compliance with local building codes before making a decision.