Window Replacement
About This Project
This project involves removing an old window and installing a new one to improve energy efficiency, aesthetics, and functionality.
Tools & Materials
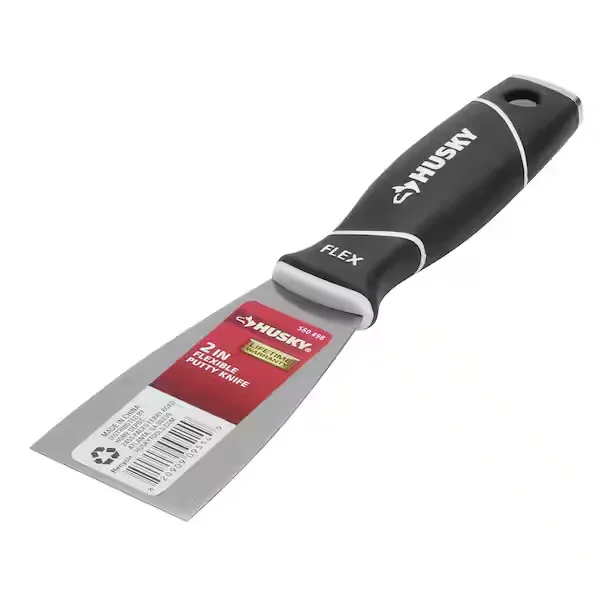
Putty knife
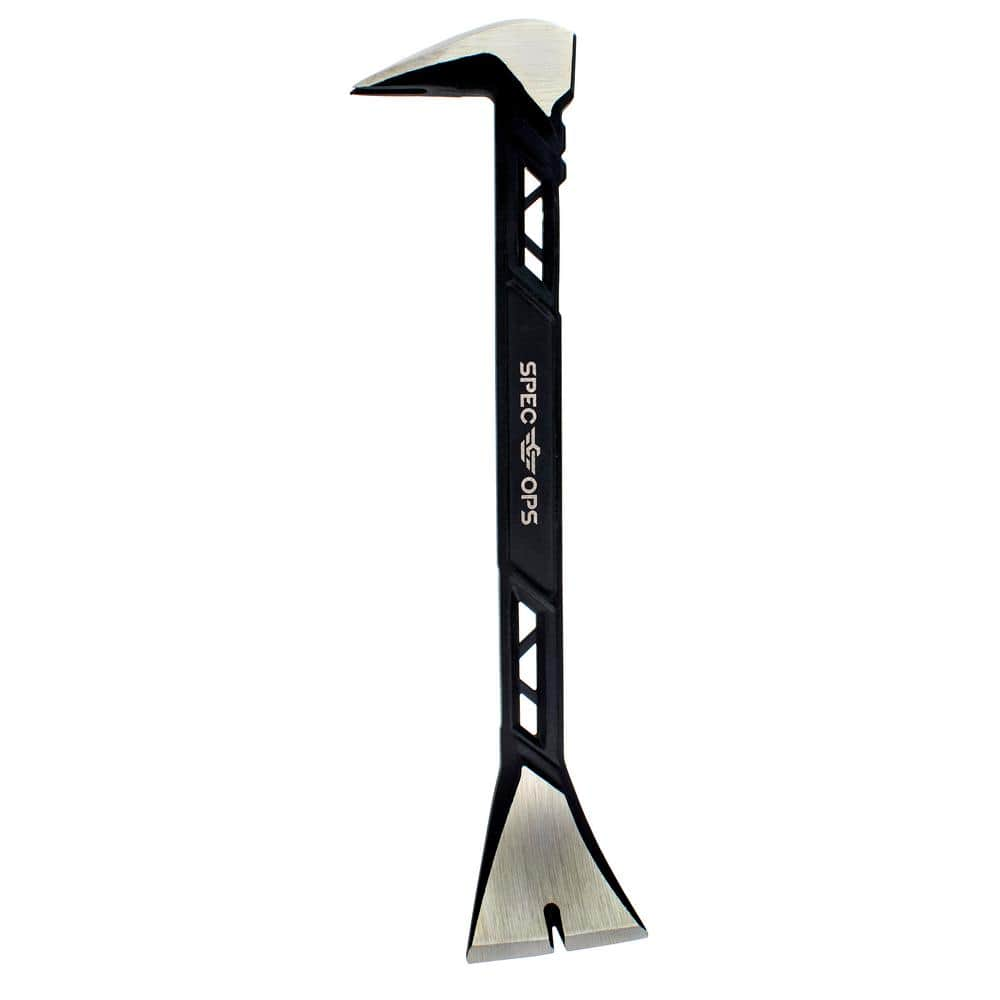
SPEC OPS Molding Pry Bar, 11 in., Nail Puller Cats Paw, High-Carbon Steel SPEC-D11MOLD
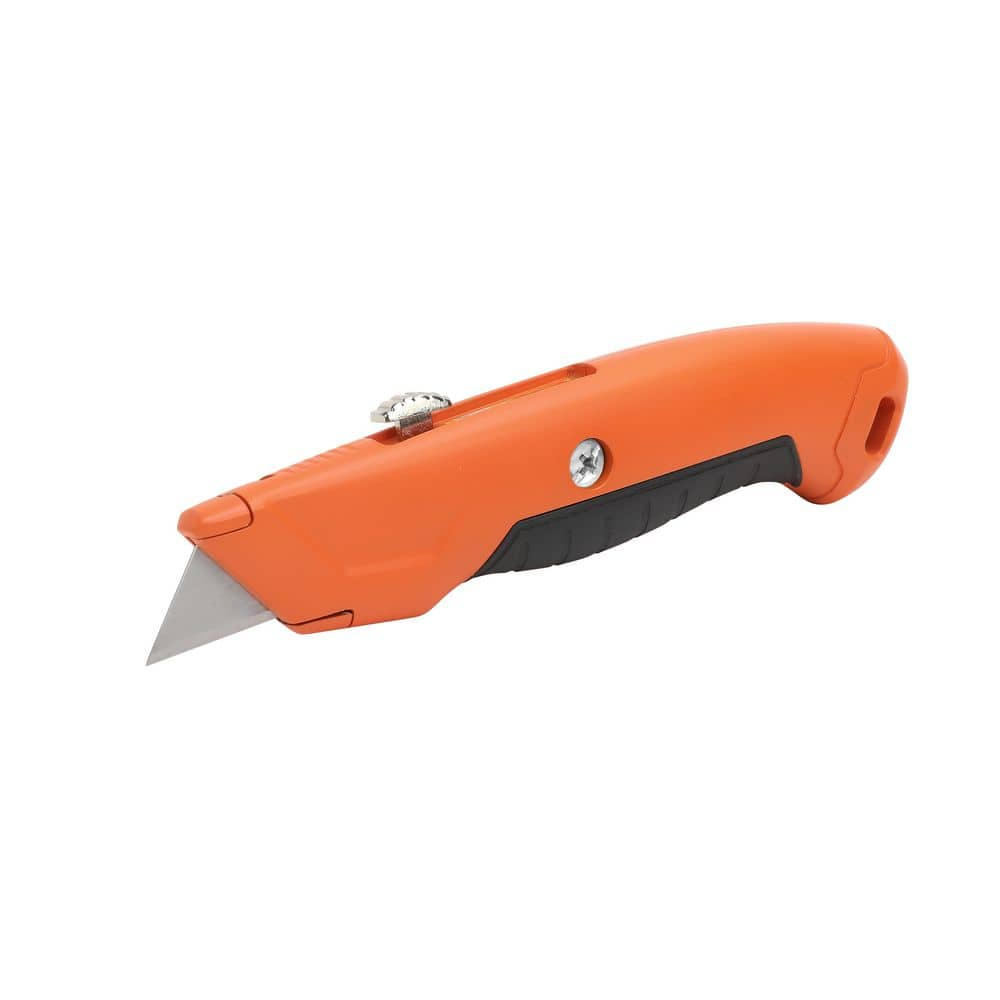
Retractable Utility Knife 99735

Work Gloves
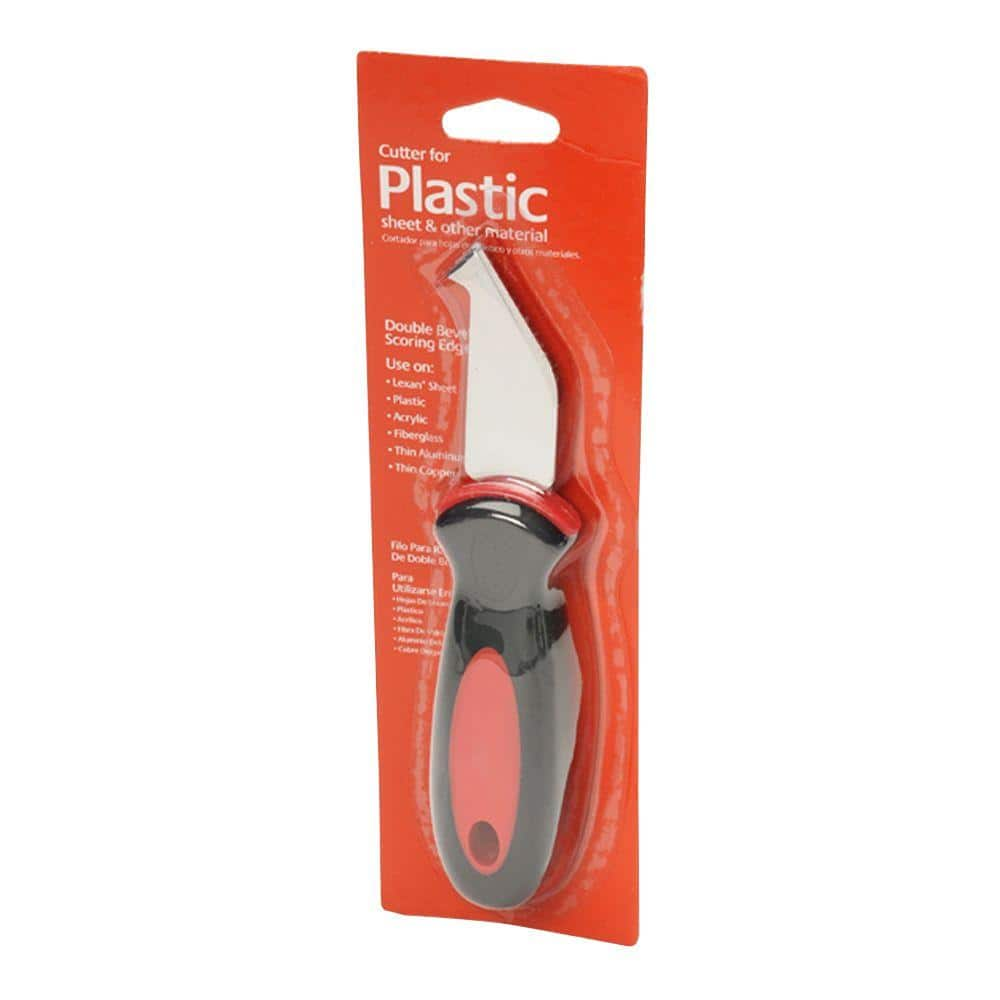
Utility Knife Plastic Sheet Cutting Tool GE-41
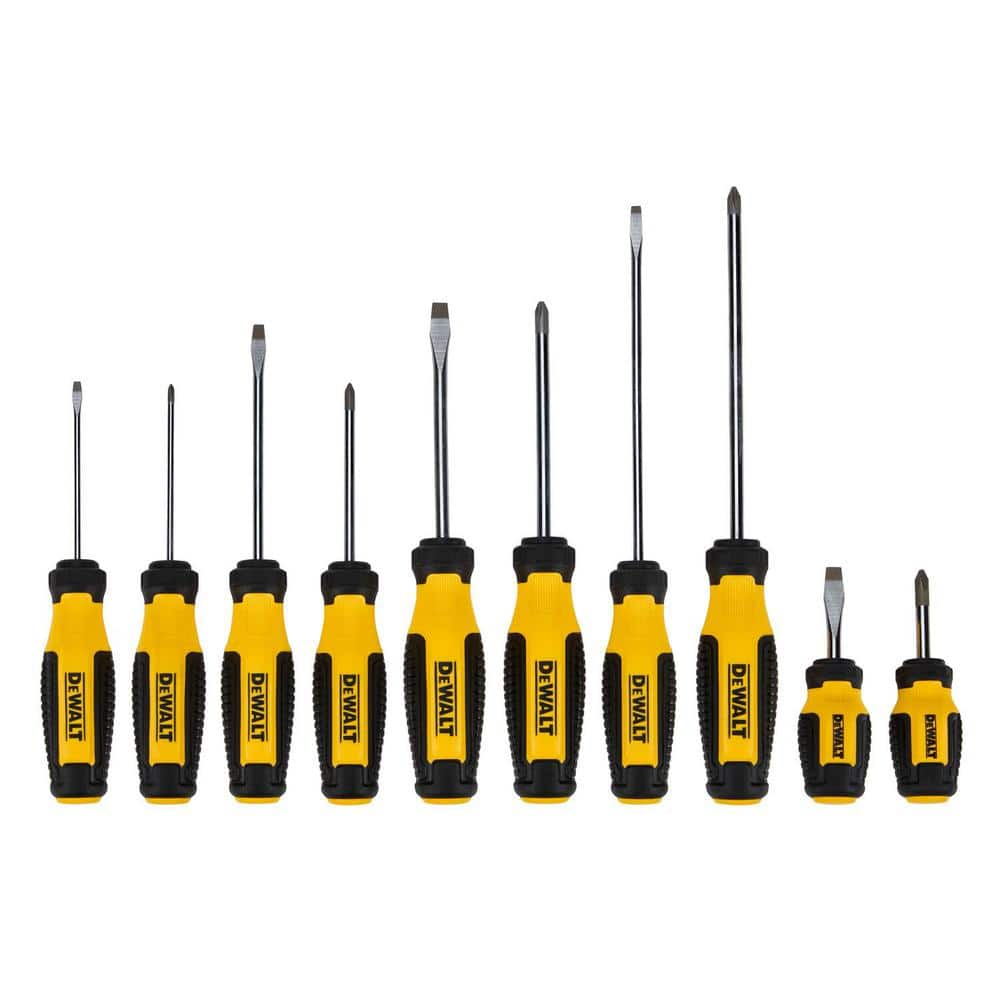
DEWALT Phillips Screwdriver Set (10-Piece) DWHT65201
Putty knife
Spreads putty with its flat blade.
SPEC OPS Molding Pry Bar, 11 in., Nail Puller Cats Paw, High-Carbon Steel SPEC-D11MOLD
Reduce your carry-weight with our up to 20% lighter advanced skeleton design. Perfect for removing baseboard trim, chair rail, window trim, door trim or other molding, the SPEC OPS Molding Pry Bar, 11
Retractable Utility Knife 99735
The Unbranded Retractable Utility knife provides the utmost in convenience and safety. It is both lockable and retracts when not in use. Designed with a comfort grip handle and includes 3 extra utility
Work Gloves
Protects hands during tasks.
Utility Knife Plastic Sheet Cutting Tool GE-41
The plastic sheet cutting knife is designed for use on LEXAN polycarbonate sheets and other plastic materials. It features a double-bevel scoring edge for clean, consistent cuts and a rounded handle that
DEWALT Phillips Screwdriver Set (10-Piece) DWHT65201
The DEWALT 10 pieas. Screwdriver Set includes a variety of handle sizes and tip types to help you complete a number of fastening projects. The steel bars are chrome-plated for corrosion resistance, while
Steps

Prepare the Window Opening
30 minutesCarefully pry off the interior trim around the window using a putty knife and pry bar. Then, use a utility knife to cut through the caulk seal between the window frame and the exterior siding. This step is crucial for cleanly removing the old window.
Watch: Remove Old Window Trim (Brick Mold)
Remove the Old Window Sash
45 minutesIf it's a double-hung window, carefully remove the sash weights or springs. Then, use a utility knife to cut any remaining sealant and pry the sash out of the frame. For casement windows, you may need to unscrew hinges or crank mechanisms before removing the sash. Repeat for all sashes.
Watch: Remove Old Window Sashes and Tracks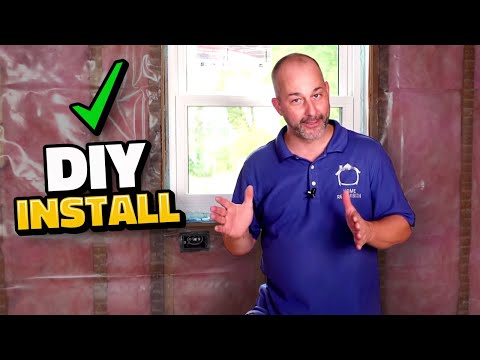
Remove the Old Window Frame
60 minutesOnce the sashes are out, carefully remove any remaining nails or screws holding the frame in place. You may need to use a reciprocating saw to cut through stubborn nails or parts of the frame that are difficult to pry out. Work your way around the frame, gently prying it out of the opening.
Watch: Demolish the Old Window Frame
Inspect and Prepare the Rough Opening
45 minutesThoroughly clean out any debris, old caulk, or insulation from the rough opening. Inspect the wood for rot or damage and make any necessary repairs. Use a level and plumb bob to ensure the opening is square, level, and plumb. Shim as needed to create a perfectly square and plumb opening for the new window.
Watch: Prepare Rough Opening
Apply Flashing Tape
30 minutesApply flashing tape to the sill (bottom) of the opening first, extending it up the sides by about 6 inches. Then, apply flashing tape to the jambs (sides) of the opening, ensuring it overlaps the sill tape. Finally, apply flashing tape to the head (top) of the opening, overlapping the side jamb tapes. This creates a continuous seal against water intrusion.
Watch: Apply Exterior Flashing TapeInstall the New Window
45 minutesCarefully lift the new window unit into the rough opening. Ensure it is centered and sits flush against the shims. Use a level to confirm it is plumb and level in all directions. If necessary, add or adjust shims to ensure the window is perfectly seated.
Watch: Install New WindowSecure the New Window
60 minutesOnce the window is properly positioned and leveled, begin fastening it to the rough opening. Drive screws through the window frame (or designated mounting flanges) into the shims and surrounding studs. Be careful not to overtighten, which could warp the frame. Space fasteners according to the window manufacturer's recommendations.
Watch: Install New Window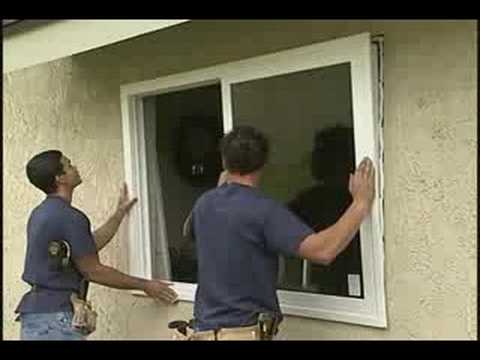
Apply Exterior Sealant
30 minutesApply a continuous bead of exterior-grade, paintable caulk around the perimeter of the window frame where it meets the siding. Smooth the bead with a damp finger or caulking tool for a neat finish. This step is critical for weatherproofing.
Watch: Apply Exterior SealantInstall Interior Trim and Sealant
60 minutesCut and fit new interior trim around the window frame to cover the gap between the window and the drywall. Secure the trim with finish nails. Fill any nail holes with wood filler and caulk any remaining small gaps between the trim and the wall or window frame for a clean, finished look.
Watch: Install Interior Flat Vinyl Trim
Common Problems
Discovering hidden rot or water damage in the rough opening after removing the old window.
Solution: Immediately stop work. For minor rot, carefully cut out the damaged wood and replace it with new, pressure-treated lumber, ensuring structural integrity. For extensive damage, especially if it affects the structural framing, consult a qualified contractor or carpenter before proceeding. This step is crucial for the longevity and safety of your window installation.
Prevention: Before starting demolition, thoroughly inspect the areas around your old window from both inside and outside. Look for water stains, soft wood (probe with a screwdriver), bubbling paint, or mold. If suspicious signs are present, investigate further or consider professional advice before committing to the project.
The new window doesn't fit the rough opening – it's either too big or too small.
Solution: If the window is slightly too large (e.g., 1/8 to 1/4 inch), carefully trim the rough opening's wood using your reciprocating saw (RIDGID Fuego R30022) or a chisel (URREA 1/4 in. to 3/4 in. Chisel Set), making sure not to compromise structural elements. If the window is significantly too large, it likely requires an exchange. If the window is too small, resulting in gaps wider than 3/4 inch, you will need to add wood shims (8 in. Pine Shims WSSHW08) or filler strips to the rough opening to build it up to the correct size, ensuring proper support for the window frame.
Prevention: Measure the width and height of your rough opening at three different points (top, middle, bottom) and use the smallest measurements for both dimensions. Subtract 1/2 inch from both the smallest width and height to allow for shims, insulation, and minor adjustments. Always double-check your ordered window's dimensions upon delivery before removing the old window.
The new window is not level, plumb (straight up and down), or square after installation, making it difficult to operate or creating uneven gaps.
Solution: Loosen the securing screws (Everbilt #10 x 3-1/2 in. Star Drive Flat Head Exterior Wood Screws) around the window frame. Use a long level to check the sill (bottom) for levelness and the sides for plumb. Insert or adjust shims (8 in. Pine Shims WSSHW08) between the window frame and the rough opening at the appropriate locations, gently tapping them until the window is perfectly level, plumb, and square (check by measuring diagonals – they should be equal). Once adjusted, re-tighten the securing screws, being careful not to overtighten and warp the frame.
Prevention: Continuously use a level and check for plumb and square throughout the installation process. Install shims at the bottom corners and under the side jambs before securing the window. Secure the bottom screws first, then the sides, re-checking level and plumb after each screw is driven.
Accidentally damaging exterior siding or house wrap while removing the old window frame or trim, potentially leading to leaks.
Solution: For minor tears in house wrap or weather barrier, use flashing tape (the same used for window installation) to patch the tear, overlapping the edges by several inches to create a watertight seal. For damaged siding or trim, depending on the severity, you may need to patch with an appropriate filler, replace a small section of siding, or replace the damaged trim piece. Ensure any repairs create a weather-tight barrier.
Prevention: Work slowly and cautiously. When prying trim with tools like the SPEC OPS Molding Pry Bar or Husky Pry Bar Set, place a scrap piece of wood behind the tool to protect the exterior wall surface and provide better leverage. Use a utility knife (Retractable Utility Knife 99735) to score paint lines before prying to prevent peeling large sections of paint or siding. Always wear work gloves (GORILLA GRIP Small Glove 25051-030) and safety glasses.
Water leaks around the new window after a rainstorm due to improper flashing or sealing.
Solution: Identify the exact source of the leak. If it's a caulk issue, scrape out the old sealant and reapply a continuous bead of high-quality exterior-grade sealant, ensuring no gaps. If flashing tape is the problem, this is more complex and may require removing exterior trim or even partial removal of the window to correctly apply or repair the flashing. Ensure all flashing overlaps correctly (like shingles) to shed water downward.
Prevention: Pay meticulous attention to flashing and sealing. Apply flashing tape to the rough opening in the correct sequence: bottom first, then the sides overlapping the bottom, and finally the top overlapping the side pieces. Use a continuous, consistent bead of exterior-grade sealant around the perimeter of the window frame where it meets the house siding, leaving weep holes (small drainage openings at the bottom) unsealed.
Stripping screws or overtightening and damaging the new window frame.
Solution: If a screw hole is stripped in the wood of the rough opening, remove the screw, pack the hole with wood glue and toothpicks, let it dry, then redrill a pilot hole and reinsert the screw. If the window frame itself is deformed or cracked by an overtightened screw, immediately loosen the screw. For minor warping, the frame might recover; if not, use additional shims to support and correct the frame's shape. Significant cracks may require contacting the window manufacturer.
Prevention: Always drill pilot holes slightly smaller than the screw shank before driving screws into wood. When using power tools with the Everbilt #10 x 3-1/2 in. Star Drive Flat Head Exterior Wood Screws, set the clutch to a lower torque setting to prevent overtightening. Finish tightening screws by hand with a DEWALT Phillips Screwdriver to feel the resistance and ensure the frame is snug against the shims without being compressed.
Injury from sharp objects (broken glass, nails) or heavy tools falling during removal or installation.
Solution: For minor cuts or punctures, immediately stop work, clean the wound, apply antiseptic, and bandage. If bleeding is severe or glass/debris is embedded, seek immediate medical attention. If a heavy tool falls, inspect for personal injury first, then assess tool or property damage. Ensure the work area is clear before resuming.
Prevention: Always wear your safety glasses and work gloves (GORILLA GRIP Small Glove 25051-030) when working on this project, especially during demolition. Keep your work area tidy and free of debris and tools when not in use. When removing old window sashes with glass, handle them carefully and consider covering the glass with tape to contain shards if it breaks. Use proper lifting techniques when handling the new window, and ideally, have a helper for heavy lifting.
Frequently Asked Questions
Is replacing a window genuinely an 'intermediate' DIY project, and can it realistically be completed in two days?
Yes, it's considered intermediate due to the precision required for sealing, leveling, and potential structural work. The two-day estimate is realistic for a first-timer, accounting for thorough preparation, careful installation, flashing, sealing, and trim work. Unexpected issues like discovering wood rot or an out-of-square opening can extend the timeline.
What are the most critical safety precautions I should take when replacing an old window?
Always wear safety glasses and work gloves to protect against broken glass, debris, and sharp tools. If working on upper floors, ensure you use a stable ladder or scaffolding, and consider having a helper for heavy lifting. Be cautious of lead paint or asbestos in older homes; research proper mitigation or consult a professional if present.
Which tools on the list are absolutely essential for making this project go smoothly, especially for a beginner?
The SPEC OPS Molding Pry Bar and Nail Puller are crucial for efficient and less damaging removal of old trim and nails. A reciprocating saw (like the RIDGID Fuego) is invaluable for quickly cutting out stubborn window frames. Don't underestimate the importance of shims for accurate leveling and squaring, and a good utility knife for flashing tape.
What are the most common mistakes DIYers make during window replacement, and how can I avoid them?
A frequent mistake is failing to ensure the new window is perfectly level and square, leading to operational problems and drafts. Another common error is improper flashing and sealing, which can result in significant water leaks. To avoid these, double-check all measurements before ordering, and use a level and shims meticulously during installation, following manufacturer instructions for sealing.
How important is flashing tape, and what's the best way to apply it to prevent leaks?
Flashing tape is extremely important as it creates a critical weather barrier around the window, protecting against water intrusion and potential rot. Apply it to the sill first, extending beyond the rough opening, then the sides (overlapping the sill tape), and finally the top (overlapping the side tapes). Ensure all seams are pressed firmly and sloped away from the window to direct water outward.
Besides the new window unit, what are some unexpected costs I should budget for when replacing a window?
Beyond the window itself, budget for materials like quality flashing tape, exterior sealant, interior caulk, shims, and new interior/exterior trim boards. You might also incur costs for paint or stain to finish the trim, or disposal fees for the old window. Unexpected discoveries like wood rot in the rough opening can add significant repair costs.