Driveway Sealcoating
About This Project
Apply a protective sealant to a driveway to extend its life and improve its appearance.
Tools & Materials

Quickie 2-in-1 Squeegee Push Broom 30635SUQHDUS7
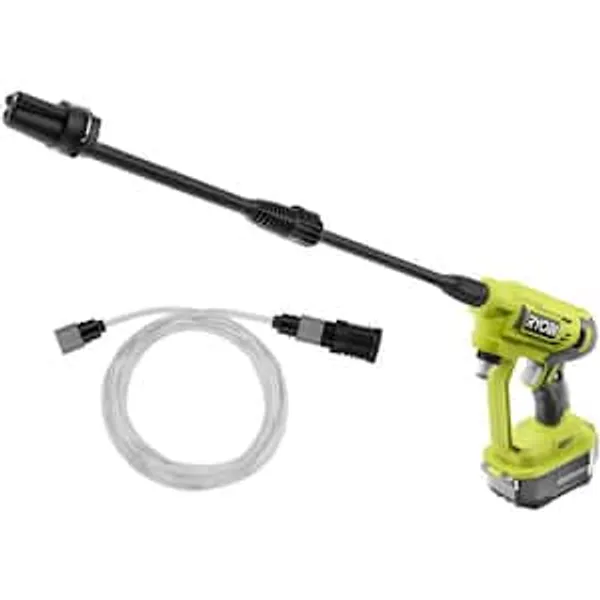
Pressure Washer

Latex-ite 10.1 oz. Asphalt Driveway Crack and Joint Filler 42376
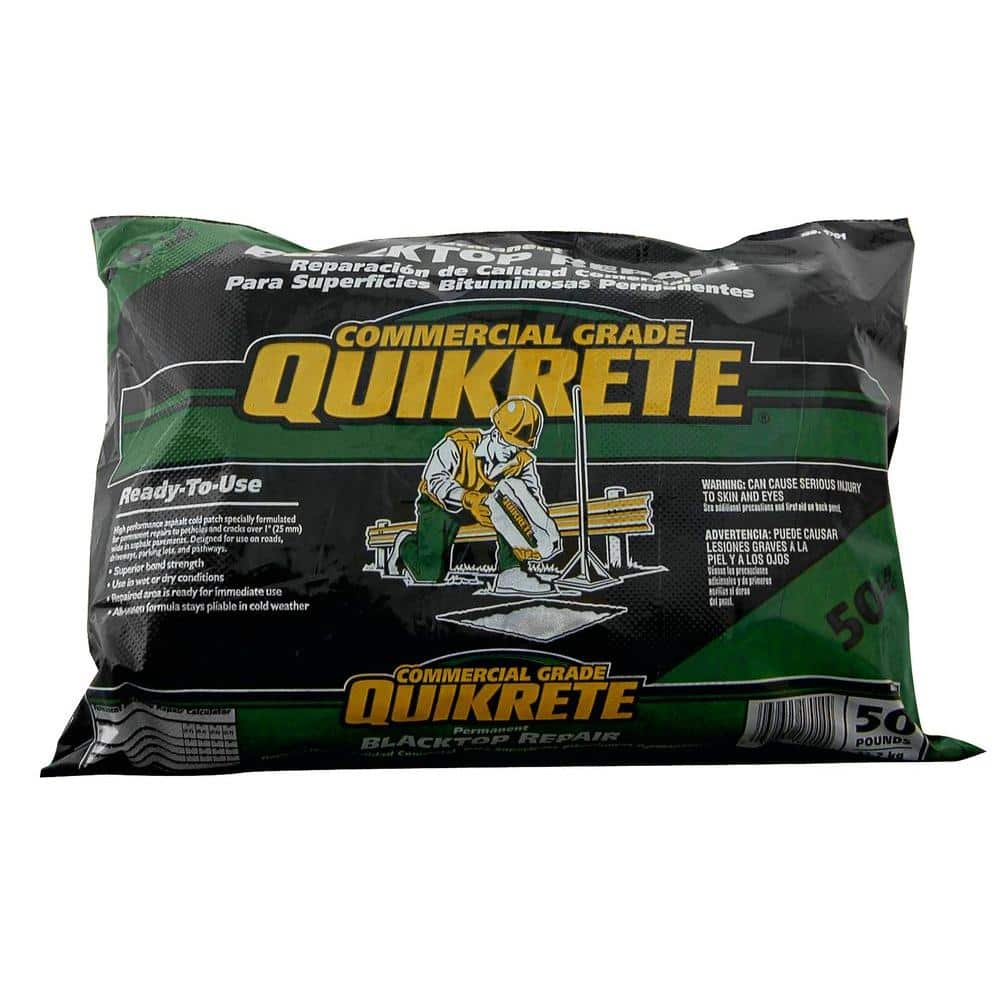
Quikrete 50 lb. Commercial Grade Blacktop Repair Patch 170152

Oil Eater 5 gal. Cleaner Degreaser Pail AOD5G35438
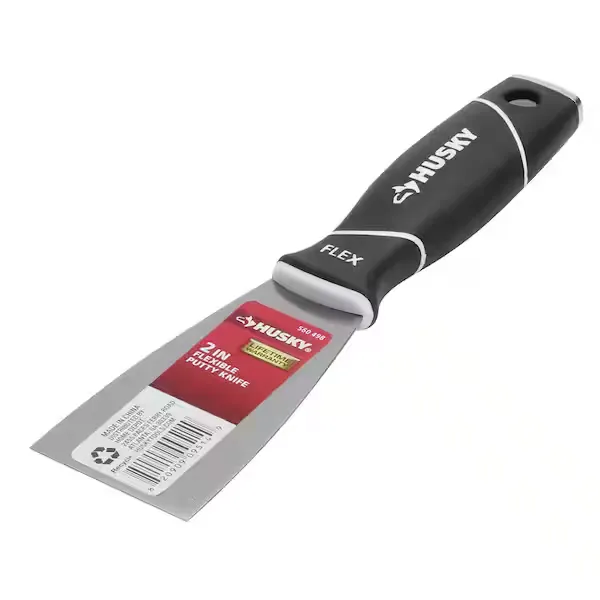
Putty knife
Quickie 2-in-1 Squeegee Push Broom 30635SUQHDUS7
Get the convenience of 2 tools in 1 with the Quickie combo Squeegee Push Broom. You get better cleaning efficiency from the combination of split-tip stiff inner fibers that handle medium-duty debris and
Pressure Washer
Cleans surfaces with high-pressure water.
Latex-ite 10.1 oz. Asphalt Driveway Crack and Joint Filler 42376
The Latex-ite 10.1 oz. Driveway Crack and Joint Filler is for asphalt cracks and joints up to 1/2 in. wide. It is specially formulated using a combination of pure asphalts and polymers to ensure rapid
Quikrete 50 lb. Commercial Grade Blacktop Repair Patch 170152
Quikrete 50 lb. Commercial Grade Permanent Blacktop Repair Patch is designed to repair potholes and cracks over 1 in. wide in asphalt pavements. Provides superior placement and bonding characteristics
Oil Eater 5 gal. Cleaner Degreaser Pail AOD5G35438
Our safe water based formula dissolves grease and grim from almost any surface. Use Oil Eater on shop floors, driveways, equipment and much more. Since this is an "ultra" concentrate it is perfect for
Putty knife
Spreads putty with its flat blade.
Steps

Inspect and Clean the Driveway
120 minutesBefore applying any sealant, a comprehensive inspection is crucial. Look for any cracks, potholes, or areas where the asphalt is deteriorating. Address these issues first by filling cracks and patching holes according to manufacturer instructions. Next, meticulously clean the entire driveway surface. Use a stiff broom or a power washer to remove all loose dirt, dust, leaves, grass, and any other debris. Pay special attention to oil or grease stains, which will need to be pre-treated with a degreaser to ensure proper sealant adhesion. Ensure the driveway is completely dry before proceeding to the next step.
Watch: Clean the Driveway
Repair Cracks and Potholes
90 minutesUsing a crack filler, carefully fill all visible cracks in the asphalt. For larger cracks or potholes, use an asphalt patch or cold patch material. Ensure the repair material is applied flush with the surrounding asphalt surface. For crack fillers, a putty knife or trowel may be helpful to work the material into the crack and smooth the surface. Allow all repairs to cure completely according to the product manufacturer's instructions before proceeding. This is critical for ensuring the repairs are stable and will not be undermined by the sealant.
Watch: Fill Cracks
Mix the Sealant
30 minutesRefer to the instructions on the sealant container. Most asphalt sealants require mixing with water, sand, and sometimes other additives to achieve the correct consistency. Use a large mixing drum or bucket and a heavy-duty drill with a mixing paddle. Add the sealant, water, and any other specified components in the proportions recommended by the manufacturer. Mix thoroughly until a uniform, lump-free consistency is achieved. Avoid over-mixing, which can introduce too much air, or under-mixing, which can lead to an uneven application.
Watch: Final Cleaning and Sealer MixingApply the First Coat of Sealant
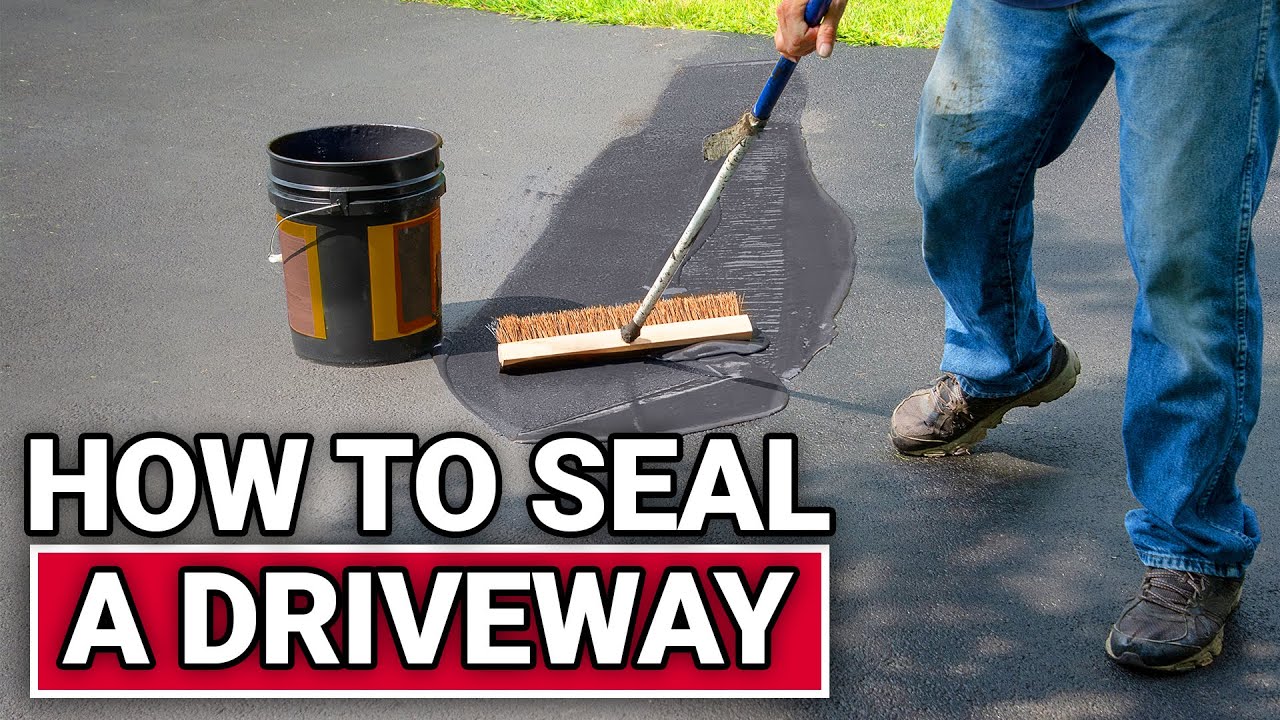
180 minutesBegin applying the sealant at the highest point of the driveway and work your way down towards the street. Use a wide-edged squeegee or a stiff-bristled tar brush to spread the sealant. Maintain a wet edge to avoid lap marks. Apply the sealant in thin, even coats, ensuring complete coverage without leaving puddles or thick buildup. Work in manageable sections, especially if you are working alone. The goal is to get a uniform layer that fills minor surface imperfections and prepares the driveway for the second coat.
Watch: Prepare and Apply Sealer
Allow First Coat to Dry
360 minutesThe drying time for the first coat will vary depending on temperature, humidity, and sealant type. Typically, it will take between 4 to 12 hours for the first coat to be dry to the touch and ready for a second application. Avoid walking on the driveway during this period. Check the sealant manufacturer's recommendations for specific drying times between coats.
Watch: Dry the First CoatApply the Second Coat of Sealant
180 minutesOnce the first coat is sufficiently dry, apply the second coat. It is generally recommended to apply the second coat perpendicular to the direction of the first coat. This helps to ensure a more uniform finish and better coverage, filling in any areas that may have been missed or were too thin in the first application. Use the same method (squeegee or brush) as the first coat, again maintaining a wet edge and working in thin, even layers. A second coat significantly enhances the protective qualities and appearance of the driveway.
Watch: Apply the Second Coat of Sealer
Cure the Sealant
4320 minutesAfter the final coat has been applied, the sealant needs adequate time to cure fully. This curing process is essential for the sealant to achieve its maximum hardness and durability. The manufacturer's recommendations should be followed closely, but typically, it requires at least 24 to 48 hours of dry weather for light foot traffic and 72 to 96 hours (or longer in cooler conditions) before allowing vehicle traffic on the driveway. Ensure no rain is forecasted during the curing period.
Watch: Allow Sealer to CureCommon Problems
The newly applied sealant is peeling, flaking, or not sticking well to the driveway surface after drying.
Solution: For small areas, scrape off any loose or peeling sealant. Re-clean the affected spot thoroughly with the pressure washer and Oil Eater degreaser, ensuring all grease, oil, and dirt are gone. Let the area dry completely for at least 24 hours. Then, reapply the Driveway Restore sealant in a thin, even coat.
Prevention: Ensure the driveway is impeccably clean before applying sealant. Use the pressure washer to remove all loose debris and dirt, and scrub any oil or grease stains thoroughly with Oil Eater degreaser. Most importantly, ensure the driveway is completely dry, typically 24-48 hours after cleaning, before starting to seal.
The finished driveway has noticeable streaks, uneven patches (some too thick, some too thin), or visible roller/squeegee marks.
Solution: If the sealant is still wet, immediately try to smooth out thick areas or fill thin spots using the Unger Lock-On Foam Floor Squeegee, maintaining a consistent 'wet edge' as you work. If the sealant has already dried unevenly, a carefully applied second or third coat, spread very thinly and evenly, can often help to hide imperfections and create a more uniform look.
Prevention: Thoroughly mix the Driveway Restore sealant in the Bon Tool 15 Gal. Plastic Mixing Barrel using the DEWALT Concrete Mud Mixer until it's completely uniform. Apply the sealant in manageable sections, using long, even strokes with consistent pressure on the squeegee. Avoid trying to spread the sealant too thin or too thick; aim for the manufacturer's recommended coverage rate.
The sealant remains sticky, soft, or tacky to the touch for several days after application, even in good weather.
Solution: If the sealant is only slightly sticky, patience is key; it might eventually cure, but it will be softer than ideal. If it's excessively thick and still not curing after several days, you may need to carefully scrape off the thickest, most problematic areas and reapply a thinner, even coat when weather conditions are more favorable.
Prevention: Always check the weather forecast for at least 48 hours after your planned application. Ensure temperatures will be consistently above 50°F (10°C) and humidity levels are low. Apply the Driveway Restore sealant in thin, even coats as recommended by the manufacturer, and allow the first coat to dry completely to the touch (usually 4-8 hours) before applying the second.
Cracks or potholes that were repaired before sealing reappear or fail shortly after the sealant has cured.
Solution: Carefully remove any loose or failed patch material from the crack or pothole. Re-clean the area thoroughly to remove any debris. Reapply the appropriate repair material (Latex-ite for cracks, Quikrete Blacktop Repair for potholes), ensuring it is packed tightly, filled completely, and smoothed level with the surrounding driveway using the Anvil Margin Trowel or putty knife. Allow these repairs to cure fully according to their product instructions before re-sealing that section.
Prevention: Before filling, use the pressure washer to thoroughly clean out all dirt, debris, and loose asphalt from cracks and potholes. For cracks, ensure the Latex-ite filler is pushed deep into the crack. For potholes, compact the Quikrete patch material very firmly. Always allow these repair materials to fully cure for the time specified on their packaging before applying the Driveway Restore asphalt sealer over them.
Sealant splatters, drips, or gets accidentally applied onto surrounding surfaces like the garage door, house siding, or landscaping plants.
Solution: If the sealant is still wet, immediately wipe it off with a damp rag. For dried sealant on non-porous surfaces (like painted garage doors), you can often carefully scrape it off with a plastic scraper. Mineral spirits can sometimes help dissolve dried sealant, but test it first in an inconspicuous area as it can damage some finishes. For plants, rinse thoroughly with plenty of water immediately to minimize harm.
Prevention: Before starting, use painter's tape and plastic sheeting to carefully mask off any adjacent surfaces you want to protect, such as garage doors, house siding, and concrete walkways. When working near edges or delicate areas, use the Zibra 2.5 in. Angle Sash Brush for precise application to minimize splatter and accidental spills.
You or someone else slips and falls on the wet driveway during cleaning or sealant application, or on the freshly applied sealant.
Solution: If a fall occurs, assess for any injuries. Clean up any spilled sealant immediately to prevent further hazards. If injuries are serious, seek medical attention. For minor spills, contain and clean as quickly as possible with absorbent materials and water.
Prevention: Always wear sturdy, closed-toe shoes with good non-slip soles. Ensure the driveway has dried completely after pressure washing before you begin applying sealant. Be extremely cautious and move slowly when applying sealant, as the wet material can be very slippery. Never run or rush. Place cones or warning signs to prevent others (especially children and pets) from walking on the wet sealant until it is completely dry and cured.
Frequently Asked Questions
What specific tools do I need for driveway sealcoating, beyond just the sealer itself?
You'll need a Quickie 2-in-1 Squeegee Push Broom for initial cleaning, a Pressure Washer for deep cleaning, and a putty knife and margin trowel for crack and pothole repairs. For mixing, a DEWALT Spade Handle Drill with a mixing barrel is ideal, and an Unger Foam Floor Squeegee is essential for even sealant application. Don't forget a paint bucket for pouring.
How critical is proper cleaning and crack repair before I start applying the driveway sealer?
Proper preparation is absolutely crucial for a durable and long-lasting sealcoat. Thoroughly cleaning with a degreaser like Oil Eater and a pressure washer ensures the sealer adheres well, while repairing cracks with Latex-ite filler and potholes with Quikrete blacktop repair prevents water penetration and further damage, maximizing the life of your driveway.
What are the best weather conditions for applying driveway sealer, and what should I avoid?
Aim for a day when temperatures are between 50°F and 90°F (10°C and 32°C) and no rain is expected for at least 24-48 hours after application. Avoid applying sealer in direct hot sunlight, extremely humid conditions, or when temperatures are forecast to drop below 50°F overnight, as these can affect curing and adhesion.
What common mistakes should I watch out for to ensure a smooth and long-lasting sealcoat?
A common mistake is not cleaning the driveway thoroughly, which leads to poor adhesion. Another is applying the sealer too thick or unevenly; use a foam squeegee for consistent coverage. Also, ensure you allow adequate drying time between coats and before driving on it, as rushing can cause tracking and premature wear.
How long does the driveway need to cure before I can drive on it, and what if it rains during that time?
Typically, you should allow the sealer to cure for at least 24-48 hours before driving or parking vehicles on it, depending on temperature and humidity. If it rains shortly after application, the sealer may wash away or become compromised, requiring reapplication in affected areas once dry.
What safety gear should I wear when applying driveway sealer?
Always wear safety glasses or goggles to protect your eyes from splashes. Gloves are essential to protect your skin from irritation, and long-sleeved shirts and pants are recommended. Work in a well-ventilated area, and avoid inhaling fumes directly from the sealant.