Hardwood Flooring Installation
About This Project
This project involves preparing the subfloor, acclimating the hardwood planks, and then installing them according to the chosen method (e.g., nail-down, glue-down, or floating). This includes cutting planks to fit around obstacles and edges, and finishing the installation with baseboards and trim.
Tools & Materials

Malibu Wide Plank Ladera French Oak 3/4 in. Thick x 5 in. Wide Smooth Solid Hardwood Flooring (904 sq. ft./Pallet) HDMCSS9219SFP

Shop Vacuum

HDX Giant Commercial Corn Broom 750

Razor-Back 14 in. Industrial Floor Scraper 2451600
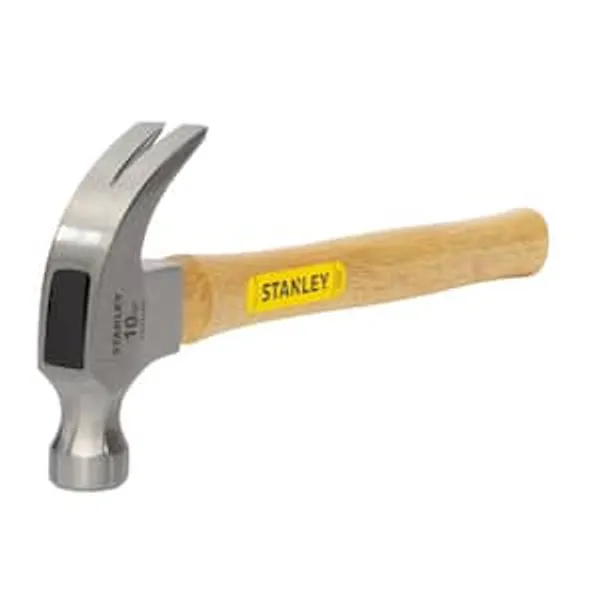
Hammer

5 in. x 2 in. Margin Trowel 57514
Malibu Wide Plank Ladera French Oak 3/4 in. Thick x 5 in. Wide Smooth Solid Hardwood Flooring (904 sq. ft./Pallet) HDMCSS9219SFP
Introducing the Malibu Wide Plank Contemporary Solid Hardwood series featuring a solid hardwood construction with a smooth surface texture in 3/4 in. solid x 5 in. wide x varying lengths to 59 in. Hand-rolled
Shop Vacuum
Cleans workshop mess efficiently.
HDX Giant Commercial Corn Broom 750
This Giant Commercial Corn Broom is a premium, heavy-duty corn broom with exceptional fiber weight that picks up dirt and dust effectively. It offers an extra wide 15 in. sweep path, creating a larger
Razor-Back 14 in. Industrial Floor Scraper 2451600
14 in. flexible scraper head is perfect for removing encrusted materials from other surfaces. Good for removing tile, general construction and concrete form cleaning. Features hardwood handle for strength
Hammer
Delivers forceful blows with precision.
5 in. x 2 in. Margin Trowel 57514
The 5 in. x 2 in. Margin Trowel is designed for applying mortar between layers of brick, stone and concrete blocks. It has a comfortable gray plastic handle. High grade steel blade is heat treated and
Steps

Acclimate Hardwood Flooring
72 minutesUnpack the hardwood flooring planks and lay them flat in the room where they will be installed. Ensure the room is climate-controlled to match the expected living conditions. Allow the planks to acclimate for the manufacturer's recommended period, typically 3-7 days. This process is crucial for preventing gaps or buckling once installed.
Watch: Acclimate New Hardwood Flooring
Prepare Subfloor
24 minutesSweep and vacuum the subfloor thoroughly to remove all dust and debris. Check for any high spots or low spots; use a leveling compound to fill low areas and a floor scraper or sander to remove high spots. Ensure the subfloor is completely dry, especially if it's over a crawl space or basement. Hammer down any loose nails or screws. For some installations, a moisture barrier may be required.
Watch: Clean and Prepare the Subfloor
Plan Floor Layout and Direction
3 minutesDecide the direction of the planks. Typically, planks are laid parallel to the longest wall in the room or parallel to the main light source to minimize the visibility of seams. Identify the starting wall, usually the longest, straightest wall. Dry-lay a few rows to visualize the layout and make adjustments to ensure pleasing grain patterns and minimal waste from cuts at the end of rows. Plan for expansion gaps around the perimeter.
Watch: Determine Flooring Direction
Install First Row of Planks
4 minutesStart at the chosen wall. For nail-down or glue-down methods, ensure the tongue side of the plank faces away from the wall (if applicable). Use spacers between the first plank and the wall to maintain a consistent expansion gap (typically 1/4 to 1/2 inch). Fasten the first row securely, ensuring it is perfectly straight. If the first plank needs to be ripped lengthwise, ensure the cut edge faces the wall.
Watch: Prepare and Install First Row (Straight Wall)
Install Subsequent Rows
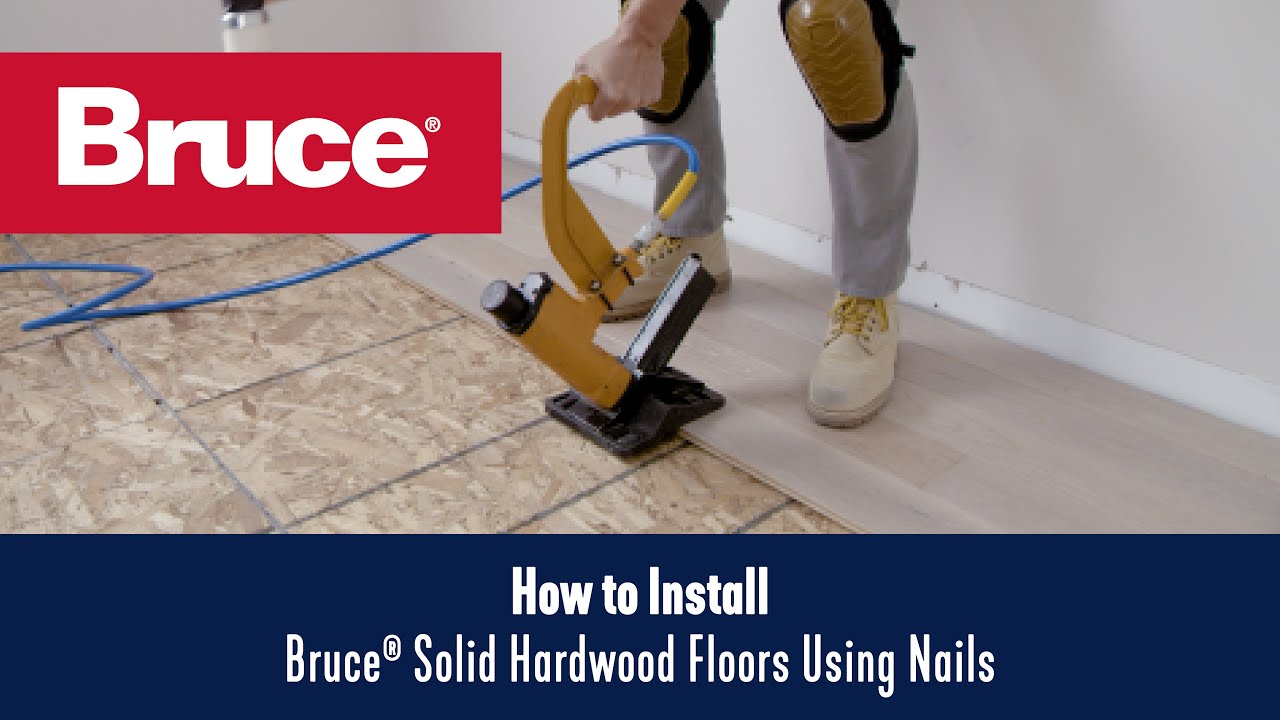
48 minutesFor nail-down installations, position the next plank, ensuring the tongue and groove lock together. Use a flooring nailer to blind nail through the tongue at an appropriate angle. For glue-down, apply adhesive to the subfloor according to the manufacturer's instructions and lay the planks, ensuring a tight fit. For floating floors, connect planks using the manufacturer's locking system. Stagger the end joints of each row by at least 6 inches to create a stronger, more visually appealing floor. Use a tapping block and mallet to gently join planks and ensure no gaps.
Watch: Install Subsequent Rows
Make Cuts for Obstacles and Edges
8 minutesMeasure and mark planks for cuts around obstacles. Use a jigsaw or handsaw for curved cuts around pipes or irregular shapes. For the final row, measure the remaining gap width and rip planks lengthwise to fit, remembering to account for the expansion gap. Ensure all cuts are clean and accurate for a professional finish.
Watch: Cut Planks to Fit
Install Final Row
3 minutesCarefully measure the width needed for the final row of planks. Rip these planks lengthwise to fit the remaining space, remembering to maintain the expansion gap along the wall using spacers. Use a pull bar to carefully pull the last row into place and engage the tongue and groove. Ensure the planks are snug against each other.
Watch: Fit and Secure the Final Row
Install Baseboards and Trim
6 minutesCut baseboards and trim pieces to size using a miter saw for clean corner joints. Attach them to the wall (not the floor) using finishing nails or adhesive. Ensure the baseboards cover the expansion gaps adequately. Install quarter round or shoe molding if needed to cover larger gaps.
Watch: Install BaseboardsCommon Problems
Hardwood planks develop large gaps, cup (edges higher than center), or buckle (center higher than edges) after installation.
Solution: If minor gaps or cupping appear, ensure the room's humidity is stable. For severe issues like buckling or significant cupping/gapping, planks may need to be carefully removed and the subfloor and acclimation process re-evaluated. This often requires professional intervention or significant re-work.
Prevention: Acclimate hardwood flooring for at least 5-7 days (or as specified by the manufacturer) in the room where it will be installed. Stack planks with spacers for air circulation. Use a moisture meter on the subfloor and planks to ensure proper moisture content before installation (usually within 2-4% of each other).
The finished floor has squeaks, feels springy in spots, or shows visible unevenness (waves or humps).
Solution: For existing squeaks, try using a squeak repair kit that involves screwing through the subfloor into the joists from below, or using an adhesive from above. For unevenness, if minor, it might be tolerated, but significant issues often require removing the affected planks, re-leveling the subfloor (using products like Henry 555 Level Pro Self-Leveling Underlayment), and re-installing.
Prevention: Thoroughly prepare the subfloor. Scrape off old adhesive or debris with a Razor-Back Floor Scraper. Check for flatness with a straightedge (no more than 1/8 inch deviation over 6 feet). Fill low spots with self-leveling compound and sand high spots. Ensure the subfloor is structurally sound and free of moisture.
Hardwood planks are splintering or chipping badly during cutting, especially on the finished face.
Solution: If a plank splinters, discard it if the damage is significant, or use the undamaged portion for a shorter cut. To fix minor splintering, you might be able to sand it if it's an edge that will be covered by trim, but generally, re-cutting is necessary.
Prevention: Use a sharp, fine-toothed saw blade suitable for cutting hardwoods. When using a circular saw or miter saw, cut with the finished side of the plank facing up. When using a jigsaw, cut with the finished side facing down. For very clean cuts, apply painter's tape along the cut line before sawing.
The pneumatic flooring nailer is not consistently setting nails (leaving them proud) or is damaging the tongue of the planks.
Solution: If nails are proud, increase the air compressor pressure slightly (test on scrap). If nails are damaging the tongue, decrease pressure or adjust the nailer's shoe to sit flush and squarely on the tongue. Ensure you are using the correct gauge and length of nails (e.g., 15.5-gauge or 16-gauge 2 in. nails) for your flooring thickness. Check for nailer jams and clear them according to the manufacturer's instructions.
Prevention: Always read your flooring nailer's manual for recommended air pressure settings and operation. Practice on scrap pieces of flooring to dial in the correct air pressure and technique before starting on the actual floor. Ensure the nailer is clean and well-maintained.
The first row of hardwood planks is not straight, causing all subsequent rows to gradually become crooked, or creating large, uneven gaps along the wall.
Solution: If only the first few rows are installed, it's best to carefully remove them and re-install, ensuring the initial row is perfectly straight. If many rows are down, correcting it becomes very difficult and may require tearing up a significant portion of the floor.
Prevention: Do not rely on the existing wall being perfectly straight. After determining your starting wall, snap a chalk line (using the Chalk Line tool) parallel to it, allowing for the appropriate expansion gap (usually 1/2 to 3/4 inch, achieved with Rubber Spacers). This chalk line will be your guide for the entire first row. Ensure the first plank is perfectly aligned with this line, and use spacers to maintain the expansion gap.
You run out of hardwood flooring planks before the project is finished, or have very little left for future repairs.
Solution: Immediately order additional material. Be aware that color and dye lots can vary slightly between batches, so the new planks might not perfectly match the installed ones. If the project is almost done, try to use smaller leftover pieces to finish inconspicuous areas.
Prevention: When calculating the amount of flooring needed, measure the total square footage of the area and then add 10-15% extra for waste, mistakes, future repairs, and matching patterns. Efficiently plan your cuts to minimize waste, especially when working around obstacles.
Adhesive isn't bonding properly, planks are lifting, or adhesive is squeezing up between planks (glue-down method).
Solution: If planks are lifting, immediately apply weight to the area or use painter's tape to hold them down until the adhesive cures. If adhesive squeezes up, wipe it off immediately with a damp cloth or recommended cleaner before it dries. For widespread bonding issues, planks may need to be removed, the subfloor cleaned, and re-installed with fresh adhesive.
Prevention: Always follow the adhesive manufacturer's instructions for subfloor preparation, trowel size (e.g., QEP V-Notch Pro Flooring Trowel 49730), open time, and coverage. Ensure the subfloor is clean, dry, and free of contaminants. Do not apply too much adhesive, and roll the floor after installation if recommended by the adhesive manufacturer to ensure full contact.
Frequently Asked Questions
What are the most critical steps for a beginner to get right during hardwood floor installation?
Subfloor preparation and plank acclimation are paramount for a successful hardwood floor. Ensure the subfloor is meticulously clean, level, and dry to prevent future issues. Acclimating the wood planks in the installation area for several days allows them to adjust to your home's specific humidity, which is essential for preventing warping, gapping, or buckling after installation.
What specialized tools are essential for hardwood flooring installation that I might not already own?
For a nail-down installation, a flooring nailer/stapler (like the Freeman PFL618C) is indispensable. You'll also need a chop saw or miter saw for precise cuts and potentially a jamb saw for undercutting door casings. A quality shop vacuum and industrial floor scraper are crucial for proper subfloor preparation, and a chalk line will help keep your rows straight.
How long should I expect the entire hardwood flooring project to take, especially for a beginner?
While the installation itself might be estimated at 5 days, the total project time for a beginner can be longer. Crucially, hardwood planks require 3-5 days (or as per manufacturer instructions) for acclimation before installation even begins. Extensive subfloor preparation, such as applying self-leveling underlayment, can also add significant time, potentially extending the project to over a week.
What are the main safety precautions to take when installing hardwood flooring?
Always wear appropriate personal protective equipment (PPE), including eye protection, hearing protection when using power tools or the flooring nailer, and work gloves. Ensure good ventilation, especially when working with adhesives like Henry 1171, and follow all product-specific safety guidelines. Keep your work area tidy to avoid tripping hazards from tools and materials.
What are common mistakes beginners make that can lead to an unprofessional-looking hardwood floor?
A common mistake is neglecting to leave adequate expansion gaps around the perimeter and fixed objects, which can cause the floor to buckle. Failing to ensure the subfloor is perfectly flat and clean can result in squeaks and an uneven finish. Additionally, improper planning of the floor layout, especially the direction and starting point of the first row, can lead to visually unappealing results.
When should I consider a glue-down versus a nail-down hardwood installation?
Nail-down installation is ideal for solid hardwood floors over a wood subfloor. Glue-down is often preferred for solid or engineered hardwood over concrete subfloors or when nailing isn't feasible, using a strong adhesive like Henry 1171. The choice depends on your subfloor type and the specific hardwood product being installed; always refer to the flooring manufacturer's recommendations.
How much extra hardwood flooring material should I purchase to account for cuts and mistakes?
It is generally recommended to purchase 10-15% more material than your measured square footage to account for cuts, waste, and potential mistakes during installation. This 'waste factor' is crucial to ensure you have enough planks with a consistent dye lot for the entire project. Having extra material also provides spares for future repairs, preventing potential color matching issues.