Refrigerator Water Filter Replacement
About This Project
This project outlines the steps for replacing the water filter in a refrigerator to ensure clean drinking water and ice. It covers identifying the filter location, shutting off the water supply, removing the old filter, installing the new one, and flushing the system.
Tools & Materials

Equator 14.3 cu. ft. Refrigerator-Freezer Top Mount Frost Free E-Star Europe in Stainless RF 142 S
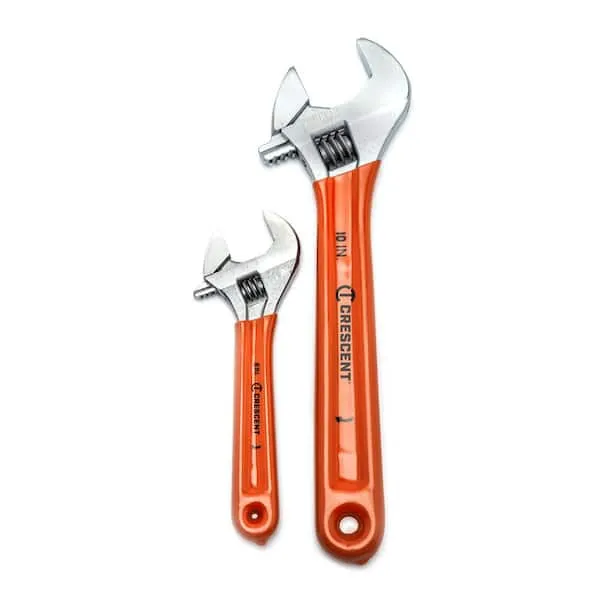
Adjustable Wrench

SMART PLANET 5 in. Succulent Garden in Deep Dish Terra Cotta Clay Planter 0872523
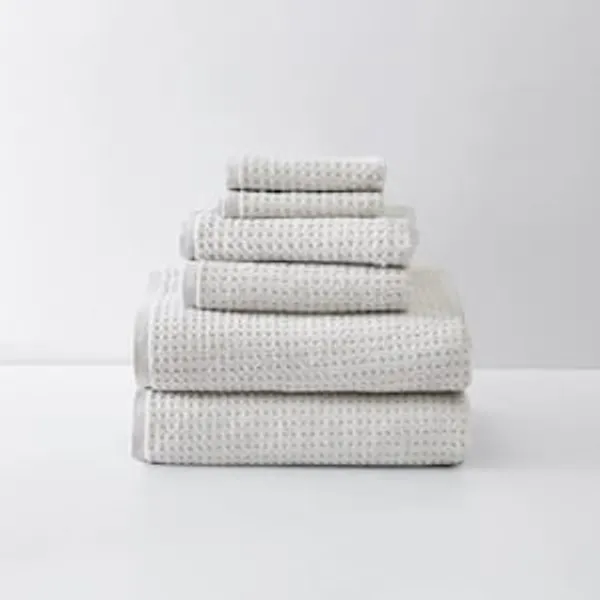
Towel

GE Universal Long Life Refrigerator Water Filter GXRTLL

Winco 64 fl. oz. Polycarbonate Pitcher with Ice Tube Core WPIT-19
Equator 14.3 cu. ft. Refrigerator-Freezer Top Mount Frost Free E-Star Europe in Stainless RF 142 S
The Equator Top Mounted RF 142 S Refrigerator is sleek in both style and innovative cooling technology. Equipped with a new generation compressor cooling system, the freezer blows dry, cold air that evenly
Adjustable Wrench
Fits various nut and bolt sizes with its adjustable jaw.
SMART PLANET 5 in. Succulent Garden in Deep Dish Terra Cotta Clay Planter 0872523
It's no wonder why succulents are so beloved - these bright, colorful plants are easy to care for and wonderfully easy on the eyes, lending living sparkle to living rooms, bedrooms, kitchens, patios, and more. This eye-catching collection of assorted beauties takes the work out of having to create that perfect arrangement, in a stylish 5.5 in. ribbed, glazed container. Ideal for beginning plant parents as well as seasoned DIY designers looking to enhance their favorite spaces. Live succulents are also great for elevating moods and serving as the objects of mental breathers from the daily grind. Succulents received vary, handpicked and potted based on availability and season. Height and width may vary among the potted plants. Their remarkable range of sizes and forms, along with colors and textures, only adds to succulent plants' ability to provide dramatic visual appeal. Succulents' adaptation for storing water allows them to endure drought and they thrive as low-maintenance plants. Blooming period may vary among succulents and may not occur indoors. Smart Planet offers a remarkable selection of drought-tolerant plants that are not only easier to care for, they’re mindful of our planet too. We believe there’s something special about working outside in the soil with plants or that one-of-a-kind feeling you get when tending to your indoor greenery. We grow more than just plants, we create gardening experiences for indoor and outdoor gardeners and do-it-yourselfers.
Towel
Absorbs moisture and dries surfaces.
GE Universal Long Life Refrigerator Water Filter GXRTLL
The GE Appliances In-Line Refrigerator/Icemaker Filter System is designed for use with refrigerators that don't have a built-in water filter. This easy-to-install filter connects directly to your refrigerator's
Winco 64 fl. oz. Polycarbonate Pitcher with Ice Tube Core WPIT-19
Constructed from durable polycarbonate, this pitcher is shatter-proof, easy to clean, and will withstand high volume service. With its convenient ice core, it will keep drinks cold for hours without being
Steps
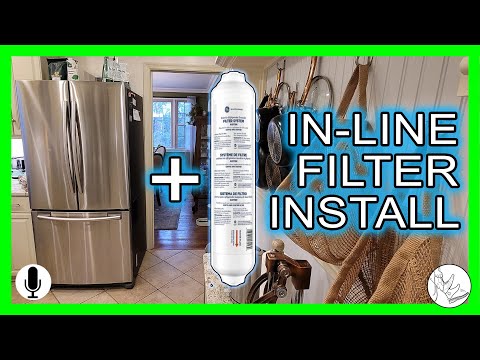
Shut Off Water Supply
3 minutesLocate the water shut-off valve connected to the water line supplying your refrigerator. This is often a small handle or knob. Turn the valve clockwise until it is fully closed. If you cannot locate or operate this valve, you may need to shut off the main water supply to your home.
Watch: Shut Off and Drain the Water Line
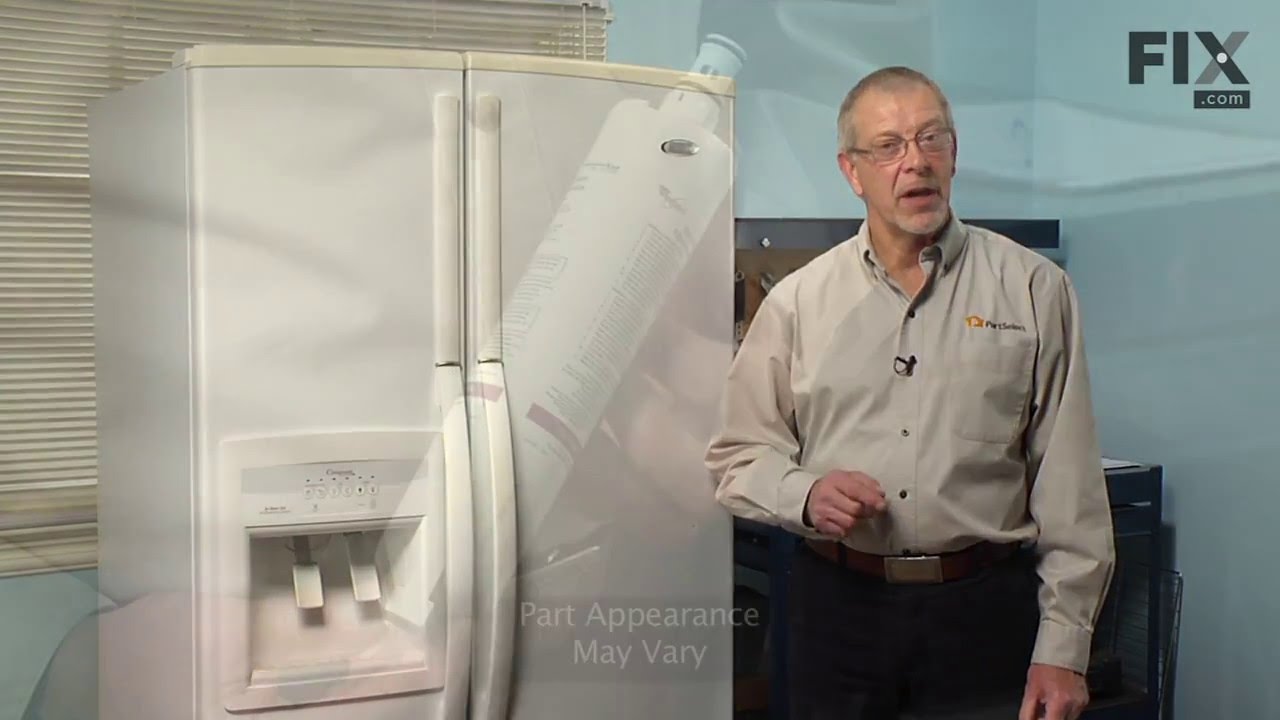
Remove the Old Water Filter
2 minutesDepending on your refrigerator model, you may need to push a release button or simply twist the filter counter-clockwise to unlock it. Once unlocked, pull the filter straight out. Have a towel or shallow container ready to catch any residual water that may spill.
Watch: Remove the Old Water Filter
Install the New Water Filter
3 minutesAlign the new filter with the housing. Push the filter in firmly and twist it clockwise until it locks. You might hear or feel a click when it is properly seated. Some models require you to push the filter in until it stops, and then twist it a quarter turn to lock.
Watch: Install the New Water Filter
Turn Water Supply Back On
2 minutesGradually open the water shut-off valve by turning it counter-clockwise. Inspect the area around the new filter and the water line connections for any signs of leakage. If you see any drips, tighten the valve or connection slightly, or re-seat the filter.
Watch: Turn On Water and Check for Leaks
Flush the Water System
10 minutesPlace a large container under the water dispenser. Dispense water for several minutes until the flow is steady and clear. Discard this initial water. This process is crucial to ensure the water is clean and free of any manufacturing residue or air bubbles.
Watch: Flush the Water SystemReset the Filter Indicator Light
2 minutesLocate the filter indicator light or button on your refrigerator's control panel. Refer to your user manual for the specific reset procedure, which typically involves pressing and holding a button (e.g., 'Filter', 'Reset', 'Ice/Water') for 3-5 seconds until the light changes color or turns off.
Watch: Reset Filter Indicator LightCommon Problems
Water is leaking from the filter area after installation.
Solution: Immediately shut off the water supply to the refrigerator. Remove the newly installed filter and carefully inspect its O-rings (the rubber rings) for any nicks, tears, or misalignment. Ensure the filter is oriented correctly (check arrows or labels) and then re-install it, making sure it's fully seated and twisted securely into place, but do not overtighten. Turn the water supply back on slowly and check for leaks.
Prevention: Before installing the new filter, carefully examine its O-rings for any damage. Ensure you have the correct filter model for your refrigerator. When installing, align the filter perfectly and twist until you feel it click or seat firmly, using only hand pressure unless your specific filter requires a tool.
The old water filter is stuck and hard to remove, or the new filter won't fit into the housing.
Solution: For a stuck old filter: Try grasping it firmly with a dry cloth for better grip and applying a steady, firm twist. Avoid using excessive force or tools that could damage the housing. For a new filter that won't fit: Double-check the model number and compatibility with your refrigerator. Ensure you haven't bought a generic 'universal' filter that isn't truly universal for your fridge. Inspect for any obstructions in the housing or misaligned tabs on the filter.
Prevention: Always verify the exact model number of your existing filter and refrigerator before purchasing a replacement to ensure compatibility. If an old filter is stiff, a thin coat of food-grade silicone grease on the O-rings of the *new* filter can help with future removal.
No water or very slow water flow from the dispenser after installing the new filter.
Solution: This is often due to air trapped in the system or the filter not being fully engaged. First, ensure the water supply to the refrigerator is fully open. Then, flush the system by dispensing water for a longer period, typically 3-5 gallons, or until the flow becomes steady and strong. If the problem persists, remove and re-install the filter, ensuring it's properly seated and locked.
Prevention: Ensure the new filter is correctly and completely installed before turning the water supply back on. Once installed, immediately begin the flushing process for the recommended duration to purge air and activate the filter.
The water from the dispenser is cloudy, milky, or has a strange taste after replacing the filter.
Solution: This is common and usually harmless, caused by air bubbles or small carbon particles from the new filter. Continue flushing the system by dispensing several more gallons of water. The cloudiness should dissipate as the air is expelled, and the taste should improve as the carbon fines are washed out. This might take 5-10 minutes of continuous dispensing.
Prevention: Thoroughly flush the system as directed by the filter manufacturer (usually 3-5 gallons) immediately after installation. Collect the flushed water in a pitcher and discard it, or use it for non-drinking purposes like watering plants.
Water gushes out when removing the old filter or installing the new one because the water supply was not shut off.
Solution: Immediately locate and turn off the water supply valve to the refrigerator. If you can't find it quickly, turn off the main water supply to your house. Clean up any spilled water to prevent damage or slip hazards. Once the area is dry, proceed with the filter replacement after ensuring the water is off.
Prevention: ALWAYS make shutting off the water supply the very first step in your project, even before gathering tools. Locate the water shut-off valve behind the refrigerator or under the sink (if connected to the kitchen sink's cold water line) and confirm it's off before attempting to remove the old filter.
The 'Change Filter' indicator light remains on or flashes even after a new filter is installed.
Solution: Most refrigerators require you to manually reset the filter indicator. Consult your refrigerator's owner's manual for the specific steps, as it varies by model. This usually involves pressing and holding a 'Filter Reset' or 'Ice/Water' button for 3-5 seconds until the light changes or goes off. If that doesn't work, try unplugging the refrigerator for a minute and then plugging it back in.
Prevention: Familiarize yourself with your refrigerator's filter reset procedure from the owner's manual before you start the replacement. This way, you're prepared to complete the process efficiently.
Accidentally damaging the filter housing or water lines by using excessive force or an incorrect tool (like an adjustable wrench on the filter itself).
Solution: Stop immediately. Assess the damage. If it's a minor crack, you might be able to patch it temporarily with food-grade epoxy, but a damaged filter housing or water line usually requires a replacement part to prevent leaks. Avoid turning the water back on until the damage is repaired or replaced.
Prevention: Most refrigerator water filters are designed for hand-tightening only. Avoid using tools like the 'Adjustable Wrench' directly on the filter itself, unless specifically instructed by your refrigerator's manual for a specific part (like the water supply line connection). Never force a filter if it feels stuck; re-read the instructions and check for proper alignment.
Frequently Asked Questions
What specific tools will I need to replace my refrigerator's water filter?
You will primarily need the new GE Universal Long Life Refrigerator Water Filter GXRTLL. An adjustable wrench might be helpful for stubborn housings, and a pitcher, such as the Winco 64 fl. oz. model, is essential for flushing the system after installation.
What safety precautions should I take before starting this water filter replacement project?
Always shut off the water supply to your refrigerator before removing the old filter to prevent leaks and potential water damage. Have towels ready to catch any spills during the process, and ensure the refrigerator is stable if you need to move it slightly.
How long does this project typically take, and how difficult is it for a beginner?
This is a beginner-level project that generally takes about 30 minutes. The most time-consuming part is often flushing the new filter thoroughly. The main cost will be the new replacement filter itself.
What are common issues encountered during replacement, and how can they be resolved?
Common issues include leaks, the filter not seating properly, or air sputtering from the dispenser after installation. If leaking, ensure the filter is fully twisted or pushed in. Air or cloudy water will clear after flushing several gallons through the dispenser.
Do I need a specific brand or type of water filter, or will any 'universal' filter work?
While the GE Universal Long Life Refrigerator Water Filter GXRTLL is designed for broad compatibility, it's always best to verify it against your specific refrigerator model's manual. Using an incorrect filter can lead to leaks, poor filtration, or damage to your appliance.
Why is it important to flush the water system after installing the new filter?
Flushing the system removes air trapped in the water lines and flushes out any loose carbon particles from the new filter. These particles are harmless but can cause cloudy or discolored water temporarily. Continue flushing until the water runs clear and smooth, typically about 2-3 gallons.
How do I reset the filter indicator light after I've installed the new filter?
The method to reset the filter indicator light varies by refrigerator model. Most commonly, you will press and hold a 'Filter Reset' button on your dispenser panel or inside the refrigerator for about 3-5 seconds. Refer to your Equator 14.3 cu. ft. Refrigerator's user manual for exact instructions.