Ground Cover Planting
About This Project
This project outlines the steps for establishing ground cover plants in a landscape. It includes site preparation, plant selection, planting techniques, and initial care to ensure successful establishment and spread of the ground cover.
Tools & Materials
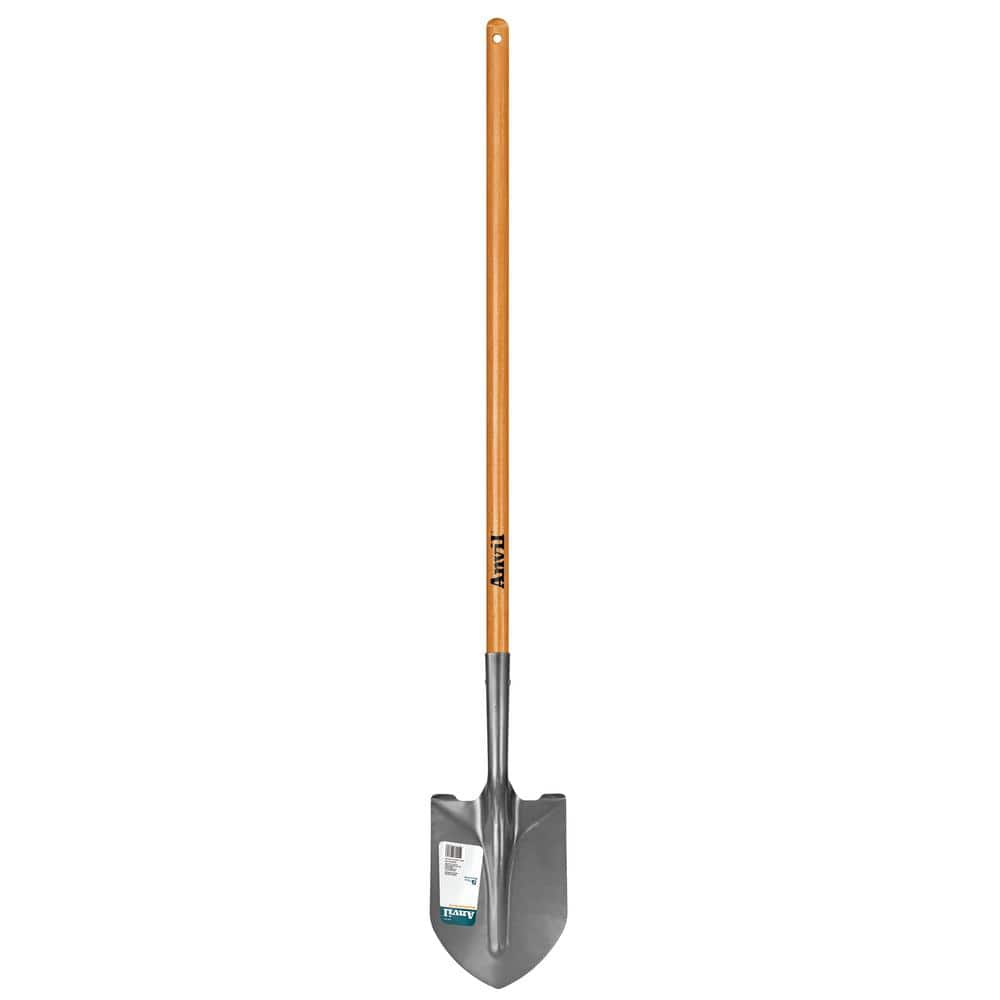
Anvil 47 in. Wood Handle Carbon Steel Digging Shovel 77470-939
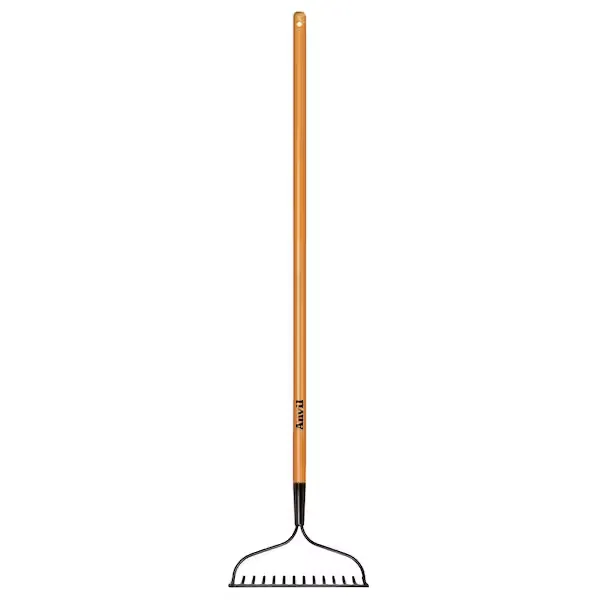
Garden Rake
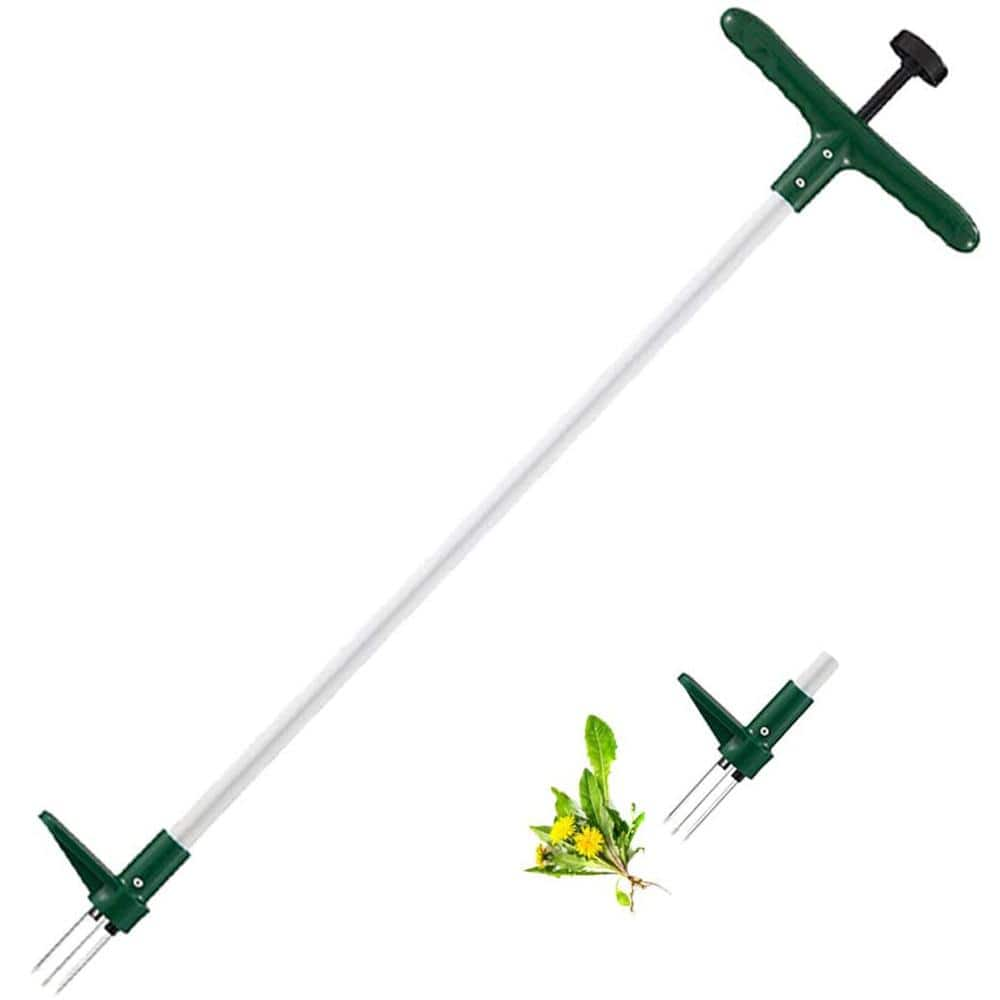
WaLensee 39 in. Weed Puller, 3 Claws Manual Stand Up Weeder Remover, Root and Dandelion Weed Removal Garden Weeding Tool WT-001G
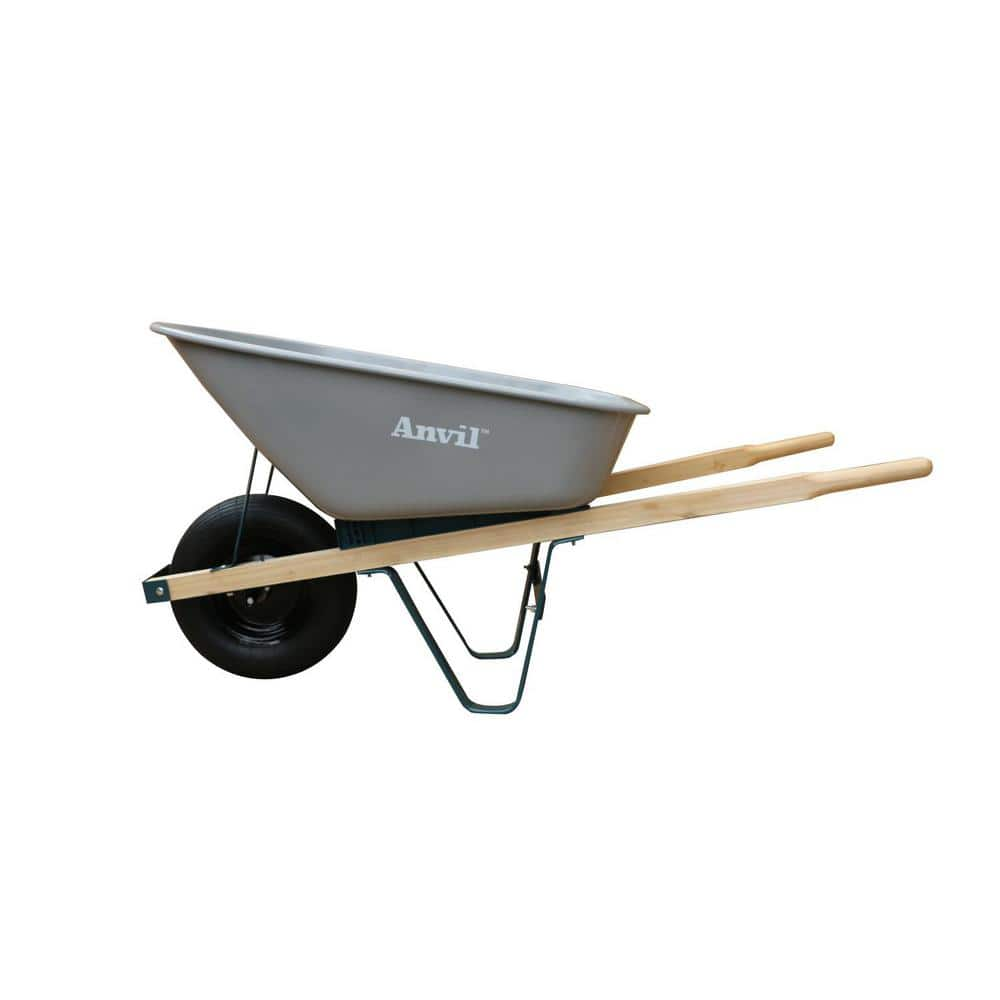
Anvil 6 cu. ft. Steel Wheelbarrow with a Pneumatic Tire and Wood Handles WB1
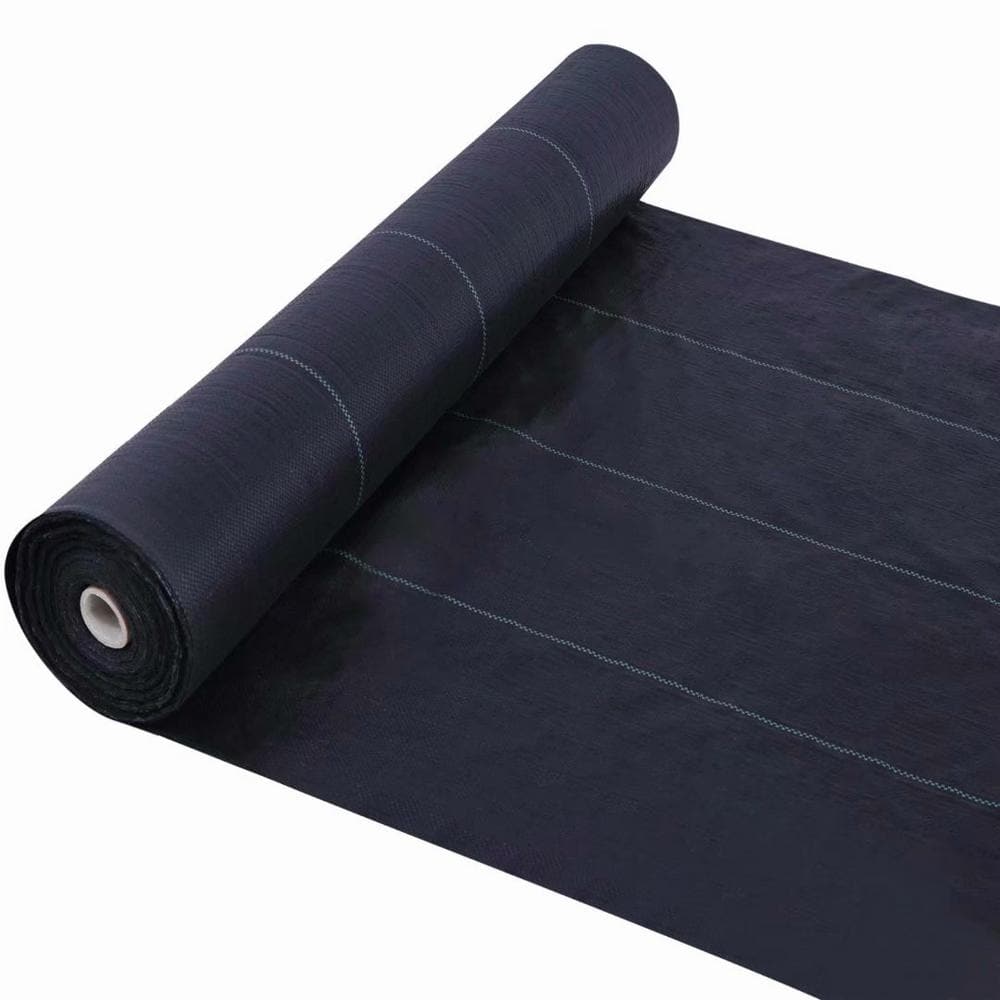
Agfabric 4 ft. x 50 ft. Landscape Fabric Heavy PP Woven Weed Barrier, Soil Erosion Control and UV Stabilized GC3004050BF
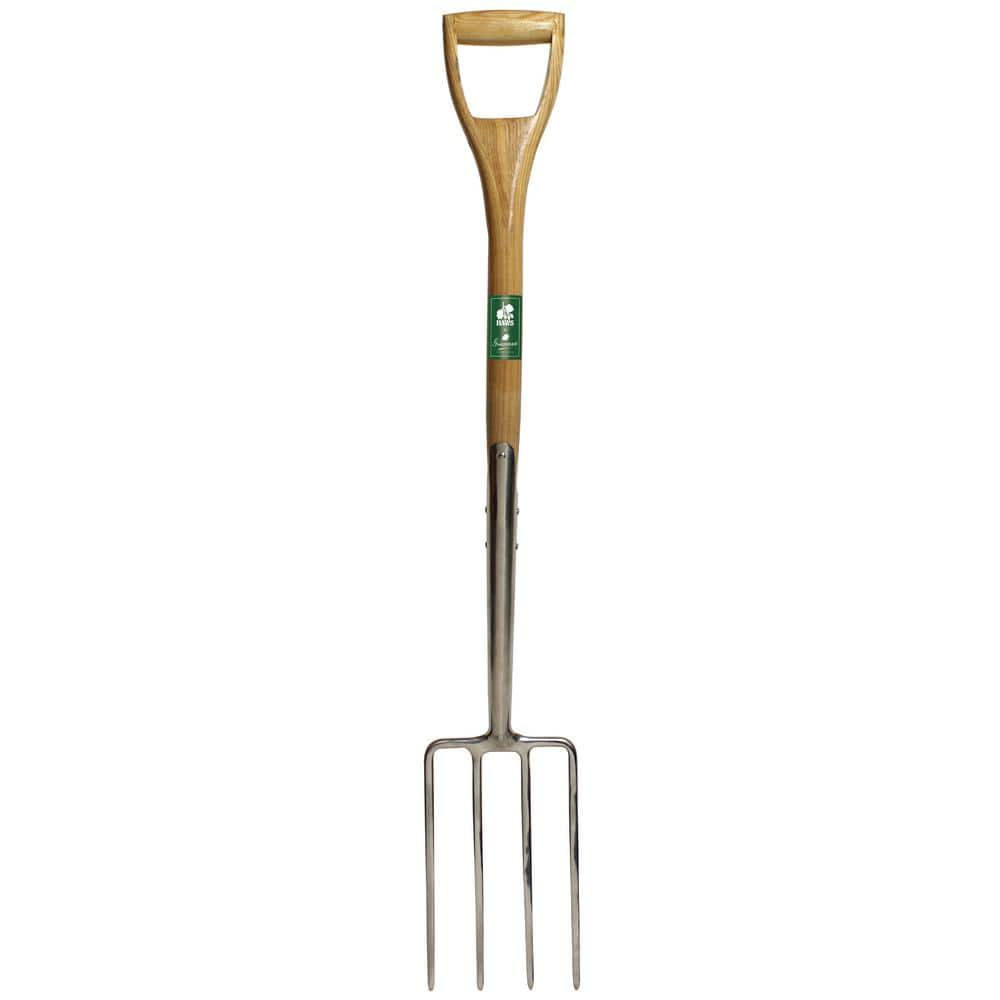
English Garden 4-Tine Stainless Steel Digging Fork R492
Anvil 47 in. Wood Handle Carbon Steel Digging Shovel 77470-939
Discover the Unparalleled Performance of the Anvil 47 in. Digging Shovel. Are you seeking a digging shovel that combines durability, strength, and reliable performance. Look no further than the Anvil Digging Shovel. Crafted with a laser-cut blade made of high-quality carbon steel, it effortlessly slices through soil, roots, and debris, making it an ideal tool for all your lawn and garden projects. What sets this shovel apart is the head, which is fully tempered for exceptional strength and durability. This means it can withstand the toughest digging tasks with ease and longevity. The 47 in. wood handle is not only functional but visually appealing as well, thanks to its varnished finish. This coating not only adds to its appearance but also provides protection against the elements, ensuring your shovel stays in top condition for years to come. This tool comes with a 5-year manufacturer warranty.
Garden Rake
Levels or clears soil with its pronged design.
WaLensee 39 in. Weed Puller, 3 Claws Manual Stand Up Weeder Remover, Root and Dandelion Weed Removal Garden Weeding Tool WT-001G
Get rid of weeds without risking your back with this long handled weeding tool. The 39 in. tall handle lets you remove the weeds without having to bend over or go down to your knees. The foot pedal lets
Anvil 6 cu. ft. Steel Wheelbarrow with a Pneumatic Tire and Wood Handles WB1
Seal coated hardwood handles. 6 cu. ft. 20 Gal. steel tray heavy-duty. Durable steel undercarriage. with radian designed front nose provide stronger for the assembled frame and makes the cart stable enough
Agfabric 4 ft. x 50 ft. Landscape Fabric Heavy PP Woven Weed Barrier, Soil Erosion Control and UV Stabilized GC3004050BF
Agfabric Weed Barrier works to covering soil with this weed barrier fabric can effectively retain soil moisture, increase soil temperature and promote root development, thereto increasing plant yield and quality. Premium weed barrier fabric is chemical-free and permeable characteristics effectively stop weed growth and protect soil health so your plants can thrive. It also great for vegetable garden pathways, greenhouse, under deck, playground area.
English Garden 4-Tine Stainless Steel Digging Fork R492
The English Garden 4-Tine Stainless Steel Hand Digging Fork has a beautifully crafted ash handle which is tougher and more sustainable than tropical wood, resulting in less vibrations than fiberglass or metal. It's handle is attached in the traditional way to the unique, extra-long lipped sockets with multiple rivets for superior strength. This durable and beautiful digging fork also has a mirror-polished stainless steel head and is a highly functional garden tool that is built to last. It is manufactured by Haws which has been offering high quality English style quality tools to trusted gardeners since 1886.
Steps

Clear the Area
120 minutesBefore planting, thoroughly clear the entire area where the ground cover will be established. This includes removing any rocks, large stones, debris, and most importantly, all existing weeds and vegetation. For persistent weeds, consider digging them out by the root or using a landscape fabric to suppress future growth. A clean surface is crucial for the ground cover to establish without competition.
Watch: Clear Pathways of All Vegetation
Amend the Soil
90 minutesTest the soil in the planting area. If it is compacted, heavy clay, or lacks nutrients, amend it. Spread a layer of 2-4 inches of organic matter, such as compost, well-rotted manure, or peat moss, over the cleared area. This will improve soil structure, drainage, and fertility, creating a more hospitable environment for the ground cover to thrive.
Watch: Till and Amend Soil with Compost
Level and Rake the Soil
45 minutesAfter amending the soil, use a rake to break up any large clods and create a fine, even surface. Smooth out any high spots or depressions to ensure a uniform planting depth and to facilitate even water distribution. This step also helps to remove any small stones or remaining debris that might hinder plant establishment.
Watch: Level and Rake Soil
Select Ground Cover Plants
60 minutesResearch and select ground cover plants that are well-suited to your specific growing conditions. Factors to consider include: sunlight exposure (full sun, partial shade, full shade), soil type and drainage, local climate and hardiness zone, and whether you want a fast-spreading or more contained ground cover. Popular choices include creeping thyme, sedum, vinca, ajuga, or pachysandra, depending on the environment.
Watch: Choosing Appropriate Ground Cover Plants
Lay Out Plants
30 minutesBefore planting, place the potted plants or scatter the seeds across the prepared bed to visualize the layout and spacing. For potted plants, arrange them at their final intended locations. For seeds, you can use a temporary pattern to ensure even distribution. This step allows for adjustments before any permanent planting occurs.
Watch: Lay Out Plants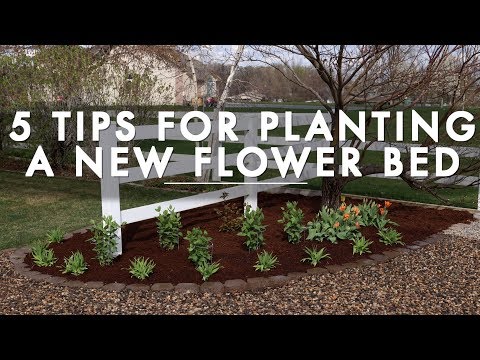
Plant Potted Ground Cover
15 minutesDig holes large enough to accommodate the root ball of each plant. Gently remove the plant from its pot, loosen any tightly bound roots, and place it in the hole. The top of the root ball should be level with the surrounding soil surface. Backfill the hole with soil, gently firming it around the base of the plant to eliminate air pockets. Space plants according to their growth rate and mature size, typically 6-18 inches apart for most ground covers.
Watch: Plant New Plants
Sow Ground Cover Seeds
30 minutesIf using seeds, follow the package instructions for seeding rates. Broadcast the seeds evenly over the prepared soil. For most ground cover seeds, lightly rake them into the top 1/8 to 1/4 inch of soil, or simply walk over the seeded area to press them into the soil. Avoid burying the seeds too deeply, as many require light to germinate.
Watch: Spread Seed and Cover With SoilWater Thoroughly
30 minutesImmediately after planting (whether from pots or seeds), water the entire area thoroughly. This helps to settle the soil around the roots, eliminate air pockets, and ensure good soil-to-root contact. For seeds, a gentle watering is important to avoid washing them away, while potted plants benefit from a deep soaking.
Watch: Water Newly Planted Bed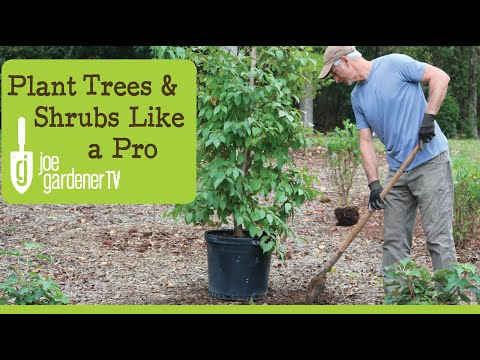
Mulch the Area
60 minutesAfter planting and initial watering, apply a 1-2 inch layer of organic mulch, such as shredded bark, wood chips, or straw, around the plants. Keep the mulch a small distance away from the base of the plants to prevent rot. Mulch helps to conserve soil moisture, suppress weed growth, and insulate the soil from temperature extremes, aiding plant establishment.
Watch: Apply Mulch
Initial Care and Maintenance
20 minutesFor the first few weeks to months, monitor the moisture levels of the soil and water as needed, especially during dry spells. Continue to hand-pull any weeds that emerge to prevent them from competing with the new ground cover. As the plants establish and begin to spread, watering and weeding requirements will decrease.
Watch: Post-Planting Watering and Ongoing MaintenanceCommon Problems
Despite thorough clearing, weeds quickly sprout back through the newly planted ground cover or around seeds, outcompeting them. This is a common beginner mistake often due to incomplete removal of weed roots or seeds.
Solution: 1. Carefully hand-pull emerging weeds, ensuring to get the entire root system, especially for perennial weeds. For deeper roots, use a WaLensee 39 in. Weed Puller. 2. If using landscape fabric, cut a small 'X' around new ground cover plants to ensure the fabric is completely covering exposed soil.
Prevention: 1. Thoroughly clear the area initially, using tools like the English Garden 4-Tine Stainless Steel Digging Fork and WaLensee Weed Puller to remove deep roots and debris. 2. Consider laying down Agfabric 4 ft. x 50 ft. Landscape Fabric Heavy PP Woven Weed Barrier before planting, cutting only small openings for plants. 3. Apply a sufficient layer of Earthgro 1.5 cu. ft. Brown Wood Shredded Bagged Mulch immediately after planting/seeding to suppress weed growth.
After planting, ground cover plants look wilted, leaves turn yellow or brown, or they simply fail to grow and spread as expected, sometimes even dying. This is often due to incorrect plant selection, improper planting depth, or root-bound issues.
Solution: 1. Gently dig up a struggling plant to inspect its roots. If they are circling in a tight ball, carefully tease them apart with your fingers or a small trowel before replanting. 2. Check the planting depth: the top of the root ball should be level with or slightly below the surrounding soil. Adjust as needed. 3. Assess the soil moisture – it might be too wet (leading to root rot) or too dry (dehydration). Adjust watering frequency and amount.
Prevention: 1. Before purchasing, thoroughly research the light, soil, and watering requirements for your chosen ground cover plants (e.g., BELL NURSERY 4 in. Pachysandra) and compare them to your specific site conditions. 2. When planting potted plants, gently loosen any tightly bound roots at the bottom of the plant's root ball before placing it in the ground. 3. Ensure proper soil amendment (Vigoro 2 cu. ft. Organic Vermiculite Soil Amendment) and drainage during the 'Amend the Soil' step.
Experiencing muscle strain, back pain, or blisters from prolonged or improper use of tools like the digging shovel, rake, or wheelbarrow during site preparation.
Solution: 1. If you feel pain, stop immediately and rest. Apply ice to strained muscles. 2. Re-evaluate your posture and technique: keep your back straight, bend your knees, and lift with your legs, not your back. 3. Break tasks into smaller, manageable chunks and take frequent breaks to stretch.
Prevention: 1. Always warm up with some light stretching before starting strenuous activity. 2. Use the correct tools for the job, such as the Anvil 47 in. Wood Handle Carbon Steel Digging Shovel for digging and the Anvil 6 cu. ft. Steel Wheelbarrow to move heavy materials efficiently. 3. Use proper lifting techniques: squat down, keep the load close to your body, and lift using your leg muscles. 4. Wear appropriate protective gear like gloves to prevent blisters.
After sowing ground cover seeds, some areas sprout thickly while others remain bare, or seeds are washed away by watering or rain, leading to patchy growth.
Solution: 1. For bare patches, gently re-rake the soil surface and re-sow seeds (e.g., Barenbrug 3 lbs. Free Range Groundcover Forage Seed Mixture) in those specific areas. 2. After reseeding, lightly tamp the soil to ensure good seed-to-soil contact. 3. Adjust your watering method to a very gentle mist setting to avoid disturbing newly sown seeds.
Prevention: 1. Ensure the soil surface is finely raked and level using the Garden Rake before sowing to prevent seeds from pooling in low spots. 2. Use a Broadcast Spreader for even distribution of seeds, walking at a consistent pace. Consider a criss-cross pattern for best coverage. 3. Immediately after sowing, lightly rake a thin layer of soil over the seeds (or follow seed packet instructions) to protect them. 4. Water with a Hose Nozzle with Mist Setting immediately after sowing and continue with gentle watering until germination.
Despite adding soil amendments, the ground cover struggles, shows signs of stunted growth, or suffers from root rot due to overly compacted or poorly draining soil. This often happens if amendments aren't mixed well or if the base soil is extremely poor.
Solution: 1. If plants are struggling but not dead, carefully dig around a few plants with an Anvil 5-2/5 in. Wood Handle Trowel to check soil texture and moisture. 2. If the soil is still very compacted or waterlogged, you may need to gently remove some plants, further amend the soil with more organic matter (like Vigoro 2 cu. ft. Organic Vermiculite Soil Amendment), and re-mix it thoroughly to a greater depth. 3. For future planting in very poor areas, consider building up the soil level slightly with a raised bed approach.
Prevention: 1. Before amending, perform a simple drainage test: dig a 12-inch deep hole, fill it with water, and see how long it takes to drain. If it takes more than 4-6 hours, your drainage is poor. 2. When amending the soil, don't just add amendments to the surface. Use the Anvil 47 in. Wood Handle Carbon Steel Digging Shovel and English Garden 4-Tine Stainless Steel Digging Fork to thoroughly mix the Vigoro Organic Vermiculite Soil Amendment and any other compost into the top 6-12 inches of existing soil.
Ground cover plants become smothered or develop fungal issues because mulch is applied too thickly directly against their stems, or too thinly allowing weeds to grow through.
Solution: 1. Carefully pull back excess mulch from around the base of individual plants to create a small, mulch-free 'donut' ring. 2. If the mulch layer is too thin in areas and weeds are emerging, add more Earthgro 1.5 cu. ft. Brown Wood Shredded Bagged Mulch to achieve the recommended depth.
Prevention: 1. After planting and watering, apply a consistent layer of Earthgro 1.5 cu. ft. Brown Wood Shredded Bagged Mulch, aiming for 2-4 inches deep. 2. Always leave a small gap (about 1-2 inches) between the mulch and the base of each ground cover plant stem to prevent moisture buildup and disease. 3. Ensure the mulch doesn't cover newly sown seeds until they have germinated and developed a few true leaves, or apply a very thin, fine layer if covering seeds.
Frequently Asked Questions
What specific tools will make preparing the ground for planting easier?
Beyond a shovel and rake, a weed puller tool (like the WaLensee Weed Puller) is invaluable for removing deep-rooted weeds without excessive bending. A wheelbarrow (like the Anvil 6 cu. ft.) is also highly recommended for easily moving soil amendments and mulch across your yard.
What are the main safety precautions I should take during this outdoor project?
Always wear gardening gloves to protect your hands from blisters, thorns, and soil irritants. Be mindful of back strain when digging and lifting heavy bags of soil or mulch; use proper lifting techniques or get help. Additionally, stay hydrated and protect yourself from sun exposure with appropriate clothing and sunscreen.
Is 3 days enough time for a beginner to complete the planting, and what's the ongoing commitment?
The estimated 3 days typically covers the initial site preparation and planting, which is beginner-friendly. However, successful establishment of ground cover requires consistent watering for several weeks to months, especially during dry periods, and ongoing monitoring for weeds until the ground cover spreads adequately.
What's the biggest mistake beginners make when planting ground cover, and how can I avoid it?
A common mistake is insufficient soil preparation and neglecting weed control before planting. Thoroughly clearing existing weeds, amending the soil for optimal growth, and using a weed barrier (like Agfabric Landscape Fabric) gives your new ground cover the best chance to thrive without competition.
Can I skip the landscape fabric, or are there alternative methods for weed control during establishment?
While landscape fabric is very effective, you can use a thick layer of organic mulch (like Earthgro Brown Wood Shredded Bagged Mulch) directly on prepared soil to suppress weeds. Overlapping layers of cardboard or newspaper can also serve as a biodegradable weed barrier before adding mulch.
How do I choose the right ground cover plants for my specific yard conditions?
Assess your site's sunlight exposure (full sun, partial shade, full shade), soil type, and climate hardiness zone. Research plants (like Pachysandra for shade or specific seed mixtures for sun) that are known to thrive in those conditions and meet your aesthetic and functional goals, such as erosion control or foot traffic tolerance.