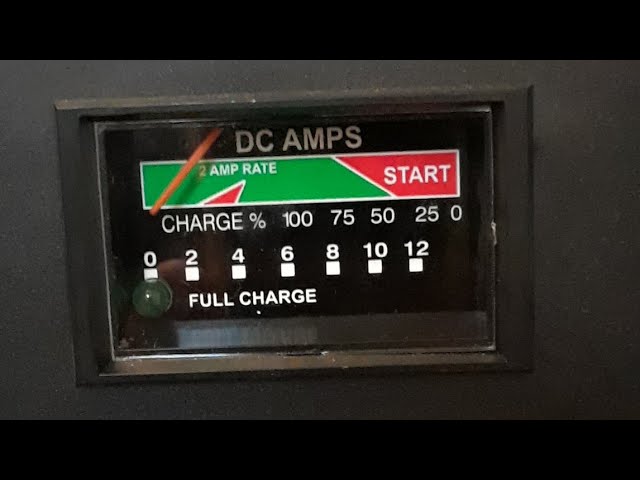
Car Battery Charging
About This Project
This project outlines the steps for safely charging a car battery using a battery charger. It includes preparation, connection, charging, and disconnection procedures.
Tools & Materials
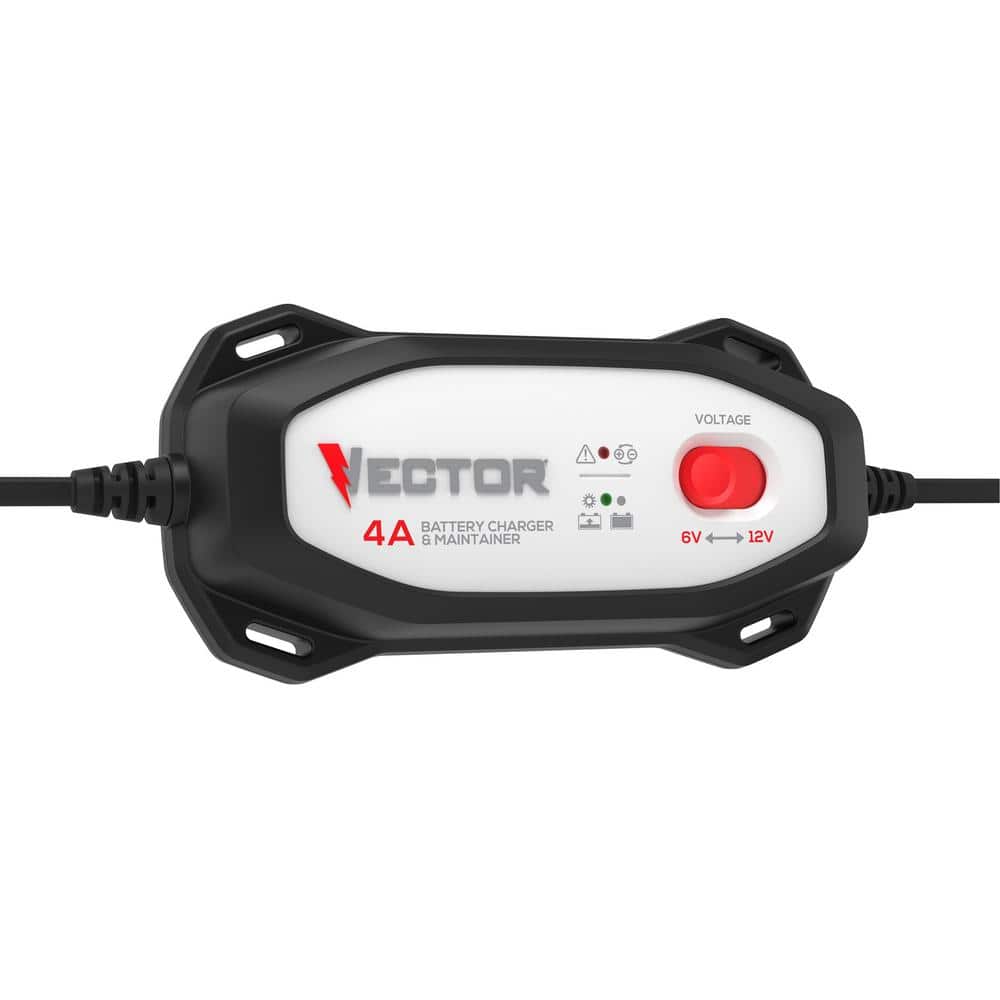
VECTOR 4A Battery Charger/Maintainer VECBC4

OE Solutions Manual Window Regulator (Regulator Only) 740-414

DEMCO Air Force One Towed Vehicle Braking System 9599007
Exide SPRINTER MAX 12 volts Lead Acid 6-Cell 65 Group Size 850 Cold Cranking Amps (BCI) Auto Battery SX65
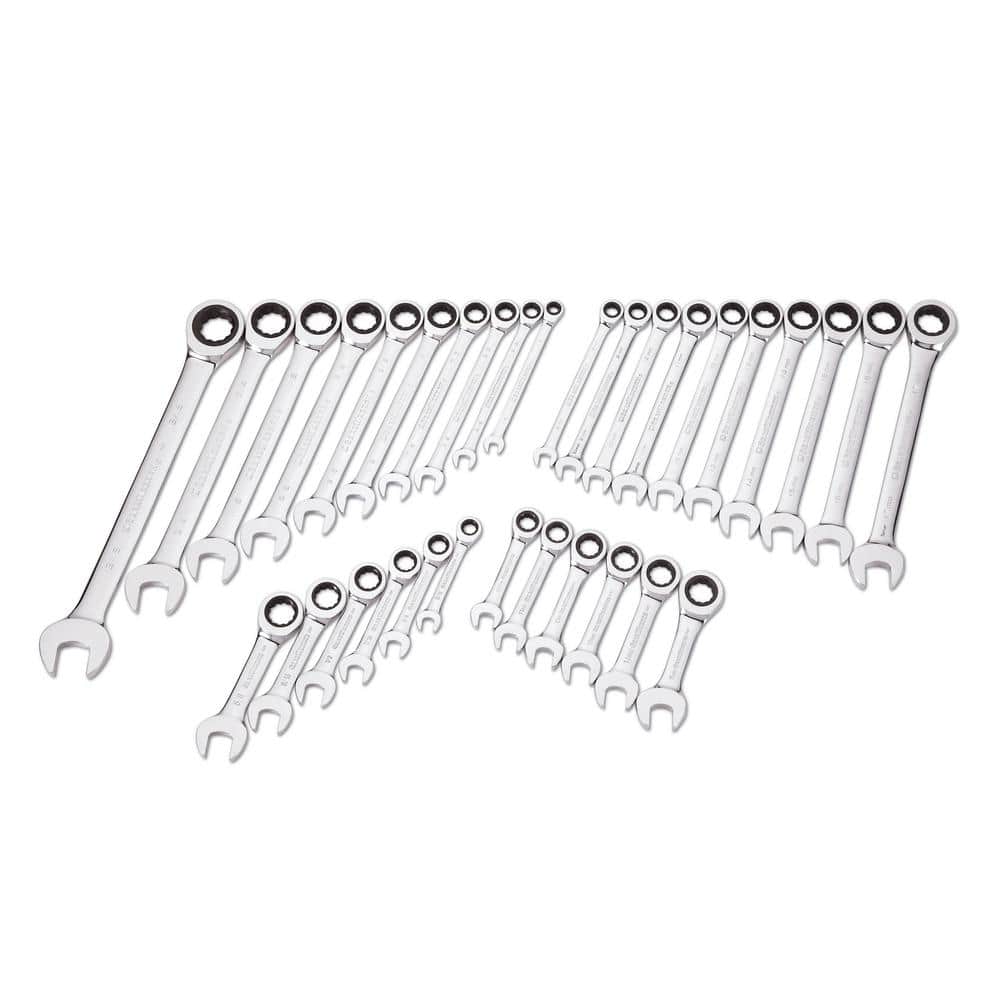
GEARWRENCH SAE/Metric 72-Tooth Combination Ratcheting Wrench Tool Set (32-Piece) 39327
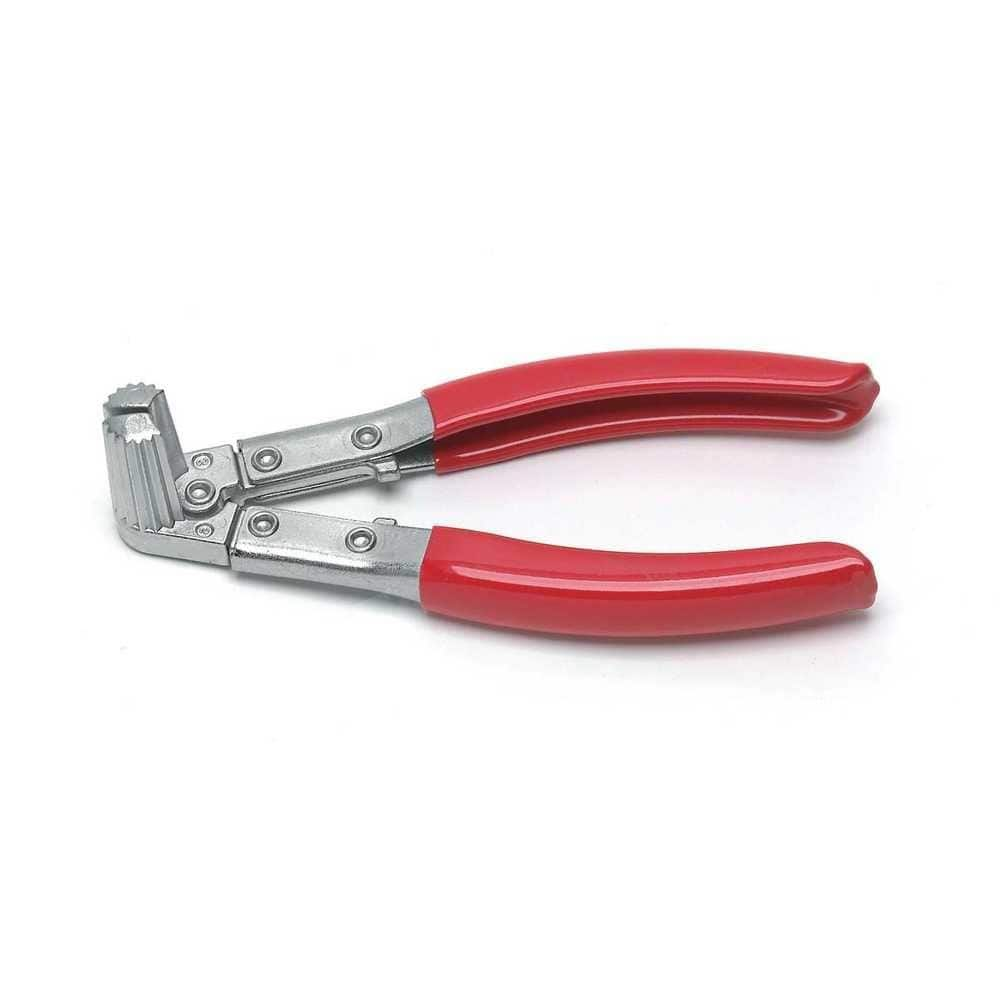
GEARWRENCH Battery Terminal Spreader and Cleaner 204D
VECTOR 4A Battery Charger/Maintainer VECBC4
Whether you have a vehicle in storage, or your battery has just run low, you can charge and maintain your 6-Volt and 12-Volt batteries at optimal capacity for peak performance and extended lifespan. The
OE Solutions Manual Window Regulator (Regulator Only) 740-414
All Dorman products are engineered in the United States and backed by 100 years of automotive aftermarket experience. Our solutions are thoroughly tested and inspected, and if you experience any difficulty
DEMCO Air Force One Towed Vehicle Braking System 9599007
Air Force One uses a pilot signal from the coach's power assist and also the reserve air supply for the breakaway circuit. The brake actuator is compact, mounting on the brake arm of the towed vehicle
Exide SPRINTER MAX 12 volts Lead Acid 6-Cell 65 Group Size 850 Cold Cranking Amps (BCI) Auto Battery SX65
Exide SPRINTER MAX features superior starting power and dependability. This line of batteries is engineered with increased power to meet your vehicle's demands. With new LifeGrid technology, SPRINTER MAX delivers long battery life and enhanced durability that keeps you going in all weather conditions.
GEARWRENCH SAE/Metric 72-Tooth Combination Ratcheting Wrench Tool Set (32-Piece) 39327
GEARWRENCH original ratcheting wrenches combine the speed of a ratchet with the access and control of a wrench. They offer the ease of 5° of movement to turn fasteners, versus 30° on standard combination
GEARWRENCH Battery Terminal Spreader and Cleaner 204D
Since our beginning, GEARWRENCH automotive specialty tools have been driven by innovation. From our first specialty tool, the Model-T valve spring lifter, to our latest ratcheting puller, we've built our reputation with tools that make tough jobs easy. Most of our products have been upgraded with new improved features like dual material handles designed for a more comfortable grip or dual dipped handles on pliers providing more cushion for your hands. GEARWRENCH automotive specialty tools are proudly made with the finest components under the most stringent manufacturing guidelines. Made for everyday use - guaranteed for life. Better tools mean easier, more efficient work so we constantly evaluate automotive engineering trends allowing us to consistently improve and enhance our tools to better fit professional hands. That's why they are the first choice for thousands of automotive technicians worldwide.
Steps

Identify Battery Type and Charger Compatibility
5 minutesBefore connecting the charger, check the type of your car battery (e.g., lead-acid, AGM, gel) and consult your battery charger's manual to confirm it is suitable for charging that specific battery type. Mismatched chargers and batteries can lead to damage or safety hazards.
Watch: Understand Charger Compatibility
Disconnect Battery From Vehicle
10 minutesTo prevent electrical shorts and damage to the vehicle's electronics, disconnect the negative (-) terminal first, followed by the positive (+) terminal. Use a wrench to loosen the terminal clamps. Ensure the cables do not touch any metal parts of the vehicle while disconnected.
Watch: Disconnect Positive Battery Cable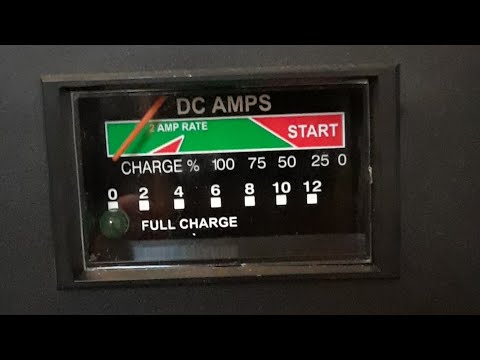
Connect Battery Charger
5 minutesConnect the red (+) clamp of the charger to the positive (+) terminal of the battery, and the black (-) clamp to the negative (-) terminal of the battery. Ensure the clamps have a secure connection to the terminals. Some chargers have a specific connection order, so always refer to the charger's manual.
Watch: Connect Battery ChargerSet Charger Settings
3 minutesSet the charger to the appropriate mode (e.g., 'standard', 'AGM', 'gel') that matches your battery type. Select the correct amperage or charging rate, often recommended in your battery's manual or on the charger itself. For most car batteries, a 2-10 amp setting is suitable for maintenance charging, while higher amps can be used for faster charging if the battery can handle it.
Watch: Configure Charger Settings
Monitor Charging Progress
15 minutesObserve the charger's indicators to monitor the charging progress. Most chargers will show when the battery is fully charged or if there's an error. While charging, check the battery for excessive heat or swelling, which could indicate a problem. If you notice any issues, disconnect the charger immediately.
Watch: Confirm Full Charge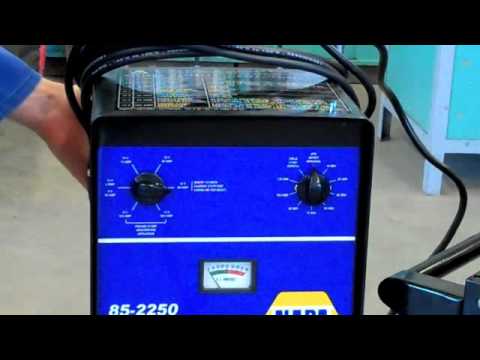
Disconnect Battery Charger
5 minutesOnce the charger indicates the battery is fully charged or you've reached the desired charge level, turn off and unplug the charger from the electrical outlet. Then, disconnect the black (-) clamp from the negative (-) battery terminal, followed by the red (+) clamp from the positive (+) terminal. This order minimizes the risk of sparking.
Watch: Disconnect Charger and Leads
Reconnect Battery to Vehicle
10 minutesAttach the positive (+) cable to the positive (+) terminal of the battery first, ensuring a secure connection with the clamp. Then, connect the negative (-) cable to the negative (-) terminal. Tighten both terminal clamps securely with a wrench. Some vehicles may require a reset of certain electronic systems after the battery is reconnected.
Watch: Reconnect Battery TerminalsCommon Problems
Sparks occur when connecting or disconnecting the battery cables to the car, or when connecting/disconnecting the charger clamps to the battery.
Solution: If sparks occur when connecting/disconnecting the battery from the vehicle: If disconnecting, ensure the negative (black) terminal is removed first. If reconnecting, ensure the positive (red) terminal is attached first. If sparks occur when connecting the charger to the battery: Immediately remove the charger clamps. Ensure the charger is unplugged from the wall outlet BEFORE connecting or disconnecting clamps to the battery. If a spark caused a small fire, extinguish it with a fire extinguisher (Class BC or ABC) if safe to do so.
Prevention: Always follow the correct order: when disconnecting the car battery, remove the negative (black) cable first, then the positive (red). When reconnecting, attach the positive (red) cable first, then the negative (black). When using the charger (like the VECTOR 4A or Schumacher SC1445), always connect the charger clamps to the battery (red to positive, black to negative) BEFORE plugging the charger into the GE 20 Amp Backyard Outlet. When finished, UNPLUG the charger from the wall first, THEN remove the negative (black) clamp, and finally the positive (red) clamp. Always wear Safety Glasses and Heavy Duty Latex Gloves.
The battery isn't charging, or the charger indicates an error even though everything seems connected.
Solution: 1. Ensure the charger is properly plugged into a working electrical outlet (like the GE 20 Amp Backyard Outlet). Check if any GFI outlet has tripped. 2. Carefully check both charger clamps: make sure the positive (red) clamp is securely attached to the positive (+) battery terminal and the negative (black) clamp is securely attached to the negative (-) battery terminal or a good, unpainted metal ground point on the vehicle chassis (away from the battery). The clamps should have good metal-to-metal contact. 3. Check the battery terminals for corrosion (white or bluish buildup). Use the GEARWRENCH Battery Terminal Spreader and Cleaner to clean any corrosion, then reconnect the clamps. 4. Verify the charger's settings (e.g., 6V or 12V, battery type) match your battery. For a 12V car battery (like the Exide SPRINTER MAX 12 volts), ensure the charger is set to 12V.
Prevention: Before connecting, ensure battery terminals are clean and free of corrosion. Double-check all charger settings and connections against your battery's requirements and the charger manual before plugging in the charger.
The battery gets very hot, smells like rotten eggs (sulfur), bulges, or you hear a bubbling/hissing sound while charging.
Solution: IMMEDIATELY and carefully disconnect the charger from the wall outlet (e.g., GE 20 Amp Backyard Outlet), then remove the clamps from the battery (negative first, then positive). Allow the battery to cool down completely in a very well-ventilated area. Do not attempt to use or charge the battery again if it shows signs of damage (bulging, cracking, significant leakage), as it could be extremely dangerous and may need to be replaced.
Prevention: 1. If using a charger with a manual timer (like the Schumacher SC1445), set the timer for a shorter duration (e.g., 30-60 minutes for initial charge) and check the battery frequently for warmth or signs of gassing. 2. For 'smart' chargers (like the VECTOR 4A Battery Charger/Maintainer), they often have automatic shut-off or maintenance modes, but still monitor the battery periodically. 3. Always charge in a well-ventilated area to allow any gases to dissipate. 4. Never leave a charging battery unattended for extended periods.
Damaging battery terminals or posts (stripping bolts, bending posts) when disconnecting or reconnecting cables.
Solution: If a nut or bolt is stripped, you may need to use a nut extractor tool, or if safely accessible, cut the bolt to remove the cable. Replace the damaged bolt or the entire cable clamp (using appropriate Battery Cable Accessories like BP183) if it's compromised. If a battery post itself is severely damaged (e.g., cracked or significantly bent), the battery may need to be replaced, as a poor connection will prevent proper charging and starting.
Prevention: Always use the correct size wrench from your GEARWRENCH SAE/Metric 72-Tooth Combination Ratcheting Wrench Tool Set. Select a wrench that fits snugly without any wiggle. Turn nuts/bolts gently; for tightening, 'snug' is sufficient – do not overtighten, as this can strip threads or crack the battery post. Never use pliers if a wrench is available, as pliers can round off fastener heads.
Accidentally short-circuiting the battery with a metal tool or jewelry.
Solution: Immediately remove the metal object. If the object was a tool, it will likely be very hot and may be damaged. If a ring or jewelry, it can cause severe burns to the skin, requiring immediate medical attention. Inspect the battery for any signs of damage (cracking, bulging, leaks). If the battery is damaged, it needs to be replaced. If there are burns, treat them as appropriate and seek medical advice.
Prevention: 1. Remove all metal jewelry (rings, watches, bracelets) before working on the battery. 2. Use only insulated tools where possible. If not, be extremely careful to avoid touching both battery terminals (positive and negative) simultaneously with a metal tool. 3. Always disconnect the negative (black) terminal first when removing the battery from the vehicle, as this reduces the risk of accidentally grounding the positive terminal with a wrench to the vehicle's metal body. 4. Wear Safety Glasses and Heavy Duty Latex Gloves.
The battery is still dead or weak after a full charge cycle.
Solution: 1. Check the battery's voltage with a multimeter. A fully charged 12V battery should read around 12.6V to 12.8V. If it's significantly lower, the battery might be old or faulty and unable to hold a charge. 2. Visually inspect the battery (e.g., Exide SPRINTER MAX or Wayne 75 Amp Hour) for any physical damage, excessive corrosion that was not cleaned, or leaks. 3. If it's a lead-acid battery with removable caps, check the electrolyte levels. If low, top up with distilled water (NOT tap water) to the correct level and attempt another charge. 4. If the voltage is low or drops quickly after charging, the battery likely needs to be replaced. Many auto parts stores offer free battery testing (load tests) to determine its health.
Prevention: Regularly check your battery's age and health. Most car batteries last 3-5 years. If your battery is old or has been deeply discharged multiple times, its internal components may be worn out, and it might be time for a replacement rather than just a charge. Ensure your charger settings match your battery type, especially if it's a 'maintenance-free' battery like the Wayne 75 Amp Hour.
Frequently Asked Questions
What critical safety precautions should I take before and during car battery charging?
This guidance is AI-generated and may be wrong or incomplete; verify it against the product manual and local codes; hire a licensed professional for risky work; you proceed at your own risk. Always wear safety glasses and gloves. Ensure good ventilation and avoid sparks near the battery, as it can emit explosive hydrogen gas. Disconnect the battery from the vehicle first, starting with the negative terminal, before connecting the charger.
Which specific tools are essential for safely charging a car battery?
You'll primarily need a 12V battery charger/maintainer, such as the VECTOR 4A VECBC4, and a set of wrenches (like the GEARWRENCH SAE/Metric 72-Tooth) to disconnect the battery terminals. A battery terminal spreader and cleaner (e.g., GEARWRENCH 204D) or a wire brush (e.g., Lincoln Electric KH580) are also crucial for cleaning corrosion and ensuring proper electrical contact.
How long does it typically take to fully charge a car battery, and how difficult is this project for a beginner?
While the project's estimated time is 3 hours (including preparation and disconnection), actual charging can vary from a few hours to overnight, depending on the battery's discharge level and the charger's amperage. This is considered a beginner-level DIY task, but requires careful attention to safety protocols and following the instructions precisely to avoid injury or damage.
What are the most common mistakes beginners make when connecting and charging a car battery?
A frequent mistake is reversed polarity; always connect the positive charger clamp to the positive battery terminal and the negative clamp to the negative terminal. Another common error is failing to clean corrosive battery terminals, which can prevent the battery from charging effectively. Also, not setting the correct charger mode for your battery type or overcharging an older battery can cause damage.
How do I ensure my battery charger is compatible with my car's battery type, such as the Exide SPRINTER MAX?
Most car batteries, like the Exide SPRINTER MAX, are 12-volt lead-acid. Always check your battery charger's specifications to confirm it supports 12V output and is compatible with your specific battery technology (e.g., standard lead-acid, AGM, Gel). Many modern chargers, including the VECTOR VECBC4, offer multiple settings for different battery types.
Is it always necessary to disconnect the car battery from the vehicle before charging?
For optimal safety and to protect your car's sensitive electronics, it is generally recommended to disconnect the battery from the vehicle, especially if you're using an older or basic charger. Some newer 'smart' charger/maintainers are designed to safely charge a battery while it's still connected, but always verify this capability in your specific charger's manual first.
When should I charge a car battery versus just jump-starting it?
Jump-starting provides an immediate, temporary boost to start your engine, but it does not fully recharge a depleted battery. Charging, however, is essential to restore the battery to its full capacity and prolong its lifespan, particularly after it has been deeply discharged or if your vehicle will be stored for an extended period. Use charging for long-term battery health and jump-starting for emergencies.