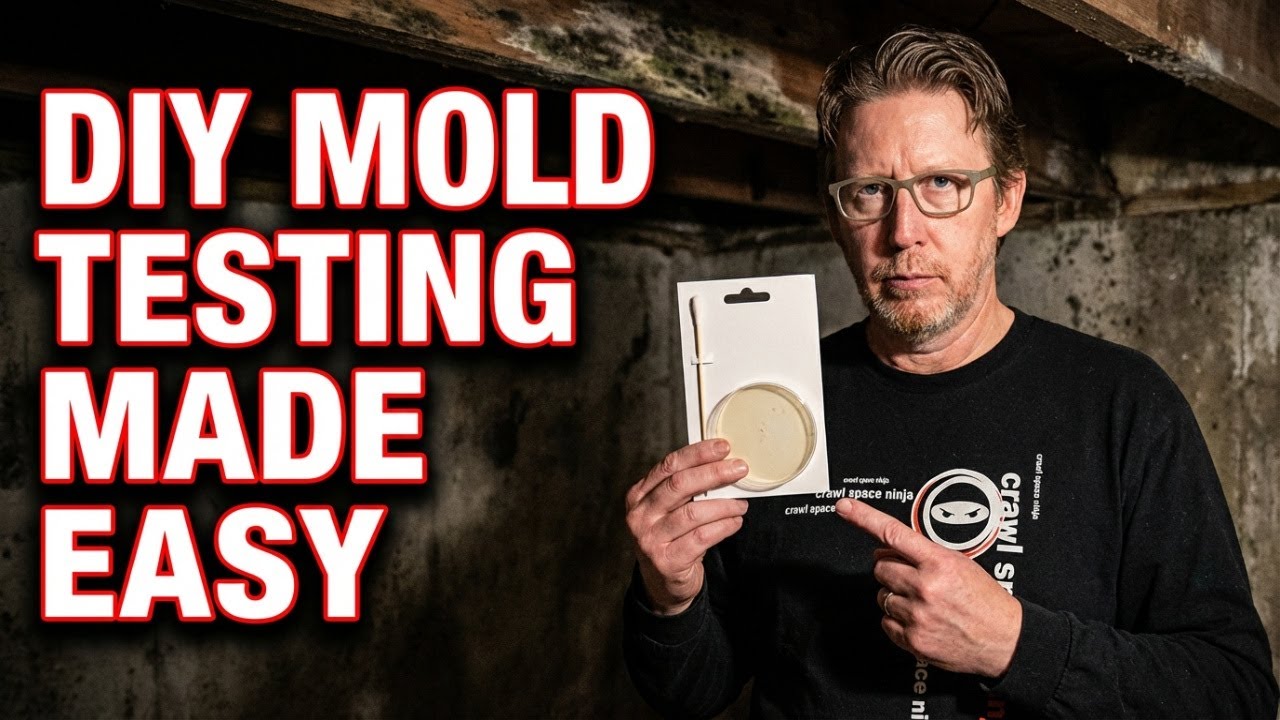
Mold Testing Kit
About This Project
Outline for a DIY project to test for mold in a home environment using a readily available home mold testing kit.
Tools & Materials

Mold Armor Do It Yourself Mold Test Kit, DIY At Home Mold Kit FG500
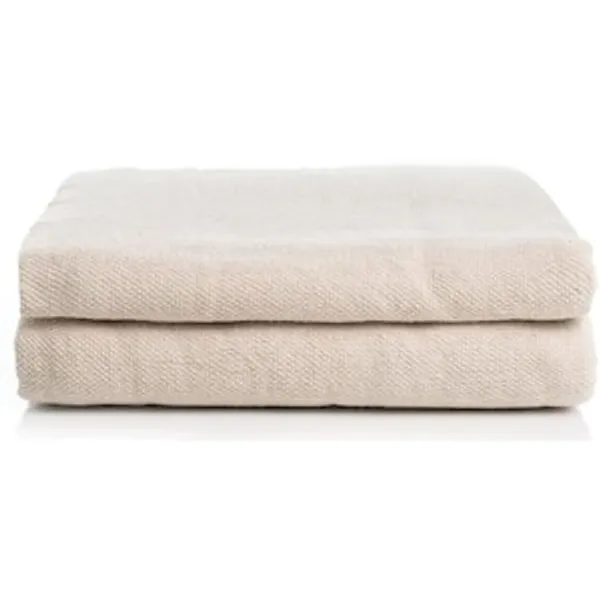
Drop Cloth

Safety gloves
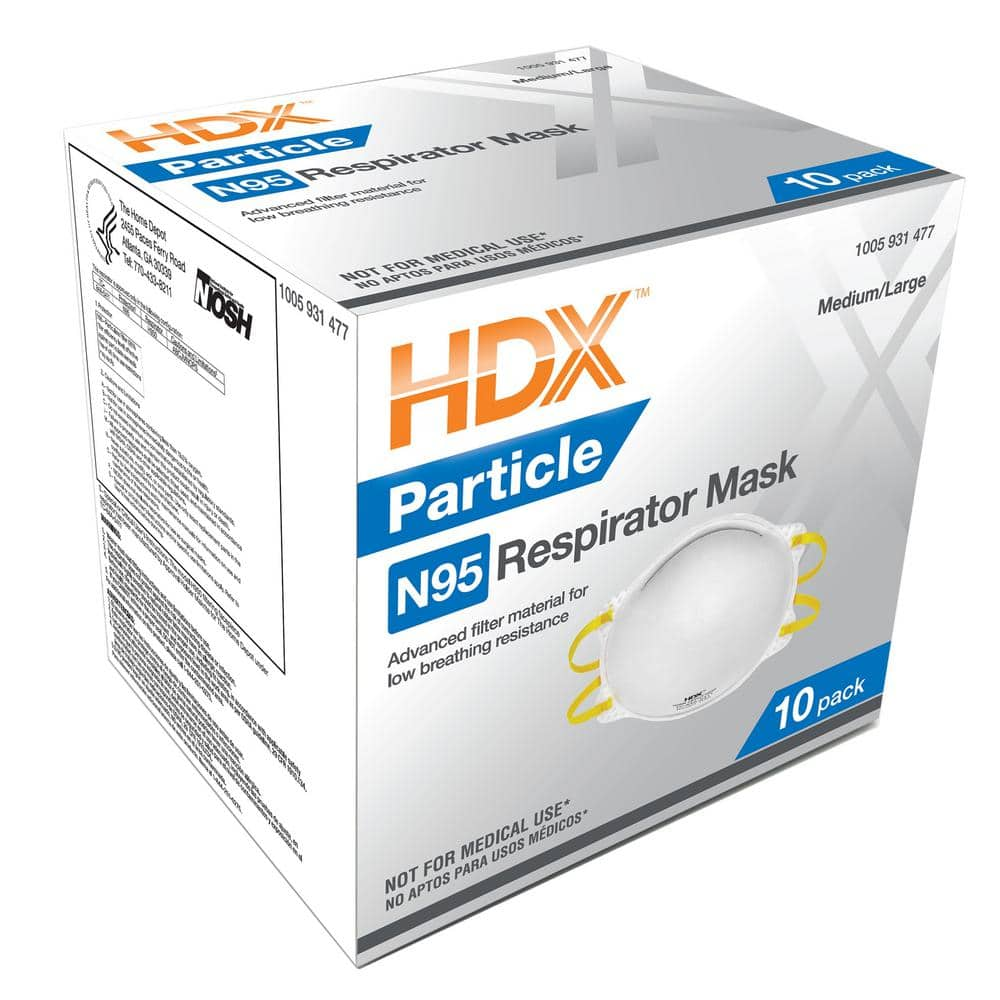
HDX N95 Disposable Adult Respirator Mask (10-Pack) H950

LABTECH Mold Detection Test Kit LT5120

MyMoldDetective 2-Count Test Additional Rooms Air Sample Cassette Pack MMD200A
Mold Armor Do It Yourself Mold Test Kit, DIY At Home Mold Kit FG500
The MOLD ARMOR Do It Yourself Mold Test Kit will safely and easily test for the presence of inside or outside mold with results within 48 hours. This convenient home kit also serves as an air quality monitor and includes three testing methods: Indoor Air Quality Test Method, Air Conditioning and Heating Sample Method and a Surface Sampling Testing Method when visible mold is present. This air quality test kit can also be used to detect unseen mold in the home. Each kit contains a petri dish, swab and mold growth medium. This mold test kit also includes an option for mail-in lab analysis to determine the mold type. While the MOLD ARMOR Do It Yourself Test Kit can be an important part of protecting your family against mold, many factors contribute to any test's effectiveness. The mold test kit can only detect airborne or surface mold spores, depending on test method, that are present in the area during testing. If symptoms of mold exposure persist, consult a certified mold specialist. Follow directions carefully and keep out of reach of children.
Drop Cloth
Protects surfaces from unwanted spills.
Safety gloves
Shields hands from potential harm.
HDX N95 Disposable Adult Respirator Mask (10-Pack) H950
The disposable N95 Respirator masks filter out 95% of airborne particles and are NIOSH approved. The masks offer medium/large full-face coverage with 2 headband style straps for a secure fit. The cupped
LABTECH Mold Detection Test Kit LT5120
LABTECH Mold OK Mold Detection Kit is your first step in determining if mold is present in your home or office. It uses the same collection procedure as professional mold inspectors at a fraction of the
MyMoldDetective 2-Count Test Additional Rooms Air Sample Cassette Pack MMD200A
Finally a Mold Test Kit that test for mold in your air like the professionals so. MyMoldDetective's Mold Test Kit utilizes the same air sampling methods that industry professionals use to test air quality
Steps

Read Instructions
15 minutesBefore beginning any testing, thoroughly read the entire instruction manual that came with your specific mold testing kit. This will familiarize you with the procedures, required materials, and any specific precautions necessary for accurate results.
Watch: Introduction and Kit Overview
Identify Test Areas
10 minutesIdentify specific rooms or surfaces that show signs of mold growth (discoloration, musty odors) or areas prone to moisture, such as bathrooms, kitchens, basements, or around leaky pipes or windows. Prioritize areas with the strongest musty smells or visible mold.
Watch: Identify Sampling Locations and Submit to Lab
Prepare the Area
10 minutesOpen windows in the room where you will be conducting the test to ensure adequate ventilation. If testing a surface like a wall or ceiling, you may want to place a drop cloth or plastic sheeting on the floor below to catch any potential debris, although most kits are designed for minimal mess.
Watch: Assess Mold and Prepare Work Area
Don Personal Protective Equipment (PPE)
5 minutesPut on the personal protective equipment provided in the kit or recommended by the instructions. This typically includes disposable gloves and a mask (e.g., N95 respirator) to prevent inhaling airborne mold spores during the sampling process.
Watch: Don Personal Protective Equipment (PPE)Collect Surface Sample
10 minutesUsing the sterile swab or adhesive tape provided in the kit, carefully rub or press it onto the suspected moldy surface or area. Ensure good contact to collect a representative sample of the mold or suspected growth. Avoid touching the collection surface of the swab/tape with your fingers.
Watch: Collect Sample with Tape Lift Kit
Collect Air Sample (if applicable)
30 minutesIf your kit includes an air sampling component, follow the specific instructions for its use. This often involves placing a collection device in a central area of a room for a specified period to capture airborne mold spores. Ensure the device is placed away from open windows or vents.
Watch: Place Indoor Test KitsPackage Samples
5 minutesPlace the collected surface sample (e.g., swab in its container, tape lift in its sleeve) and the air sample device into the designated packaging. Ensure all containers are sealed properly to prevent contamination or loss of the sample during transport.
Watch: Inoculate and Package Culture Plate (For Lab Analysis)
Complete Submission Forms
15 minutesComplete all the required forms that accompany the mold testing kit. This typically includes information such as your contact details, the location of the sampled areas, date and time of sampling, and any observations about moisture or odors. Accurate completion is crucial for the lab to process your results.
Watch: Complete Instruction Sheet and Obtain PIN
Mail Samples to Lab
15 minutesPlace the sealed sample packages and completed submission forms into the provided shipping container or a suitable mailing envelope. Send the package to the laboratory address specified in the kit's instructions, following any shipping guidelines to ensure timely and safe delivery.
Watch: Register, Pay, and Mail SamplesReceive and Interpret Results
The laboratory will analyze your samples and send you a report detailing the types and amounts of mold found. Carefully review the report and compare it with the reference ranges or guidelines provided by the kit manufacturer. If results are unclear or concerning, consult with a mold remediation professional.
Watch: Interpret Results and Consider Professional AdviceCommon Problems
Accidental cross-contamination of samples or test areas, leading to inaccurate results or spreading mold.
Solution: Immediately stop testing. Discard any potentially contaminated samples and their collection tools (swabs, tape). Clean your hands thoroughly with soap and water or change to fresh gloves. If you suspect a surface has been contaminated, clean it with a mild household cleaner before re-testing, or choose a new, undisturbed area for your sample.
Prevention: Always wear fresh disposable gloves for each new sample area. Avoid touching other surfaces with used sampling tools. Keep sample containers sealed until the moment of collection and re-seal them immediately afterward. Follow the kit's instructions precisely for handling and keeping samples separate.
Insufficient or unrepresentative sample collected from surfaces, leading to a 'no growth' or inconclusive result even if mold is present.
Solution: If you suspect you didn't collect enough material and the kit provides extra supplies, attempt to re-sample the same area using a fresh swab or tape strip. Ensure you firmly press and rub the collection tool against the suspect area, aiming to pick up as much visible material as possible.
Prevention: When collecting a surface sample, ensure you use the entire collection area of the swab or tape strip. Gently but firmly press and rotate the swab, or press the tape multiple times, over the area with suspected mold growth. Follow any visual guides in your kit for what constitutes an adequate sample.
Inaccurate air sample collection due to incorrect device setup, wrong timing, or placement in a drafty area.
Solution: If the air sampling device stopped prematurely or you suspect it was incorrectly placed, re-read the air sampling instructions carefully for proper setup and run times. If using a battery-operated device, check the batteries. If possible, use a new collection cassette and retry the air sample in a still location, away from open windows, doors, or fans.
Prevention: Read the air sampling instructions thoroughly, paying close attention to recommended run times, device placement (usually center of the room, away from drafts), and any setup procedures. Ensure all windows and doors are closed in the room during air sampling to prevent air currents from skewing results.
Forgetting to wear Personal Protective Equipment (PPE) like gloves and a respirator mask, or wearing them incorrectly, potentially exposing you to mold spores.
Solution: Immediately stop any sampling activity. Move to a well-ventilated area if you feel any irritation. Wash your hands thoroughly. Re-read the PPE instructions in your kit or for the specific safety equipment. Properly don safety gloves and ensure your N95 respirator mask forms a tight seal around your nose and mouth before resuming work.
Prevention: Always read the safety precautions section of your mold testing kit first. Gather all required PPE (safety gloves, N95 respirator mask) and put it on *before* you begin preparing the area, disturbing any potential mold growth, or collecting any samples.
Lost, damaged, or incorrectly filled out laboratory submission forms or sample labels, which can delay or prevent your samples from being processed.
Solution: If forms are lost, check the kit manufacturer's website; they often provide printable versions. If damaged or incorrectly filled, contact the lab directly using the contact information provided in the kit to see if they can provide replacement forms or guide you on how to proceed. You may need to re-label samples if labels are damaged.
Prevention: Before starting any collection, locate all forms and labels. Fill them out carefully and completely according to the kit's instructions. Make photocopies or take pictures of completed forms for your records before mailing. Attach labels securely to the correct sample containers immediately after collection.
Delay in mailing collected samples to the lab, which can compromise their viability and lead to inaccurate or inconclusive results.
Solution: Check your kit's instructions for the maximum recommended time between sample collection and mailing. If you have significantly exceeded this timeframe (e.g., more than 24-48 hours for some kits), the lab may not be able to process them accurately. In such cases, you might need to purchase a new kit and re-sample to ensure reliable results.
Prevention: Plan your mold testing day to ensure you can immediately package and mail the samples after collection. Collect samples on a weekday when postal services are operating, ideally early in the day, so they can be shipped promptly and arrive at the lab quickly, avoiding weekend delays. Always check the lab's specific shipping recommendations.
Misinterpreting the lab results or feeling overwhelmed/panicked by them without understanding their full meaning.
Solution: Do not panic. Re-read the interpretation guide provided by the lab or in your kit carefully. Pay attention to the types of mold found and their concentrations. If you are still unsure or concerned, contact the laboratory for clarification. If significant mold growth is confirmed, consult with a qualified mold remediation specialist for professional advice on next steps, rather than attempting large-scale remediation yourself.
Prevention: Understand that many types of mold are common in indoor environments, and a positive result doesn't always mean a disaster. Focus on understanding the report's details: what type of mold was found, in what concentration, and what the recommended actions are. Be prepared to consult with certified professionals if the results indicate a significant mold problem requiring professional remediation.
Frequently Asked Questions
How difficult is it to use a DIY mold test kit, and what's the actual time commitment?
Most DIY mold test kits are designed for beginners and are quite straightforward, primarily involving following instructions for sample collection. While the active collection time might only be 30-60 minutes per sample, the estimated 4-hour project time typically accounts for reading instructions, identifying test areas, preparing the space, sample collection, packaging, and the time spent waiting for lab results.
What essential tools and materials do I need that might not come in the mold test kit?
Beyond the mold test kit itself, you'll definitely need a pencil for filling out submission forms. It's also wise to have a drop cloth on hand to protect surfaces if you need to access a potentially moldy area. Ensure you have appropriate personal protective equipment (PPE) like disposable gloves and an N95 mask, as some kits may not include these.
What safety precautions should I take when collecting mold samples?
Always wear personal protective equipment (PPE), including disposable gloves and an N95 respirator mask, to prevent inhaling mold spores or direct skin contact. If possible, lightly ventilate the area by opening windows, but avoid using fans that could spread spores. Wash your hands thoroughly with soap and water after handling any samples.
Can DIY mold test kits give false results, and how can I ensure accuracy?
Yes, DIY kits can sometimes yield false positives or negatives if instructions aren't followed precisely, or if environmental dust is mistaken for mold. To improve accuracy, carefully read and follow the kit's specific instructions for collection and handling, collect samples from areas with visible signs or strong odors, and ensure samples are mailed to the lab promptly as instructed.
What are common mistakes to avoid when using a home mold testing kit?
A common mistake is not thoroughly reading the instructions before starting, which can lead to improper sample collection. Another error is contaminating samples by touching the collection surface with bare hands or leaving the sample exposed too long. Always ensure you clearly label all samples and fill out submission forms completely and accurately to prevent lab delays or incorrect analysis.
When should I consider calling a professional mold inspector instead of using a DIY kit?
A DIY kit is excellent for confirming the presence of mold in a specific area. However, if you discover widespread visible mold (over 10 square feet), suspect hidden mold behind walls, experience persistent mold-related health symptoms, or need to identify the mold species for remediation, it's best to consult a certified mold professional for a comprehensive assessment and remediation plan.