Engine Air Filter Replacement
About This Project
This project involves locating the engine air filter housing, opening it, removing the old air filter, installing a new one, and securely closing the housing. This process helps maintain optimal engine performance and fuel efficiency by ensuring clean air intake.
Tools & Materials

OE Solutions Spare Tire And Jack Tool Kit 926-805
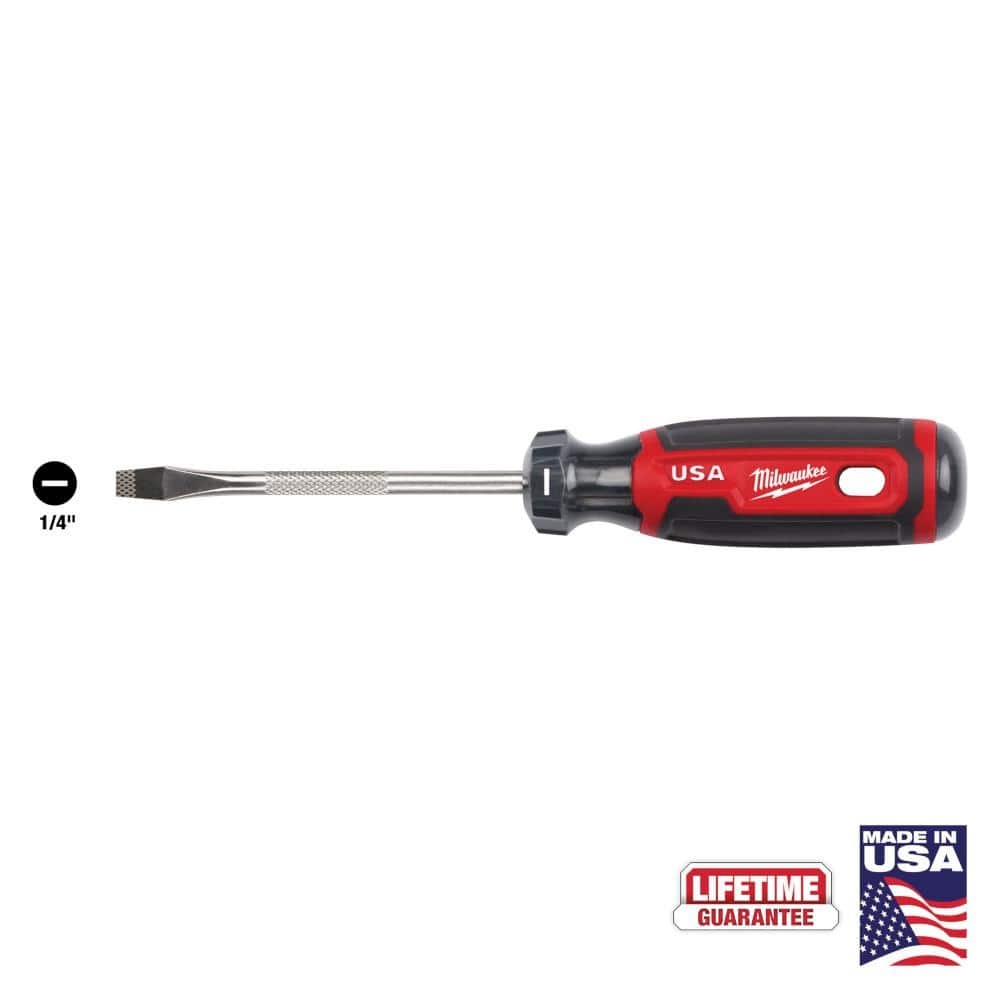
Milwaukee 4 in. x 1/4 in. Slotted Flat Head Screwdriver with Cushion Grip MT206
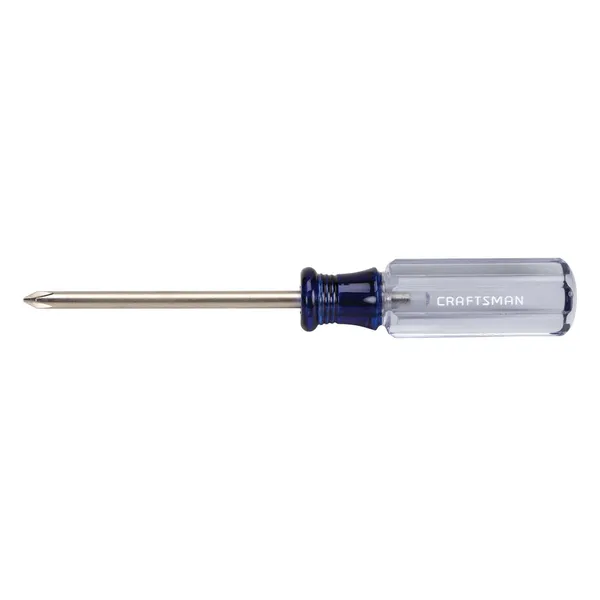
Phillips head screwdriver

DRAIN AWAY TRAY 12 in. Dia Grey Plastic Drain Tray 12GREY

PlasticMill 24 in. W x 24 in. H 7-10 Gal. 6 mic Clear High Density Bags (1000- Count) PMHD24246C1000

TOOLBOX Z400 Blue 55-Count roll of Shop Towel Cleaning Wipes 5440030
OE Solutions Spare Tire And Jack Tool Kit 926-805
The spare tire jack handle is an ideal repair tool you would want to replace right away. If your spare tire tool kit is missing the last thing you want is to be stuck on the side of the road unable to
Milwaukee 4 in. x 1/4 in. Slotted Flat Head Screwdriver with Cushion Grip MT206
The Milwaukee® 1/4" Slotted 4" Cushion Grip Screwdrivers (USA) are manufactured to give the professional the best-fitting screwdriver with max grip. These screwdriver tips are custom machined to deliver
Phillips head screwdriver
This is a type of screwdriver that has a cross-shaped tip.
DRAIN AWAY TRAY 12 in. Dia Grey Plastic Drain Tray 12GREY
Drain Away drain tray features a sloped gutter making sure you never have a puddle, while simultaneously keeping your decks and patios dry. Use a Drain Away tray alone or connect them together for easy,
PlasticMill 24 in. W x 24 in. H 7-10 Gal. 6 mic Clear High Density Bags (1000- Count) PMHD24246C1000
These 7 Gal. to 10 Gal. bags are a full 6 mic thick, and are an ideal solution for those that don't have sharp items like paper towel etc. These are a star sealed bag which is virtually leak-proof and
TOOLBOX Z400 Blue 55-Count roll of Shop Towel Cleaning Wipes 5440030
Blue Shop Towels (55-Count) are just the right size to handle your dirtiest and toughest wiping applications. Shop Towels are ideal for general shop, industrial or home garage applications to absorb grease
Steps

Locate Engine Air Filter Housing
2 minutesOpen the hood of your vehicle and visually inspect the engine compartment. The engine air filter housing is typically a prominent black plastic box connected to the engine's air intake system. It's often located on one side of the engine bay and may have a large-diameter hose leading away from it.
Watch: Access the Air Filter Housing
Remove Old Air Filter
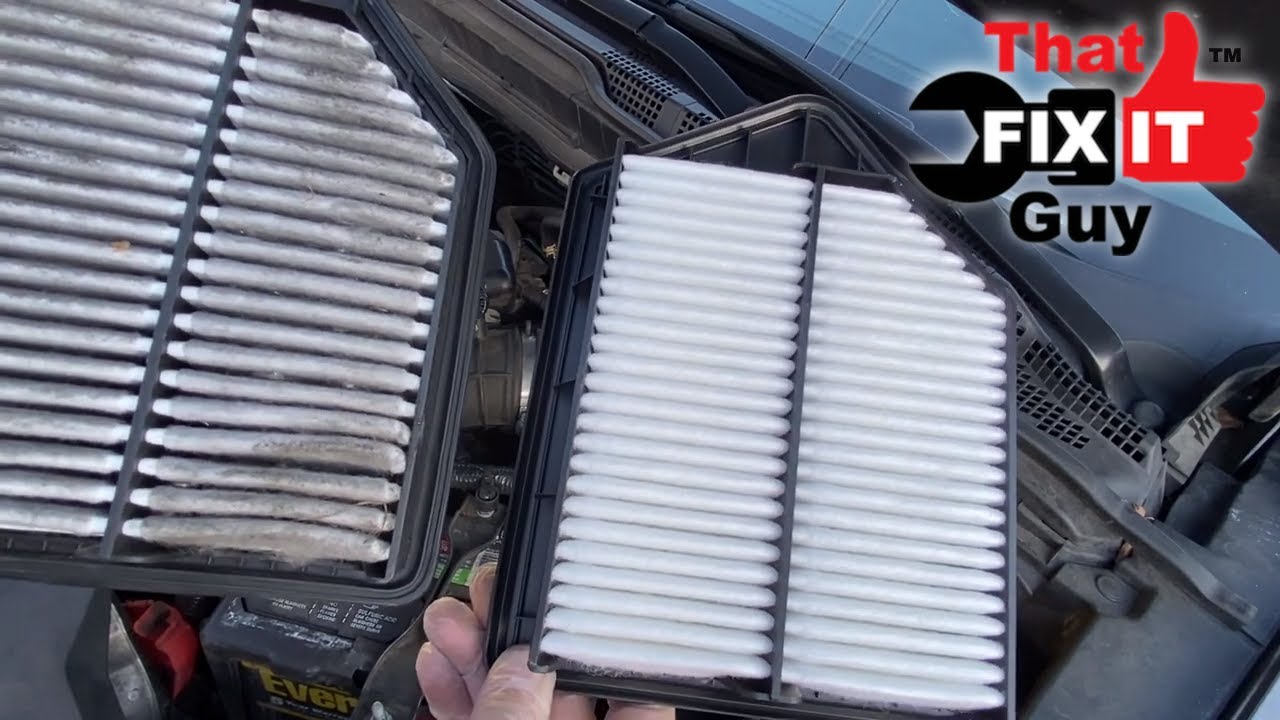
3 minutesWith the housing cover loosened or removed, you should be able to see the old air filter. Gently grasp the filter and pull it straight up and out of the housing. Note the orientation of the old filter as you remove it, as the new filter will need to be installed in the same way.
Watch: Remove Old Air Filter
Clean Air Filter Housing
5 minutesBefore installing the new filter, take a clean rag or shop towel and wipe the interior surfaces of the air filter housing. Pay attention to the seal area where the cover meets the base to ensure a good seal with the new filter. This step prevents old dirt from immediately contaminating the new filter.
Watch: Clean Air Filter HousingInstall New Air Filter
3 minutesTake the new air filter and orient it exactly as the old one was. Gently slide it into the housing, making sure it sits flat and evenly. The rubber gasket or foam seal on the new filter should create a snug fit against the housing base.
Watch: Install New Air Filter
Secure Air Filter Housing Cover
5 minutesOnce the new filter is in place, carefully align and lower the housing cover back onto the base. If there are clips, press them back into their locked positions. If there are screws, thread them back into their original holes and tighten them securely, but do not overtighten, as this can strip the plastic.
Watch: Reattach Air Filter Housing CoverCommon Problems
The clips or screws on the air filter housing are stuck or difficult to open, or you accidentally strip a screw head.
Solution: For stuck screws, ensure you're using the correct screwdriver type (Phillips or Flathead) and size that fits snugly. Apply firm, steady pressure while turning. If a screw head is stripped, you might need a screw extractor kit or use pliers to grip the head if it protrudes. For stubborn clips, gently pry with a flat-head screwdriver or trim removal tool while wiggling. If a clip breaks, you might need to find a replacement clip or, in severe cases, a new housing.
Prevention: Always use the correct size and type of screwdriver for the fasteners. Understand how clips operate before forcing them open. Turn screws slowly and with appropriate force, especially on plastic housings, to avoid stripping.
The new air filter doesn't seem to fit or sit correctly in the housing, leaving gaps around the edges.
Solution: Remove the new filter and carefully compare it to the old one. Check for any differences in size, shape, or orientation. Ensure you've removed all packaging from the new filter. When re-installing, make sure any directional arrows or 'UP' labels on the filter are pointing correctly (usually towards the engine). Gently press down on all edges of the filter to ensure it's fully seated in the housing's groove. If it still won't fit, verify that you purchased the correct filter for your vehicle's make, model, and year.
Prevention: Before purchasing, always double-check the filter's part number against your vehicle's requirements (check your owner's manual or a reliable online parts finder). When installing, pay close attention to the filter's design and any markings to ensure correct orientation.
Dust, leaves, or other debris accidentally fall into the air intake tube leading to the engine.
Solution: If you see debris fall into the intake, immediately use your shop vacuum with a narrow attachment to carefully suck out the debris. Be extremely cautious not to push the debris further into the engine. If the debris is large or you cannot reach it, it's best to consult a professional mechanic, as ingested debris can cause engine damage.
Prevention: Before opening the housing and removing the old filter, use your shop vacuum to clean around the entire air filter housing. When removing the old filter, lift it straight up and out. After removing the old filter and before cleaning the housing, place a clean shop towel into the intake opening (without pushing it far in) to act as a temporary barrier, removing it just before installing the new filter.
After installing the new filter, the engine runs roughly, or a 'Check Engine' light appears.
Solution: Immediately and safely pull over, turn off the engine, and open the hood. The most common cause is the air filter housing cover not being properly sealed. Carefully re-inspect the housing to ensure it's fully seated and all clips or screws are securely fastened. A loose housing allows unfiltered air to bypass the filter, confusing the engine's sensors. Also, check if any nearby hoses or electrical connectors (like the Mass Air Flow sensor, if present) were accidentally dislodged; reattach them if so. Start the car again. If the issue persists, seek professional help.
Prevention: After installing the new filter and securing the housing, give the cover a gentle tug to confirm it's firmly attached and perfectly sealed. Be mindful of surrounding wires and hoses during the entire process.
You accidentally over-tighten the screws, stripping the plastic threads or cracking the housing.
Solution: If plastic threads are stripped, the screw will no longer hold securely, compromising the seal. You might attempt to use a slightly larger self-tapping screw as a temporary fix, or if the damage is significant, the housing cover may need to be replaced. If the plastic cracks, it can also lead to air leaks. Small cracks might be sealed with a plastic-compatible epoxy, but larger cracks usually require replacement of the damaged component.
Prevention: When tightening screws on plastic components, apply just enough force until the screw is snug. Do not force it or continue turning once resistance is felt. For plastic, a 'snug plus a quarter turn' is often sufficient. Avoid using power tools unless specifically designed for low torque applications.
Pinching fingers or scraping hands on sharp edges or hot engine components.
Solution: For minor cuts or scrapes, clean the wound with soap and water, apply an antiseptic, and cover with a bandage. For pinched fingers, assess for swelling or severe pain; if serious, seek medical attention. Allow any hot engine parts to cool down completely before attempting to work.
Prevention: Always wear sturdy work gloves to protect your hands from sharp edges, hot surfaces, and dirt. Allow the engine to cool down completely before starting work. Be mindful of pinch points when opening and closing housing clips, and take your time.
Frequently Asked Questions
What specific tools do I absolutely need for this project?
You will typically need a Phillips head screwdriver for most vehicles, and sometimes a flathead screwdriver for certain clamps. A shop towel is helpful for cleaning, and a drain tray or old cloth can catch any debris. While a shop vacuum is listed, it's optional for thorough cleaning.
What are the most important safety precautions or warnings I should be aware of?
Always ensure your engine is turned off and cool before you begin. Be careful not to drop any tools or debris into the engine's intake. After installation, double-check that the air filter housing is fully sealed to prevent unfiltered air from entering the engine.
Is 30 minutes a realistic time estimate for a beginner, or should I plan for longer?
For a beginner, 30 minutes is a good goal, but it's wise to allocate up to an hour. Taking your time to correctly locate the housing, unfasten all clips/screws, and properly seat the new filter will help avoid common mistakes.
What is a common mistake made during air filter replacement, and how can I avoid it?
A common mistake is not properly seating the new air filter or failing to securely close the housing. This can lead to unfiltered air bypassing the filter, potentially damaging your engine. Ensure the filter sits flush in its tray and all clamps/screws are tightened down.
How do I know if my old air filter needs to be replaced, and can I just clean it instead?
You'll know it needs replacing if it appears dirty, dark, or clogged with debris. Most standard paper air filters are designed for replacement, not cleaning, as washing can damage the filtration media. Only reusable (performance) filters are designed to be cleaned and re-oiled.
Are there different types of air filters, and does the specific brand like ACDelco matter?
Yes, there are standard paper filters and performance/reusable filters. While many brands offer quality filters, ensure the new filter (like the ACDelco A1341C) matches the exact specifications for your vehicle's make, model, and engine for optimal fit and performance.
What should I do if the air filter housing is difficult to open or seems stuck?
If the housing is stubborn, carefully re-examine it for any hidden clips, screws, or tabs you might have missed. Some housings require a specific lifting or sliding motion to release. Refer to your vehicle's owner's manual for precise instructions if you're unsure.