AC Coil Cleaning
About This Project
A high-level outline for cleaning the evaporator (indoor) and condenser (outdoor) coils of a residential air conditioning system to improve efficiency and longevity.
Tools & Materials
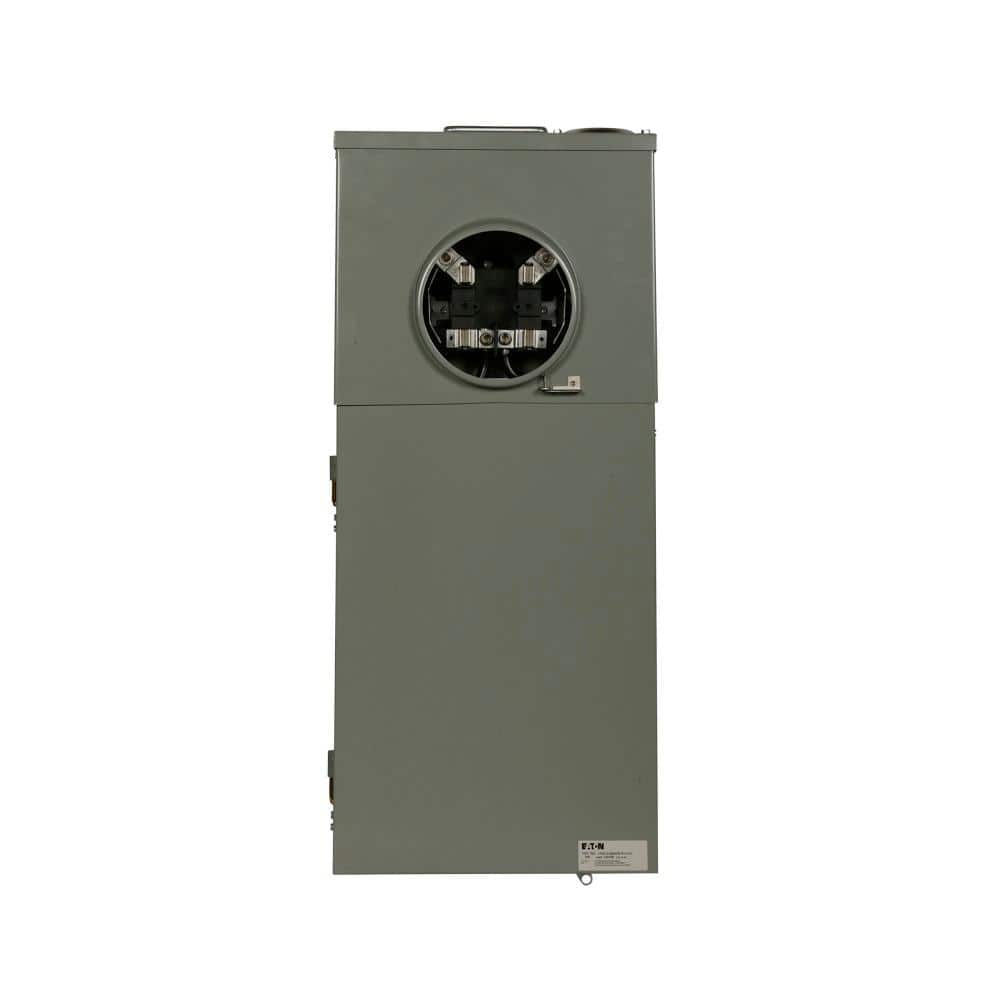
Eaton CH 200 Amp 12-Space 12-Circuit Non-EUSERC Meter Breaker Panel CMB1212B200BTS
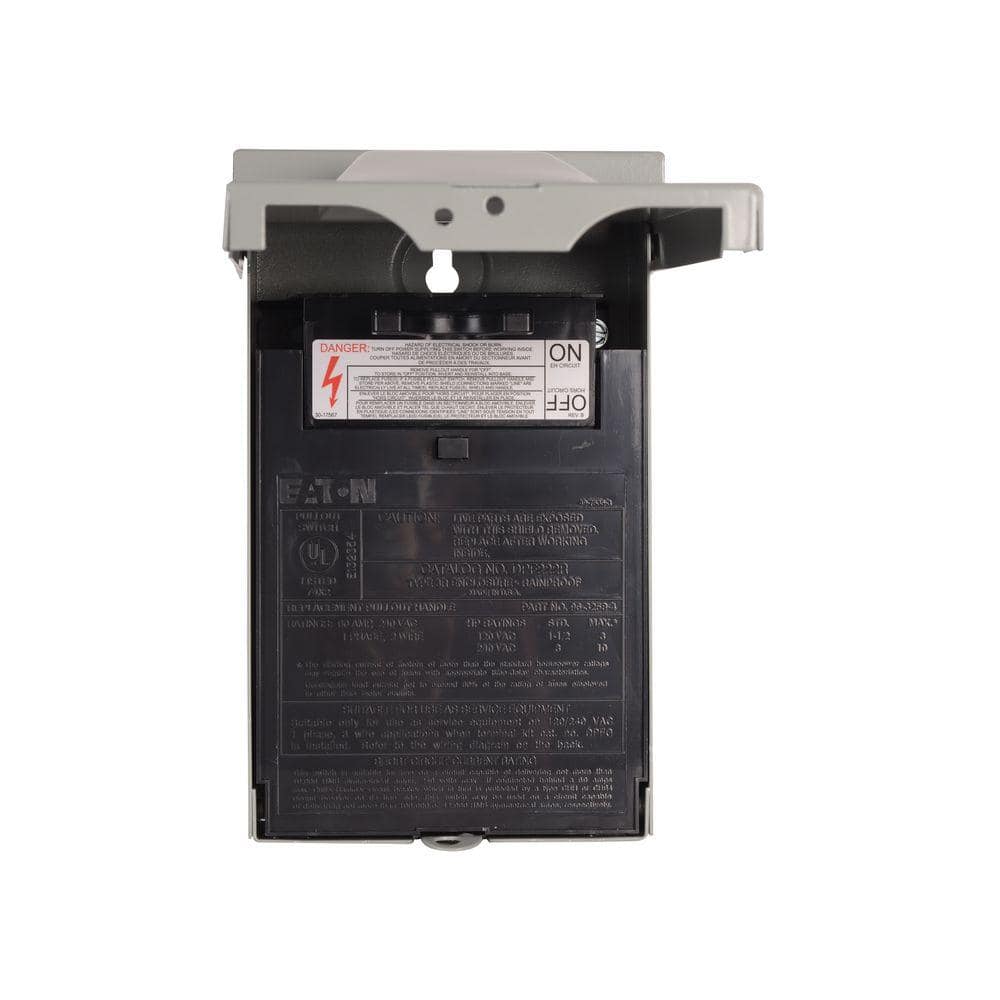
Eaton 60 Amp 120/240-Volt 14,400-Watt Fused Air Conditioning Disconnect DPF222RP
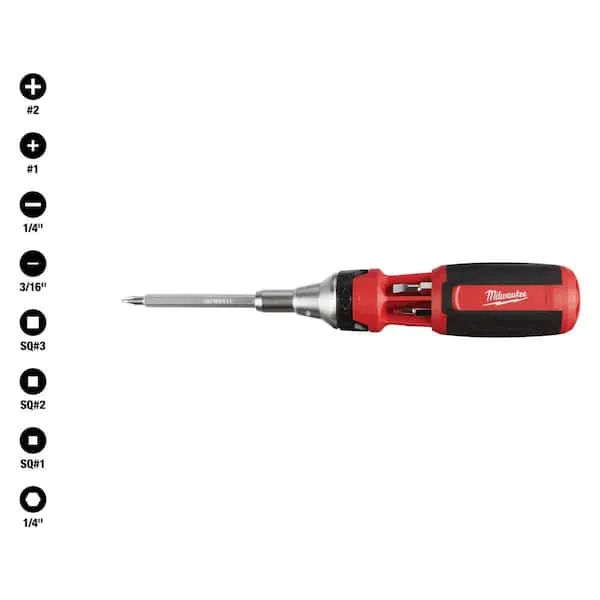
Screwdriver (Multi)
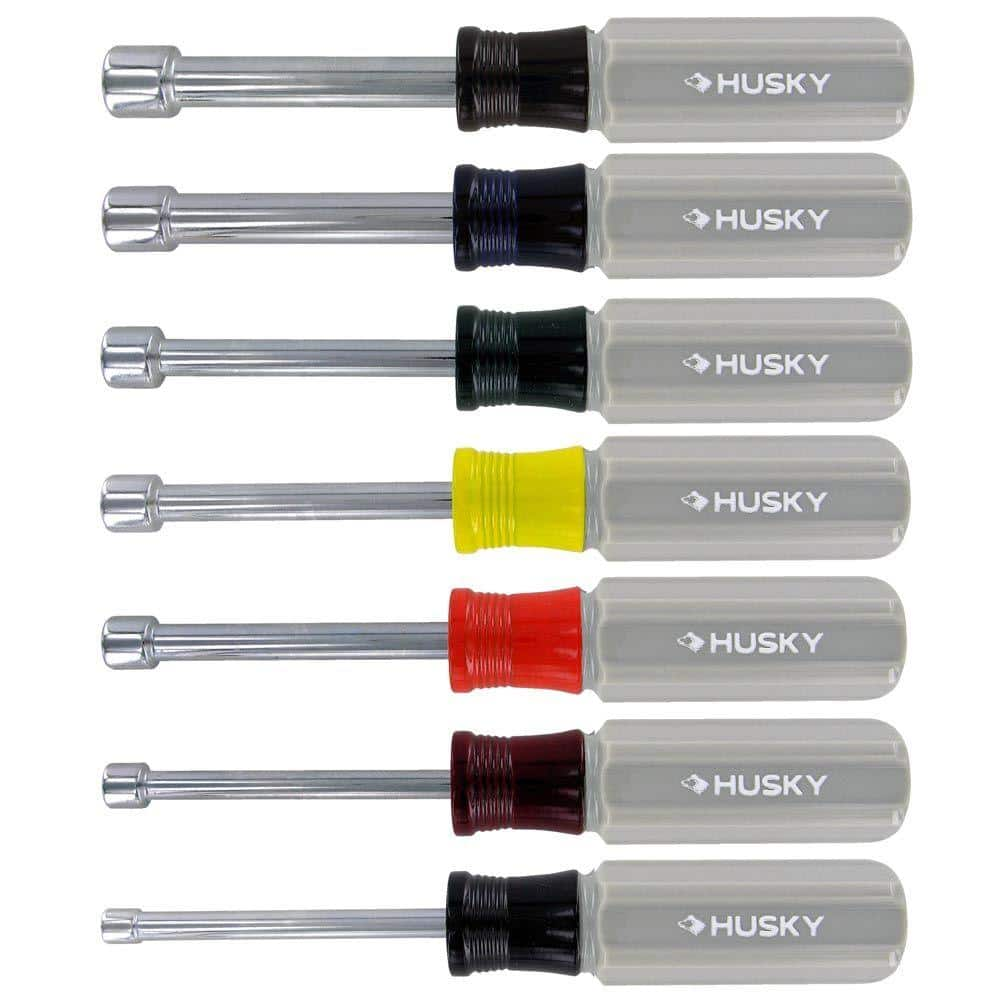
Husky Nut Driver Set (7-Piece) 74510
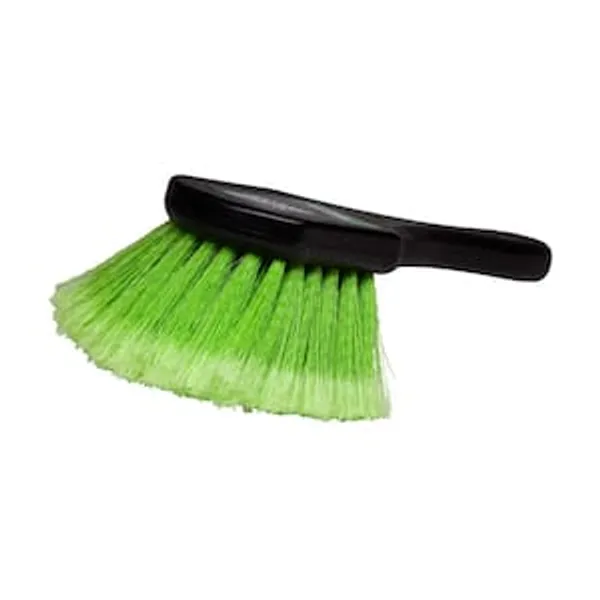
Soft Scrub Brush
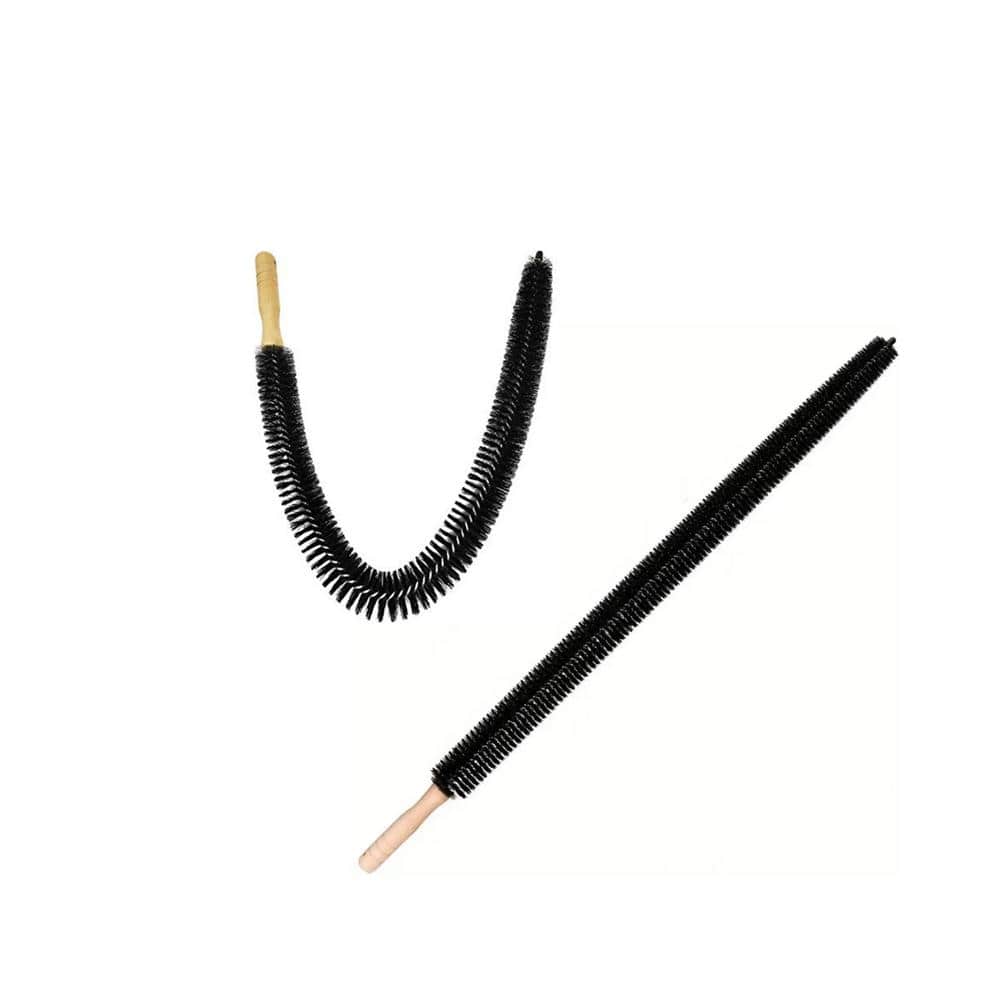
ITOPFOX Dryer Vent Cleaner Kit Lint Remover Scrub Brushes Vent Trap Cleaner Tools Long Flexible Refrigerator Coil Brush (2-Pack) H2SA11OT099
Eaton CH 200 Amp 12-Space 12-Circuit Non-EUSERC Meter Breaker Panel CMB1212B200BTS
Eaton's residential meter breakers are service entrance equipment systems that consist of a single meter socket and load center distribution section. This type of configuration is also known as All-in
Eaton 60 Amp 120/240-Volt 14,400-Watt Fused Air Conditioning Disconnect DPF222RP
The Eaton Cutler-Hammer 60 Amp 120/240-Volt 14,400-Watt Fused Air Conditioning Disconnect is ANSI certified and CSA and UL listed. The unit has a metallic enclosure and is rated for outdoor use. The fused
Screwdriver (Multi)
Multiple bits for versatile use.
Husky Nut Driver Set (7-Piece) 74510
The Husky 7-Piece Nut Driver Set is designed for use with metric-sized hex fasteners and includes 5mm, 6mm, 7mm, 8mm, 9mm, 10mm and 11mm nut drivers. Alloy-steel shafts are heat treated for strength and
Soft Scrub Brush
Gentle cleaning with soft bristles.
ITOPFOX Dryer Vent Cleaner Kit Lint Remover Scrub Brushes Vent Trap Cleaner Tools Long Flexible Refrigerator Coil Brush (2-Pack) H2SA11OT099
Improving cloth dryer working performance by using this brush to cleaning the trapped lint and dust in dryer gap and exhaust port. Preventing fire risks of your beautiful home by using this brush to clean
Steps

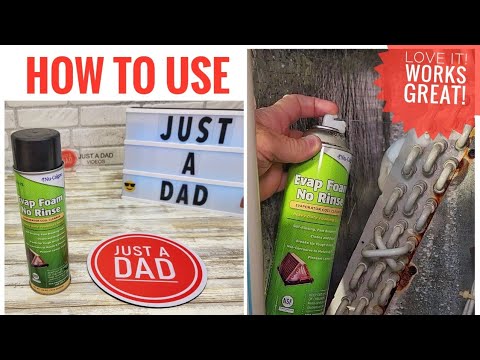
Access Indoor Evaporator Coil
10 minutesIdentify the indoor air handler unit, typically located in an attic, closet, or basement. Remove the filter, and then locate and unscrew or unlatch the access panel that covers the evaporator coil. This may require a screwdriver or a nut driver.
Watch: Access the Evaporator Coil
Clean Evaporator Coil
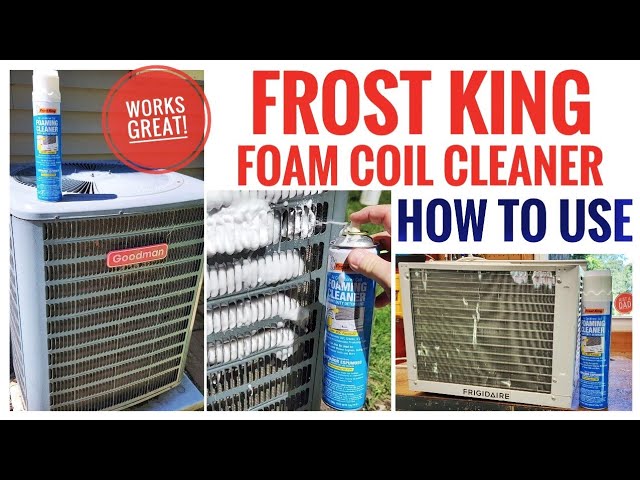
30 minutesSpray a commercial evaporator coil cleaner generously onto the coil fins. Allow the cleaner to sit for the time recommended on the product label, typically 15-20 minutes, to break down the dirt and debris. After the dwell time, use a soft brush or a coil cleaning brush to gently scrub the fins, removing loosened grime. Rinse thoroughly with water, ensuring all cleaner residue is flushed away.
Watch: Apply Cleaner to Evaporator Coils

Clean Condenser Coil
25 minutesUsing a garden hose with a spray nozzle, gently spray the condenser coil from the inside out, if possible, to push dirt and debris away from the fins. Work your way around the coil, ensuring all sides are rinsed. For stubborn grime, a commercial condenser coil cleaner can be used, following the product's instructions. Rinse thoroughly after using any cleaner.
Watch: Clean Condenser Coil
Straighten Coil Fins
15 minutesInspect the coil fins for any bends or damage. Use a fin comb or a thin, flat-bladed tool (like a putty knife or screwdriver, used very carefully) to gently straighten any bent fins. Work slowly and carefully to avoid further damage.
Watch: Straighten Coil Fins (Optional)
Reassemble Outdoor Unit and Restore Power
10 minutesOnce the coil is clean and fins are straightened, reattach the protective grille or access panel to the outdoor unit, securing it with screws or clips. Return to the circuit breaker panel and switch the AC system back on. Turn the thermostat to a cooling setting to test the system.
Watch: Reassemble Unit and Reconnect PowerCommon Problems
Accidental electrical shock or unit short circuiting when starting work.
Solution: Immediately stop all work. Go to your electrical panel and locate the breaker for your AC unit (it might be labeled 'AC,' 'Furnace,' or 'Blower'). Turn this breaker completely OFF. If you are unsure, turn off the main breaker to your entire home. Never proceed with any work until you are certain the power is off.
Prevention: Always turn off power to the AC unit at two locations: first, at your thermostat (set to 'Off'), and second, and most importantly, at the main electrical breaker panel for your house. Do this before touching any part of the AC unit. It's a good practice to use a non-contact voltage tester to confirm power is off before handling wires.
Bent or damaged coil fins after cleaning, which can reduce efficiency.
Solution: Gently use a fin comb (or the thin edge of the Bon Tool spatula if a fin comb isn't available) to carefully straighten the bent fins. Work slowly and apply very light pressure to avoid further damage. The goal is to make them as straight as possible without forcing them.
Prevention: When cleaning the coils, use a gentle stream of water, not a high-pressure spray from the hose nozzle. Use only soft brushes (like the dryer vent cleaner brush or a soft scrub brush) and brush in the direction of the fins, not across them. Avoid pressing too hard.
Water leaking into your home or onto electrical components when cleaning the indoor evaporator coil.
Solution: Immediately stop spraying water. Use your shop vacuum to suction up any standing water in the drain pan or around the unit. Use towels to thoroughly dry any wet areas, especially around electrical connections. If water got into electrical components, allow ample time (at least 24-48 hours) for everything to dry completely before restoring power, to prevent damage or safety hazards.
Prevention: Before cleaning the indoor coil, lay down old towels or plastic sheeting on the floor and surrounding areas to catch any drips. Be very careful to aim your spray directly at the coil and avoid splashing water onto the fan motor, wiring, or control board. Ensure the condensate drain line is clear before you start by pouring a small amount of water down it and watching it drain.
Stripping screws or breaking plastic tabs on access panels during removal or reassembly.
Solution: If a screw is stripped, try using a slightly larger screwdriver bit or a specialized screw extractor. If a plastic tab or fastener breaks, you might need to use strong adhesive tape (like HVAC foil tape) or consider replacing the panel if it significantly affects how the unit seals or operates. For a stripped screw hole, you might need to use a slightly larger screw or a wall anchor if it's in a non-critical area.
Prevention: Always use the correct size screwdriver or nut driver that fits snugly into the screw head. Turn screws slowly, applying firm but not excessive pressure. When reassembling, tighten screws until they are snug, then stop – do not overtighten. Be gentle when prying or pulling on plastic access panels.
AC unit doesn't turn on or cool properly after the cleaning project is complete.
Solution: First, re-check that the circuit breaker for your AC unit is turned ON at your electrical panel. Then, ensure all access panels on both the indoor and outdoor units are securely closed; some units have safety switches that prevent operation if panels are open. Verify that the thermostat is set to 'Cool' and the temperature is set lower than the current room temperature. If you disconnected any wires, double-check that they are reconnected correctly and securely.
Prevention: Take photos with your phone of the wiring and how panels are positioned before you start disassembling anything. This creates a visual guide for reassembly. Follow all reassembly steps carefully and systematically, ensuring everything is put back exactly as it was found.
Frequently Asked Questions
What's the most critical safety step I must take before starting to clean my AC coils?
The absolute most critical step is to turn off all power to your AC unit at both the thermostat and the electrical disconnect switch or circuit breaker. This prevents accidental startup or electrical shock while you're working with water and electrical components. Always verify the power is off before touching any part of the unit.
What specialized tools are essential for cleaning AC coils effectively, beyond basic household tools?
You'll definitely want a specific coil brush or fin comb to safely clean between the delicate fins without bending them. A wet/dry shop vacuum is also very useful for thoroughly removing debris from the outdoor unit. For the indoor evaporator coil, a long, flexible brush designed for appliance coils helps reach deep into tight spaces.
How often should I clean my AC coils, and what are the signs that they need cleaning?
AC coils should generally be cleaned annually, ideally before the peak cooling season. Signs they need cleaning include reduced cooling efficiency, noticeable increases in energy bills, or visibly dirty, dusty, or grimy fins on either the indoor or outdoor unit. Reduced airflow from your vents is another key indicator.
What are some common mistakes beginners make when cleaning AC coils that I should avoid?
A common mistake is not fully disconnecting power to the unit, which is a serious safety hazard. Another is using excessive water pressure or a stiff brush, which can easily bend the delicate aluminum fins and restrict airflow. Also, ensure the indoor unit is completely dry before reassembling to prevent mold growth or electrical issues.
Is AC coil cleaning truly a beginner-friendly project, and how long should I expect it to take?
Yes, it is considered a beginner-friendly maintenance task, but it requires patience and attention to detail, especially when handling the delicate coil fins. The project is estimated to take around 4 hours for both the indoor and outdoor units, including time for disassembly, cleaning, drying, and reassembly. Take your time to avoid damage.
Can I just spray my outdoor condenser unit with a garden hose, or is a more thorough cleaning necessary?
While a light rinse with a garden hose can remove superficial dust, it's not enough for a thorough cleaning of an outdoor unit. Proper cleaning involves removing larger debris, using a specialized coil cleaner if needed, and carefully brushing out grime lodged deep between the fins. Simply hosing it down might not reach trapped dirt and could even push it deeper into the coil.