Rust Removal
About This Project
This project outlines the process for removing rust from various items. It covers identifying the type of rust, selecting the appropriate removal method (mechanical, chemical, or electrolytic), preparing the surface, executing the removal, and applying a protective finish to prevent future rusting.
Tools & Materials
ALC 5 in. x 6 in. Replacement Lens 40025
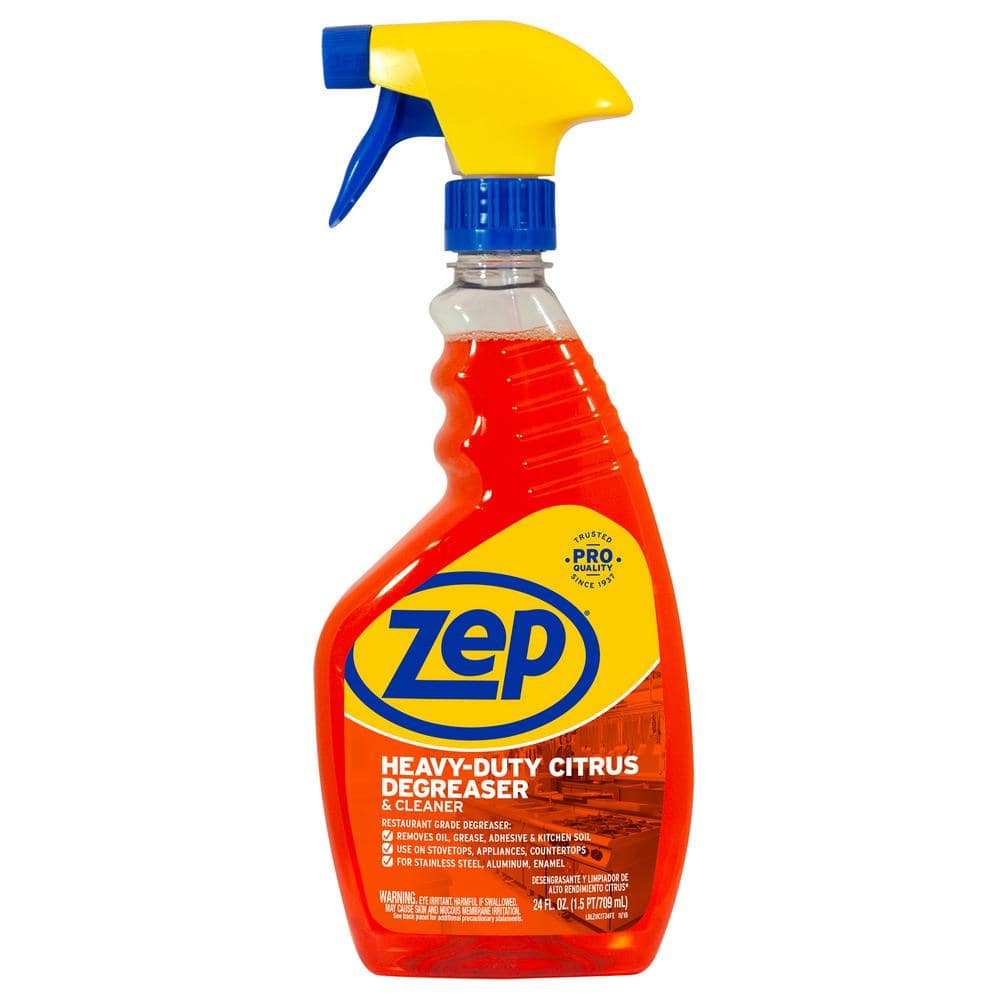
ZEP 24 oz. Heavy-Duty Citrus Degreaser ZUCIT24
THE CLEAN STORE Terry Towel Cleaning Cloths Standard, White (100-Pack) 79428
Water
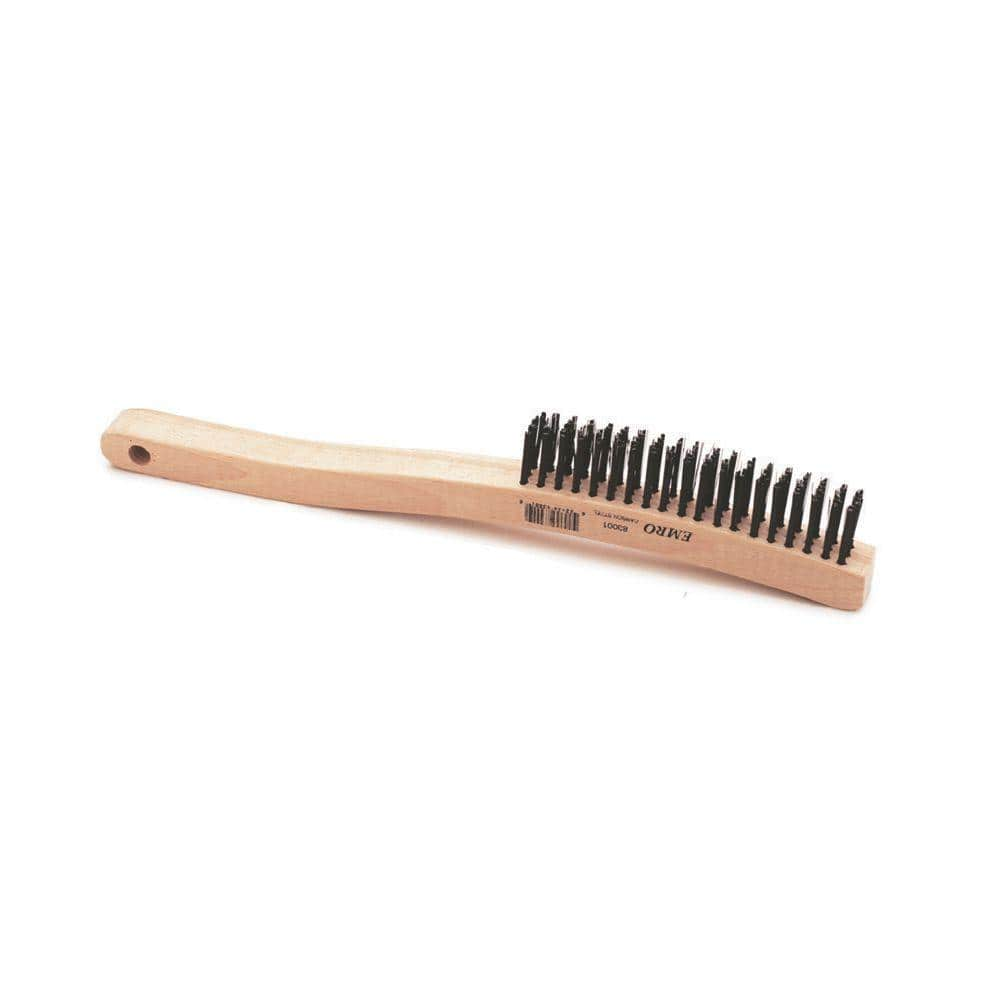
Lincoln Electric 14 in. Long Wooden Handled Carbon Steel Welding Wire Brush (.7 in. x 6.4 in. Bristle Area 3 x 19 Row) KH584
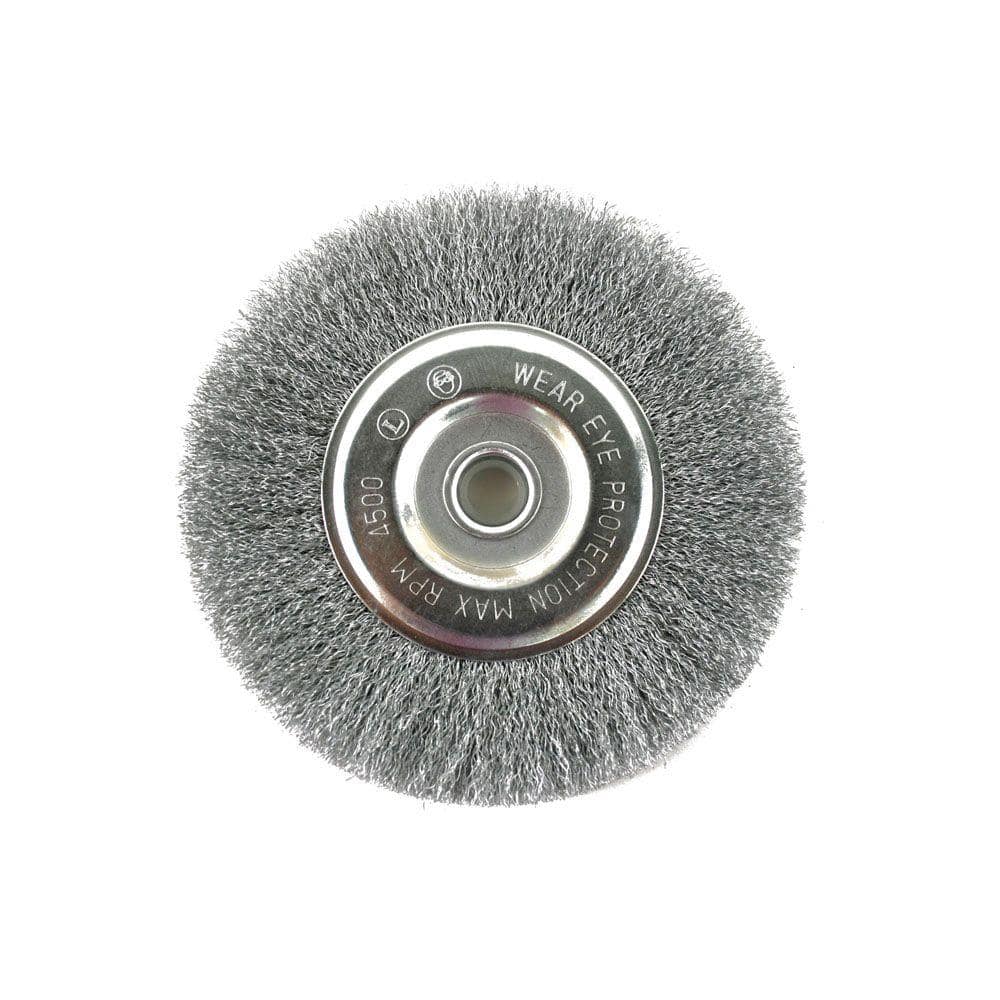
Avanti Pro 4 in. Crimped Wire Wheel PWW040WHLD01G
ALC 5 in. x 6 in. Replacement Lens 40025
Standard hood lens, 5 in x 6 in. Made of plexiglass. This lens fits all ALC hoods except for 40339.
ZEP 24 oz. Heavy-Duty Citrus Degreaser ZUCIT24
This powerful multi-purpose cleaner and degreaser are made with a natural citrus solvent that powers through the toughest grease, dirt and grime. Dissolving away the most stubborn stains, ZEP Heavy-Duty
THE CLEAN STORE Terry Towel Cleaning Cloths Standard, White (100-Pack) 79428
The Clean Store Auto Detailing Terry Cloths Towels offer the perfect combination of softness and strength. The high-quality pure cotton soft plush cleaning cloth is extremely convenient and reusable. These very durable towels are finished with a hemmed edge. The ultra-soft material will not scratch paints of any surface and is perfect for Multi-purpose usage for cleaning cars, windows and other uses. The cotton cleaning cloths measure approximately 14 in. x 17 in. and make a useful addition to any home, office, automobile or construction site.
Water
Essential for life and countless tasks.
Lincoln Electric 14 in. Long Wooden Handled Carbon Steel Welding Wire Brush (.7 in. x 6.4 in. Bristle Area 3 x 19 Row) KH584
Carbon steel long handle wire brush. An extremely heavy duty brush with hundreds of bristles imbedded in a wood handle in three rows. Tempered steel wire bristles are great for all purpose cleaning.
Avanti Pro 4 in. Crimped Wire Wheel PWW040WHLD01G
Effortlessly remove paint and rust with this affordable drill attachment from Avanti Pro. The 4 in. Crimped Wire Wheel has a sturdy 1/4 in. shank that fits securely in most drills and is rated for use
Steps
Identify Rust Type
5 minutesInspect the rusted object carefully. Surface rust appears as a reddish-brown powder on the metal. Scale is a thicker, darker, and more brittle layer, often found on steel that has been exposed to high heat. Pitting is characterized by small holes or indentations in the metal surface, indicating deeper corrosion.

Select Rust Removal Method
10 minutesFor light surface rust, mechanical methods like sanding or wire brushing may suffice. For heavier rust, scale, or pitting, chemical rust removers or electrolysis might be more effective. Consider the material of the item; some chemicals can damage certain metals or finishes. Electrolysis is effective for intricate parts but requires more setup. If the item is valuable or delicate, a gentler method is advisable.
Watch: Chemical Rust Dissolver Application
Prepare the Item for Removal
15 minutesWash the item with soap and water, or a degreaser if necessary, to remove any surface contaminants. Rinse thoroughly and dry completely. This ensures that the rust removal agent or tool can directly contact the rust and metal, rather than being hindered by foreign substances. For mechanical methods, this may also involve removing any non-metal components that could be damaged.
Watch: Thorough Cleaning and Degreasing
Execute Mechanical Rust Removal
60 minutesEmploy tools like wire brushes (manual or drill attachments), sandpaper (various grits, starting coarse and moving to fine), steel wool, or abrasive pads. For heavily rusted items, a grinder with a wire wheel or flap disc might be necessary. Work systematically across the rusted areas, applying consistent pressure. The goal is to abrade the rust down to clean metal.
Watch: Mechanical Rust Removal
Execute Chemical Rust Removal
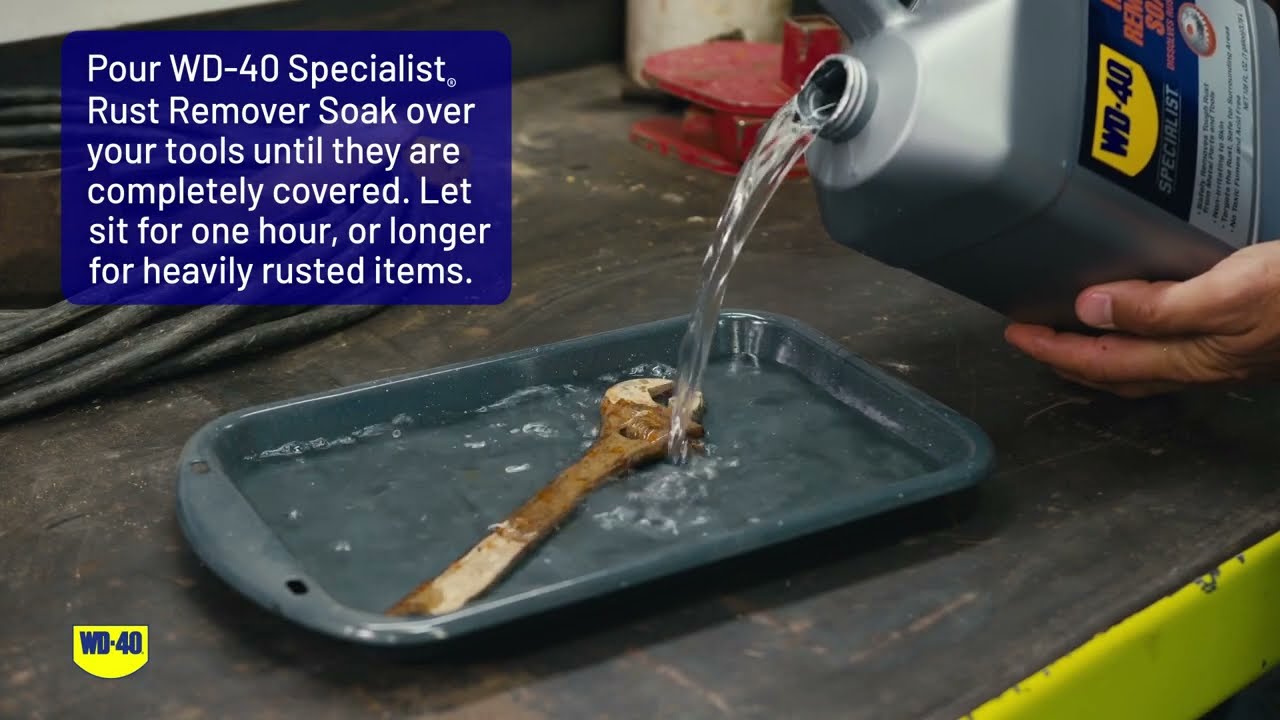
120 minutesFollow the product instructions precisely. Typically, this involves submerging the item in the chemical solution or applying it with a brush or cloth. Allow the recommended soaking or contact time, which can range from minutes to hours depending on the product and severity of rust. Periodically check the progress. Once the rust is softened or dissolved, scrub lightly if needed and then rinse the item thoroughly with water. Neutralize any remaining chemical residue as per product instructions, often with baking soda and water solution, before final rinsing and drying.
Watch: Soak Tools in Rust Remover
Execute Electrolytic Rust Removal
720 minutesSet up an electrolysis bath using a non-conductive container (e.g., plastic bucket), water, washing soda (sodium carbonate), a sacrificial anode (rebar or scrap steel), and a DC power source (like a battery charger). Submerge the rusted item (cathode) and the anode in the solution, ensuring they do not touch. Connect the positive terminal of the power source to the anode and the negative terminal to the rusted item. Turn on the power and let the process run, typically for several hours to overnight. The rust will be converted into a black, flaky substance that can be brushed off. Rinse the item thoroughly with water and dry immediately.
Watch: Perform Electrolytic Rust Removal
Rinse and Dry the Item
15 minutesAfter rust removal (regardless of the method used), rinse the item under running water. For chemical methods, a neutralizing rinse (e.g., baking soda and water) might be required before the final water rinse. Ensure all residue is removed. Immediately and thoroughly dry the item using clean cloths, compressed air, or a heat gun to prevent flash rusting, which can occur very quickly on bare metal.
Watch: Rinse, Dry, and Apply ProtectionApply Protective Finish
30 minutesOnce the item is clean and completely dry, apply a suitable protective finish. For ferrous metals, a primer followed by paint is common. Other options include clear coats, waxes, oils (like WD-40 or mineral oil for tools), or specialized metal protectants. Ensure the finish is applied evenly and according to the product's instructions. This step is crucial to maintain the rust-free condition of the item.
Watch: Apply Rust-Inhibiting Paint and TopcoatCommon Problems
The rust isn't coming off, or only the very light surface rust is being removed, even after significant effort.
Solution: This often means the chosen rust removal method isn't strong enough for the type or severity of rust. If you're using a chemical method, try extending the soak time (within product guidelines) or gently agitating the item with a soft scrub brush. If using mechanical methods (like a wire brush), try a more aggressive abrasive, such as a wire wheel on an angle grinder (e.g., Avanti Pro 4 in. Crimped Wire Wheel with Makita Angle Grinder) for tougher spots. For very heavy, flaky rust, electrolytic removal might be necessary.
Prevention: Carefully identify the type and severity of rust (light, medium, heavy/pitted) during the 'Identify Rust Type' step. Match the removal method to the rust. Don't try to remove heavy, pitted rust with only a mild chemical or light wire brush, as this will be ineffective and waste time.
You accidentally damage or scratch the item's surface during mechanical rust removal.
Solution: Stop immediately. For light scratches, you might be able to polish them out later, depending on the material. For deeper damage, it might require a filler or professional repair, which can be costly. If using an angle grinder, immediately reduce pressure and adjust your technique.
Prevention: Always start with the least aggressive tool and technique. For example, begin with a hand wire brush (e.g., Lincoln Electric or Anvil brushes) before moving to a power tool like a wire wheel or flap disc on an angle grinder. Test your chosen tool and technique on an inconspicuous area first, or on a scrap piece of similar material, to get a feel for how it affects the surface. Use light, even pressure, and keep the tool moving to prevent concentrating abrasion in one spot.
You experience skin or eye irritation, or have trouble breathing due to chemical fumes or rust dust.
Solution: Immediately stop work. If skin is irritated, wash the affected area thoroughly with soap and plenty of water. If eyes are affected, flush them with clean water for at least 15 minutes and seek medical attention. If experiencing breathing difficulty, move to a well-ventilated area or go outdoors. If symptoms persist or are severe, seek medical help.
Prevention: ALWAYS wear appropriate safety gear: safety glasses to protect your eyes, heavy-duty latex gloves (for chemicals) or work gloves (for mechanical work) to protect your hands. Ensure excellent ventilation, especially when using chemicals or creating a lot of dust. Use the VEVOR Portable Ventilator to clear the air, and consider wearing a respirator for fine dust or strong fumes, even if not explicitly listed for your specific chemical, as a good precaution.
New rust (flash rust) appears on the item shortly after you've cleaned and rinsed it.
Solution: This new rust is usually superficial. You'll need to quickly re-remove it, which can often be done with a less aggressive method like a fine wire brush or a mild chemical wipe. The key is to act fast. Once removed, immediately proceed to the 'Apply Protective Finish' step without delay.
Prevention: Flash rusting occurs when bare metal is exposed to oxygen and moisture after cleaning. To prevent this, ensure you thoroughly rinse the item with clean water and then IMMEDIATELY and completely dry it. Use an air compressor (e.g., XtremepowerUS Air Compressor) for quick drying, especially in crevices, or use clean rags. Once dry, apply your chosen protective finish without any delay to seal the surface from moisture and air.
Your electrolytic rust removal setup isn't working or is extremely slow.
Solution: First, check all electrical connections. Ensure the alligator clips (e.g., Klein Tools 3 ft. Heavy-Duty Alligator Clip Test Leads) are securely attached to both the item being derusted (negative terminal) and the sacrificial anode (positive terminal). Make sure the item has good electrical contact throughout. Confirm your power source (e.g., FreeForce Ultralite Power Station) is on and providing power. Verify the electrolyte solution (usually washing soda/baking soda) is mixed to the correct concentration and that the anode material (e.g., EASTMAN Aluminum/Zinc Anode Rod) is making good contact with the positive lead and is not completely corroded or caked over. If the solution is too weak, add more washing soda. Ensure the item and anode are submerged but not touching each other directly.
Prevention: Before starting, double-check your wiring diagram carefully. Use clean, robust alligator clips. Ensure the item is clean enough at the contact point for good electrical connection. Use the correct type and concentration of electrolyte (never use table salt). Regularly check the anode for excessive corrosion that might impede current flow. Don't let the anode or the item touch each other, as this can short the circuit.
The protective finish (paint, sealant, oil) you applied is peeling, bubbling, or not adhering well.
Solution: This usually means the surface wasn't perfectly prepared. You'll need to strip off the failed finish. Then, meticulously reclean the item, ensuring all chemical residues, oils, dirt, and moisture are completely removed. Use a degreaser if necessary. Ensure the item is bone-dry before reapplying the finish. Follow the manufacturer's instructions for the finish precisely, including proper application temperature, humidity, and curing times. Apply thin, even coats rather than one thick layer.
Prevention: The 'Rinse and Dry the Item' step is critical. After rust removal, rinse the item thoroughly to remove all chemical residue or rust particles. Then, dry it completely, using an air compressor for hard-to-reach areas. Before applying the protective finish, make sure the surface is free of any oils (even from your hands), dust, or previous chemical traces. A final wipe-down with isopropyl alcohol can help ensure a clean surface for optimal adhesion of the new finish.
Frequently Asked Questions
What are the most important safety precautions I should take when removing rust?
Always wear appropriate personal protective equipment (PPE), including eye protection, gloves, and a respirator, especially when using mechanical methods like grinding or handling harsh chemicals. For electrolytic rust removal, ensure proper electrical safety and work in a well-ventilated area to dissipate any hydrogen gas produced. Always read and follow the safety instructions for all chemicals and tools used.
Do I need all the listed tools, or are there alternatives for specific rust removal methods?
You likely won't need every tool for every rust removal scenario. The angle grinder and wire wheel are primarily for aggressive mechanical removal of heavy rust. For chemical or electrolytic methods, you'll need containers, chemicals, and potentially the test leads and anode rod. Assess your rust severity and chosen method to select the necessary tools, and simpler tools like a wire brush or sandpaper may suffice for lighter rust.
How do I choose the best rust removal method for my specific item?
The best method depends on the item's material, size, and the severity of the rust. Mechanical removal is effective for heavy rust on durable items but can be abrasive. Chemical methods work well for intricate or delicate items but require careful handling. Electrolytic removal is excellent for heavily rusted ferrous metals as it removes rust without removing base metal.
Is an 8-hour estimated time realistic for a beginner, and what factors might make it take longer?
The 8-hour estimate is a general guideline for a beginner, but actual time can vary greatly. Factors such as the size and complexity of the item, the extent and age of the rust, and the specific method chosen will influence the total duration. Chemical or electrolytic processes often require several hours or even overnight soaking, which contributes to the overall project time even if active work is less.
What is the most common mistake beginners make after removing rust, and how can I avoid it?
The most common mistake is failing to apply a protective finish immediately after removing the rust. Without protection, the cleaned metal will quickly 'flash rust' again due to exposure to air and moisture. To avoid this, thoroughly dry the item immediately after rinsing and apply a suitable primer, paint, clear coat, or rust-inhibiting oil as soon as possible.
What are the primary cost considerations for this project, beyond just the tools?
Beyond the initial purchase of tools, the primary costs will come from consumables and materials specific to your chosen method. This includes rust removal chemicals, sandpaper, wire wheels, and protective finishes like primers, paints, or sealants. For electrolytic rust removal, you'll also need washing soda, a sacrificial anode, and a power source, which can add to the material expense.
Are there any alternative methods or materials for very light rust removal on small objects?
Yes, for very light rust on small, non-delicate objects, you can often use household items. A mixture of baking soda and water to form a paste, or soaking in white vinegar, can be effective. For gentle scrubbing, crumpled aluminum foil with water can abrade surface rust. Always test a small, inconspicuous area first.