Flower Planting
About This Project
A high-level outline for a DIY flower planting project, covering site selection, soil preparation, plant selection, planting techniques, and initial care.
Tools & Materials
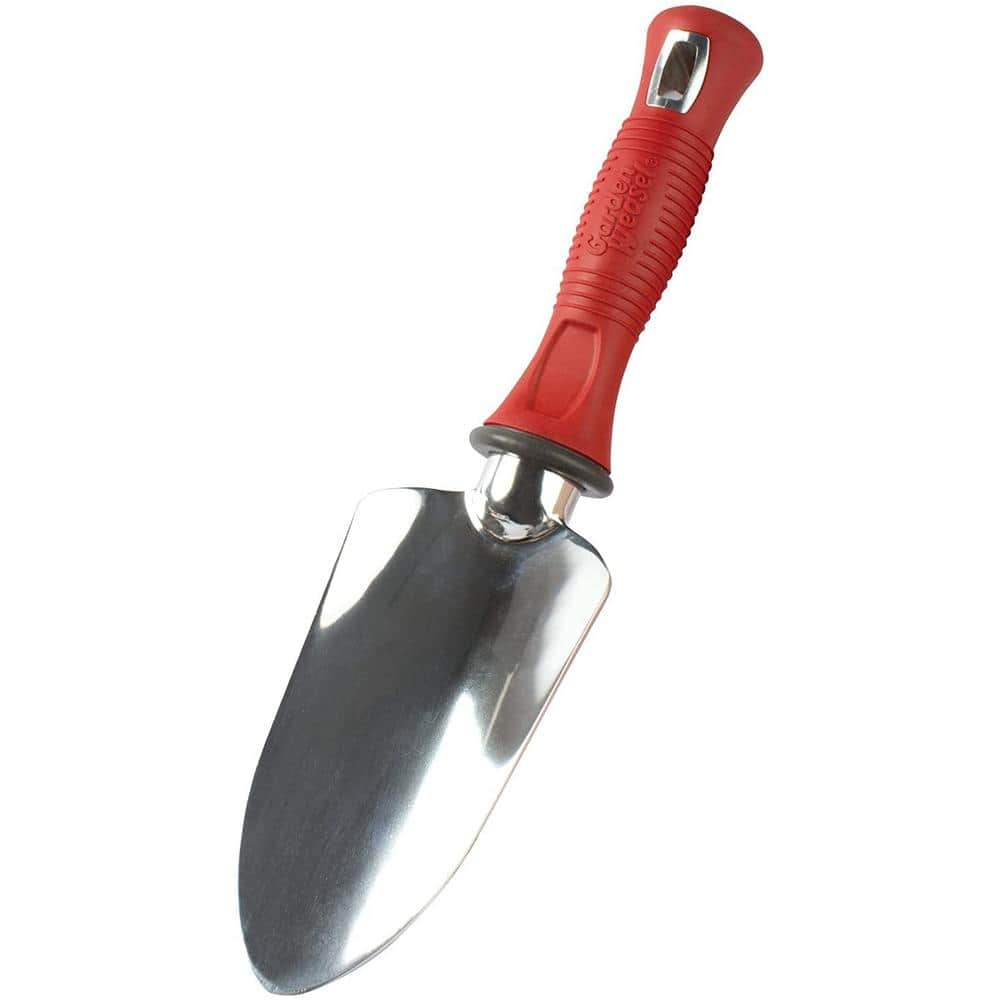
Garden Weasel 12.75 in. Comfort Non-Slip Grip Hand Garden Trowel 91365
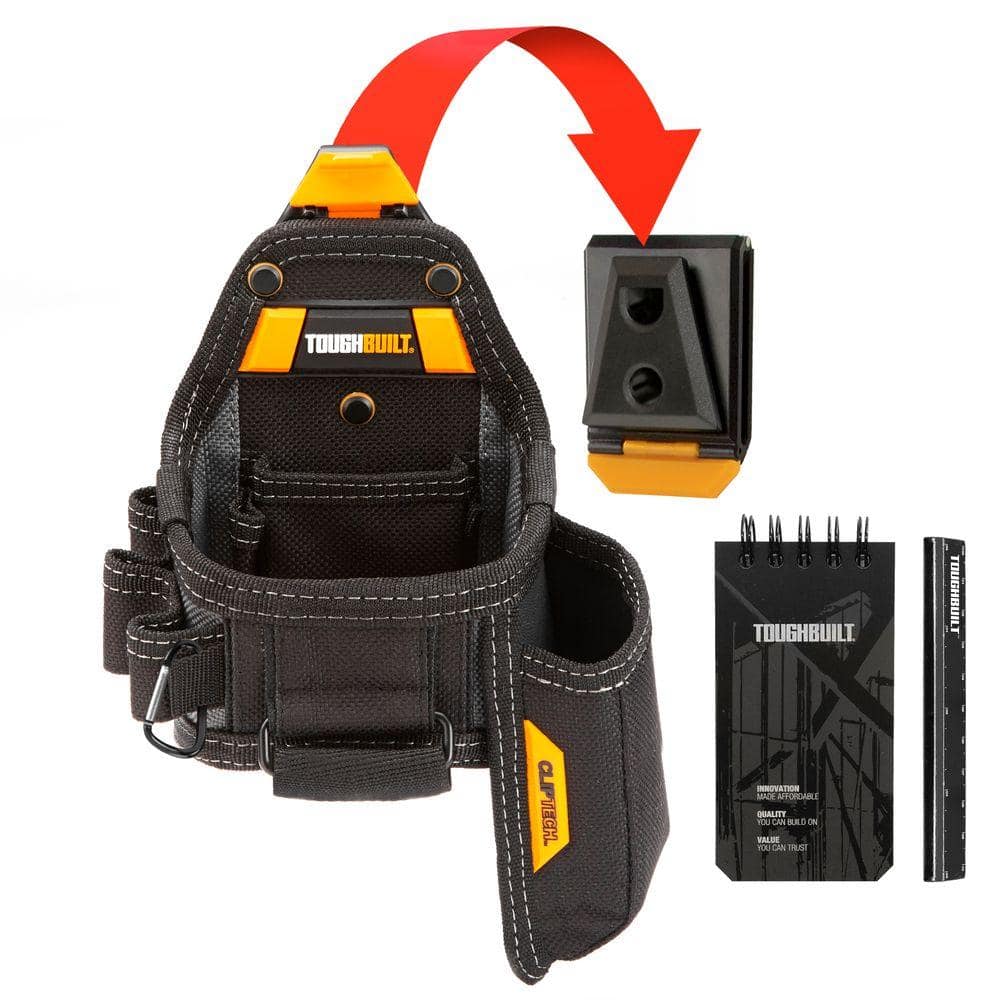
TOUGHBUILT 7-pocket Tape Measure and Utility Knife Pouch, Black with ClipTech Hub notebook, carpenter pencil and carabiner loop TB-CT-25X
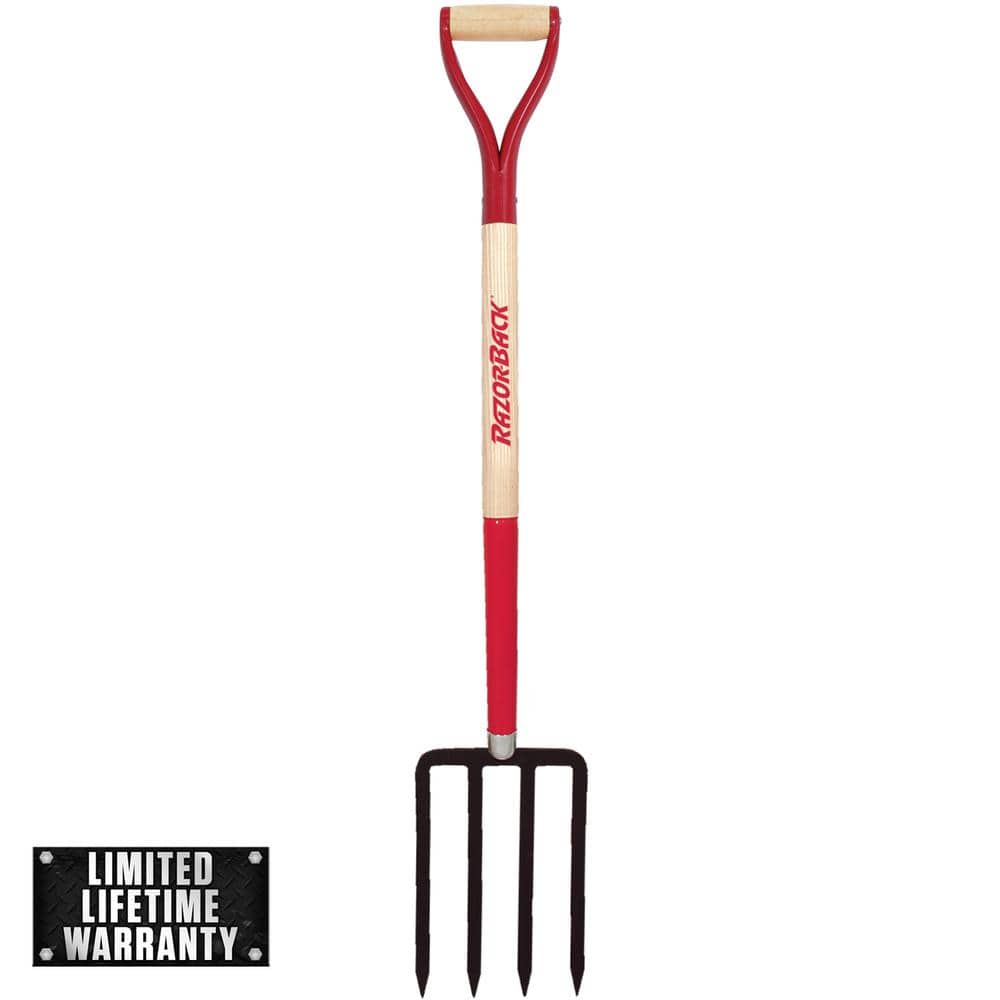
Razor-Back 4-Tine Digging Fork 72103
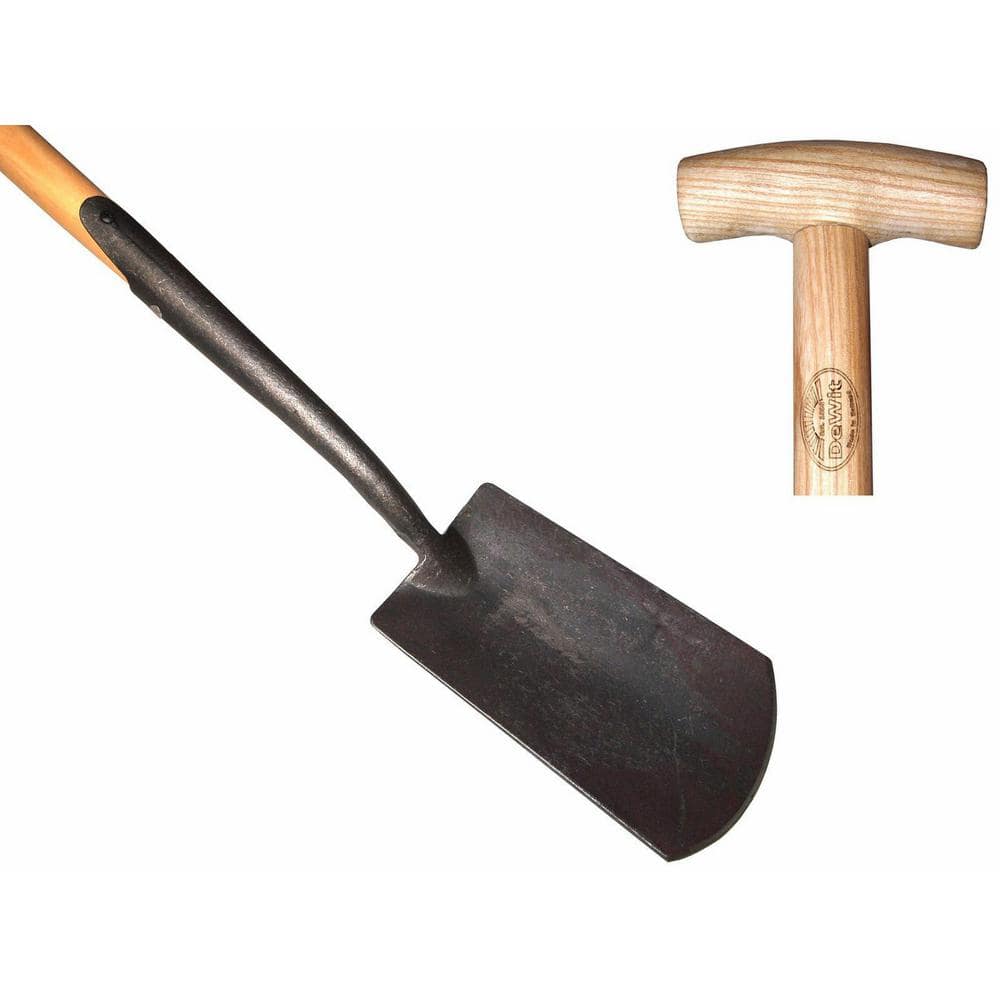
DeWit Dutch Digging Spade 31-2051
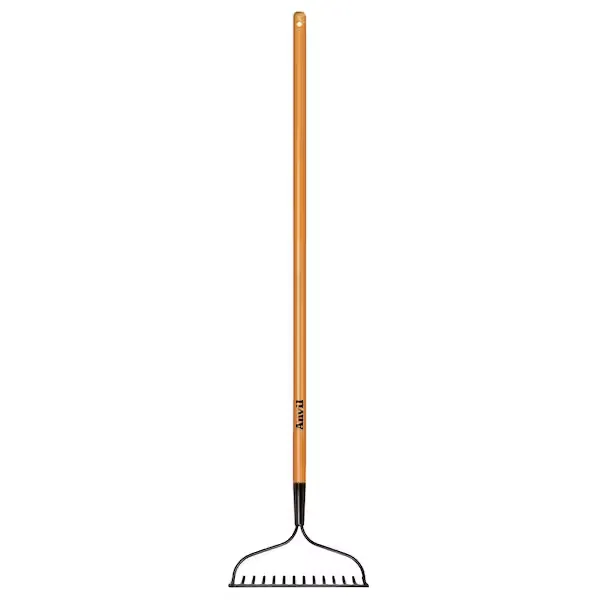
Garden Rake
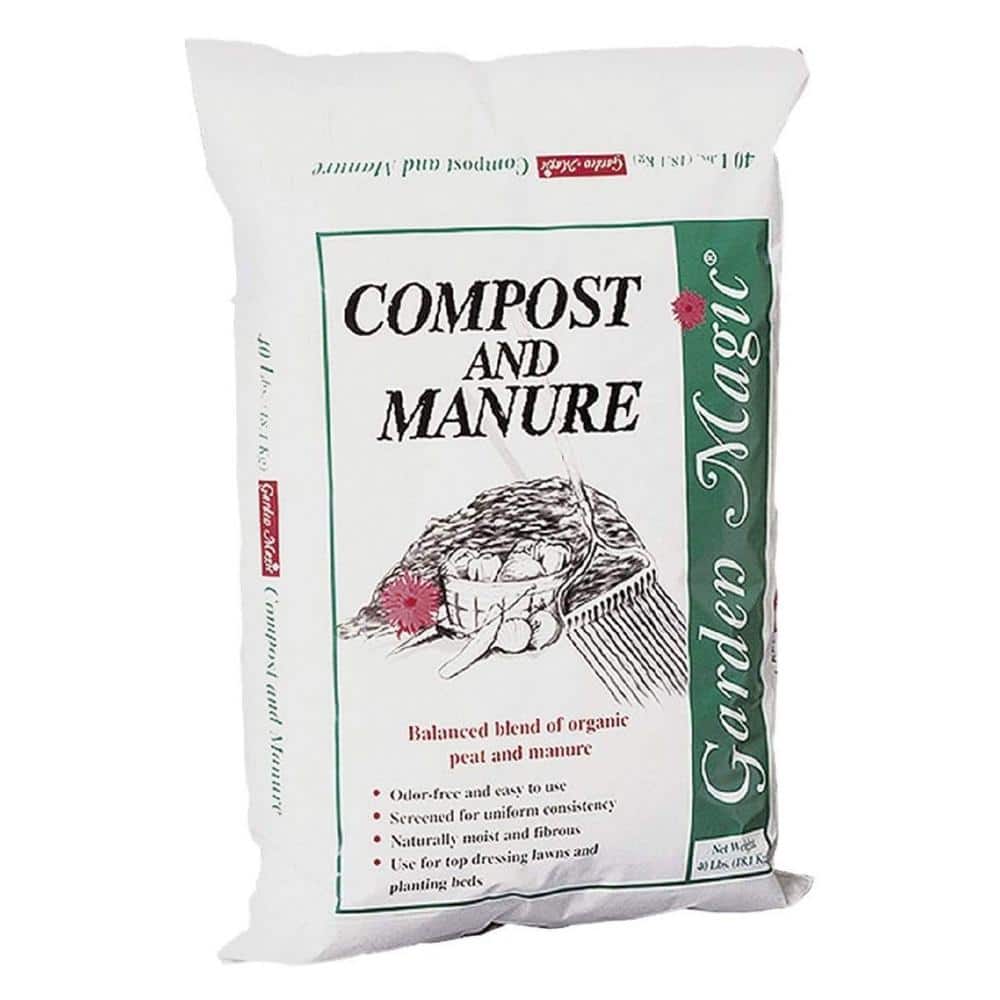
Outdoor Lawn Garden Compost and Manure Blend, 40 Pound Bag 5240
Garden Weasel 12.75 in. Comfort Non-Slip Grip Hand Garden Trowel 91365
The Garden Weasel 91365 Trowel Hand Tool is The Original Gardening Hand Tool. The Weasel Trowel Hand Tool is A Gardening Essential for Digging, Cutting and Planting with Ease. This Tool Comes with A Nonslip
TOUGHBUILT 7-pocket Tape Measure and Utility Knife Pouch, Black with ClipTech Hub notebook, carpenter pencil and carabiner loop TB-CT-25X
The TOUGHBUILT Tape Measure/Utility Knife Pouch transforms how professionals carry their tape measure and knife. The patented ClipTech Hub allows this pouch to clip on and off any belt. Works great alone,
Razor-Back 4-Tine Digging Fork 72103
The Razor-Back spading fork is a multipurpose tool that can be used for turning, digging and loosening all types of soil. It can also be used to transfer loose material. The forged head is made for maximum
DeWit Dutch Digging Spade 31-2051
More than a tool, it's an heirloom, Digging Spade has a one piece forged steel head with ash hardwood handle. T-grip eases stress on hands and back. The sharpened blade slices deeply into the soil and
Garden Rake
Levels or clears soil with its pronged design.
Outdoor Lawn Garden Compost and Manure Blend, 40 Pound Bag 5240
Growing plants need essential nutrients and minerals. Improve the health of your lawn or garden soil with the Compost and Manure Blend from Michigan Peat. This 40-pound bag covers 0.75 cubic feet of space.
Steps

Select Planting Location
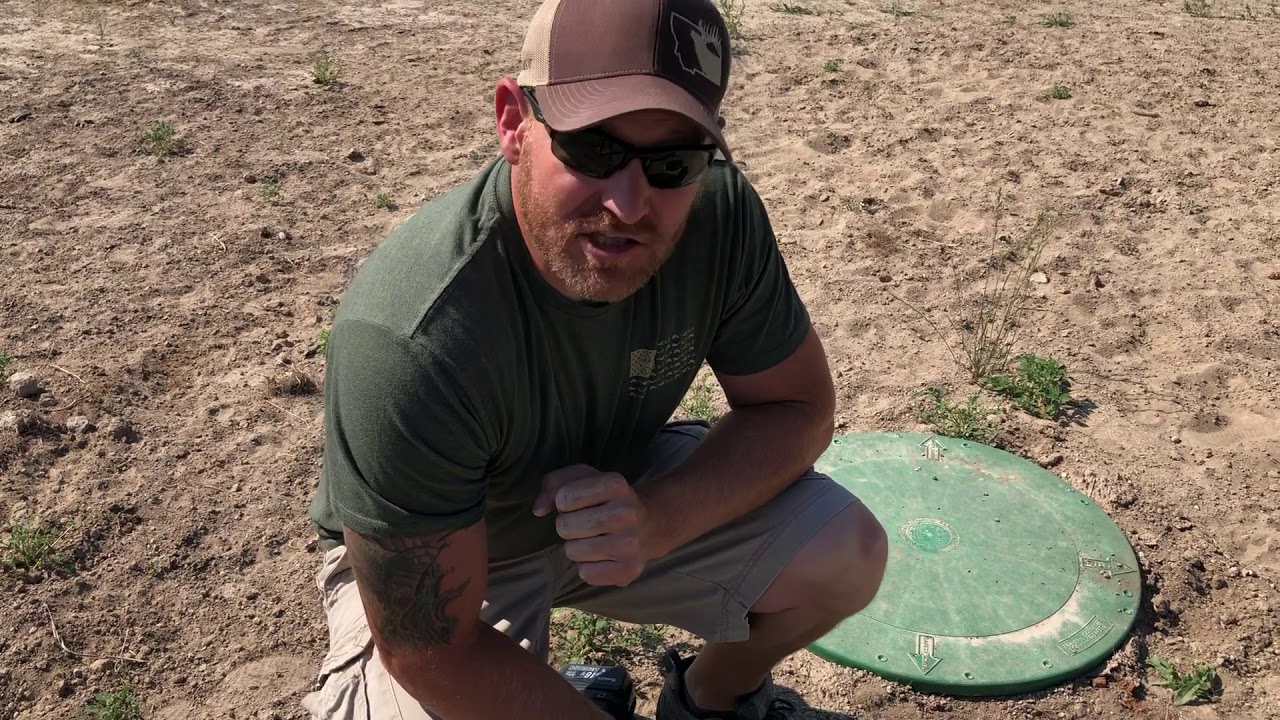
30 minutesIdentify a location for your flower planting that receives adequate sunlight. Most flowering plants thrive in full sun (6-8 hours of direct sunlight per day), but some prefer partial shade. Observe the area throughout the day to assess the light conditions. Also, check for proper drainage; the soil should not remain waterlogged after rain. Consider the mature height and spread of the flowers you plan to plant to ensure they have enough space and won't overcrowd existing plants or structures.
Watch: Select Optimal Garden Site for Sun
Prepare the Soil
60 minutesClear the selected planting area of any weeds, rocks, or debris. Use a garden fork or spade to loosen the soil to a depth of 6 to 8 inches. Incorporate a generous amount of compost, well-rotted manure, or other organic amendments into the loosened soil. This will improve soil structure, enhance drainage, and provide essential nutrients for the flowers. Aim for a loamy texture that is crumbly and free of large clods.
Watch: Prepare the Soil
Select Flowering Plants
45 minutesResearch and select flowering plants that are well-suited to your specific hardiness zone, the amount of sunlight your planting location receives, and your soil conditions. Consider annuals for season-long color or perennials for returning blooms year after year. Think about the mature size of the plants to ensure proper spacing. Choose a color palette and bloom times that will create a visually appealing display throughout the growing season.
Watch: Choose Plants for Your Region, Climate, and Growing Conditions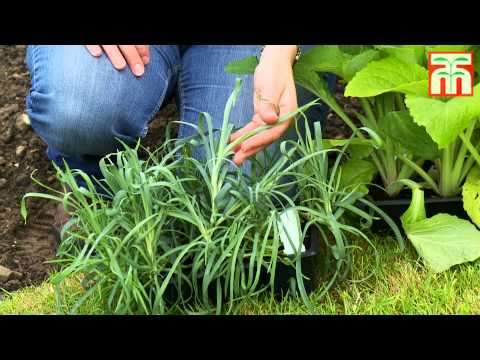
Arrange Plants for Layout
20 minutesBefore digging any holes, arrange the potted flower plants on the prepared soil according to your desired layout. This allows you to visualize the final appearance, check spacing, and make any adjustments to the design. Consider plant heights, with taller plants typically placed towards the back or center, and shorter plants towards the front. Ensure there is adequate space between plants, according to their mature size, to promote good air circulation and prevent overcrowding.
Watch: Layout Plants for Design and Spacing
Plant Flowers
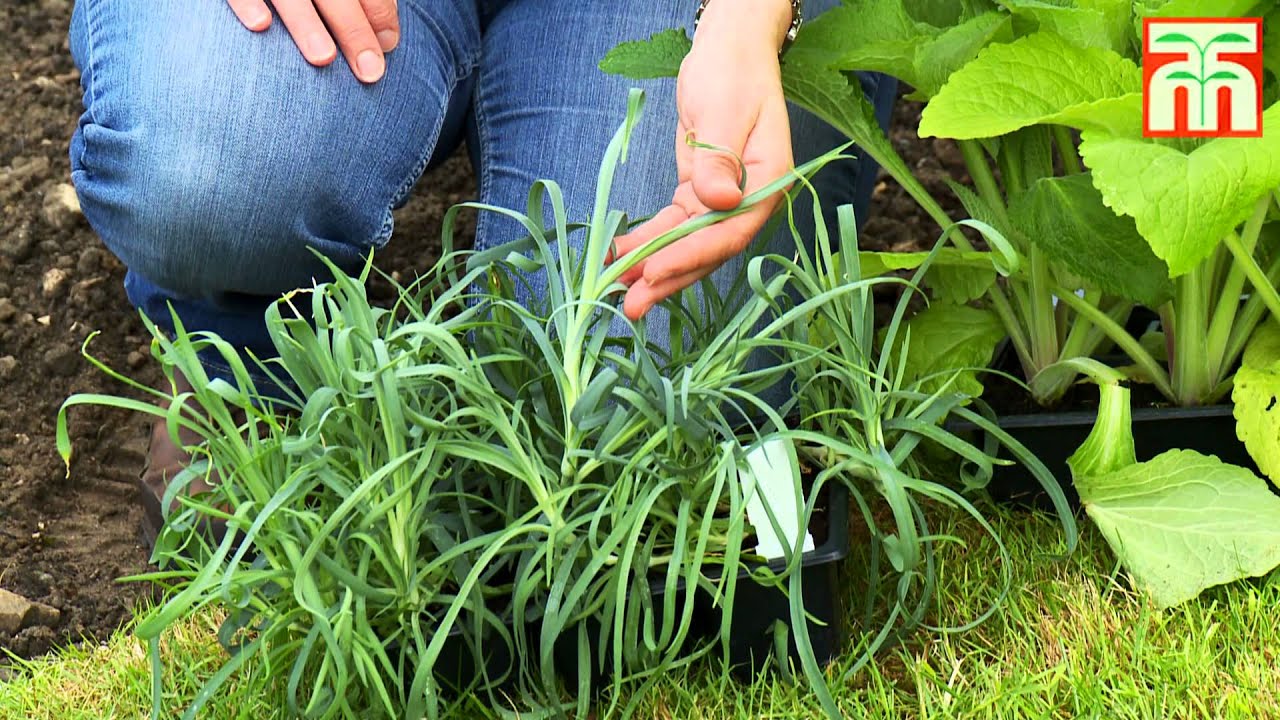
75 minutesDig holes that are as deep as the plant's root ball and about twice as wide. Gently remove each flower plant from its nursery pot. If the roots are tightly bound (root-bound), carefully loosen them with your fingers or a trowel. Place the plant in the center of the hole, ensuring the top of the root ball is level with the surrounding soil. Backfill the hole with the prepared soil, gently firming it around the base of the plant to eliminate air pockets. Repeat for all plants, maintaining the arranged spacing.
Watch: Plant Annuals and Perennials
Water Thoroughly
15 minutesImmediately after planting, water all the flowers thoroughly. Aim to saturate the soil around the root zone, ensuring that water penetrates deeply. This helps to settle the soil, eliminate air pockets, and provide essential moisture to the plants as they establish. Use a watering can or a hose with a gentle spray setting to avoid dislodging the plants or washing away soil.
Watch: Water the Plants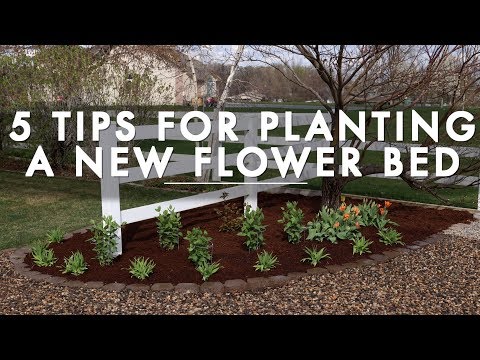
Apply Mulch
30 minutesOnce the flowers are planted and watered, apply a 2-3 inch layer of organic mulch, such as wood chips, shredded bark, or straw, around the base of the plants. Keep the mulch a few inches away from the plant stems to prevent rot and discourage pests. Mulch helps to retain soil moisture, reduce weed growth, and insulate the soil, protecting plant roots from extreme temperatures.
Watch: Apply Mulch
Initial Plant Care
15 minutesFor the first few weeks after planting, regularly check the soil moisture. Water the flowers whenever the top inch of soil feels dry. Continue to remove any weeds that sprout, as they compete with the flowers for water and nutrients. Inspect plants for any signs of pests or diseases and address them promptly. Consistent care during this establishment period is crucial for long-term plant health and vigor.
Watch: Post-Planting Watering and Ongoing MaintenanceCommon Problems
Your newly planted flowers are wilting, turning yellow, or look generally unhealthy within a few days of planting. This is often called 'transplant shock.'
Solution: Check the soil moisture first – is it too dry or waterlogged? Adjust watering as needed. If roots look dry, give them a good soak. If the weather is very hot, provide temporary shade. For severe wilting, you might carefully dig up the plant to inspect roots for damage or rot, then replant with extra care.
Prevention: Before planting, water the plants thoroughly in their original pots. After planting, water immediately and deeply. Try to plant on an overcast day or in the late afternoon to avoid the hottest sun. Gently loosen roots if they are tightly bound, but avoid tearing them.
When you try to dig with the 'DeWit Dutch Digging Spade' or 'Razor-Back 4-Tine Digging Fork', the soil is extremely compacted, hard, or full of rocks, making the work very slow, exhausting, and potentially causing back strain.
Solution: If the soil is dry, water the area thoroughly the day before you plan to dig to soften it up. Use the digging fork to break up clumps and loosen the soil, working in small sections. Remove any large rocks or debris you encounter. You may need to add more of the 'Outdoor Lawn Garden Compost and Manure Blend' or 'Black Kow Manure' to improve soil structure.
Prevention: Prepare your soil well in advance if possible. Always assess the soil moisture before digging – it should be moist, not bone dry or soaking wet. Use the digging fork first to loosen the soil before using the spade for deeper digging. Take frequent breaks and use proper posture: bend your knees, not your back, when lifting.
You accidentally cut yourself with a trowel or spade, or strain your back while digging or lifting bags of soil amendments.
Solution: For minor cuts, clean the wound with soap and water, then apply an antiseptic and a bandage. For strains, rest the affected muscle, apply ice, and take over-the-counter pain relievers if needed. If pain persists or is severe, consult a doctor.
Prevention: Always wear sturdy gardening gloves to protect your hands from cuts and blisters. Ensure tools are clean and sharp (sharp tools are safer as they require less force). Use proper body mechanics when lifting heavy bags or digging – bend at the knees, not the waist, and let your leg muscles do the work. Take breaks and stretch regularly. Store sharp tools safely when not in use.
Despite your effort, pesky weeds are sprouting up rapidly around your newly planted flowers, stealing water and nutrients and making your garden look messy.
Solution: Gently hand-pull weeds as soon as you see them, especially when they are small. Make sure to get the entire root, as even small pieces can regrow. After weeding, apply a fresh, thick layer (2-4 inches) of the 'Earthgro Black Wood Shredded Bagged Mulch' around your plants, making sure not to pile it directly against the plant stems.
Prevention: Before planting, thoroughly clear the area of all existing weeds and their roots using the weeding set or digging fork. Apply the mulch shortly after planting the flowers; this creates a barrier that suppresses weed growth by blocking sunlight and making it harder for seeds to sprout.
Your flowers are not thriving; they might have yellow leaves, look small and weak, or fail to produce many blooms, even after a few weeks. This could be due to nutrient issues or improper light/water.
Solution: First, re-check the plant's light requirements against your planting location – are they getting too much or too little sun? Adjust if possible (e.g., provide temporary shade). Next, check soil moisture by sticking your finger an inch or two into the soil; if it's bone dry or soaking wet, adjust your watering schedule. You can also add a small amount of balanced slow-release fertilizer or more compost/manure if you suspect a nutrient deficiency.
Prevention: Before purchasing, research the specific light, soil, and water needs of your chosen 'Penta Plant Pink Flowers' or 'Cordyline Terminalis Shrub' to ensure they are compatible with your selected planting location. Incorporate the 'Outdoor Lawn Garden Compost and Manure Blend' and 'Black Kow Manure' thoroughly into the soil during preparation to provide a good base of nutrients.
Despite watering, some plants appear dry and stressed, while others show signs of overwatering (yellowing leaves, drooping, mushy stems) because the water isn't distributed evenly.
Solution: Carefully observe how water flows when you use the 'Ames 2-Piece Garden Hose Sprayer Set'. Adjust the nozzle to a gentle shower or soak setting on the watering wand to ensure the water soaks into the soil rather than running off. Water each plant individually at its base, allowing the water to penetrate deeply. You may need to create a small soil berm (a low ridge) around the base of individual plants to help retain water.
Prevention: Take your time when watering, ensuring each plant receives adequate moisture directly at its root zone. Avoid overhead watering which can encourage fungal diseases and evaporate quickly. Check the soil moisture with your finger before watering; only water when the top inch or two of soil feels dry.
Frequently Asked Questions
What are the most essential tools for a beginner flower planting project?
You'll primarily need a hand trowel for digging small holes, a digging spade or fork for larger soil preparation, and a rake to smooth out the bed. A watering can or hose sprayer is also crucial for initial watering.
Are there any specific safety precautions I should take when planting flowers?
Always wear gardening gloves to protect your hands from thorns, soil microbes, and potential skin irritants. Be mindful of your posture when digging to avoid back strain, and stay hydrated, especially on warm days.
Is 4 hours a realistic time estimate, and what's the typical cost for a small flower bed?
Four hours is generally realistic for preparing and planting a small to medium-sized bed. Costs can vary widely, but expect to spend $50-$200 on plants, soil amendments, and mulch for a beginner-level project, depending on the number of plants.
What's the biggest mistake beginners make, and how can I avoid it?
The most common error is inadequate soil preparation. Ensure you deeply loosen the soil and generously mix in organic amendments like compost and manure to provide proper drainage and nutrients for healthy root development.
How do I choose the right flowers for my specific yard conditions?
First, assess your site's sun exposure (full sun, partial shade). Then, research plants that thrive in your hardiness zone and match those light requirements. Read plant tags carefully for mature size and spacing to prevent overcrowding.
What can I use if I don't have access to compost or manure for soil preparation?
While compost and manure are ideal, you can use other organic soil conditioners like peat moss (use sparingly and sustainably sourced) or aged leaf mold. The key is to improve soil structure and nutrient retention for better plant growth.
Why is mulching important, and how soon after planting should I do it?
Mulch is crucial for retaining soil moisture, suppressing weeds, and regulating soil temperature, all vital for new plants. Apply a 2-3 inch layer of mulch immediately after planting and thorough watering, keeping it a few inches away from plant stems.