Deck Staining
About This Project
This project outlines the steps for preparing and staining a wooden deck to protect it from the elements and enhance its appearance. It covers cleaning, repairs, sanding, and the application of stain.
Tools & Materials
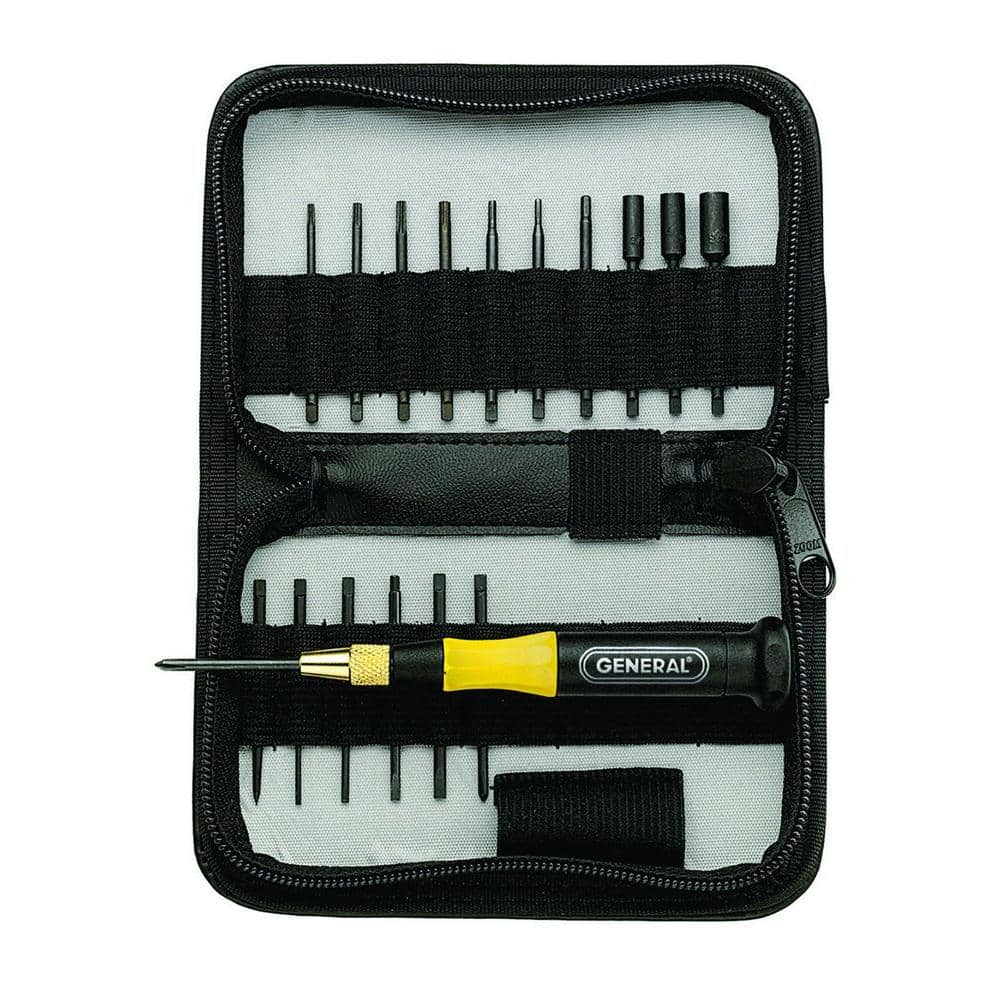
General Tools Screwdriver Set (18-Piece) 63518
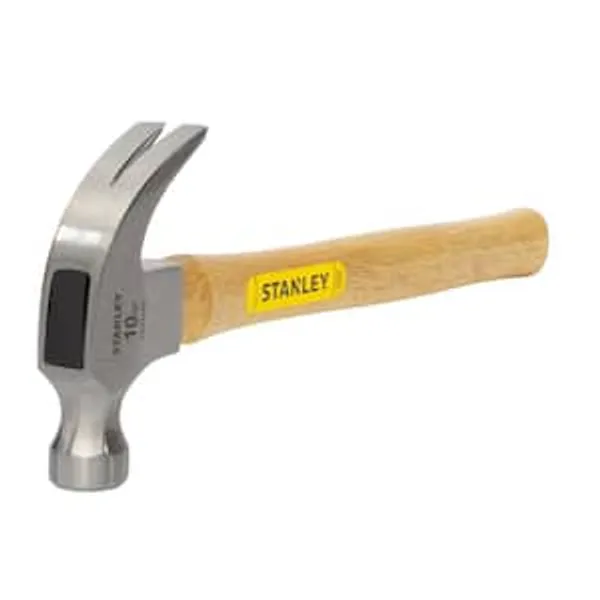
Hammer
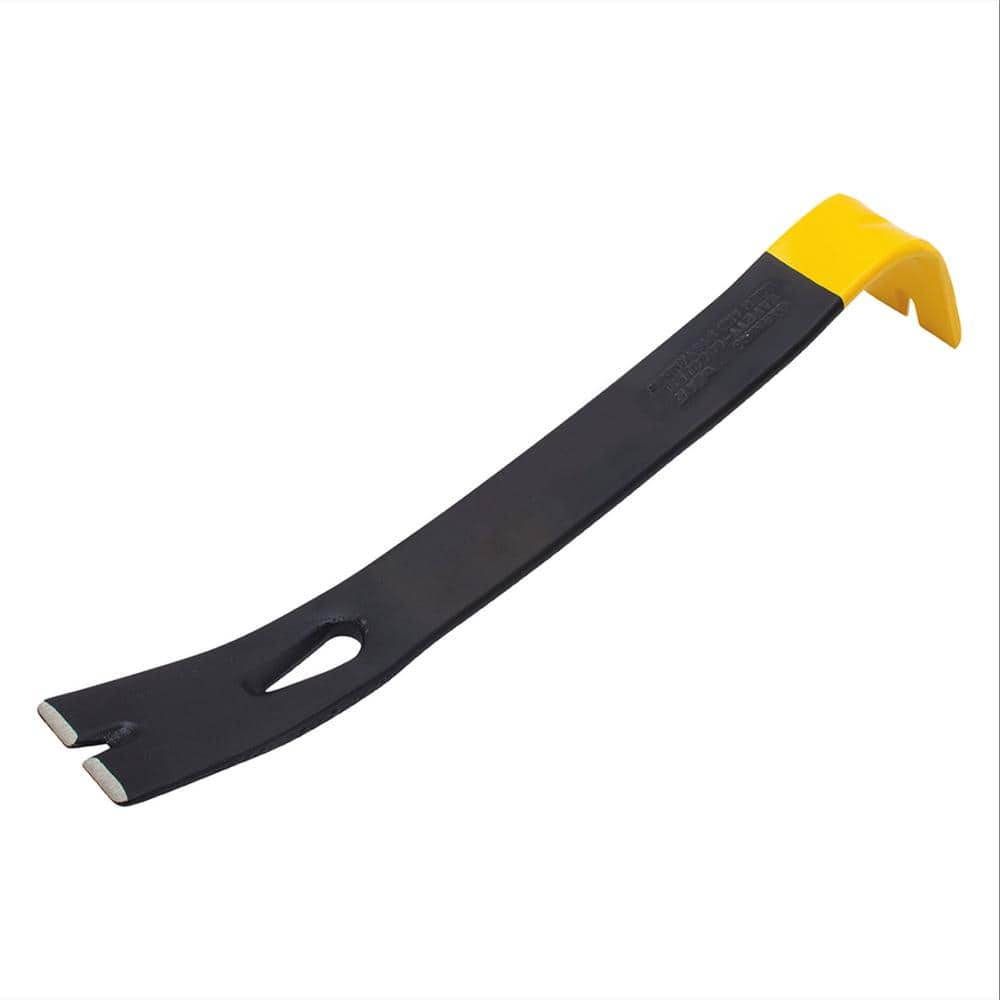
Stanley 12 in. Wonder Bar Pry Bar 55-515K
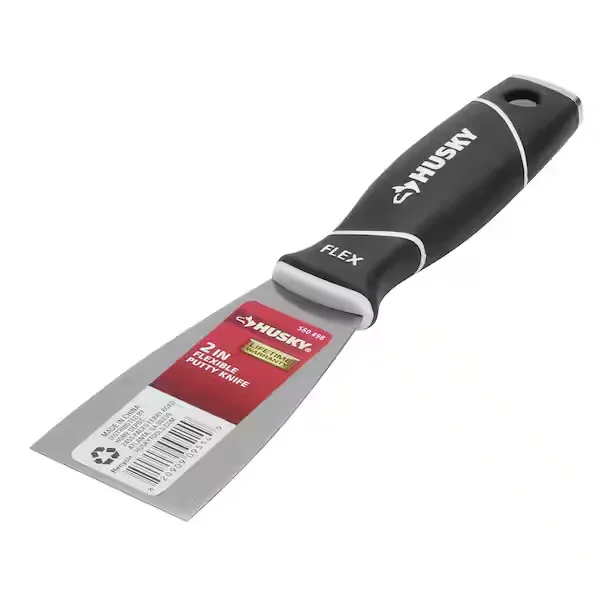
Putty knife
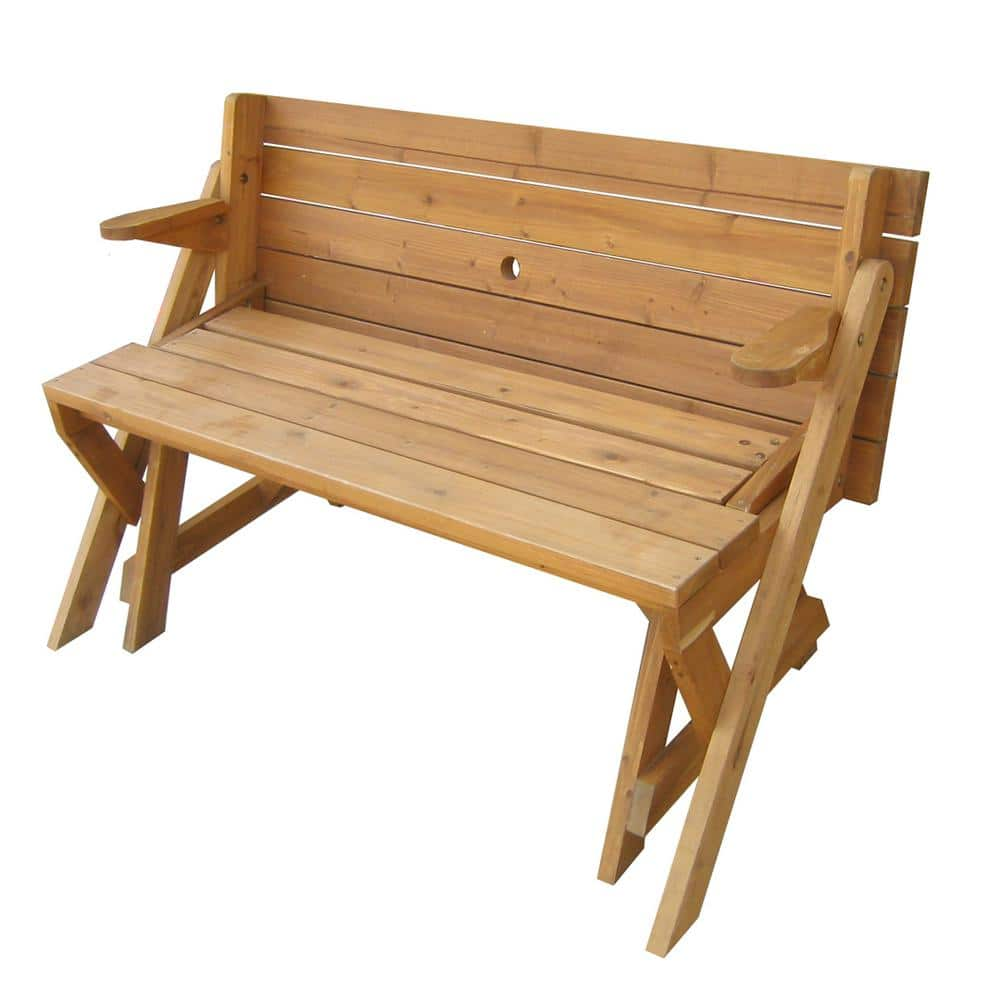
northbeam Natural Wood Interchangeable Picnic Table and Bench MPG-ACT04
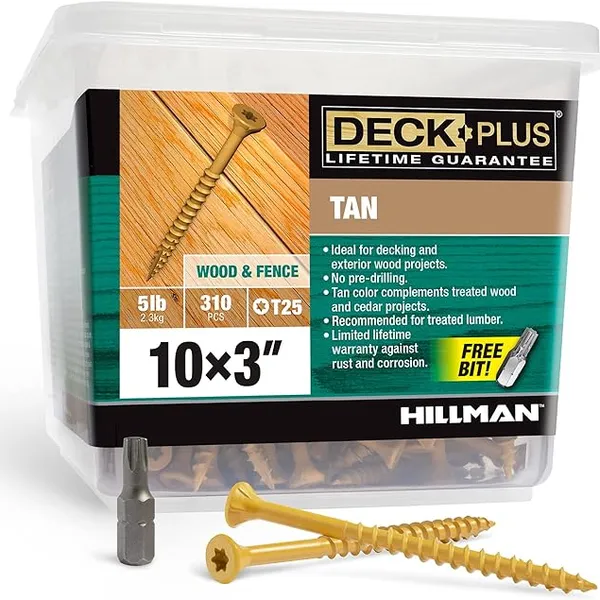
3" Decking Screws
General Tools Screwdriver Set (18-Piece) 63518
General Tools has grown to become the recognized industry leader for specialty hand tools and instruments. The General Tools 18-Piece Screwdriver Set features a diversified assortment of extended-shaft
Hammer
Delivers forceful blows with precision.
Stanley 12 in. Wonder Bar Pry Bar 55-515K
Get the prying power you need with the 12-3/4" Wonder Bar Pry Bar. The strong high-carbon steel hand tool is designed to give you excellent leverage for pulling nails, lifting, and scraping.
Putty knife
Spreads putty with its flat blade.
northbeam Natural Wood Interchangeable Picnic Table and Bench MPG-ACT04
2-in-1 design Easily changes, with on flowing movement, from a picnic table to a garden bench. Great for patios with limited space, as item can be kept as bench to reduce the amount of space taken up.
3" Decking Screws
Ideal for decking and exterior wood projects
Steps

Inspect Deck for Damage
60 minutesExamine every part of the deck, including the railing, steps, and support posts. Look for splintered wood, areas that feel soft or spongy (indicating rot), and any fasteners that have come loose or are protruding. Pay close attention to the connection points where the deck attaches to the house and where boards meet joists. Any loose railings or unstable steps should be secured. Significantly damaged or rotted wood may need to be replaced.
Watch: Inspect and Repair Deck Structure
Clean the Deck Surface
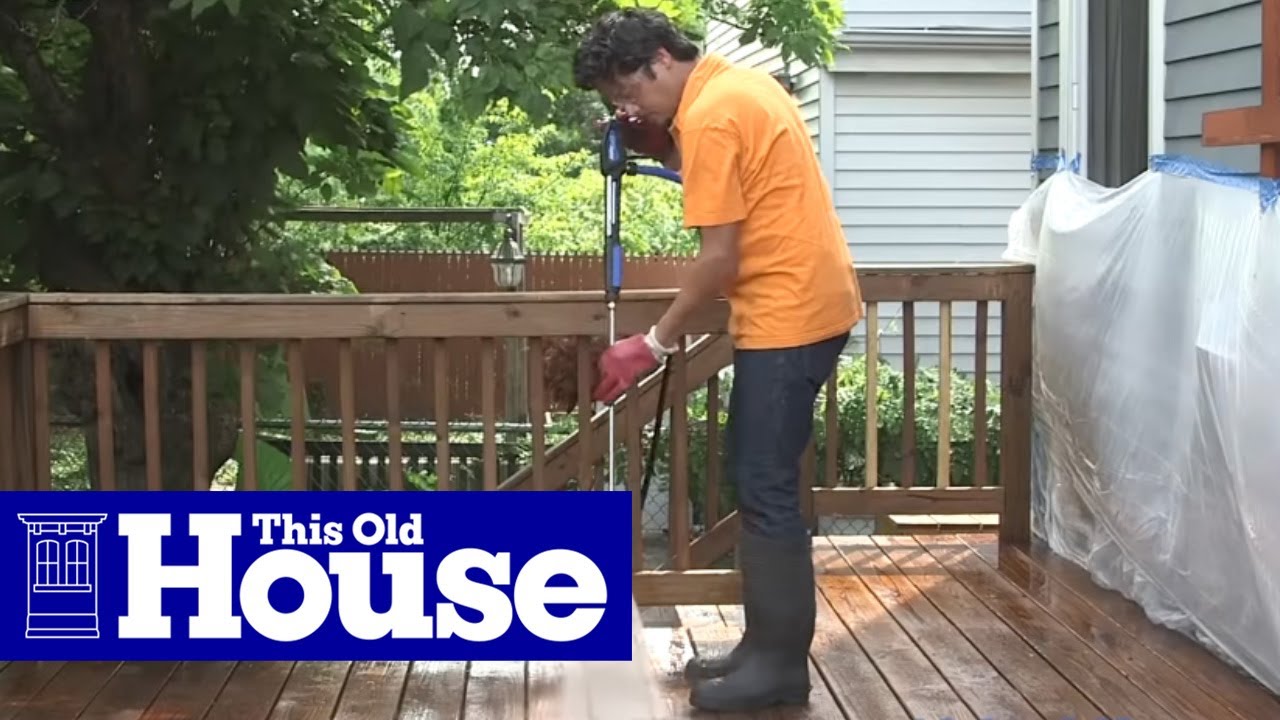
180 minutesSweep the deck to remove loose debris. Apply a deck cleaner specifically designed for wood decks, following the manufacturer's instructions. For stubborn stains or mildew, a pressure washer on a low setting can be used, or a stiff-bristled brush can be employed. Ensure all cleaning solution and grime are thoroughly rinsed off, allowing the wood to dry completely.
Watch: Clean the Deck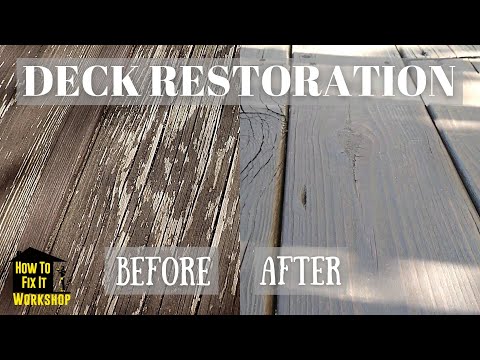
Sand the Deck
240 minutesAfter the deck has completely dried from cleaning, sand all accessible surfaces. Start with a coarse-grit sandpaper (e.g., 60-grit) to remove any fuzzies, splinters, or old stain residue. Follow up with a finer grit (e.g., 80-100 grit) for a smooth finish. Pay extra attention to railings and deck edges. Vacuum or sweep away all sanding dust thoroughly.
Watch: Sanding the Deck Surface
Apply Deck Stain
300 minutesStir the stain thoroughly before and during application to ensure pigments are evenly distributed. Do not shake the can, as this can create bubbles. Apply the stain using a brush, roller, or pad applicator, working in sections and maintaining a wet edge to avoid lap marks. For deck boards, apply a thin, even coat. For railings and vertical surfaces, use a brush for better control. Allow the first coat to dry according to the manufacturer's instructions before applying a second coat, if desired or recommended.
Watch: Apply Deck Stain
Allow Stain to Cure
72 minutesAfter the final coat of stain has been applied, allow it to dry and cure fully. Drying time typically refers to when the surface is no longer tacky to the touch, while curing time is the period during which the stain hardens and achieves its maximum durability. This can take anywhere from 24 to 72 hours, or even longer depending on humidity and temperature. Avoid walking on the deck or placing heavy objects like furniture or planters on it until the curing process is complete to prevent damage to the finish.
Watch: Allow Adequate Drying TimeCommon Problems
Gouging or Fraying Wood with the Pressure Washer
Solution: For minor fraying, lightly sand the affected areas with 80-100 grit sandpaper to smooth the wood fibers. For deep gouges, you might need to use exterior-grade wood filler, let it dry, then sand smooth. Re-clean and dry the area before proceeding with staining.
Prevention: Start with the lowest pressure setting and an oscillating or fan spray nozzle. Keep the nozzle at least 12-18 inches from the deck surface and move it constantly in long, even strokes, never stopping in one spot. Increase pressure gradually only if necessary, and test on an inconspicuous area first.
Streaky or Blotchy Stain Appearance
Solution: If the stain is still wet, quickly try to blend the streaks with a brush or applicator. If dry, and the issue is minor, you might be able to apply a very thin, even second coat to help even out the color. For significant streaking or blotchiness, you may need to lightly sand the affected areas with fine-grit sandpaper (120-150 grit) to rough up the surface and then reapply a thin, even coat of stain. In severe cases, the deck might need to be stripped, re-sanded, and re-stained.
Prevention: Work in small, manageable sections (e.g., 2-3 boards at a time). Apply stain consistently, moving with the grain of the wood. Maintain a 'wet edge' – meaning you always overlap your current application into the still-wet stain from the previous section, avoiding dried lines. Don't overapply; apply in thin, even coats.
Stain Remains Tacky or Sticky After Days
Solution: First, ensure good ventilation and proper temperature/humidity. If the tackiness persists after several days, it's likely overapplication. For oil-based stains, you can try wiping the tacky areas with a rag lightly dampened with mineral spirits (test in an inconspicuous spot first). This can help remove excess stain. For water-based stains, a light scrubbing with a stiff brush and water may help. In severe cases, the excess stain may need to be carefully scraped off with a plastic putty knife or sanded down before a very thin, new coat is applied.
Prevention: Always check the weather forecast to avoid high humidity or temperatures below the manufacturer's recommendations. Ensure the deck is completely dry before applying stain (typically 2-3 dry days after cleaning). Apply stain in thin, even coats, and wipe off any excess that hasn't penetrated the wood after 5-15 minutes, as per product instructions. Do not apply more than the recommended number of coats.
New Stain Peeling, Flaking, or Blistering
Solution: You'll need to remove the failing stain. This usually involves stripping agents designed for deck stain removal, followed by thorough rinsing. Once stripped, clean the deck again, let it dry completely (several days), then sand it to create a fresh, clean surface for new stain application. Ensure you choose a compatible stain type for your deck (e.g., don't put opaque stain over a penetrating semi-transparent without proper stripping).
Prevention: Thorough surface preparation is key. After cleaning the deck with a deck cleaner, allow it to dry completely for at least 48-72 hours, or until moisture content is below 15% (a moisture meter can help). Remove all loose, flaking old finishes and ensure the surface is clean, dry, and free of mildew, dirt, or grease before staining. Always follow the product's instructions for surface preparation.
Accidental Stain Splatters or Drips on Adjacent Surfaces
Solution: Act quickly! For fresh, wet stain on non-porous surfaces (like vinyl siding or glass), wipe it off immediately with a damp rag or paper towel. For oil-based stains, you might need mineral spirits on a rag. For dried stain or on porous surfaces, it's much harder. On concrete, a pressure washer might help, or a concrete cleaner/stripper. On plants, prune heavily stained leaves or branches. For siding, specialized stain removers might be necessary, but test in an inconspicuous area first.
Prevention: Before starting, use drop cloths (TARPCO SAFETY 12 ft. x 16 ft. Green/Black 7 Mil Heavy Duty Polyethylene Tarp) to cover all surrounding plants, landscaping, and concrete. Use painter's tape to mask off house siding, trim, or any other adjacent structures that shouldn't be stained. Work carefully and deliberately.
Experiencing Dizziness, Headaches, or Nausea from Fumes
Solution: Immediately move to a well-ventilated area or completely outdoors. Breathe fresh air. If symptoms are severe or persist, seek medical attention promptly. Ensure you are wearing the correct respiratory protection before resuming work.
Prevention: Always wear appropriate respiratory protection (e.g., an N95 mask for dust or a respirator with organic vapor cartridges for strong chemical fumes from cleaners and stains). Work in a well-ventilated area, and avoid staining on windy days where fumes can be blown directly into your face. Read the safety data sheet (SDS) for your specific cleaner and stain to understand necessary precautions.
Inadequate Deck Cleaning / Poor Stain Adhesion
Solution: If the stain is still wet, you might be able to wipe it off with a rag, then re-clean the area thoroughly, rinse, and dry before re-staining. If the stain has dried and is failing, you'll need to strip the deck (as described in the peeling problem), then ensure an extremely thorough cleaning and rinsing process. Use a stiff brush (Unger Lock-On 4-Sided Deck Scrub Brush) during cleaning to really scrub the wood grain, and rinse repeatedly until no suds or residue remain.
Prevention: Follow the deck cleaner (BEHR PREMIUM 1 gal. All-In-One Wood and Deck Cleaner) instructions precisely, including dwell time. Use a scrub brush to agitate the cleaner into the wood grain. Rinse the deck thoroughly with a hose and high-pressure nozzle or pressure washer. Rinse multiple times, especially in low spots, until all cleaner residue and suds are completely gone. Let the deck dry for a minimum of 48-72 hours, or until it's completely dry to the touch, before sanding and staining.
Frequently Asked Questions
Do I absolutely need a pressure washer for cleaning, or can I just use a regular hose and scrub brush?
A pressure washer is highly recommended as it provides a deeper clean, removing embedded dirt, mildew, and loose wood fibers more effectively than a hose alone. This ensures better adhesion of the new stain. If you don't have one, some hardware stores offer rentals, or you can consider hiring a professional.
What essential safety precautions should I take when working with deck cleaners and stains?
Always wear safety glasses to protect your eyes from splashes and wood dust, and chemical-resistant gloves to protect your hands from the cleaner and stain. When sanding, use a dust mask to avoid inhaling fine wood particles. Ensure good ventilation in your work area when applying chemicals.
The project estimates 4 days. Does that mean 4 days of continuous work, or does it include drying times?
The 4-day estimate primarily includes essential drying and curing times, not just active work. Cleaning, repairs, and sanding might take a full day or two, but you'll need to allow ample time for the deck to dry completely before staining (often 24-48 hours) and for the stain to cure before heavy use.
What's the biggest mistake a beginner might make when staining a deck, and how can I avoid it?
The most common mistake is inadequate surface preparation, which leads to poor stain adhesion, uneven color, and premature peeling. Make sure the deck is thoroughly cleaned, free of all dirt, mildew, and old finishes, and completely dry before applying any stain. Testing in an inconspicuous area is always a good idea.
What's the difference between a semi-transparent stain like the Padre Brown mentioned, and a solid stain or clear sealer?
A semi-transparent stain like Padre Brown adds color while allowing the wood's natural grain to show through, offering good UV protection. A clear sealer primarily provides water repellency with minimal color change. A solid stain provides an opaque color, similar to paint, hiding wood grain but offering maximum UV protection and typically a longer lifespan.
How important is the weather forecast for a deck staining project, and what conditions are ideal?
Weather is crucial for successful staining. Avoid staining in direct hot sunlight, high humidity, or if rain is expected within 24-48 hours. Ideal conditions are typically dry, overcast days with temperatures between 50-80°F (10-27°C) to allow for proper stain application, penetration, and drying.