Septic System Inspection
About This Project
A high-level outline for a DIY septic system inspection to assess its general condition and identify potential issues.
Tools & Materials
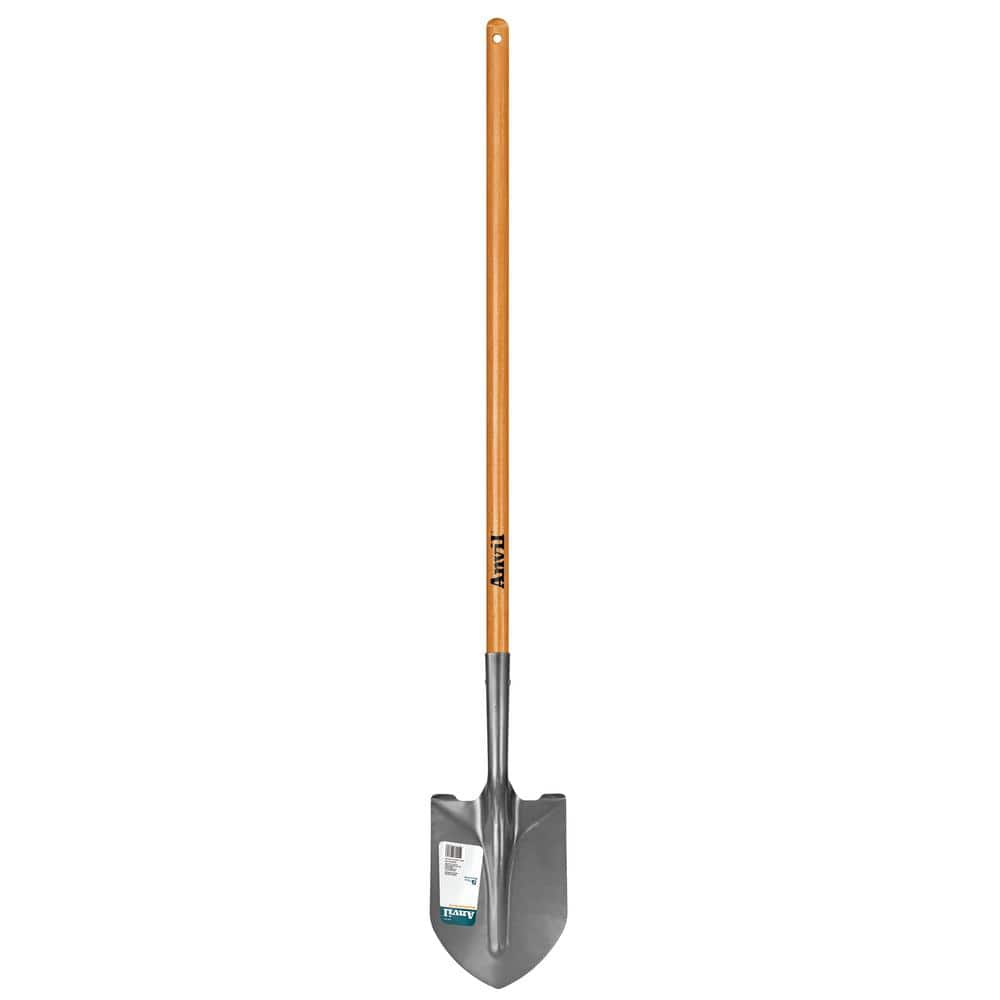
Anvil 47 in. Wood Handle Carbon Steel Digging Shovel 77470-939
Husky Pry Bar Set (3-Piece) H3PCPRYSET

Work Gloves
AdTec Men's Packer 9'' Work Boots - Soft Toe - Chestnut Size 12(M) 1173

Safety Glasses
WeGuard 100 ft. Flexible Water Hose with 10 Function Nozzle Garden Water Hose Expandable Garden Hose 293000012
Anvil 47 in. Wood Handle Carbon Steel Digging Shovel 77470-939
Discover the Unparalleled Performance of the Anvil 47 in. Digging Shovel. Are you seeking a digging shovel that combines durability, strength, and reliable performance. Look no further than the Anvil Digging Shovel. Crafted with a laser-cut blade made of high-quality carbon steel, it effortlessly slices through soil, roots, and debris, making it an ideal tool for all your lawn and garden projects. What sets this shovel apart is the head, which is fully tempered for exceptional strength and durability. This means it can withstand the toughest digging tasks with ease and longevity. The 47 in. wood handle is not only functional but visually appealing as well, thanks to its varnished finish. This coating not only adds to its appearance but also provides protection against the elements, ensuring your shovel stays in top condition for years to come. This tool comes with a 5-year manufacturer warranty.
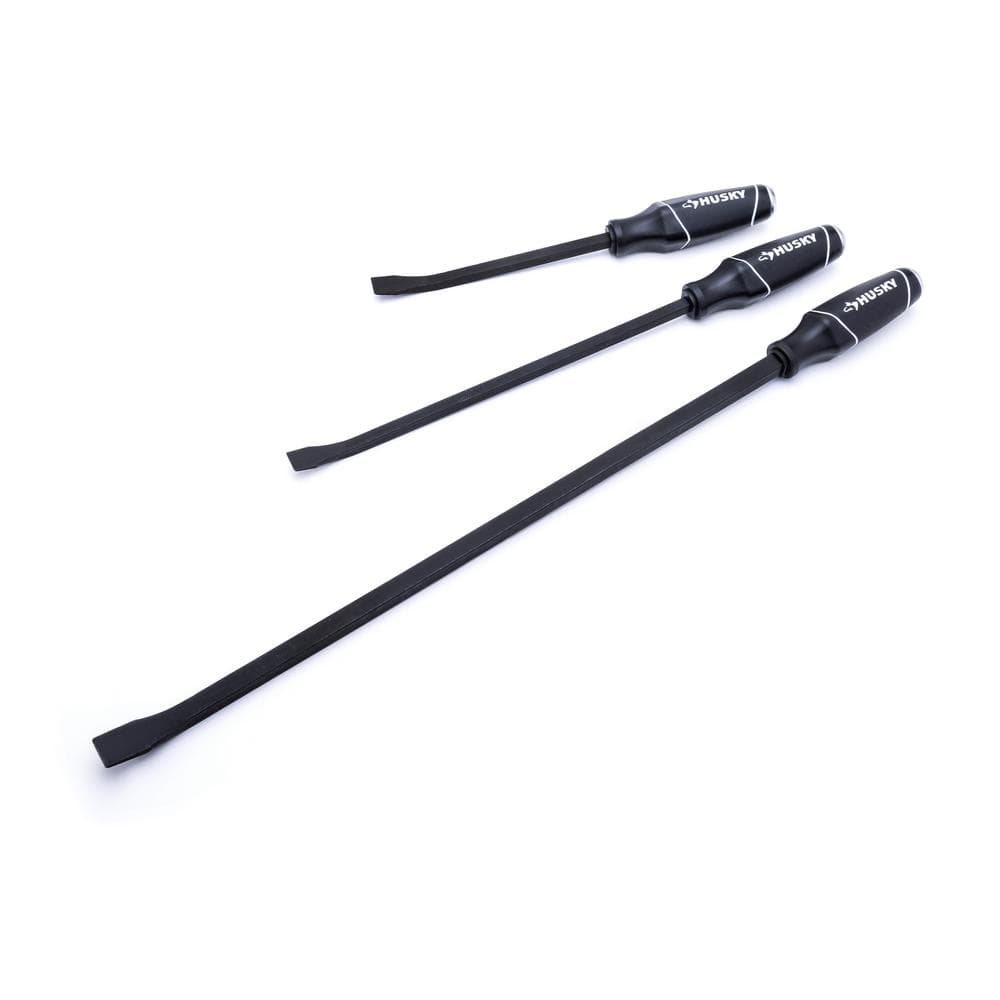
Husky Pry Bar Set (3-Piece) H3PCPRYSET
The Husky Pry Bar Set comes with 3 individual pry bars measuring 12 in., 17 in., and 25 in. long. This 3-piece pry bar set features an ergonomic dual-material handle and black phosphate bar. The tip is
Work Gloves
Protects hands during tasks.
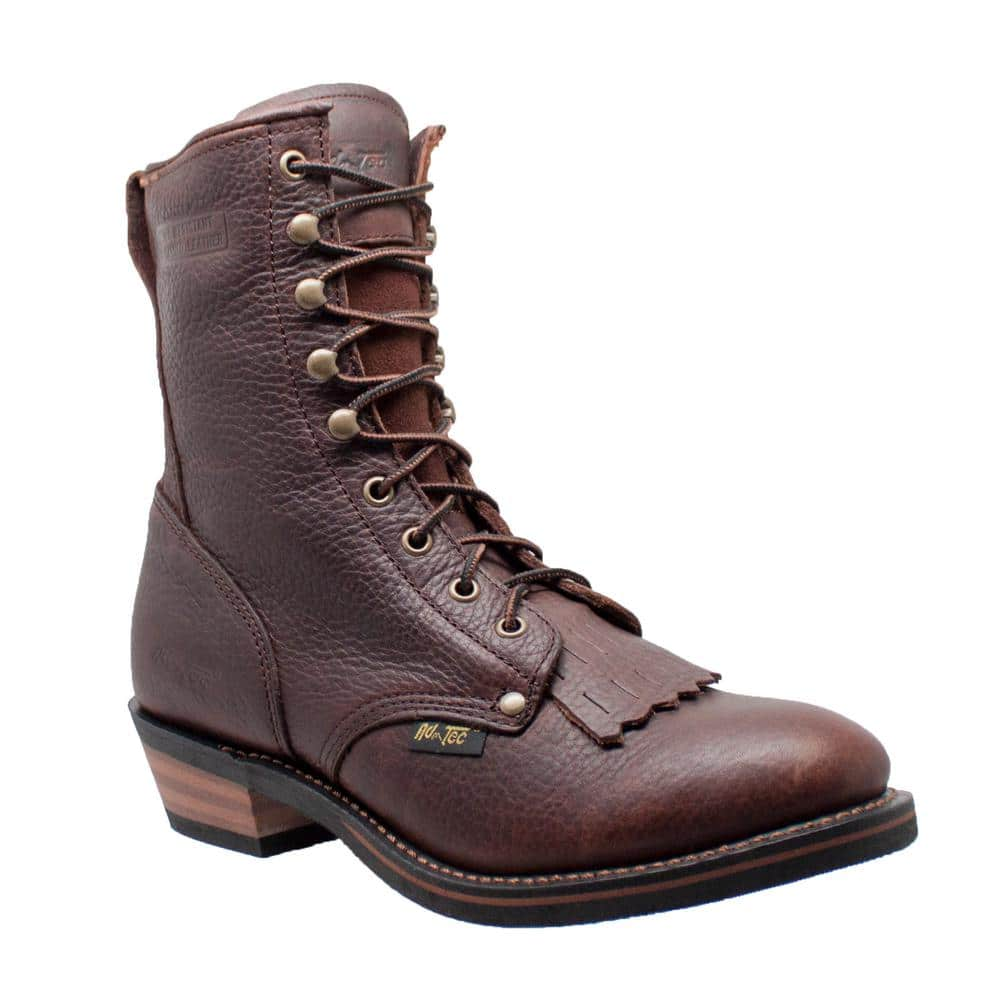
AdTec Men's Packer 9'' Work Boots - Soft Toe - Chestnut Size 12(M) 1173
Traditional Packer Style Boot is built tough. It features Full-Grain Tumbled Leather and Solid Brass Hooks and Eyelets that resist breakage and corrosion. Goodyear welt and an Oil Resistant Outsole guarantee
Safety Glasses
Keeps eyes safe from potential hazards.
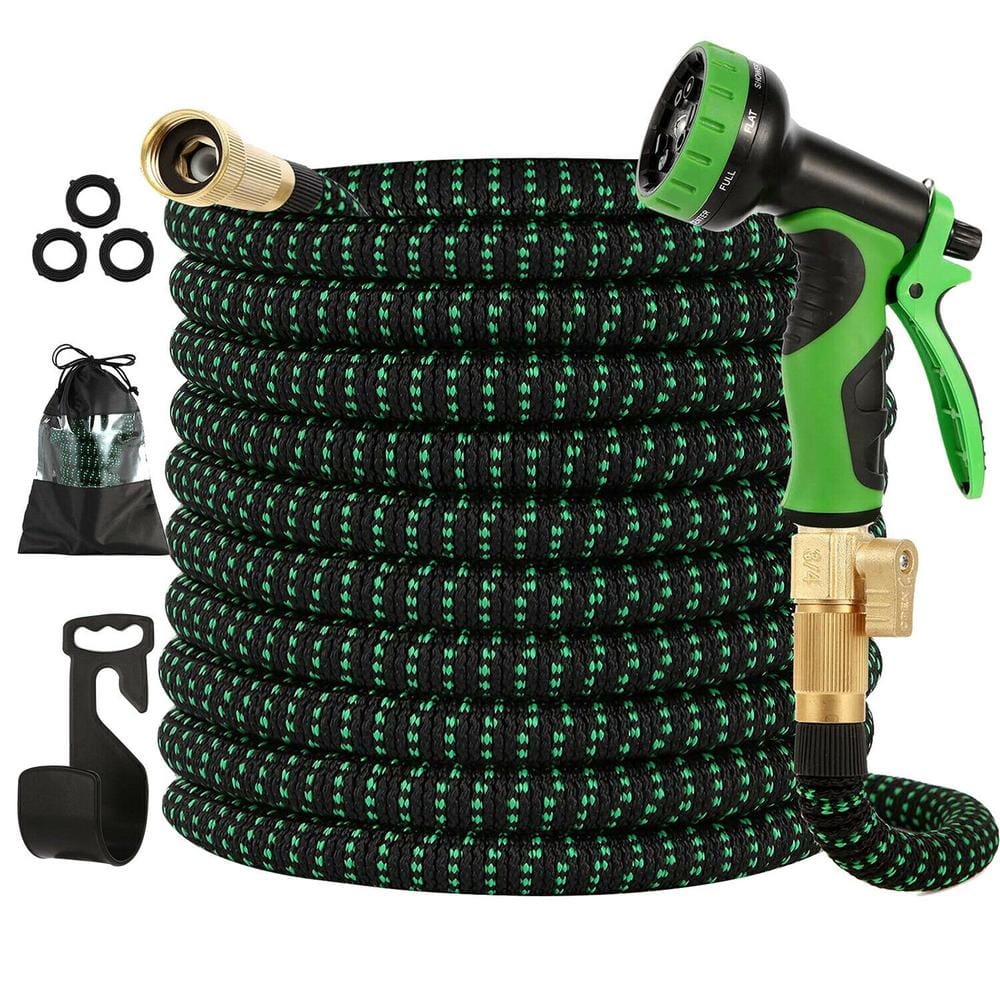
WeGuard 100 ft. Flexible Water Hose with 10 Function Nozzle Garden Water Hose Expandable Garden Hose 293000012
A Retractable hose suitable for multiple purpose: 100 ft. Garden hose, 1x Water Hose Nozzle, 1x Hose Hanger, 1x Storage Bag, 3 x Spare Sealing Rings. easy to store on the provided hanger or in the custom
Steps

Locate Septic Tank Lid
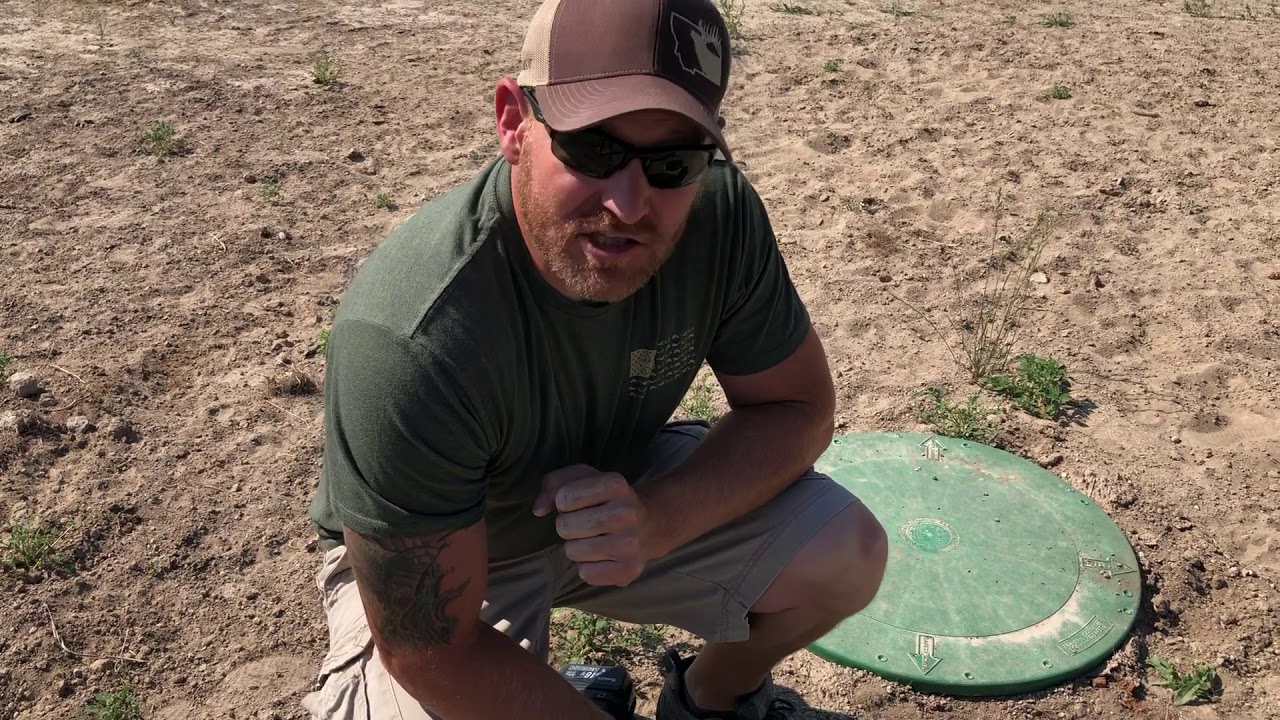
30 minutesIdentify the location of your septic tank and carefully uncover the access lid. This may involve removing soil, grass, or other debris that has accumulated over the lid. Ensure the area is clear enough to safely work around the lid.
Watch: Locate Septic Tank Access Points
Inspect Effluent Filter (if applicable)
20 minutesIf your septic tank has an effluent filter, locate it and remove it for inspection. Look for any clogging, damage, or excessive buildup of solids. Clean the filter according to manufacturer instructions if it appears clogged. Reinsert the filter properly after cleaning or inspection.
Watch: Remove and Clean the Filter
Assess Scum and Sludge Layers
15 minutesObserve the layers within the septic tank. The top layer is scum (fats, oils, grease), and the bottom layer is sludge (solids). Note the thickness of these layers. If the combined thickness of scum and sludge occupies more than one-third of the tank's liquid depth, it is likely time for pumping.
Watch: Pump Septic Tank Regularly and Monitor SludgeCheck for Leaks or Cracks
10 minutesExamine the interior walls of the septic tank for any visible cracks, leaks, or signs of deterioration. Pay attention to the joints and areas around inlet and outlet pipes. Any damage could compromise the tank's integrity and lead to leakage into the surrounding soil.
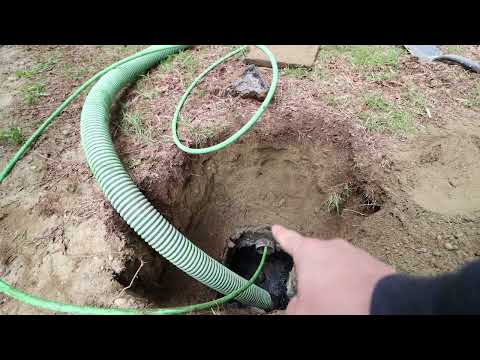
Inspect Inlet and Outlet Baffles
10 minutesCheck the condition of the inlet and outlet baffles (or tees). These prevent solids from entering or leaving the tank improperly. Ensure they are intact, securely in place, and not damaged. A missing or broken baffle can lead to system failure.
Watch: Inspecting the Outlet Baffle
Observe Effluent Discharge (if possible)
5 minutesWith the lid off, observe the outlet pipe. If water is backing up or not flowing freely, it could indicate a blockage or problem in the drain field. Look for clear water flowing out, not excessive solids or wastewater.
Watch: Inspect Septic Tank Water Levels and Baffle Filter
Replace Septic Tank Lid
10 minutesCarefully place the septic tank lid back into its original position, ensuring it is seated properly and securely. This is crucial for safety, preventing accidental entry and protecting the tank from debris and surface water infiltration.
Watch: Inspect Septic Tank Lids
Backfill and Restore Area
25 minutesOnce the lid is securely replaced, backfill any excavated soil around the tank and lid. Tamp the soil down firmly to prevent settling. Restore the area by replacing grass, topsoil, or other landscaping as it was before the inspection.
Watch: Backfill and LandscapingCommon Problems
Exposure to dangerous gases or accidental falling into the tank.
Solution: Never lean directly over the open tank, and under no circumstances should you ever enter a septic tank. Septic tanks contain toxic gases (like methane and hydrogen sulfide) that can cause unconsciousness or death, and they pose a drowning risk. Always work with at least one other person who can assist if there's an emergency. If you start to feel dizzy or light-headed, move away from the tank opening immediately.
Prevention: Ensure there's plenty of fresh air circulation around the tank opening. Open the lid and step back for 10-15 minutes before approaching. Always have a buddy present who knows basic first aid and can call for help if needed.
Difficulty locating the septic tank access lid, leading to extensive and unnecessary digging.
Solution: Check any 'as-built' plans for your home, old inspection reports, or contact your local health department for septic system records. If those aren't available, start by looking for the main sewer line leaving your house (usually where the main stack is located in the basement or crawl space) and follow that line about 10-20 feet into your yard. Use a soil probe or a rebar to gently probe the ground in a grid pattern. Listen and feel for solid objects. Once found, mark the location permanently (e.g., with a small, buried marker or by taking precise measurements and photos).
Prevention: Once you successfully locate the lid, draw a simple diagram with measurements from fixed points on your house or property. Take photos. This will save time and effort for future inspections or pumping.
The septic tank lid is stuck, extremely heavy, or rusted shut, making it impossible to open with hand tools.
Solution: For stuck lids, use a pry bar (like the Husky Pry Bar Set) to gently wedge around the edges, trying to loosen any soil or rust. If it's a very heavy concrete lid, you might need a specialized lid-lifting tool (often rented from equipment suppliers) or the assistance of a second person. Avoid using excessive force that could break the lid or cause injury.
Prevention: Periodically clear soil and debris from around the lid's edges. After each inspection, ensure the lid is seated correctly and consider applying a non-toxic, water-resistant grease or sealant around the rim (if appropriate for your lid type) to prevent it from seizing up.
Poor visibility inside the dark tank makes it hard to see scum/sludge layers, baffles, or potential cracks.
Solution: Use multiple powerful flashlights (like the Defiant or Energizer LED flashlights) to illuminate the tank from different angles. One flashlight can be pointed directly into the tank, while another can be angled to reduce shadows. For hard-to-see areas like baffles or tank walls, use the telescoping inspection mirror (Steelman 36 in. Telescoping Inspection Mirror) to get a better view. Allow any disturbed water to settle for a few minutes.
Prevention: Before starting, ensure all flashlights have fresh batteries or are fully charged. Consider attaching a small, waterproof light to the end of your measuring pole for deeper illumination when assessing layers.
The effluent filter (if present) is heavily clogged with solids, making it difficult to remove and clean.
Solution: Carefully and slowly pull the filter straight up out of its housing. If it's very clogged, it will be heavy. Once removed, use a garden hose with a strong spray nozzle (like the WeGuard 100 ft. Flexible Water Hose with 10 Function Nozzle) to spray the accumulated solids back into the septic tank. Wear heavy-duty latex gloves and safety glasses to protect yourself from sewage contact. Clean until water flows freely through the filter, then gently reinsert it.
Prevention: Regular annual inspection and cleaning of the effluent filter will prevent severe clogging. If your system allows, install a filter that is easy to access and remove, such as the Tuf-Tite 4 in. Septic Tank Tee Effluent Filter Yellow.
Misinterpreting the thickness of the scum and sludge layers, leading to an incorrect assessment of when the tank needs pumping.
Solution: Use your telescoping measuring pole (Jameson 25 ft. Oval Telescoping Measuring Pole TP-125N) to accurately measure the layers. For sludge (bottom layer), gently lower the pole until you feel resistance from the solid layer. Mark the pole at the liquid level, then lift. For scum (top layer), push a wide, flat object (like a small piece of plywood attached to a stick or the pole itself) gently through the scum until you feel the liquid below, then mark the pole. Compare these measurements to general guidelines: if the sludge layer is within 12 inches of the outlet baffle or the scum layer is within 6 inches of the outlet baffle, the tank likely needs pumping.
Prevention: Before starting, research the specific recommendations for your septic tank's size and design, as well as local regulations for pumping frequency. Keep a log of your measurements over time to track trends.
Damaging the septic tank riser or lid during replacement, or failing to create a proper seal, leading to odors or groundwater intrusion.
Solution: Carefully clean the seating surface of the riser (the part the lid rests on) and the underside of the lid to remove any dirt or debris that could prevent a good seal. Gently lower the lid, ensuring it sits squarely and evenly. For lids with specific alignment features (like bolts or grooves), ensure they are correctly engaged. If you have a two-part lid system, ensure the inner lid or seal is properly placed before the outer cover. If cracks are present in the riser or lid, they should be professionally repaired or replaced to maintain the system's integrity.
Prevention: Handle the lid with care during removal and replacement. Inspect the riser and lid for any existing damage before you begin. If you notice significant wear or damage, consider replacing them with durable, well-fitting components like the Everbilt 24 in. Septic Tank Riser Cover.
Frequently Asked Questions
What are the most important safety precautions when inspecting a septic tank?
Never enter the septic tank, as it contains dangerous gases and lacks oxygen. Always wear thick gloves and eye protection to prevent contact with wastewater. Use a sturdy pry bar for lifting heavy lids and ensure the area is well-ventilated during your inspection to disperse any accumulated gases.
What specific tools and materials are essential for a DIY septic inspection?
You'll need a shovel, like the Anvil digging shovel, to excavate the lid and a pry bar set, such as the Husky 3-piece set, to open it safely. A bright flashlight, like the Defiant 2000 Lumens LED, is crucial for internal inspection. Have replacement materials like an Everbilt riser cover or Tuf-Tite effluent filter on hand if needed.
What are the key signs of a problem I should look for inside the septic tank?
Observe the scum (top) and sludge (bottom) layers; if they are excessively thick, your tank likely needs pumping soon. Check the inlet and outlet baffles for blockages, and look for any visible cracks or leaks in the tank walls. Excessive solids in the effluent filter also indicate an issue.
What's a common mistake beginners make during a septic inspection?
A frequent mistake is not properly securing or replacing the septic tank lid, which creates a serious fall hazard. Another common error is attempting to physically clear blockages or make repairs inside the tank without proper knowledge or equipment, which can be dangerous and cause further damage.
How often should I perform this DIY inspection, and how long does it typically take?
A visual DIY inspection can be performed annually to monitor your system's condition between professional pump-outs. The estimated time for this project is about 4 hours, which includes locating, digging up, inspecting, and then safely re-covering the tank.
Is this a difficult project for a beginner, and what are the potential costs?
This project is rated as beginner difficulty, as it primarily involves careful observation and handling of tools. Costs are minimal if you already own basic tools like a shovel and flashlight. Potential additional costs include purchasing specific tools you lack or replacement materials like a new septic tank riser cover or effluent filter.