
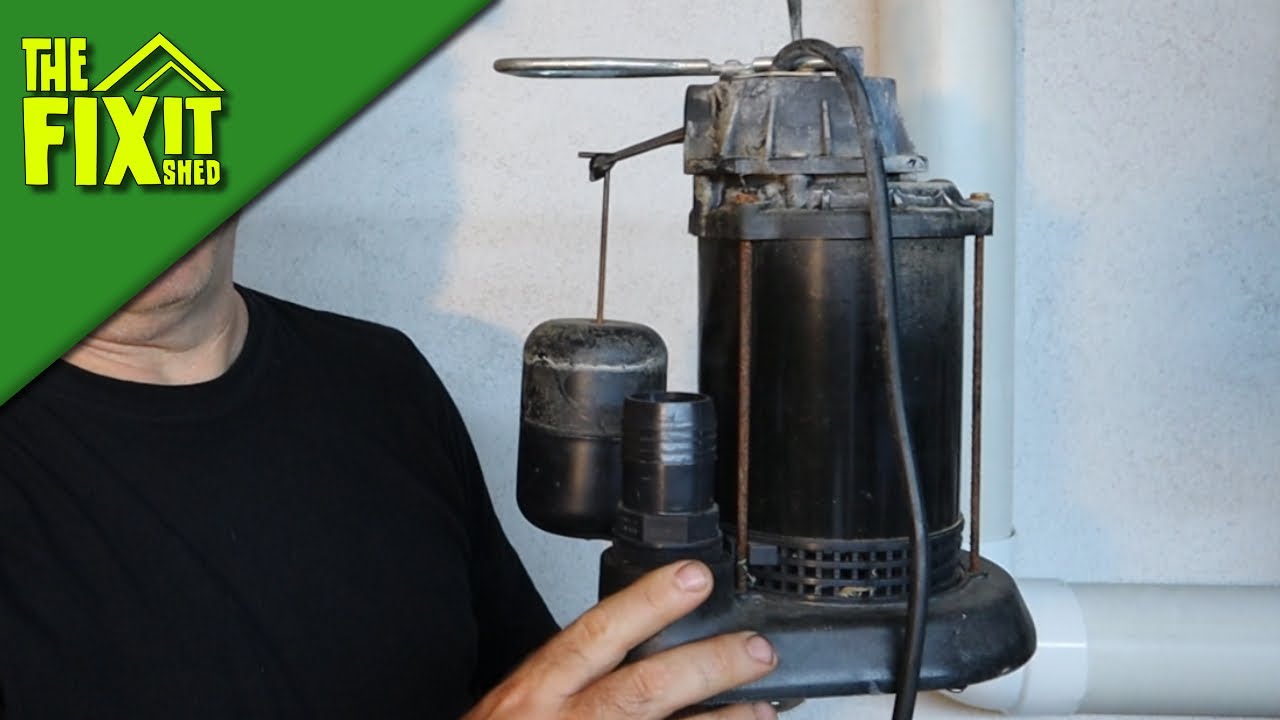
Sump Pump Repair
About This Project
This project outlines the steps for diagnosing and repairing a sump pump. It covers common issues like the pump not running, running constantly, or not discharging water effectively. The process involves checking power, float switch, impeller, and discharge line.
Tools & Materials
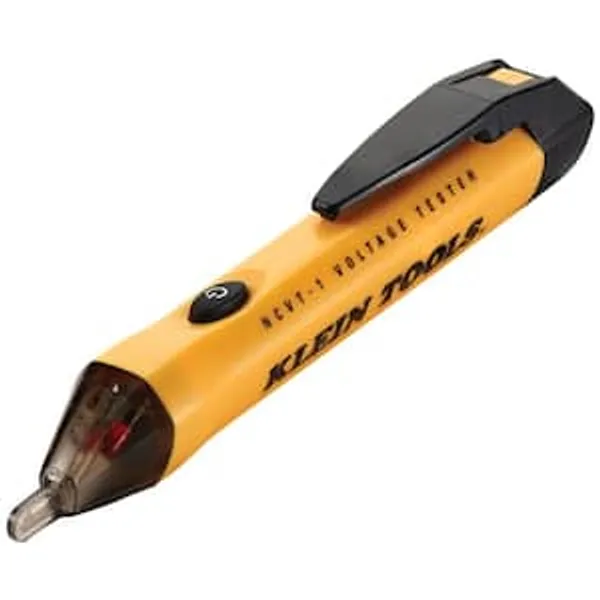
Voltage / Circuit Tester

Liberty Pumps S30-Series 1/3 HP Submersible Sump Pump with Vertical Float Switch Piggyback Series Plug S37-P

K2 Universal Piggyback Vertical Float Switch Replacement ASV18101K
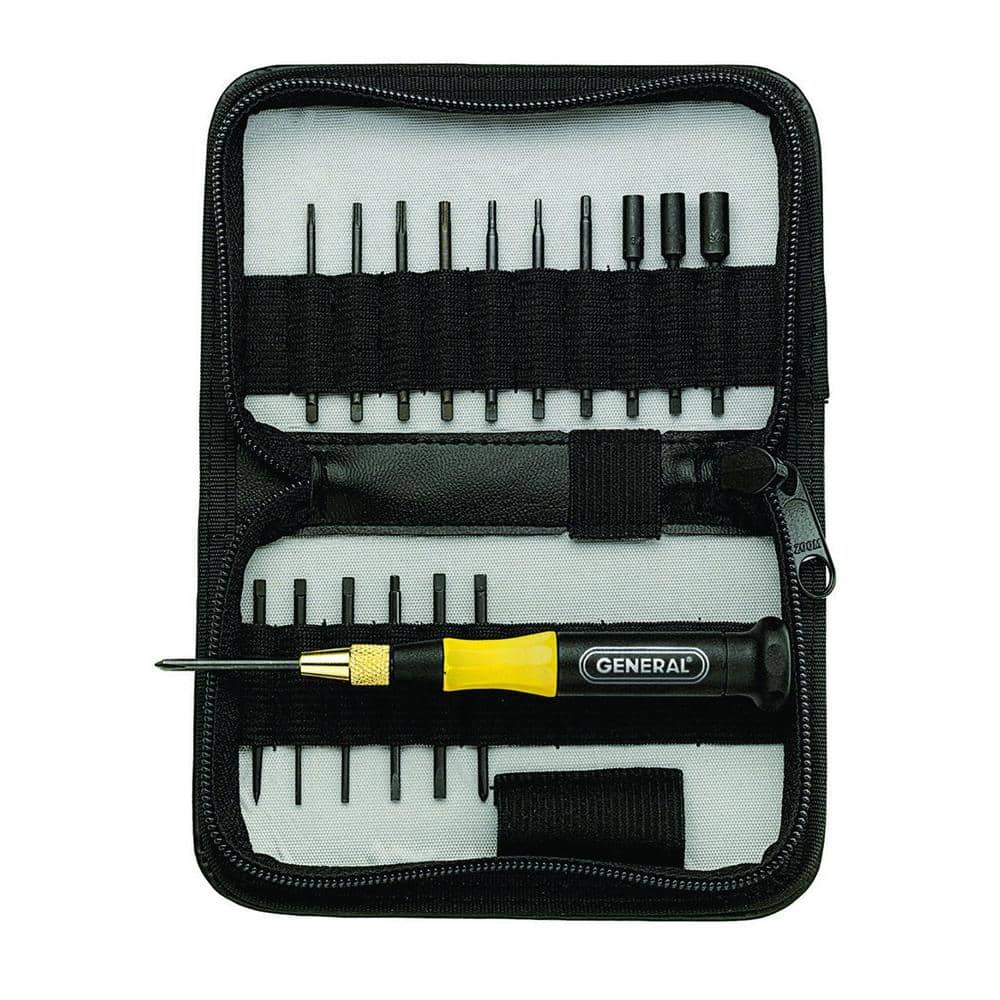
General Tools Screwdriver Set (18-Piece) 63518
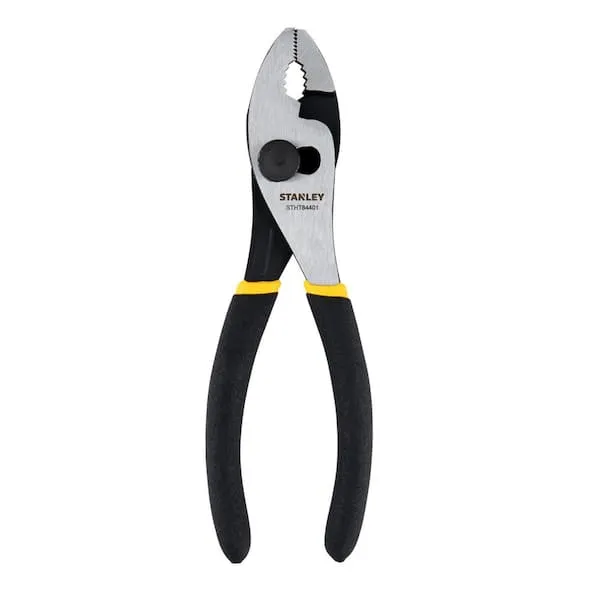
Pliers
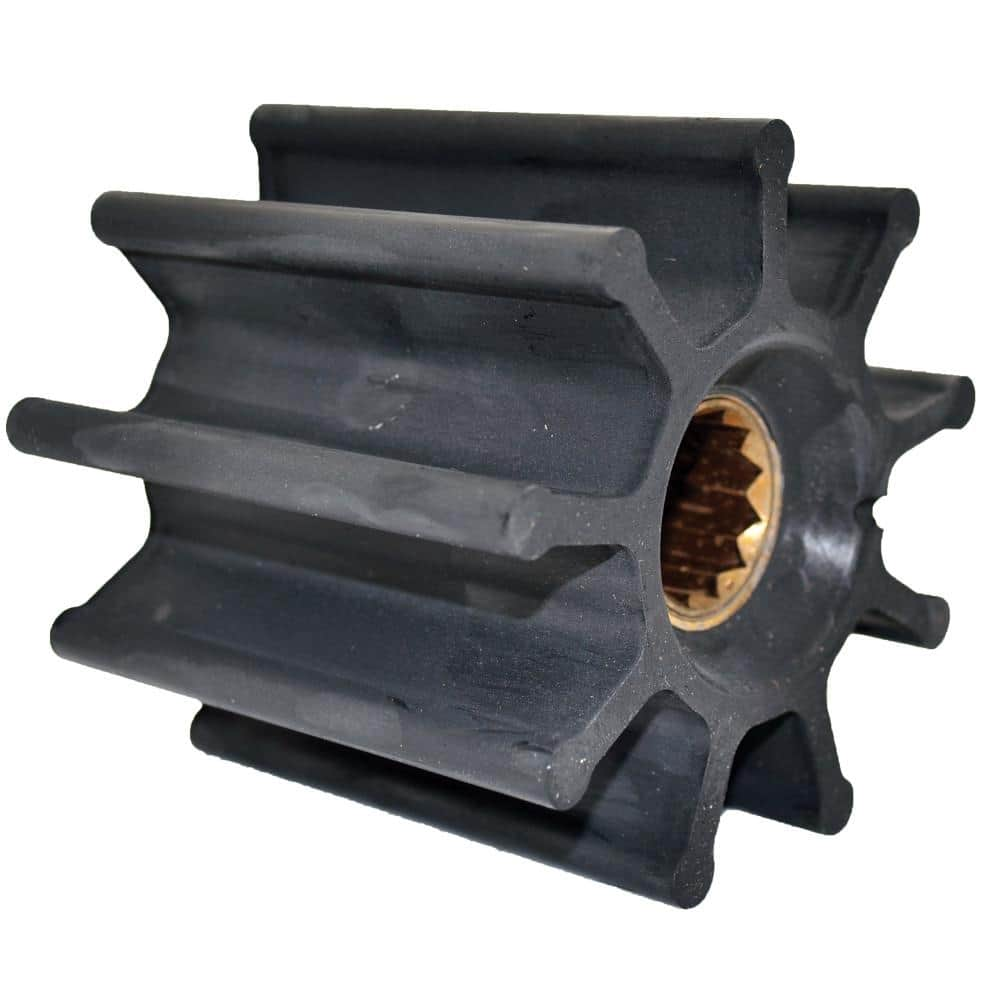
Johnson Pump F9 Impeller 9 Blade - Neoprene 09-802B
Voltage / Circuit Tester
Detects electrical voltage presence.
Liberty Pumps S30-Series 1/3 HP Submersible Sump Pump with Vertical Float Switch Piggyback Series Plug S37-P
The S30-Series from Liberty was designed to handle the problem areas of sump pumps in new home construction. Powered by a durable 1/3 hp motor. The S37 offers larger clearances around the impeller for
K2 Universal Piggyback Vertical Float Switch Replacement ASV18101K
The K2 Pumps Vertical Float Switch is a universal replacement switch for a wide variety of sump, effluent, and sewage pumps. The switch is constructed of reinforced thermoplastic and has been independently
General Tools Screwdriver Set (18-Piece) 63518
General Tools has grown to become the recognized industry leader for specialty hand tools and instruments. The General Tools 18-Piece Screwdriver Set features a diversified assortment of extended-shaft
Pliers
Grips and manipulates objects.
Johnson Pump F9 Impeller 9 Blade - Neoprene 09-802B
Johnson Pump's 09-802B F9 Impeller is made for pump style F9. Materials are composed of neoprene for cooling properties. Designed for quick and simple installation.
Steps
Verify Power Supply
10 minutesUnplug the sump pump from the outlet. Use a voltage tester to confirm that the outlet is supplying the correct voltage. Inspect the pump's power cord for any signs of damage, such as cuts or fraying. If the outlet is not providing power or the cord is damaged, address these issues before proceeding. Plug the pump back in securely.
Watch: Diagnose Power to Sump Pump Outlet
Inspect the Float Switch
15 minutesCarefully lift the float switch to simulate the water level rising. Listen for the pump to turn on. If the pump does not activate, check if the float switch is stuck or obstructed by debris. Ensure the float ball or tether can move freely. Clean any debris that may be preventing the switch from engaging. If the switch appears damaged or faulty, it may need to be replaced.
Watch: Check Water Level and Test Float Switch
Check the Impeller
30 minutesDisconnect power to the pump. If possible based on your pump model, carefully remove the pump from the sump pit. Disassemble the pump housing to access the impeller. Check for any debris, such as gravel, roots, or rags, that may be caught in or around the impeller. Rotate the impeller manually to ensure it moves freely. Remove any obstructions. If the impeller is damaged, it will need to be replaced.
Watch: Test the Pump Motor and Impeller
Clear the Discharge Line
45 minutesWith the pump disconnected from power, inspect the discharge line where it connects to the pump and where it exits the building. Listen for gurgling sounds or signs of water backup. If a blockage is suspected, disconnect the discharge line from the pump. Use a plumber's snake or a stiff wire to probe and clear any obstructions. If the blockage is further down the line, you may need to disconnect sections of the pipe. Once cleared, reassemble the discharge line.
Watch: Clean Clogged Discharge Line
Test the Sump Pump Operation
15 minutesReconnect power to the sump pump. Pour water into the sump pit to raise the water level and trigger the float switch. Observe the pump to ensure it turns on, pumps water out through the discharge line, and shuts off automatically when the water level drops. Check for leaks at all connections. Run the pump for a few minutes, adding water periodically, to confirm consistent operation.
Watch: Test New Sump Pump OperationCommon Problems
Electrical Shock Hazard / No Power to Sump Pump
Solution: If the pump isn't working and you suspect a power issue, touching electrical components can be dangerous. Go to your main electrical panel and locate the circuit breaker labeled for your sump pump (or the circuit it's on). Flip it to the OFF position. Use a non-contact voltage tester to confirm there's no power at the outlet or wiring before touching anything. If the breaker tripped, try resetting it once. If it immediately trips again, there's a short, and you should call an electrician.
Prevention: ALWAYS turn off the circuit breaker dedicated to the sump pump before performing any work on the pump or its electrical connections. Double-check with a voltage tester to ensure the power is truly off. Work in dry conditions where possible.
Sump Pump Runs Constantly or Not At All Due to Float Switch Issues
Solution: The pump either never turns on when the water level rises or runs non-stop even when the pit is empty. This is often due to the float switch. First, disconnect power to the pump. Carefully inspect the float switch. Make sure it moves freely up and down without hitting the side of the sump pit, the pump itself, or any pipes. Clear any debris that might be jamming it. If it's a piggyback plug type, ensure it's plugged in correctly and try bypassing the switch by plugging the pump directly into the outlet (briefly, to see if the pump motor runs). If the pump runs directly but not with the float switch, the switch might be faulty and needs replacement.
Prevention: When installing or reinstalling the pump, ensure the float switch has ample clearance (at least 2-3 inches) on all sides for free movement throughout its full range. Test its movement manually before placing the pump in the pit.
Pump Runs, But No Water Discharges or Flow is Weak (Impeller Blockage/Damage)
Solution: The pump motor hums or runs, but water isn't moving out of the sump pit, or the flow is very weak. This usually means something is blocking the impeller. FIRST, DISCONNECT POWER TO THE PUMP. Remove the pump from the pit. Carefully examine the intake screen at the bottom of the pump for debris. If clear, you'll need to access the impeller. Most pumps require unscrewing the bottom plate or housing; use your screwdriver set for this. Once open, clear any stringy material, gravel, or other debris from around the impeller blades. Check if the impeller itself is damaged or loose. If so, it will need to be replaced using the correct part for your pump model.
Prevention: Periodically check your sump pit for excessive sediment or debris. Consider placing the pump on a slightly raised platform (like a few bricks) to keep the intake screen a bit higher off the very bottom of the pit, reducing sediment intake.
Discharge Line Clog (Pump runs, water doesn't leave pit)
Solution: The sump pump runs, but the water in the pit doesn't go down, or the pump strains loudly, indicating a blockage in the pipe that carries water away from your house. Disconnect power to the pump. First, check the check valve (a one-way valve in the discharge line, usually just above the pump) to ensure it's not stuck closed or installed backward. If the check valve is fine, the clog is further down the line. Use a plumbing drain snake (like the drum auger listed) to carefully clear the discharge pipe. Start from the closest access point (e.g., above the check valve) and slowly feed the snake, twisting it to break up debris. Be gentle, especially with PVC pipes, to avoid puncturing.
Prevention: Avoid flushing anything down drains that could end up in the sump pit. Consider installing an easily accessible clean-out port in the discharge line for future snaking. Periodically pour a few gallons of clean water quickly into the pit to flush the line (after ensuring the pump can handle it).
Water Leaking After Reassembly of Pipe Connections
Solution: After replacing the pump, float switch, or impeller, you notice water leaking from pipe connections, especially where threaded fittings connect to the pump or check valve. This is often caused by improper sealing or overtightening. Disconnect power and drain the system. Carefully disassemble the leaking connection. Clean off any old thread sealant or tape. Apply new plumber's tape (Teflon tape) clockwise around the male threads 3-5 times, or use a suitable pipe thread sealant designed for plumbing. For plastic fittings, hand-tighten until snug, then use a pipe wrench for only an additional quarter to half turn. Over-tightening plastic can crack it. For metal fittings, tighten firmly but avoid excessive force.
Prevention: Always use an appropriate thread sealant (Teflon tape or pipe dope) on all threaded plumbing connections. Understand the difference between plastic and metal fittings; plastic requires less torque to prevent cracking. Ensure replacement parts are the correct size and type.
Frequently Asked Questions
What are the most critical safety precautions I should take before starting any sump pump repair?
Always disconnect power to the sump pump at its circuit breaker before touching anything. Water and electricity are a dangerous combination, so ensure your hands are dry and avoid standing in water. Wear rubber gloves and eye protection to prevent injury from debris or contaminated water.
Do I really need all the specialized tools listed, or can I get by with basic household tools?
While basic screwdrivers and pliers are useful, a voltage tester is essential for safely verifying power. Tools like a drum auger or pipe wrench are specifically designed for clearing stubborn clogs in the discharge line or safely handling pump connections. A drill pump can be invaluable for quickly bailing out water, making the job cleaner and faster.
My sump pump runs continuously; what's the most common cause of this, and how can I fix it?
A constantly running sump pump usually indicates a stuck float switch or a blockage in the discharge line. First, disconnect power and check the float switch for any debris or obstructions preventing it from falling. If the switch is clear, the discharge line might be clogged, requiring the use of a drain snake to clear it out.
The pump motor hums, but no water is being discharged. What should I check first?
If your sump pump motor hums but doesn't move water, the impeller is likely jammed with debris or damaged, or the discharge line is severely blocked. After disconnecting power, access the impeller area and carefully clear any obstructions. If the impeller is clear, then focus on clearing the discharge line with a drum auger.
How do I decide if I need to replace the entire sump pump versus just a part like the float switch?
Start by identifying the specific problem. If the motor works but the pump isn't activating or deactivating correctly, a float switch replacement is usually sufficient and cost-effective. If the motor is burnt out, the pump is old, making strange noises, or frequently failing, a full sump pump replacement is generally the more reliable long-term solution.
Is this a project a beginner can realistically complete, or should I consider hiring a professional?
This project is rated beginner because it focuses on common, straightforward repairs like checking power, adjusting float switches, and clearing clogs. However, if you're uncomfortable with electrical work, can't diagnose the problem, or suspect major internal damage, it's always best to consult a licensed plumber to ensure the job is done safely and correctly.