Ice Maker Repair
About This Project
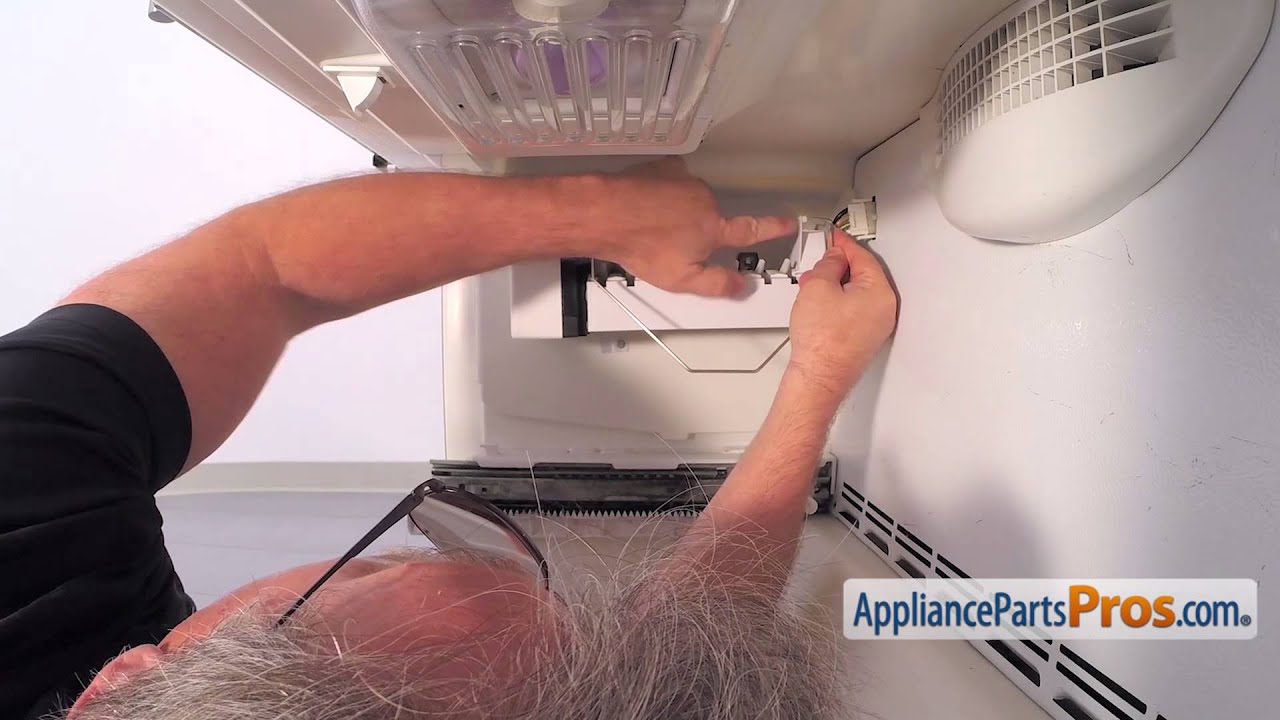
This project outlines the steps for troubleshooting and repairing a malfunctioning ice maker. It covers common issues such as no ice production, slow ice production, or odd-shaped ice cubes. The process involves identifying the problem, gathering necessary tools and parts, and performing the repair. It is recommended to consult the appliance's manual for specific instructions.
Tools & Materials
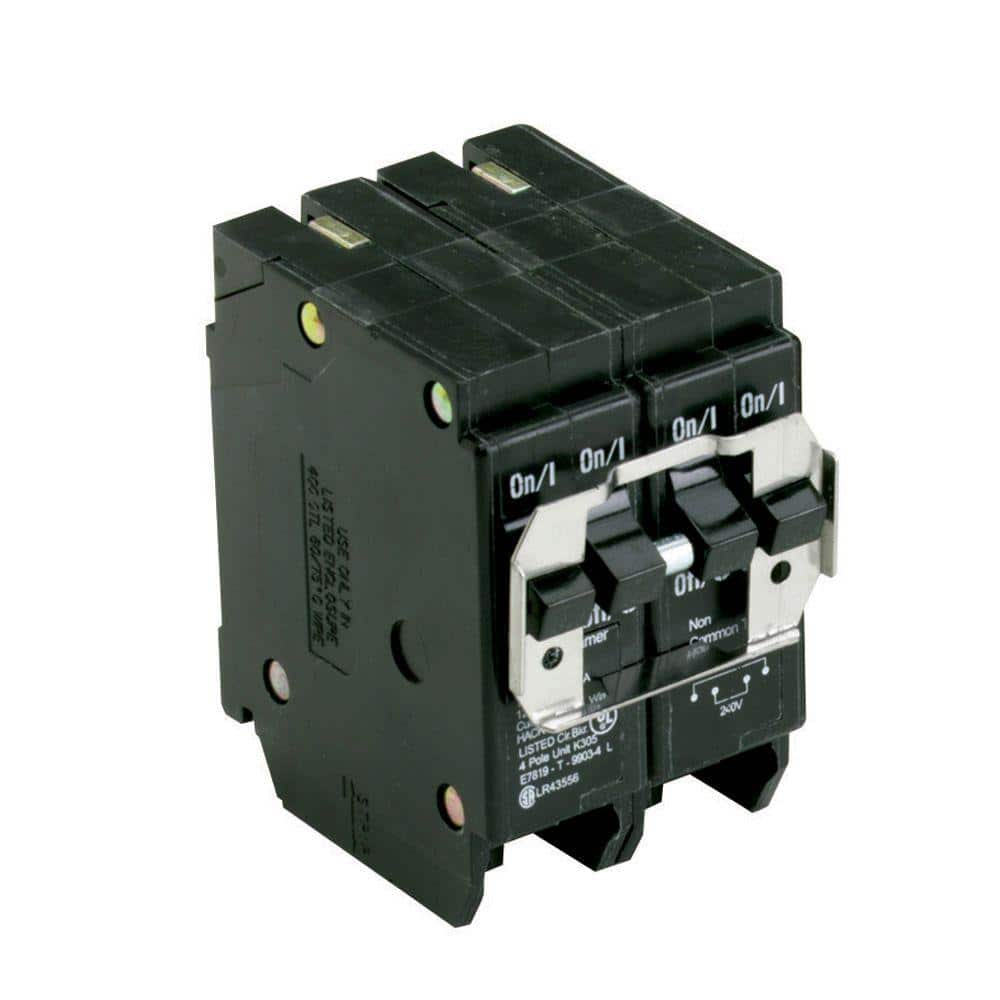
Eaton BR 1-20 Amp 2 Pole and 1-50 Amp 2 Pole BQC (Common Trip) Quad Circuit Breaker BQC220250
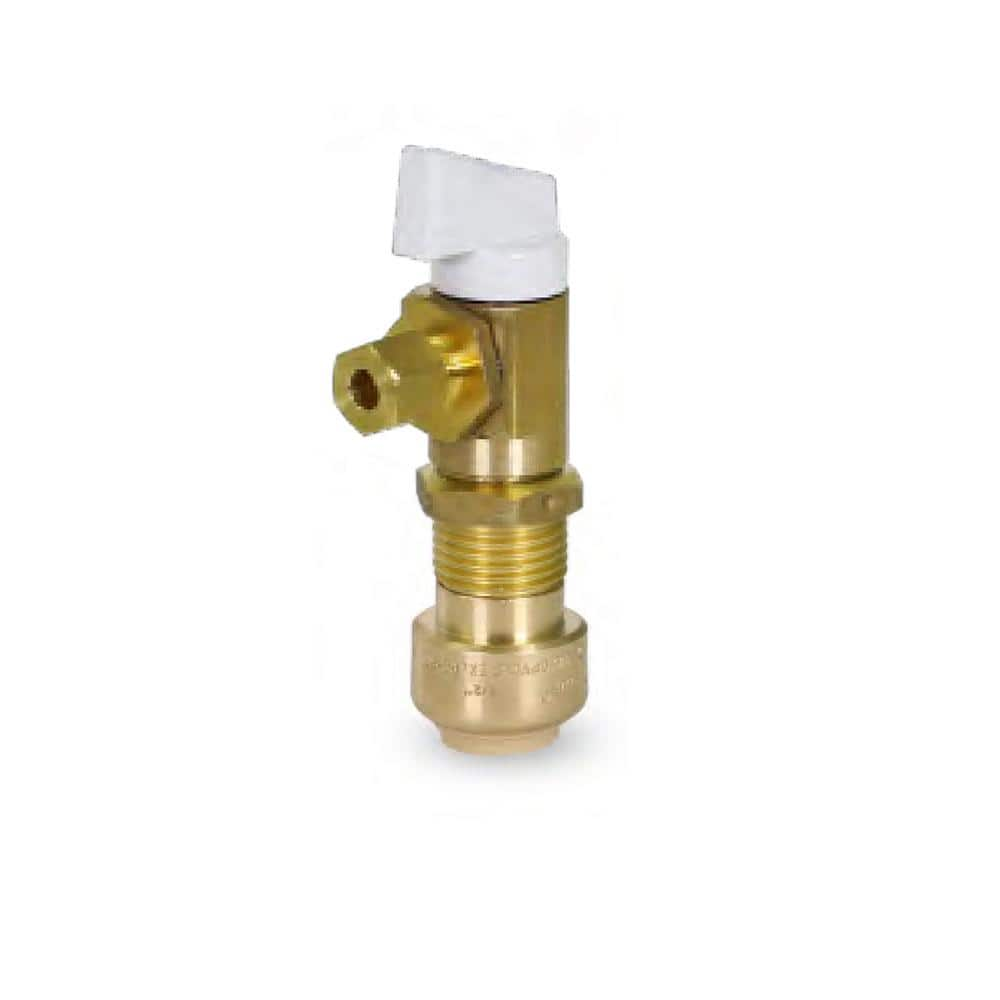
The Plumber's Choice 1/2 in. Push-Fit x 1/4 in. Compression Icemaker Replacement Valve in Lead Free Brass V545
Screwdriver
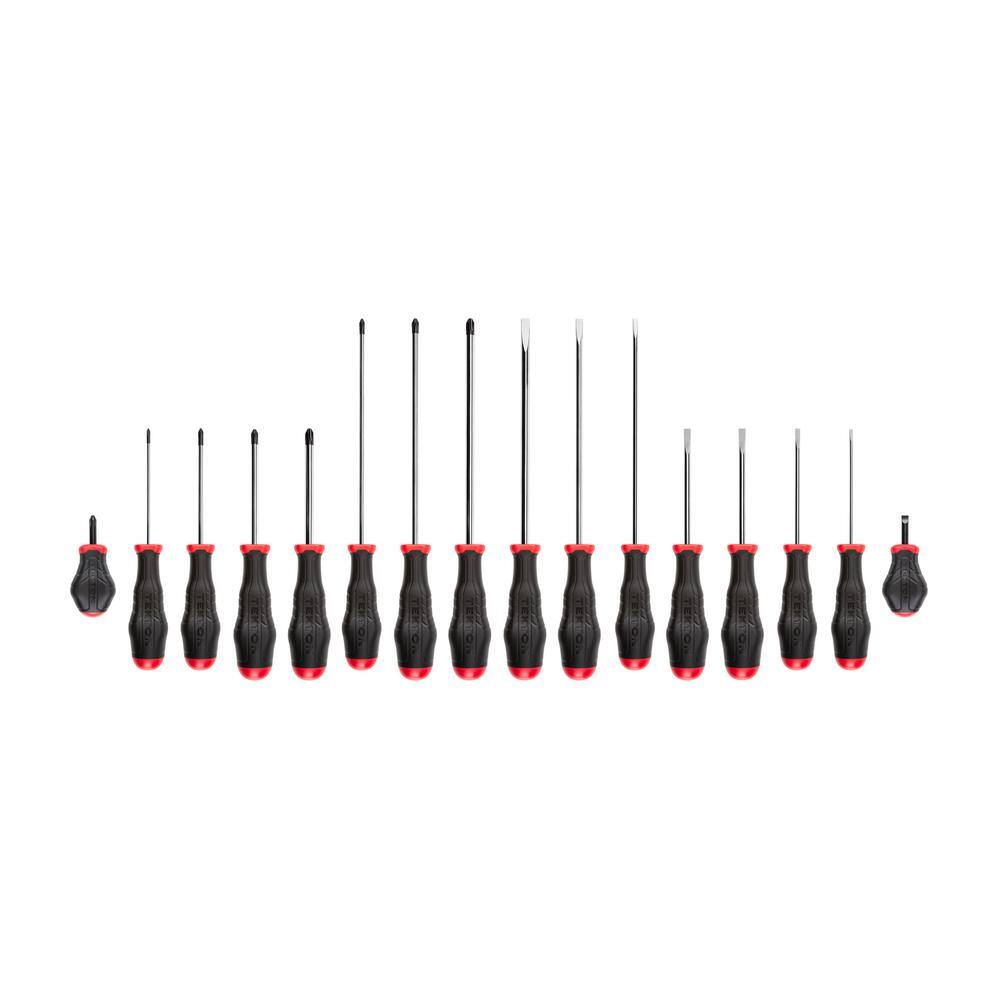
TEKTON High-Torque Screwdriver Set, 16-piece (#0-#3,1/8-5/16 in.) DRV45002
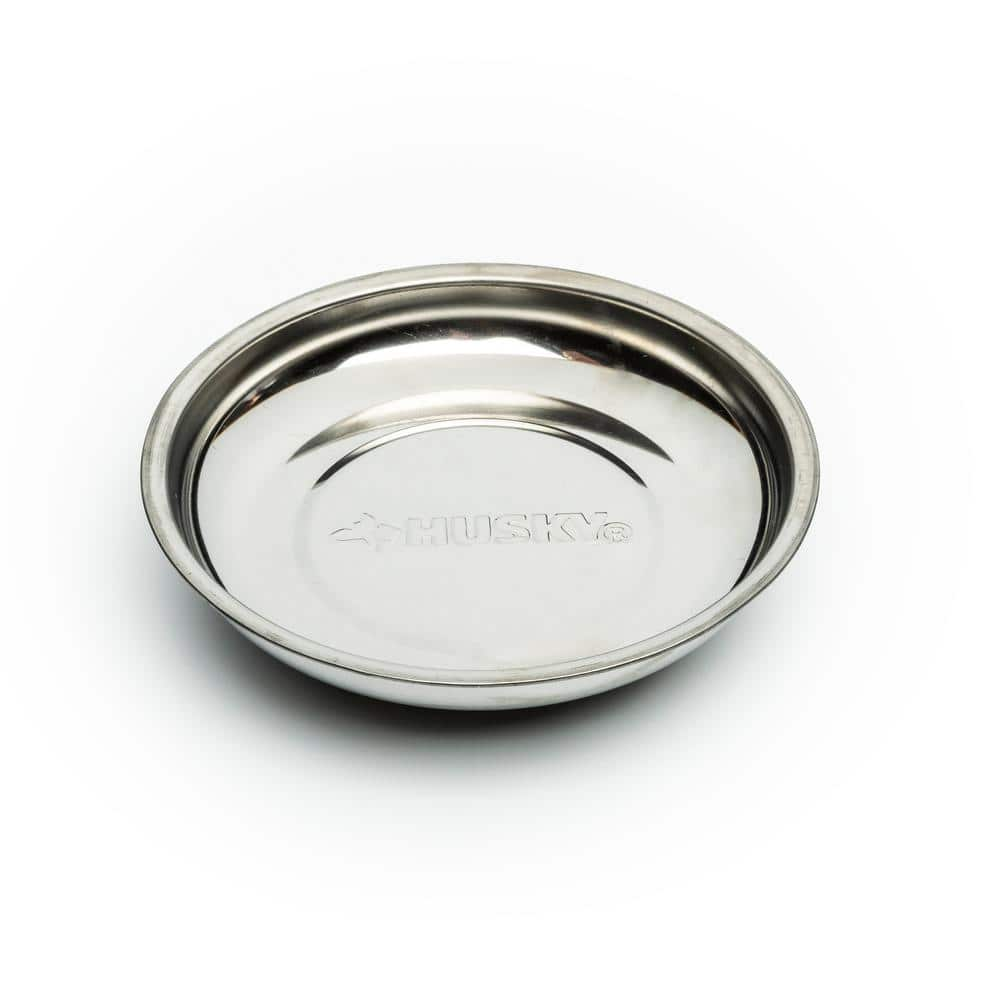
Husky Magnetic Bowl HMBOWLN
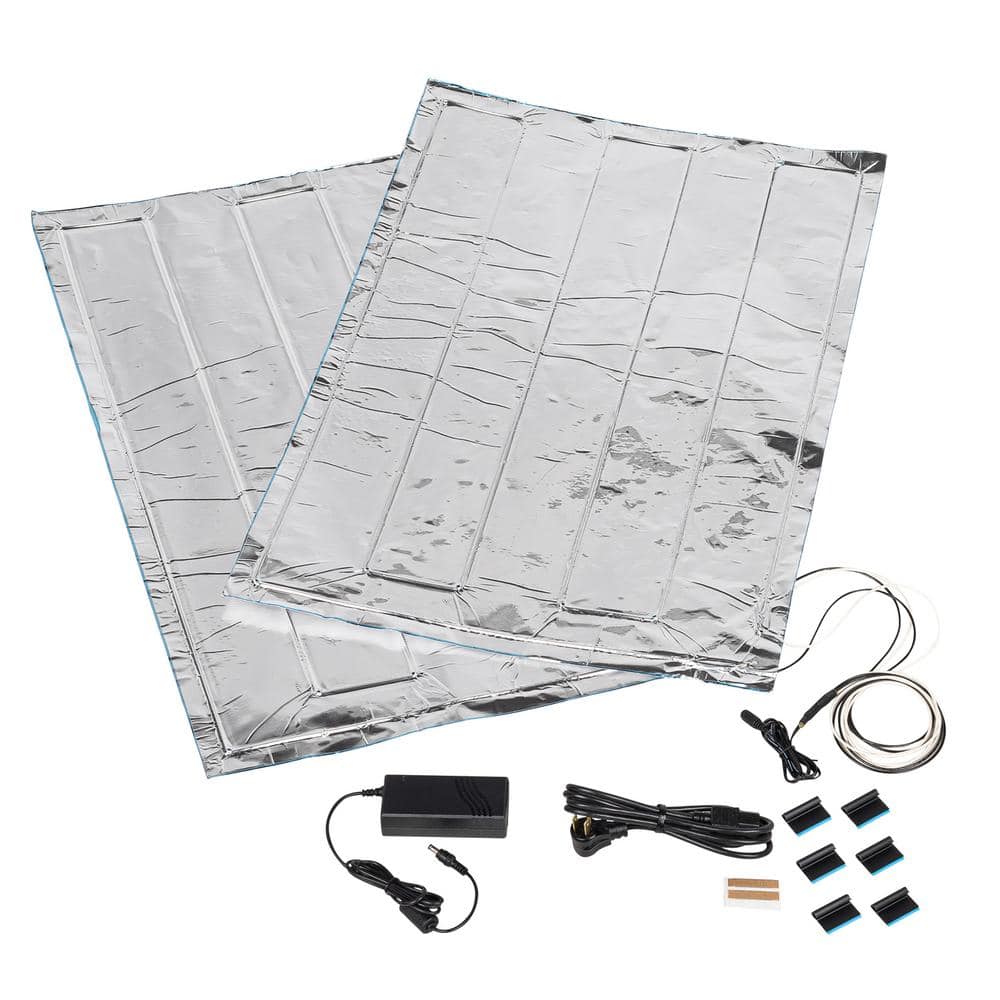
Frigidaire Pro Twins Pairing Kit 912000542
Eaton BR 1-20 Amp 2 Pole and 1-50 Amp 2 Pole BQC (Common Trip) Quad Circuit Breaker BQC220250
Circuit breakers protect the wires in your home from overheating (referred to as an overload) and fault currents (referred to as short circuits). The Eaton Cutler-Hammer Quadplex or Quad type Circuit Breaker is designed to create (4) circuits in (2) spaces. This allows for 240-Volt circuits. The BQC style breaker has a common trip as well as a rejection tab feature. These breakers are designed for use in BR type load centers and should be installed only in panel positions that have notched bus stabs that accommodate the rejection clip. Also, BQC circuit breakers are UL approved genuine replacement breakers for load centers made by Westinghouse, Challenger, and Bryant.
The Plumber's Choice 1/2 in. Push-Fit x 1/4 in. Compression Icemaker Replacement Valve in Lead Free Brass V545
The Plumber's Choice Ice Maker Supply Valve is Great for Replacing Rusting, Leaking or Damaged Valves within Your Icemaker Supply Lines. These are Designed to Fit all Universal Hoses, Pipes, and Supply
Screwdriver
Essential for assembling the cart with screws and installing hardware like gate latches.
TEKTON High-Torque Screwdriver Set, 16-piece (#0-#3,1/8-5/16 in.) DRV45002
Relying on three-sided geometry rather than the friction against your skin, the unique handles of the TEKTON High-Torque Screwdriver Set give you the leverage to generate more torque. Easy-to-read markings
Husky Magnetic Bowl HMBOWLN
Keep all those loose nuts, screw, bolts, and other small parts in one place while working on projects with the Husky magnetic parts bowl. This 5-1/2 in. steel bowl uses a powerful magnet to keep both itself securely in place on any magnetic surface as well as any metal fasteners placed in the bowl from falling out. This magnetic parts bowl is perfect for any auto repair work or DIY projects where you need to keep track of nuts, bolts, and screws.
Frigidaire Pro Twins Pairing Kit 912000542
Pair your single- door appliances with ease using the Single- Door Freezer and Refrigerator Pairing Kit. This pairing kit is designed for use with select freezers and refrigerators and allows you to easily
Steps

Disconnect Power and Water
10 minutesBefore beginning any work, locate the circuit breaker that controls the ice maker and turn it off. Then, turn off the water supply valve connected to the ice maker. This is typically found behind the refrigerator or under the sink. Open a faucet nearby to relieve any pressure in the water line.
Watch: Safety First: Disconnect Power and Water
Access the Ice Maker Assembly
15 minutesOpen the freezer door and identify the ice maker unit. You may need to remove shelves, bins, or a specific ice maker housing panel. Refer to your appliance manual for the exact procedure for your model, as access methods vary greatly between brands and types of refrigerators.
Watch: Access Ice Maker Unit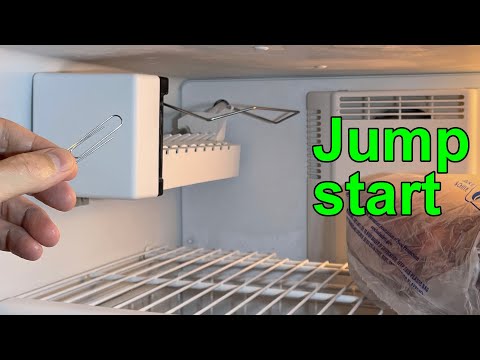
Inspect for Obvious Issues
10 minutesExamine the ice maker mold, water fill tube, ejector arm, and any visible wiring. Look for ice buildup, frozen water lines, debris, or damaged components. Check that the ejector arm moves freely and is not obstructed. Ensure all wire harnesses are securely connected.
Watch: Inspect Ice Maker Tray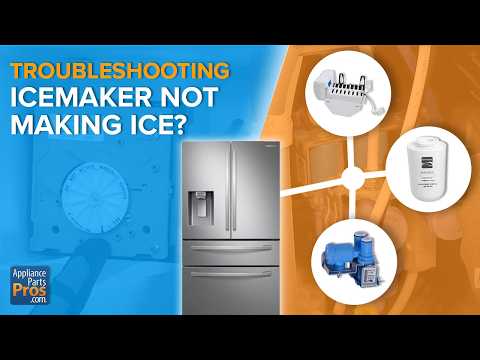
Check Water Inlet Valve and Line
20 minutesWith power and water still off, disconnect the water line from the ice maker. You may hear a slight hiss if there's residual pressure. Check the end of the line for ice or sediment. If the valve itself is suspected, you may need to test its electrical continuity with a multimeter (refer to specific model diagnostics). If the line is frozen, you can attempt to gently thaw it with a hairdryer on a low setting, or by disconnecting it and thawing it in warm water.
Watch: Inspect and Test Water Inlet ValveTest the Ice Maker Motor and Thermostat
25 minutesRefer to your appliance manual for the specific testing procedure for your ice maker model. This often involves using a multimeter to check for continuity across the motor and thermostat contacts. Some models have a test button or a way to manually advance the ejector arm to simulate a cycle.
Watch: Test Ice Maker Components
Clean or Replace Ice Maker Components
30 minutesIf the ice maker has mineral deposits or is dirty, clean the mold and surrounding areas with a mild detergent and water, then rinse thoroughly. If the water inlet valve, motor, thermostat, or other components were found to be faulty in previous steps, replace them with new parts that are compatible with your refrigerator model. Ensure all connections are secure after replacement.
Watch: Inspect and Clean Ice Maker TrayReassemble and Test
15 minutesOnce repairs or cleaning are complete, reattach any panels, shelves, or bins that were removed. Turn the water supply valve back on, checking for any leaks at the connection point. Then, go to the circuit breaker and restore power to the refrigerator. Allow the ice maker several hours to cycle and begin producing ice. Check the ice bin for new ice cubes.
Watch: Final Reconnection and TestCommon Problems
Experiencing an electrical shock when touching components inside the refrigerator or ice maker.
Solution: Immediately stop working. Locate your home's circuit breaker panel and switch off the breaker that controls your refrigerator. Unplug the refrigerator from the wall outlet. Use a non-contact voltage tester or multimeter on the ice maker's wiring to confirm power is completely off before resuming work. If you're uncomfortable, contact a licensed appliance technician.
Prevention: Always disconnect power by switching off the dedicated circuit breaker for your refrigerator AND unplugging the appliance from the wall outlet *before* you begin any disassembly or inspection. Use a reliable voltage tester to confirm power is off at the ice maker's connection point.
Water leaking from the ice maker's water line or connections after reassembly and turning the water back on.
Solution: Immediately turn off the water supply valve to the refrigerator. Use towels to absorb any spilled water. Carefully re-examine all water connections, especially any push-fit or compression fittings, ensuring they are fully seated, aligned, and properly tightened (but do not overtighten). Check for damaged O-rings or seals that might need replacement. If using a new water inlet valve, ensure it's compatible and installed correctly.
Prevention: Before connecting any water lines, ensure all fittings are clean and free of debris. When tightening, make them snug but avoid excessive force that could strip threads or crack plastic. After reassembly, slowly turn the water supply back on and visually inspect all connections for drips or leaks for several minutes before pushing the refrigerator back into its cabinet.
A screw head becomes stripped, or a plastic tab breaks during disassembly or reassembly, making it difficult to secure parts.
Solution: For stripped screws, try using a screw extractor kit or a slightly larger flathead screwdriver that can still get some grip. If a plastic tab breaks, consider using a strong, waterproof adhesive suitable for plastics to reattach it, or look for a replacement component if it's a critical mounting point. Be careful not to force anything.
Prevention: Always use the correct size and type of screwdriver for each screw. Apply firm, steady pressure while turning, especially when loosening tight screws. When dealing with plastic tabs or clips, gently pry them with a plastic tool or a thin flathead screwdriver, referring to your appliance manual for specific removal instructions to avoid breakage.
The new ice maker component (e.g., water inlet valve, thermostat, motor) doesn't fit correctly, doesn't function as expected, or is designed for a different appliance.
Solution: Stop the repair and do not force the part. Double-check your refrigerator's precise model number, which is usually found on a sticker inside the fridge compartment. Compare this with the part number on the new component and consult your appliance's parts diagram (often found in the manual or online). If incompatible, return the part and order the correct one. Take photos of the old part before removing it for comparison.
Prevention: Before ordering any replacement parts, always verify your refrigerator's full model number and serial number. Cross-reference these with the part number you intend to purchase using official manufacturer diagrams or reputable parts suppliers to ensure 100% compatibility. When in doubt, call the manufacturer's parts department.
After repairing and reassembling, the ice maker either makes tiny cubes, a giant block of ice, or doesn't cycle to drop ice properly.
Solution: For tiny cubes or a giant block, the water fill level is likely off. Consult your refrigerator's service manual for instructions on adjusting the water fill volume (some ice makers have an adjustment screw). For cycling issues, ensure the ice maker's bail arm (the shut-off arm) can move freely and isn't obstructed. Give the ice maker several hours (and a few cycles) to stabilize after repair. If issues persist, check the wiring connections to the water inlet valve and the ice maker's control module.
Prevention: Before disassembly, if possible, note any visible settings or positions of adjustable components like the water fill screw or the bail arm. Take photos of the ice maker's internal setup. After reassembly, follow any specific reset or test cycle instructions in your appliance manual. Ensure all wires are securely reconnected according to your initial photos.
Even after fixing a specific component, the ice maker still produces ice slowly, or the cubes are still misshapen, indicating a hidden blockage or mineral buildup.
Solution: Disconnect power and water again. Carefully inspect the water fill tube (the tube that delivers water into the ice mold) for any mineral buildup, frozen ice, or debris that might be restricting flow. Clean the ice mold itself and the water supply channels thoroughly with a small brush, warm water, and a mild, food-safe cleaner to remove scale or slime. Ensure the refrigerator's water filter (if present) is not clogged or past its replacement date.
Prevention: While the ice maker is disassembled for repair, take the opportunity to thoroughly clean all accessible water-related components, including the water fill tube and the ice mold. Regular replacement of your refrigerator's water filter (every 6 months) can significantly reduce mineral buildup and improve ice quality.
Frequently Asked Questions
What are the most critical safety steps I must take before starting an ice maker repair?
Always prioritize safety by first disconnecting power to your refrigerator at the circuit breaker. Next, locate and turn off the water supply valve connected to the ice maker. Double-check that both power and water are fully off before touching any components to prevent electrical shock or water damage.
Are all the listed tools, especially the multimeter and pliers, truly necessary for this beginner-level repair?
Yes, a multimeter is essential for accurately diagnosing electrical issues by testing components like the motor and thermostat. Pliers and various screwdrivers are fundamental for disassembly and reassembly. While you might not install a new circuit breaker, knowing where it is to safely cut power is critical for this repair.
My ice maker isn't producing any ice at all. What's the most common problem I should look for first?
If there's no ice, begin by checking the water inlet valve for clogs or signs of malfunction, and ensure the water supply line isn't frozen, kinked, or disconnected. If water flow is confirmed, the issue could be with the ice maker's motor or thermostat, which you can test with a multimeter as outlined in the steps.
Is the 4-hour estimated time realistic for a beginner, and what might cause the repair to take longer?
Four hours is a reasonable estimate for a beginner, allowing time for careful diagnosis, part acquisition, and reassembly. The repair might take longer if you encounter seized screws, need to perform extensive cleaning to clear blockages, or have difficulty identifying or sourcing the correct replacement parts for your specific appliance model.
Why am I getting odd-shaped or unusually small ice cubes, or why is production very slow?
Oddly shaped or small ice cubes often indicate a partial blockage in the water line, low water pressure, or a clogged water filter. Slow production can also stem from these issues, or it could be a faulty thermostat or sensor that isn't cycling the ice maker frequently enough. Inspect water lines for mineral buildup and replace the filter if needed.
How can I ensure I order the correct replacement parts for my specific ice maker model?
To guarantee compatibility, always consult your refrigerator's user manual or check the manufacturer's label inside the appliance for the exact model number. This model number is crucial when purchasing replacement components like the ice maker assembly, water inlet valve, or thermostat, ensuring a proper fit and function.
What is the typical cost for a DIY ice maker repair, and when should I consider calling a professional?
DIY repair costs usually range from $30 to $150, depending on the specific part needed (e.g., inlet valve, ice maker module). If you're uncomfortable working with electrical components, cannot confidently diagnose the problem after following the troubleshooting steps, or the repair seems beyond your skill level, it's always best to contact a licensed appliance repair technician.