Heat Pump Repair
About This Project
This outline covers a high-level approach to diagnosing and potentially repairing common issues with a residential heat pump system. It emphasizes safety, proper troubleshooting steps, and knowing when to call a professional.
Tools & Materials
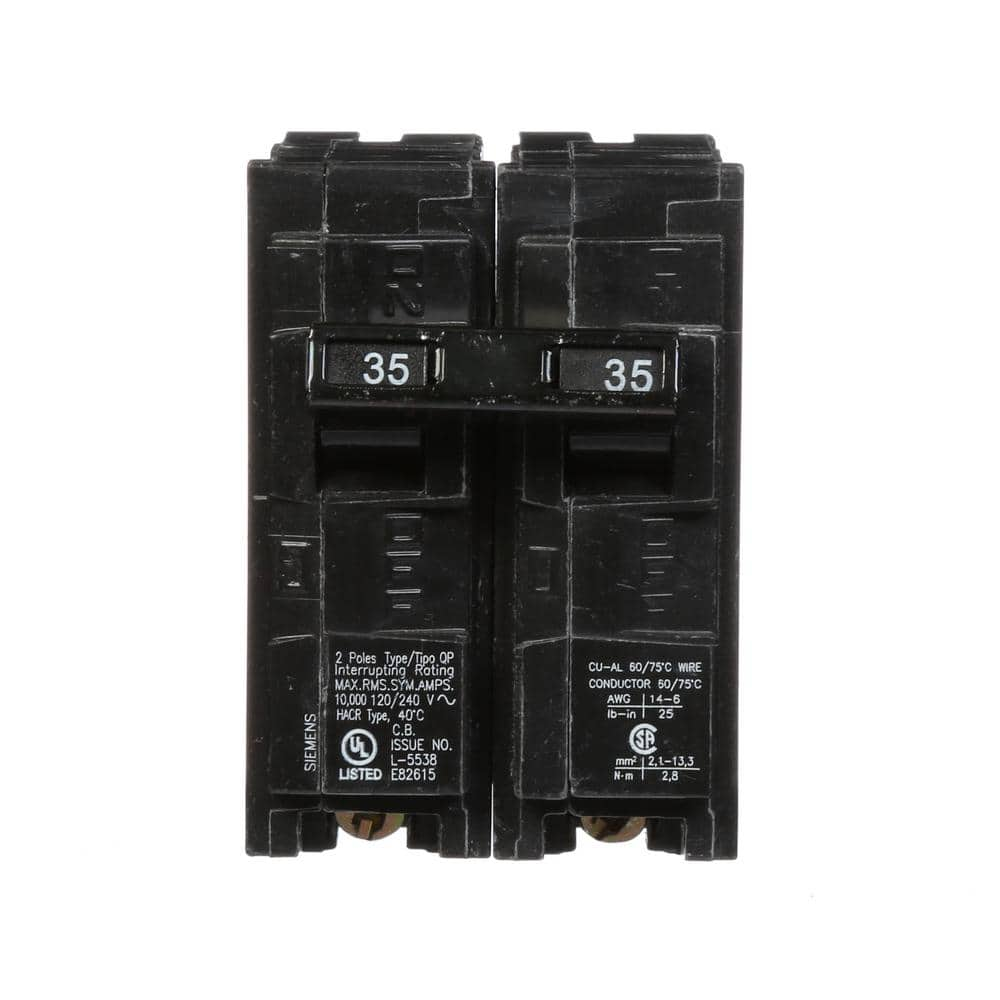
Siemens 35 Amp Double-Pole Type QP Circuit Breaker Q235
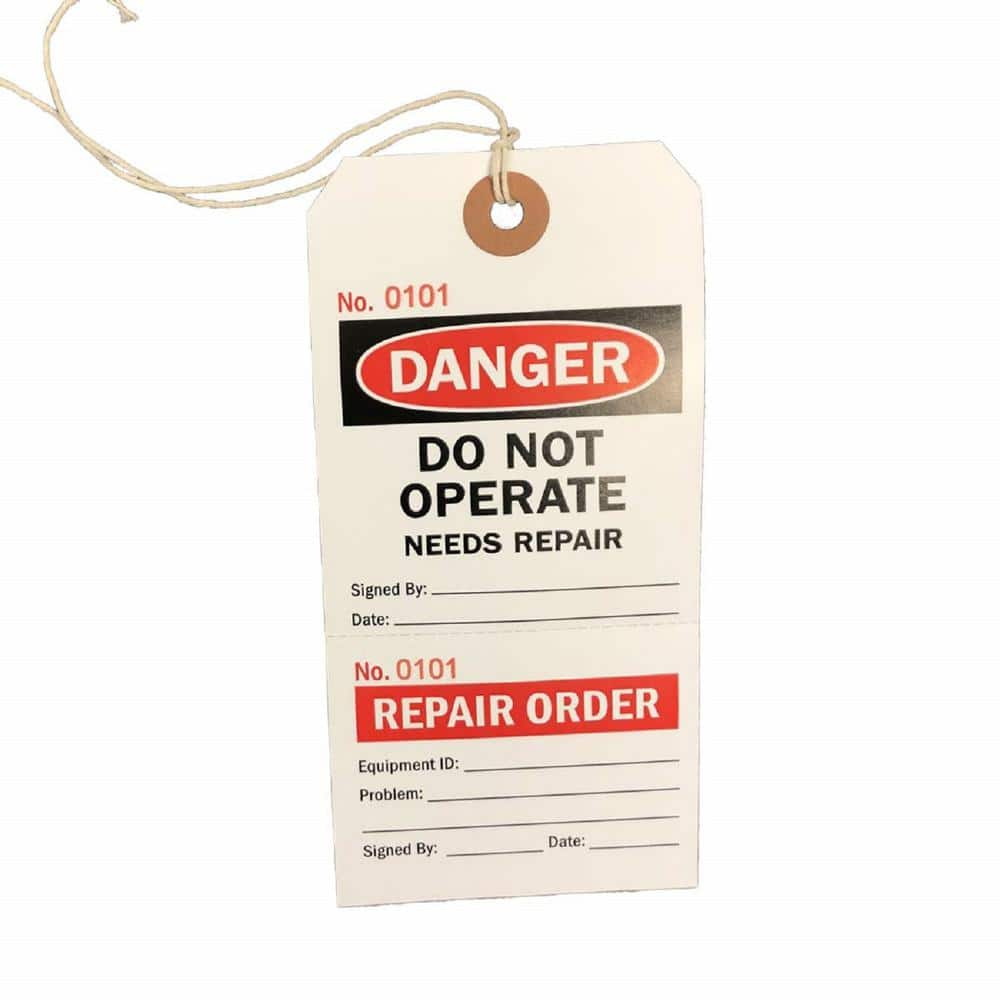
Safe Handler White/Red/Black, Lock Out Tags with Ties, Danger Do Not Operate Needs Repair Sign - (Pack of 100) BLSH-LOTAG-100-1

Vent Brush
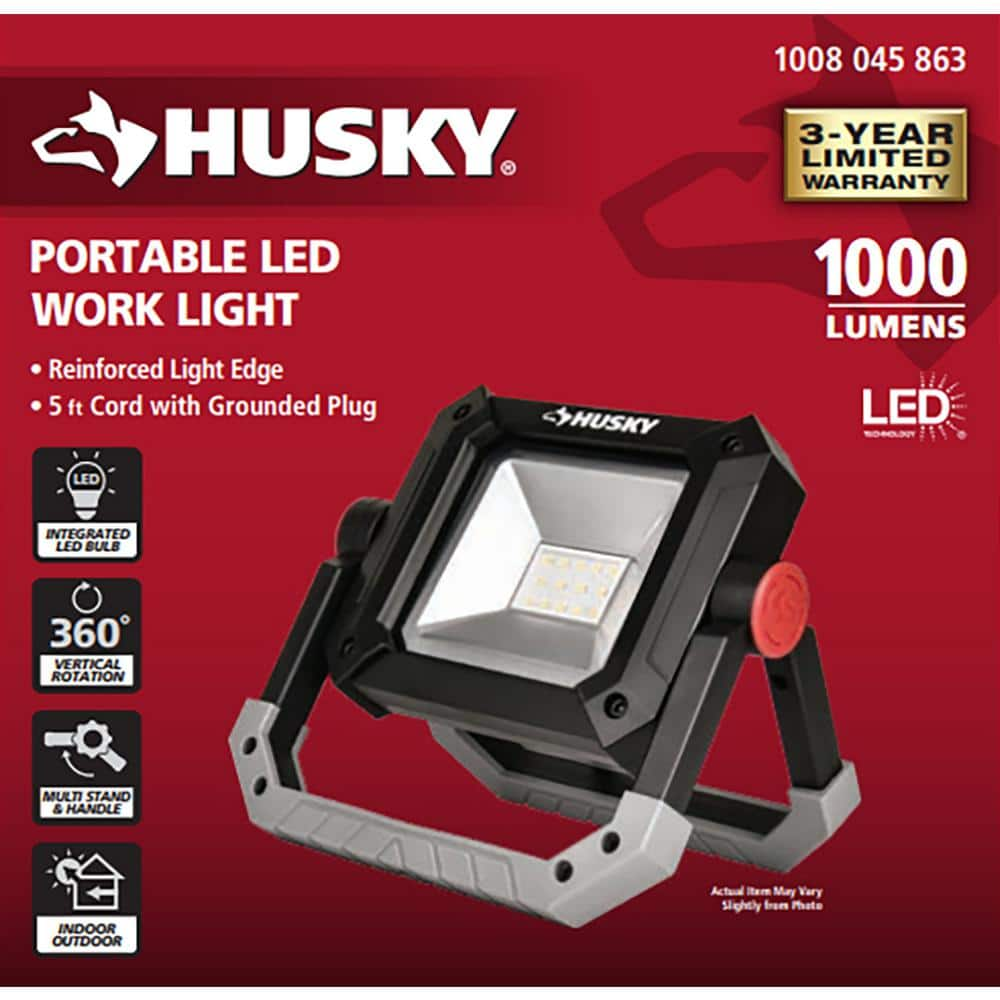
Husky 1000 Lumens LED Portable Work Light LG302C-10W1

Work Gloves
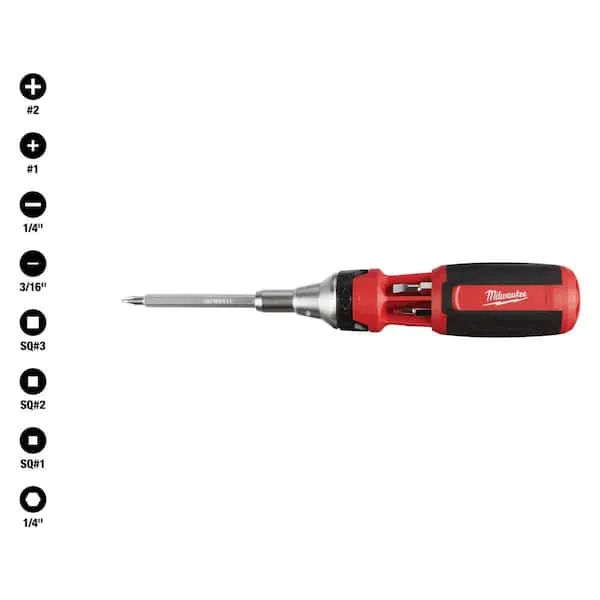
Screwdriver (Multi)
Siemens 35 Amp Double-Pole Type QP Circuit Breaker Q235
Siemens offers a wide array of thermal-magnetic circuit breakers that are the key element for overload and short-circuit protection of your homes electrical system. To provide additional protection Siemens
Safe Handler White/Red/Black, Lock Out Tags with Ties, Danger Do Not Operate Needs Repair Sign - (Pack of 100) BLSH-LOTAG-100-1
Safe handler lockout tags, also known as "do not operate" tags, are designed to stand out and convey a clear danger warning. These tags feature a distinct red and black color scheme that catches the eye
Vent Brush
Cleans vents and ducts efficiently.
Husky 1000 Lumens LED Portable Work Light LG302C-10W1
The Husky 1000 Lumens LED Work Light is versatile and can be used with or without the tripod. It provides ample lighting with its super bright and long-lasting LED bulb. Once detached from the tripod,
Work Gloves
Protects hands during tasks.
Screwdriver (Multi)
Multiple bits for versatile use.
Steps

Safety First: Disconnect Power
15 minutesLocate the main electrical panel or sub-panel that supplies power to your heat pump system. Identify the circuit breaker(s) associated with the outdoor condenser unit and the indoor air handler. Flip these breakers to the OFF position. It is a good practice to place a 'Do Not Turn On' tag or lock on the breaker to ensure no one accidentally restores power while you are working.
Watch: Power Down the Unit Safely
Inspect Outdoor Unit for Visible Damage
20 minutesWalk around the outdoor condenser unit. Check the condition of the exterior casing, the fan guard, and the fan blades for any physical damage. Look for any obstructions like leaves, branches, or trash that might be blocking the airflow through the condenser coil. Carefully examine the electrical access panel for any signs of corrosion, burnt wires, or loose connections.
Watch: Inspect Compressor, Condenser, and Refrigerant Lines
Check Air Filter and Indoor Unit
15 minutesOpen the access panel to the indoor air handler (usually located near the furnace or air conditioner). Locate and remove the existing air filter. Examine it for dirt and debris. If it appears clogged, replace it with a new filter of the correct size and MERV rating. Inspect the area around the air handler, including the drain pan, for any signs of water leaks or microbial growth.
Watch: Replace Indoor Air Filter
Listen for Unusual Noises
10 minutesAfter ensuring all previous steps are complete and safety precautions are taken, briefly restore power to the heat pump system by turning the circuit breakers back ON. Turn the thermostat to initiate a heating or cooling cycle. Stand near both the indoor and outdoor units and listen carefully for any sounds that are not typical for normal operation. Pay attention to the compressor, fan motor, and any other moving parts.
Watch: Initial Unit Power-Up and Observation
Check Refrigerant Lines for Ice Buildup
10 minutesLocate the two refrigerant lines connecting the indoor evaporator coil to the outdoor condenser unit. The larger line, typically covered with foam insulation, is the suction line. Carefully examine this line for any signs of frost or ice accumulation. Ice formation on this line is a strong indicator of a problem that needs immediate attention.
Watch: Identify Frozen Suction Line
Verify Thermostat Settings
5 minutesAccess your thermostat's control interface. Verify that the system is set to the correct mode (e.g., 'Cool' for cooling, 'Heat' for heating, or 'Auto' if the system is designed to switch between modes automatically). Check that the set temperature is appropriate for the desired comfort level and that it is significantly different from the current room temperature to call for heating or cooling. Ensure the fan setting is appropriate (e.g., 'Auto' or 'On').
Watch: Check Thermostat Settings
Inspect Condensate Drain Line for Clogs
30 minutesLocate the condensate drain line originating from the indoor unit's evaporator coil. This is typically a PVC pipe. Follow it to its termination point (often a floor drain, pump, or outside). Look for any visible signs of clogs, algae buildup, or debris. You can try to clear minor clogs by gently snaking a stiff wire or using a wet/dry vacuum on the outlet.
Watch: Clear Condensate Drain LineCheck Electrical Connections (Advanced)
45 minutesCarefully remove the access panels to the electrical compartments of both the indoor air handler and the outdoor condenser unit. Using a flashlight, examine all terminal connections at the contactor, capacitors, control board, and motors. Look for any discoloration, melted insulation, or loose screws. Gently tug on wires to ensure they are securely fastened. Tighten any loose connections, but do not overtighten.
Watch: Inspect & Tighten Electrical Connections
Test Capacitors (Advanced)
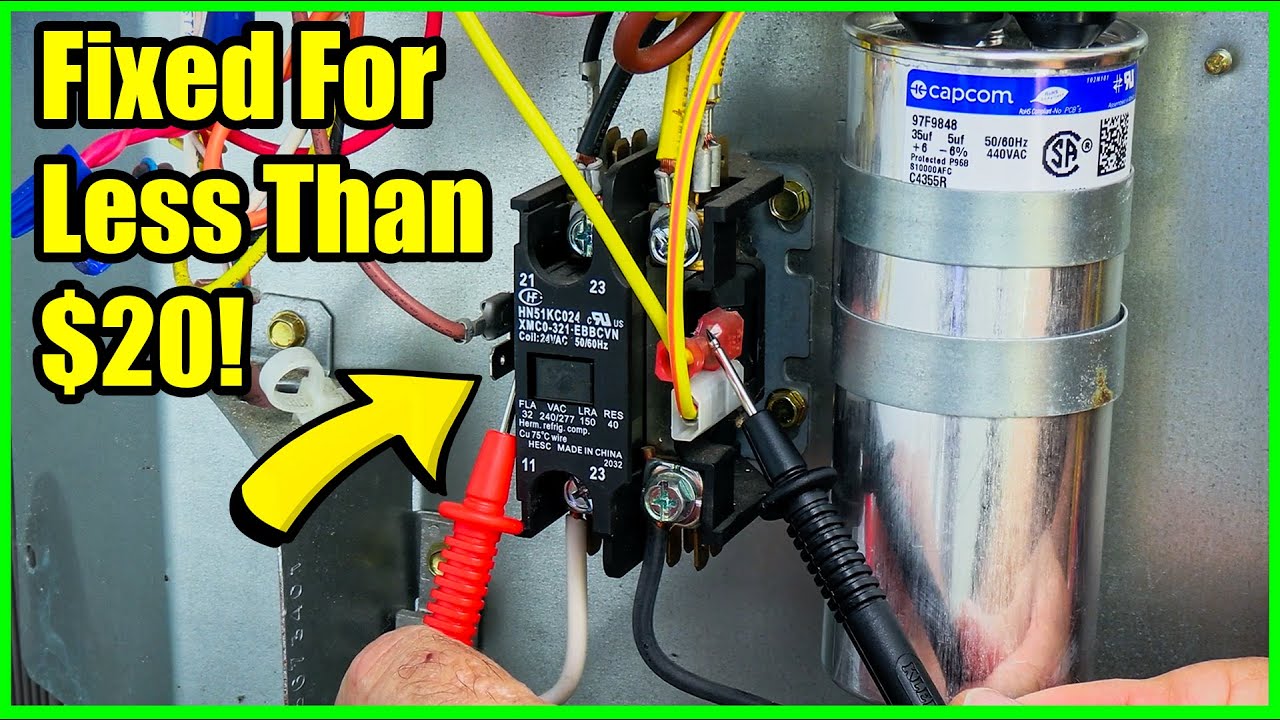
30 minutesEnsure power is OFF and has been discharged from capacitors. Discharge any capacitor by shorting its terminals with an insulated screwdriver. Set your multimeter to the capacitance testing setting (usually marked with 'uF' or a capacitor symbol). Carefully remove the wires from the capacitor terminals, noting their positions. Connect the multimeter probes to the capacitor terminals as per your multimeter's instructions. Read the capacitance value and compare it to the rating printed on the capacitor. If the reading is significantly lower than the rating, the capacitor likely needs replacement.
Watch: Discharge and Test Capacitor with Multimeter
When to Call a Professional
5 minutesIf any of the following conditions are met, cease further DIY attempts and contact a licensed HVAC professional: persistent unusual noises, significant ice buildup that returns after thawing, no power to the unit despite breaker being on, refrigerant leaks (indicated by oily residue on lines or hissing sounds), compressor not running, or any diagnosed electrical component failure you are not qualified to replace.
Watch: Observe Outdoor Condensing Unit OperationCommon Problems
Electric shock hazard from live electrical components.
Solution: Immediately stop work. Go to your home's main electrical panel and locate the circuit breaker labeled for your heat pump or furnace. Flip it to the 'OFF' position. Use your non-contact voltage tester (FLUKE 1AC-A1-II VoltAlert) to verify that there is no power at any electrical connection point you intend to touch. If the tester beeps or lights up, the power is still on; recheck the breaker or call a professional.
Prevention: Always, as the very first step, disconnect power at the circuit breaker before opening any electrical panels on your heat pump. Place a 'Lock Out Tag' (Safe Handler Danger Do Not Operate) on the breaker to prevent others from accidentally turning it back on while you are working. Verify power is off with a non-contact voltage tester before touching anything.
Stripped screw heads or damaged mounting points on the heat pump's panels or electrical covers.
Solution: If a screw head is stripped, try using a slightly larger flathead screwdriver (from the TEKTON High-Torque Screwdriver Set) to gain purchase, or a screw extractor if available. For damaged mounting points, you might need to use a self-tapping screw (of appropriate size) or, as a temporary fix, use electrical tape to secure a loose panel, ensuring it doesn't obstruct airflow or expose live wires. Replace any damaged screws with identical ones if possible.
Prevention: Always use the correct size and type of screwdriver bit for the screw head. Apply firm, downward pressure while turning to avoid cam-out (slipping). Do not over-tighten screws; turn them until they are snug, then give them a slight quarter-turn extra at most.
Incorrect air filter installation, leading to reduced airflow or system damage.
Solution: Turn off your heat pump. Remove the incorrectly installed filter. Look for an arrow printed on the filter's frame; this arrow must point in the direction of the airflow, which is usually towards the indoor unit (the furnace/air handler). Reinstall the ACDelco Air Filter A212CW with the arrow pointing correctly. If the filter was the wrong size, replace it with the correct dimensions, typically found printed on the old filter's frame.
Prevention: Before removing the old air filter, take a photo or make a mental note of the direction the airflow arrow is pointing. Always purchase the exact size filter specified for your unit (dimensions are usually printed on the filter frame).
Clogged condensate drain line causing water backup and potential water damage.
Solution: First, turn off the heat pump. Locate the condensate drain line's exit point, usually outside near the outdoor unit or foundation. Use your Wet-Dry Vacuum to suction out the clog from this end. Place the vacuum hose tightly over the drain line opening and let it run for a minute or two. If the clog persists, locate the access point on the indoor unit's drain pan (often a small cap on a PVC pipe) and gently use the PLUMBFLEX Drain Snake to clear any blockages, being careful not to puncture the line.
Prevention: Periodically (every 2-3 months) pour a cup of distilled white vinegar or a small amount of bleach (diluted with water) down the condensate drain line's access point on the indoor unit. This helps prevent algae and mold growth that commonly cause clogs.
Heat pump not responding or working incorrectly due to wrong thermostat settings.
Solution: Check your White Rodgers Thermostat (1C21-101) settings. Ensure the mode is set correctly ('Cool' if you want cooling, 'Heat' if you want heating, 'Off' to turn it off). Verify the fan setting is either 'Auto' (fan runs only when heating/cooling) or 'On' (fan runs continuously). Make sure the desired temperature is set appropriately (lower than room temp for cooling, higher for heating). After making changes, allow 5-10 minutes for the system to respond.
Prevention: Familiarize yourself with your thermostat's basic functions. Before assuming a system malfunction, always confirm the thermostat is set to the correct mode, fan, and temperature for your desired comfort.
Ice buildup on the outdoor unit's coil or refrigerant lines, indicating a serious issue.
Solution: Turn off your heat pump at the thermostat and the circuit breaker. Allow the ice to melt completely, which may take several hours. While it's melting, inspect the outdoor unit's coil for excessive dirt or debris and clean it gently with water if needed. Ensure the indoor air filter is clean and correctly installed. If the ice returns after restarting the system, it indicates a more serious problem like low refrigerant, a faulty fan, or a complex restriction, which requires professional diagnosis.
Prevention: Regularly check and replace your air filter (ACDelco Air Filter A212CW) and keep the outdoor unit clear of leaves, grass clippings, and other debris. Never ignore ice buildup; it's a clear sign of a problem that can lead to permanent damage if not addressed. If the problem persists after basic checks, immediately call a certified HVAC technician.
Frequently Asked Questions
What essential tools do I need to perform these heat pump troubleshooting steps?
You'll need basic hand tools like a multi-screwdriver set, a bright work light for visibility, and a wet-dry vacuum and drain snake for condensate line clogs. For advanced electrical checks, a multimeter is essential to safely test voltage and capacitance. Always ensure your tools are in good condition and appropriate for the task.
What are some common heat pump issues I can realistically fix myself without professional help?
Many common problems are simple fixes, such as replacing a dirty air filter, clearing a clogged condensate drain line, or thawing ice buildup on the outdoor unit. Verifying your thermostat settings are correct can also resolve many operational issues. These steps often restore function without needing a technician.
How long should I expect this DIY heat pump repair project to take, and is it suitable for beginners?
This project is rated intermediate difficulty, but basic checks like the air filter and condensate line can be done by most DIYers in about an hour. Advanced steps, such as checking electrical connections or testing capacitors, increase the complexity and time required. Beginners should proceed cautiously and only attempt steps they are comfortable with.
When should I definitely call a licensed professional instead of attempting further DIY repairs?
You should call a professional immediately if you suspect a refrigerant leak, hear severe grinding noises from the compressor, or encounter persistent electrical problems beyond basic diagnosis. Any issues that make you feel unsafe, or if the repairs involve opening the sealed refrigerant system, require professional expertise to avoid further damage or injury.
What preventative measures can I take to avoid frequent heat pump breakdowns?
Regularly replacing your air filter (monthly or bi-monthly) is crucial for efficiency and longevity. Annually inspect the outdoor unit for debris and clean the coils, and check the condensate drain for clogs. Performing these simple maintenance tasks can prevent many common issues and extend your heat pump's lifespan.