Shower & Tub Faucet Replacement: A Complete DIY Guide
About This Project
This DIY guide demonstrates how to replace your shower and bathtub faucets at the same time. Start by shutting off the water supply and draining the lines. Then, remove the old faucet handles, trim, and valves. Install the new valves, followed by the new trim and showerhead. Finally, turn the water back on, test for leaks, and enjoy your updated bathroom!
Best for experienced DIYers and homeowners with some experience.
Tools & Materials
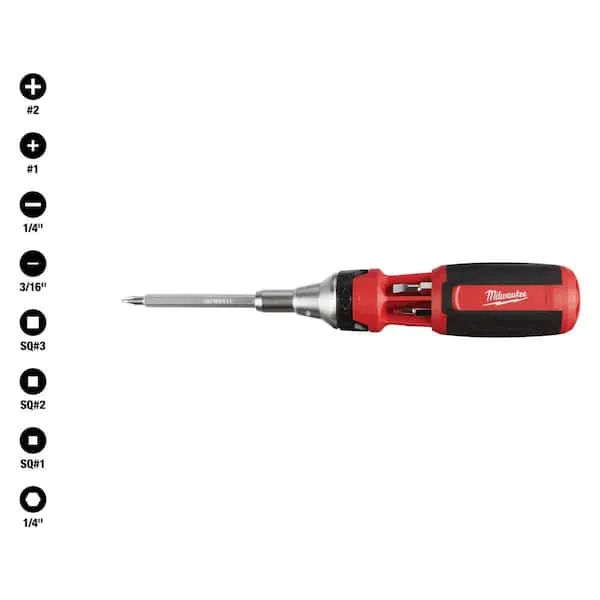
Screwdriver (Multi)
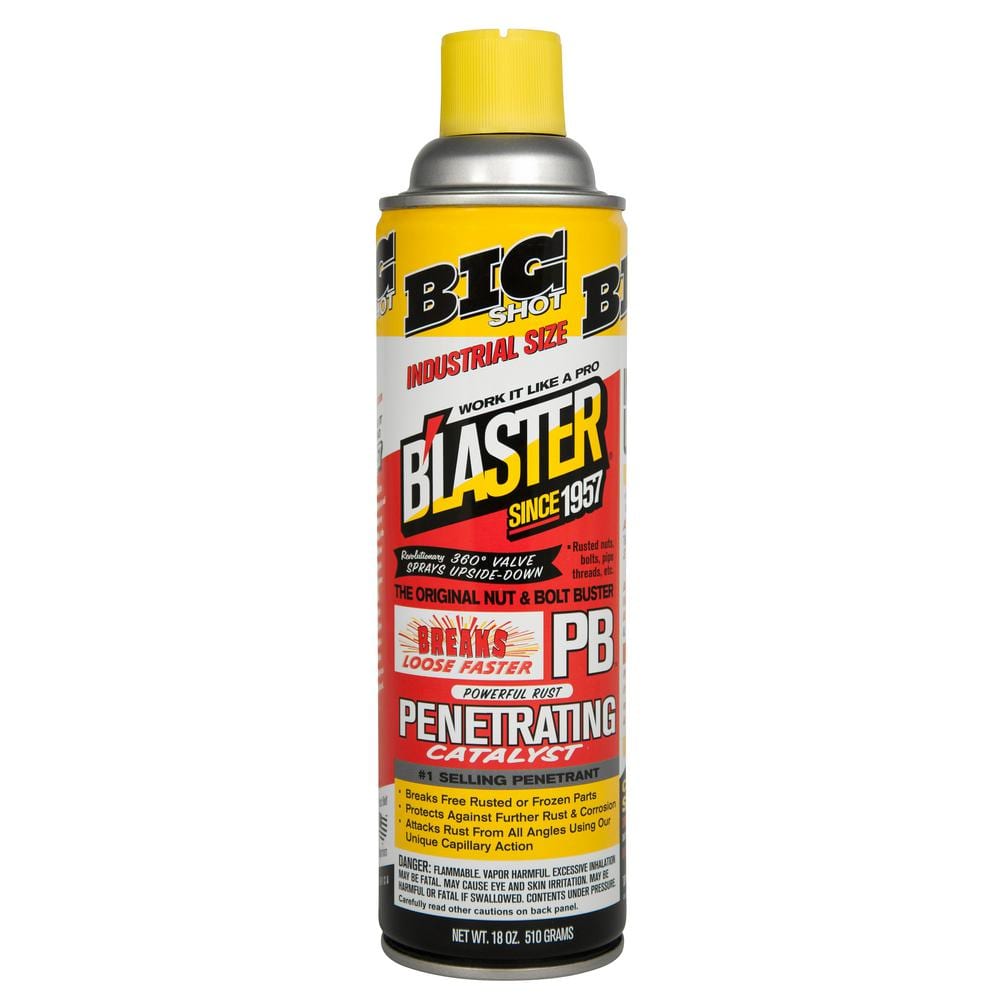
Blaster 18 oz. PB Penetrating Oil 26-PB
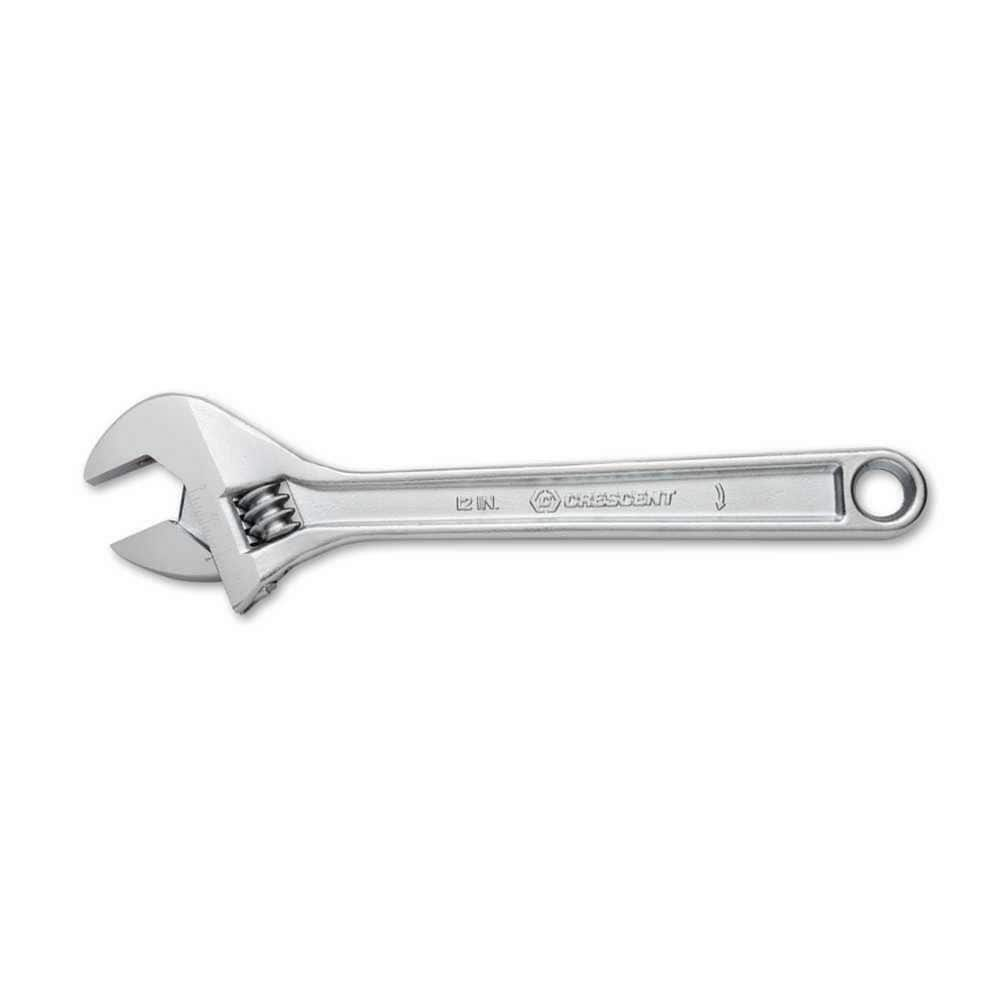
Crescent 12 in. Chrome Adjustable Wrench AC212VS
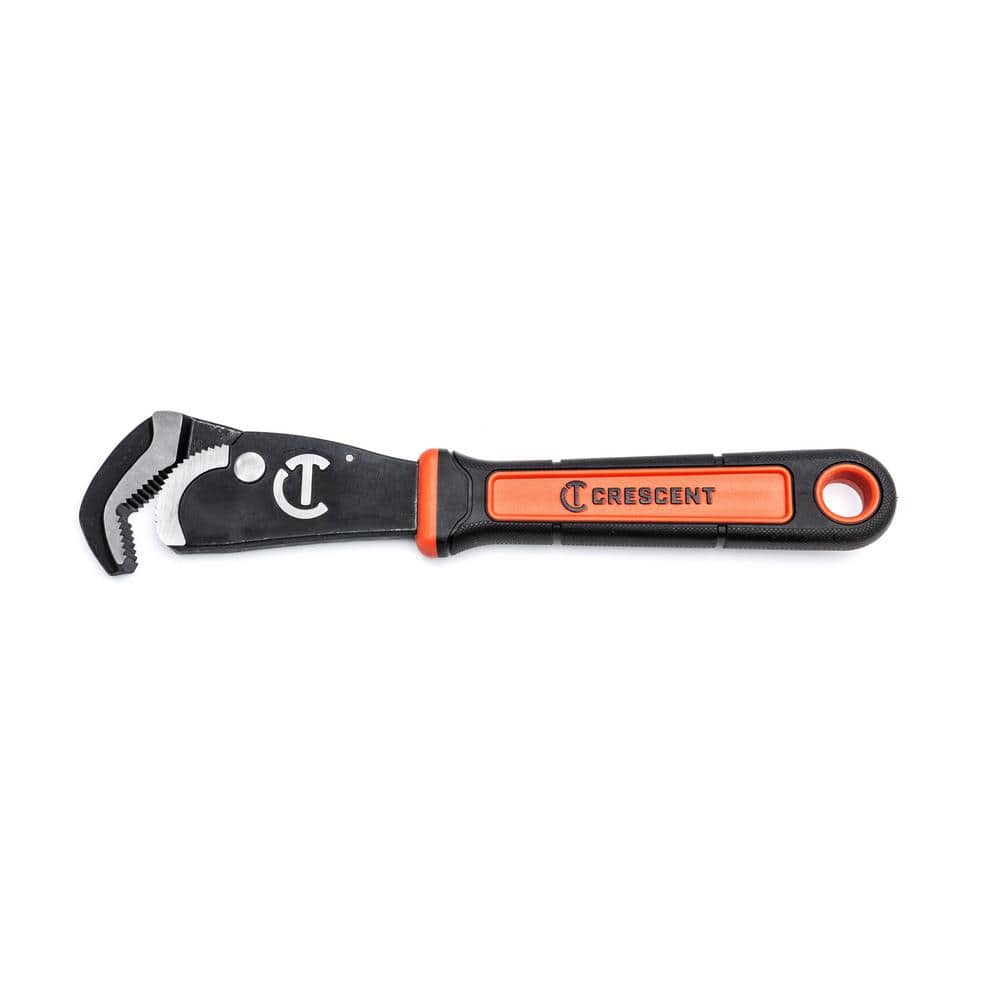
Crescent 12 in. Self-Adjusting Straight Pipe Wrench with Grip CPW12
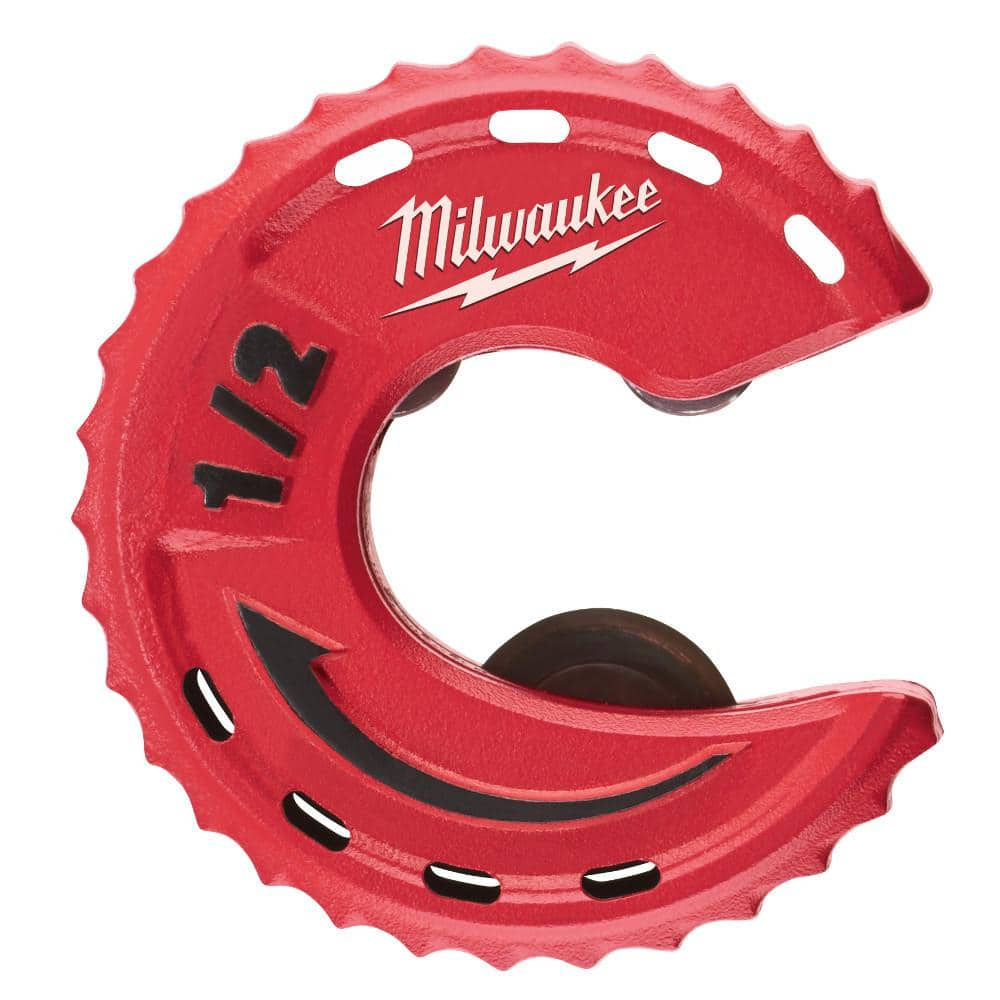
Milwaukee 1/2 in. Close Quarters Tubing Cutter 48-22-4260

Adjustable Wrench
Screwdriver (Multi)
Multiple bits for versatile use.
Blaster 18 oz. PB Penetrating Oil 26-PB
The #1-selling penetrant since 1957, PB Blaster quickly busts loose rusted or frozen parts caused by rust and corrosion. PB Blaster penetrant also contains a non-evaporating lubricant that protects against
Crescent 12 in. Chrome Adjustable Wrench AC212VS
Since the introduction of the original Crescent wrench in the early 1900s, the Crescent brand has become synonymous with adjustable wrenches. Crescent Adjustable Wrenches feature a large knurl for easy
Crescent 12 in. Self-Adjusting Straight Pipe Wrench with Grip CPW12
Crescent self-adjusting pipe wrenches feature a unique head design that instantly grips and releases pipes and other types of fasteners with a fast ratcheting action. They are ideal for most surfaces including black iron, galvanized, PVC, and copper pipes as well as nuts, bolts, and couplings. The spring-loaded head features a quick-grip and quick-release function that allows the wrench to be used with one hand.
Milwaukee 1/2 in. Close Quarters Tubing Cutter 48-22-4260
Milwaukee Close Quarters Tubing Cutters are optimized for tough cuts in tight spaces. The compact design allows access to the tightest spaces. Chrome rollers deliver best in class rust protection while
Adjustable Wrench
Fits various nut and bolt sizes with its adjustable jaw.
Steps

Shut Off Water Supply & Drain Lines
5 minsBegin by turning off the main water supply to your bathroom. Locate the shut-off valves (usually under the sink or in the basement) and turn them clockwise until they stop. Then, open both the shower and tub faucets to relieve any remaining water pressure in the lines.
Watch: Turn Off the Water Supply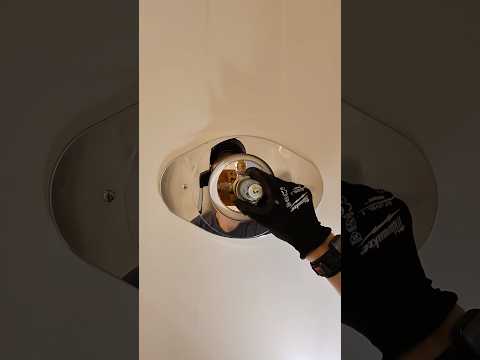
Remove Old Faucet Handles & Trim
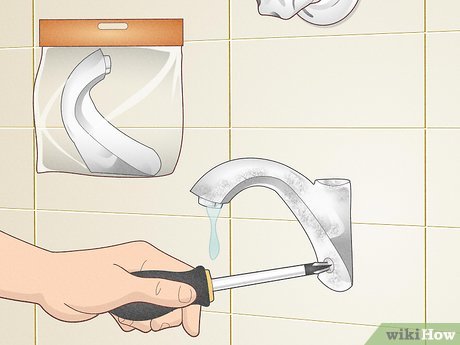
30 minsCarefully remove the handles and escutcheons from both the shower and tub faucets. Use a screwdriver to remove the screws; penetrating oil may be necessary for stubborn, corroded screws. Gently pry off any decorative caps before unscrewing.
Watch: Remove Old Fixtures

Install New Faucet Valves
1 minInstall the new shower and tub faucet valves, following the manufacturer's instructions. Typically, this involves applying plumber's putty to the base, inserting the valve, and tightening the retaining nut. Repeat for both valves. Remember to replace any worn washers.
Watch: Install New Faucet and Reconnect Plumbing
Install New Trim & Showerhead; Test for Leaks
30 minsInstall the new handles, escutcheons, and showerhead according to the manufacturer's instructions. Carefully tighten all connections. Slowly turn the water supply back on and thoroughly check all connections for leaks. Adjust the temperature stop as needed.
Watch: Adjust Height and Test for LeaksCommon Problems
Hold on to the valve when making the last cut so it doesn't drop.
Solution: To avoid this issue: Be mindful of this warning and take appropriate precautions.
Cutting too close to fittings leaves insufficient pipe for the new faucet.
Solution: For copper pipes, cut midway between the valve and any elbow fittings to leave enough pipe for the new installation.
Be gentle when pulling the faucet assembly away from the wall to avoid kinking or damaging the water lines.
Solution: To avoid this issue: Be mindful of this warning and take appropriate precautions.
Trim sleeve is stuck, risking finish damage when trying to remove it.
Solution: For a stuck trim sleeve, use a rubber jar opener or rubber-tipped pliers to avoid damaging the finish.
Be gentle when prying the escutcheon plate off the wall to avoid damaging the tile or wall surface.
Solution: To avoid this issue: Be mindful of this warning and take appropriate precautions.
Lost faucet parts can halt your repair and require a trip to the store.
Solution: Keep the handle and screws in a safe place so they are not lost.
The narrator notes that removing a stuck handle can be very difficult. He resorted to unscrewing the flange to get more leverage, but this should be done with caution.
Solution: To avoid this issue: Be mindful of this warning and take appropriate precautions.
Frequently Asked Questions
What's the absolute first thing I need to do before starting this project to avoid a plumbing disaster?
The most crucial first step is to shut off the main water supply to your house, or at least the supply to your bathroom. After that, open the existing faucets to drain any remaining water from the lines, preventing unexpected spills and making the work area safer.
The guide lists an adjustable wrench. Is this tool essential, and are there any alternatives if I don't have one?
Yes, an adjustable wrench (like the Crescent 12 in. Chrome Adjustable Wrench AC212VS) is essential for securely tightening and loosening plumbing connections without stripping nuts. While a pipe wrench can be used, an adjustable wrench offers more control. Always ensure the wrench size matches your fittings to prevent damage.
As a beginner, how long should I expect this shower and tub faucet replacement project to take?
For a beginner, expect this project to take anywhere from 3 to 6 hours. This timeframe accounts for preparation, careful removal of old components, precise installation of new parts, and thorough leak testing. Rushing can lead to mistakes, so take your time and follow each step carefully.
What's the most common mistake beginners make during faucet replacement, especially regarding leaks, and how can I prevent it?
The most common mistake is not adequately sealing threaded connections, which invariably leads to leaks. Always apply plumber's tape (PTFE tape) clockwise to all male threaded pipe connections before tightening. Ensure connections are snug but avoid overtightening, which can damage plastic or brass fittings.
Do I always need to replace the internal valves, or can I just update the handles and showerhead for a cosmetic refresh?
You don't always need to replace the internal valves if they are in good working condition and not leaking. You might only need a new trim kit (handles, escutcheon, showerhead) that is specifically designed to be compatible with your existing valve body. Check the manufacturer and model of your current valve to ensure compatibility.
What should I do immediately after turning the water back on to ensure everything is installed correctly and prevent future issues?
After slowly turning the water supply back on, carefully inspect all new connections for any signs of leaks or drips. Turn on both the tub spout and showerhead to check for proper function and water flow. Address any observed leaks immediately by re-tightening the connection or re-applying plumber's tape as needed.