Tub Spout & Diverter Installation: A DIY Guide
About This Project
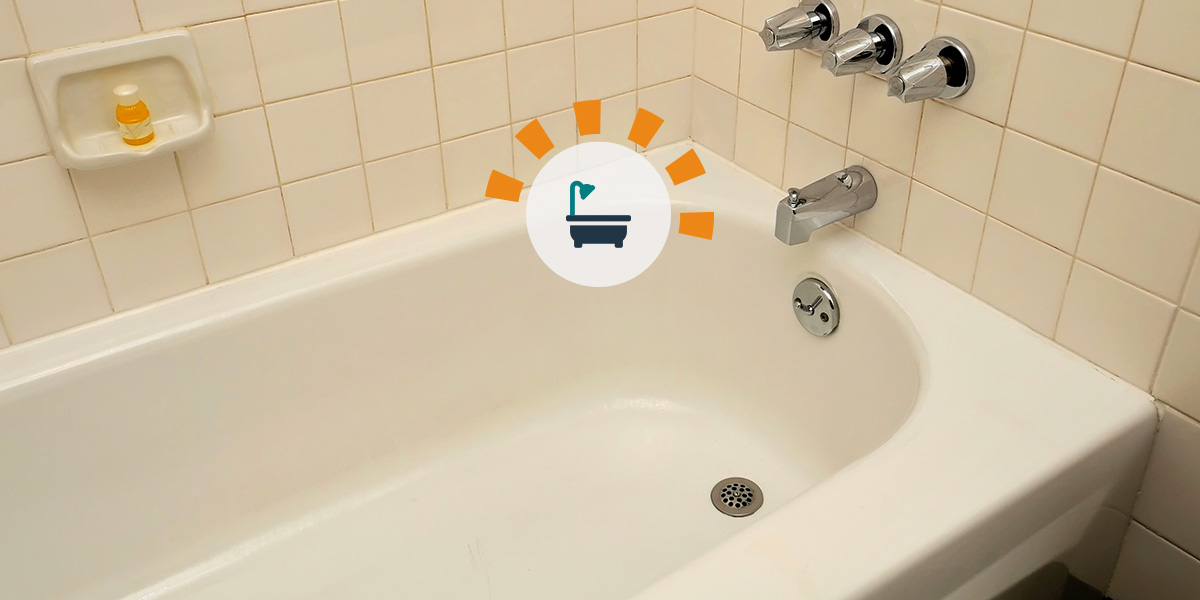
This DIY guide demonstrates how to install a tub spout with a diverter. 1. **Shut Off Water Supply:** Turn off the water to the shower to prevent leaks during the process. 2. **Remove the Existing Tub Spout:** If threaded, unscrew the old spout counterclockwise with an adjustable wrench. For soldered spouts, cut the pipe near the spout with a pipe cutter and remove. 3. **Prepare the Copper Pipe:** Clean the copper pipe threads with a wire brush or emery cloth to ensure a good seal. If the pipe was cut, smooth and deburr the end. 4. **Apply Plumber's Tape (if threaded):** Wrap 2-3 turns of plumber's tape clockwise around the copper pipe threads for a watertight seal. 5. **Install the New Tub Spout:** Screw the new spout onto the pipe clockwise, hand-tighten, then tighten further with a wrench (avoid overtightening). For slip-on types, slide the spout on and tighten the set screws. 6. **Test for Leaks and Diverter Function:** Turn the water back on and check for leaks around the spout's base. Test the diverter by switching between tub and shower to confirm proper function.
Best for homeowners and DIY enthusiasts.
Tools & Materials
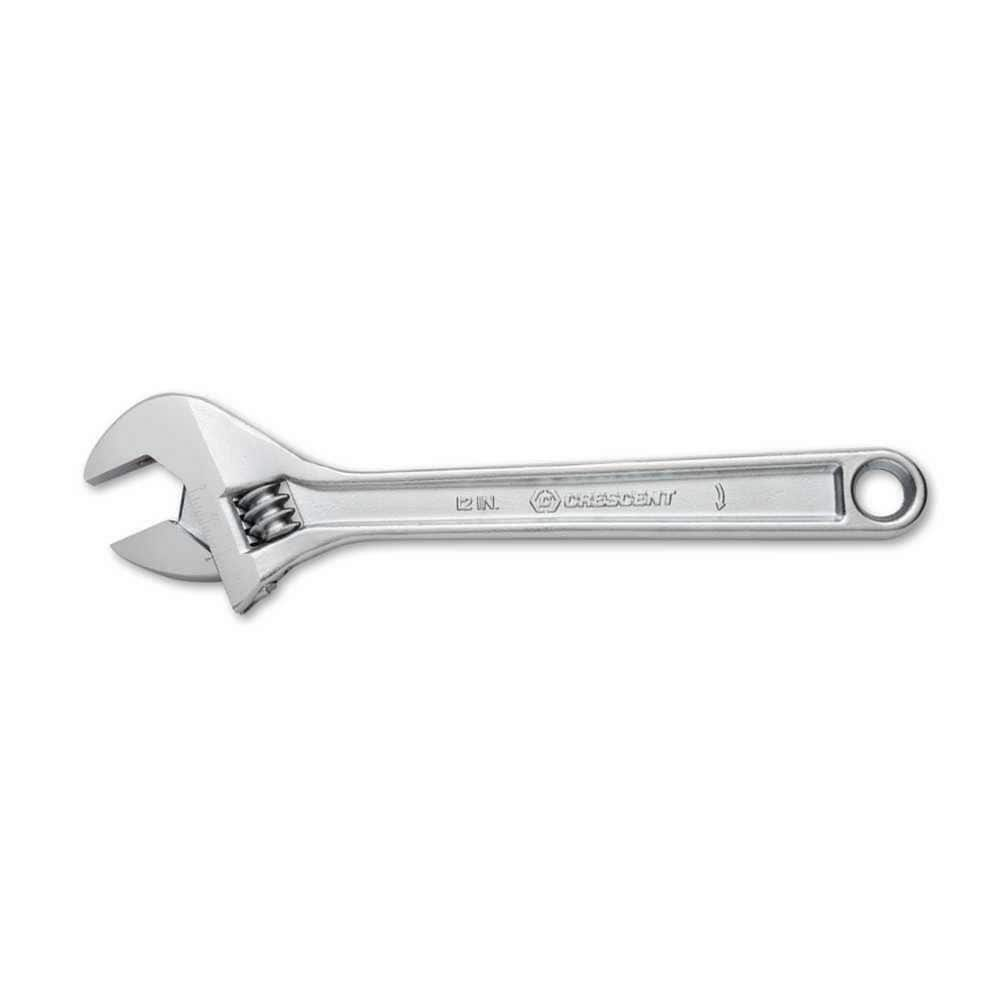
Crescent 12 in. Chrome Adjustable Wrench AC212VS

RIDGID 1/2 in. to 4 in. PTC-400 Stainless Steel, Carbon Steel, Copper, Aluminum and Plastic Pipe and Tube Cutter 66138
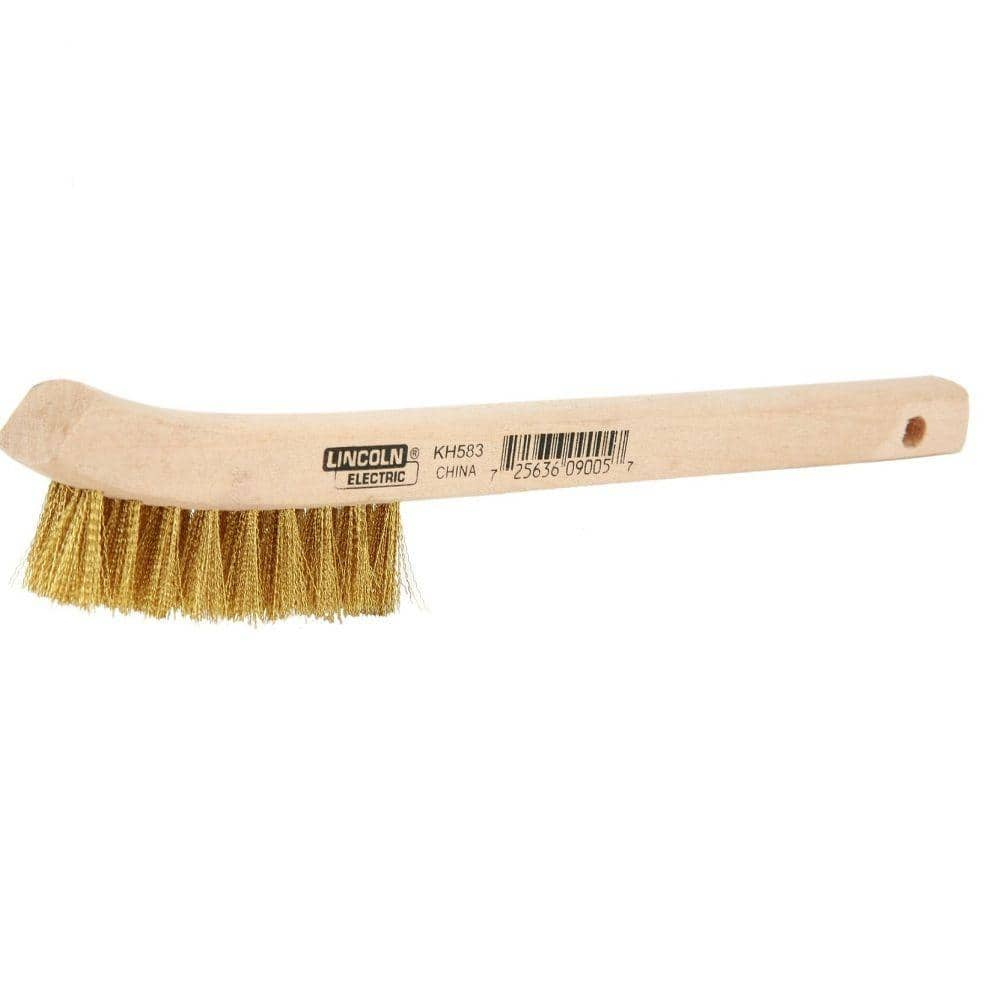
Lincoln Electric 9 in. Long Wooden Handled Brass Welding Wire Brush (.4 in. x 2.6 in. Bristle Area 2 x 9 Row) for Cleaning Aluminum KH583
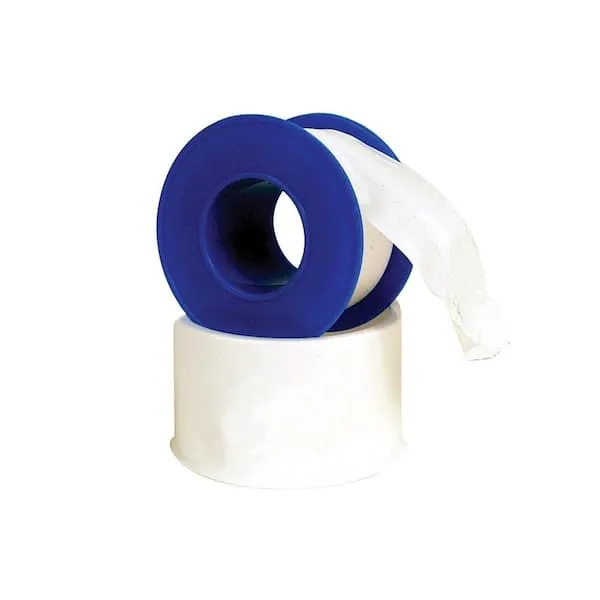
Teflon Tape

Adjustable Wrench
Crescent 12 in. Chrome Adjustable Wrench AC212VS
Since the introduction of the original Crescent wrench in the early 1900s, the Crescent brand has become synonymous with adjustable wrenches. Crescent Adjustable Wrenches feature a large knurl for easy
RIDGID 1/2 in. to 4 in. PTC-400 Stainless Steel, Carbon Steel, Copper, Aluminum and Plastic Pipe and Tube Cutter 66138
The RIDGID PTC-400 Power Tubing Cutter is an efficient, portable, durable and reliable professional tubing cutting machine. Quickly cut stainless steel, carbon steel, copper aluminum, and plastic. The
Lincoln Electric 9 in. Long Wooden Handled Brass Welding Wire Brush (.4 in. x 2.6 in. Bristle Area 2 x 9 Row) for Cleaning Aluminum KH583
Lincoln Electric Wood-Handled Brass Bristle Brush is for general-purpose cleaning and welding projects, including delicate or finish work. The brass bristles are durable. The brush measures 8-3/4 in. long. The bristle area is 3/8 in. x 2-1/2 in.
Teflon Tape
Seals pipe threads without leaks.
Adjustable Wrench
Fits various nut and bolt sizes with its adjustable jaw.
Steps

Shut Off Water Supply
5 minsBefore starting, completely shut off the water supply to your shower. Locate the shut-off valves near the shower or at your main water supply panel. After turning off the water, briefly run the shower faucet to confirm the water is fully off. This crucial safety step prevents unexpected leaks and water damage.
Watch: Shut Off Water Main
Remove the Existing Tub Spout
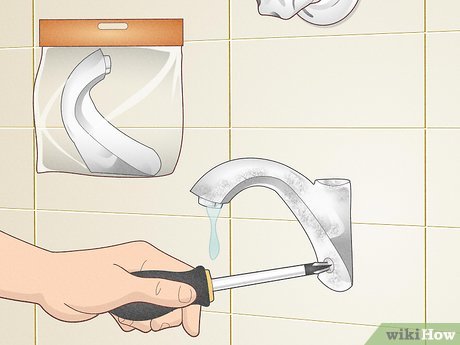
15 minsCarefully remove your old tub spout. If it's a threaded connection, use an adjustable wrench to unscrew it counterclockwise. For soldered connections, carefully cut the pipe near the spout with a pipe cutter and then remove the spout. Take photos before disassembly to aid in reassembly.
Watch: Remove Old Faucet Spout


Install the New Tub Spout
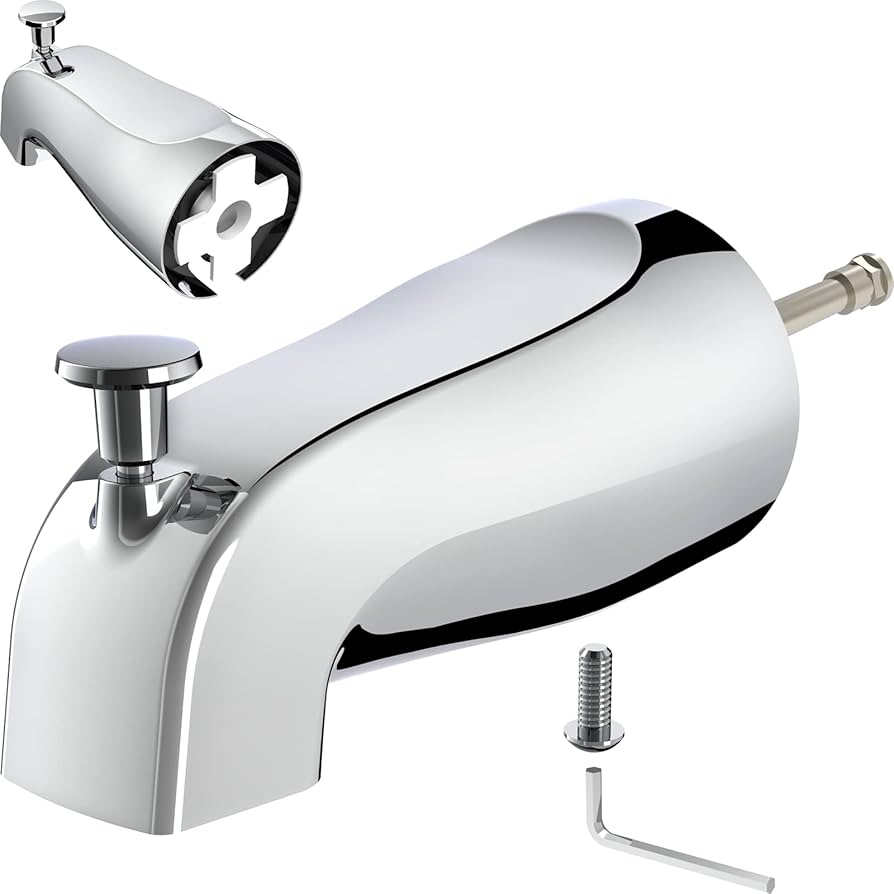
10 minsScrew the new tub spout onto the prepared pipe, turning clockwise. Hand-tighten firmly, then use an adjustable wrench for an additional half to a full turn to ensure a secure fit without overtightening (which could damage the threads). If it's a slip-on type with set screws, slide it onto the pipe and tighten the set screws securely with a hex key or screwdriver.
Watch: Install the New Spout
Common Problems
Leaky connections occur if the pipe end isn't prepped for push-to-connect fittings.
Solution: A clean, smooth, and deburred pipe end is essential for a leak-proof seal with push-to-connect fittings.
Pay close attention to which pipe is hot and which is cold. If the hot and cold water pipes are reversed, the thermostat function may not work properly.
Solution: To avoid this issue: Be mindful of this warning and take appropriate precautions.
Spout unravels and leaks if tape is wrapped incorrectly.
Solution: Wrapping the tape in the same direction you will tighten the spout prevents it from unraveling during installation.
Leaky tub spout when diverter is not sealed properly.
Solution: Wrap the tape nice and thick to ensure a good seal.
Leaking connections due to tape unraveling during fitting installation.
Solution: Wrap the plumbing tape in the same direction you will be tightening the fitting (clockwise) to prevent it from unwrapping during installation.
Make sure to turn off the water before disassembly.
Solution: To avoid this issue: Be mindful of this warning and take appropriate precautions.
Losing small parts during disassembly can halt your tub spout installation.
Solution: Keep track of the screws and bolts as you take things apart.
Frequently Asked Questions
How do I determine if my existing tub spout is threaded or slip-on, and how does this affect removal and installation?
A threaded tub spout will unscrew counterclockwise, often revealing male threads on the pipe coming from the wall. A slip-on spout usually has a small set screw underneath that, when loosened, allows the spout to be pulled off. Knowing the type is crucial for choosing the correct replacement and preparing the appropriate tools for removal.
Why is it crucial to clean the copper pipe and apply plumber's tape, and what if I skip these steps?
Cleaning the copper pipe with a wire brush or emery cloth removes debris and corrosion, creating a smooth, optimal surface for a seal. Plumber's tape (2-3 wraps clockwise) lubricates the threads and fills microscopic gaps, ensuring a watertight connection. Skipping these steps significantly increases the likelihood of leaks, potentially leading to costly water damage behind your wall.
What specific tools will I absolutely need for this tub spout installation project?
You will primarily need an adjustable wrench for both removal and installation, along with a wire brush or emery cloth to clean the copper pipe. If your existing spout is soldered on, you'll also need a pipe cutter. Don't forget plumber's tape, which is essential for ensuring a watertight seal on threaded connections.
What should I do if I encounter a leak after installing the new tub spout and turning the water back on?
Immediately turn off the main water supply again. If threaded, carefully remove the spout, re-clean the pipe, apply fresh plumber's tape (2-3 turns clockwise), and re-tighten the spout, ensuring it's snug but not overtightened. For slip-on spouts, verify the set screw is tight and the spout is fully seated on the pipe, checking any internal O-rings.
How can I prevent damaging the new tub spout or the plumbing during installation?
Avoid overtightening the new tub spout, especially if it's plastic or has a delicate finish, as this can strip threads or crack the material. For threaded spouts, hand-tighten first, then use a wrench for only about 1/4 to 1/2 turn until snug. Always ensure you have the correct type of spout (threaded or slip-on) that matches your existing pipe to prevent compatibility issues.
How difficult is this project for a beginner, and what's a realistic time estimate?
This project is rated as 'beginner' difficulty, making it very approachable for those new to DIY. For most standard installations, it can typically be completed within 2 hours. However, if you encounter unexpected issues like a stubborn soldered spout or corroded pipes, it may take a bit longer.