Replace a Bathtub Faucet: Easy Step-by-Step Guide
About This Project
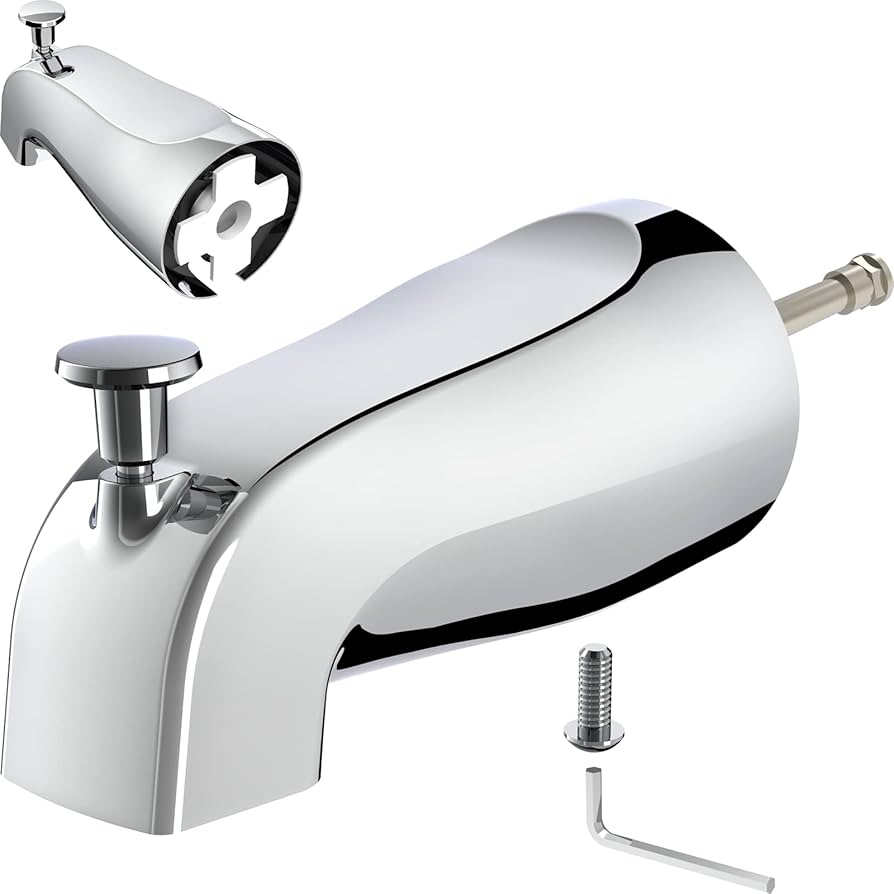
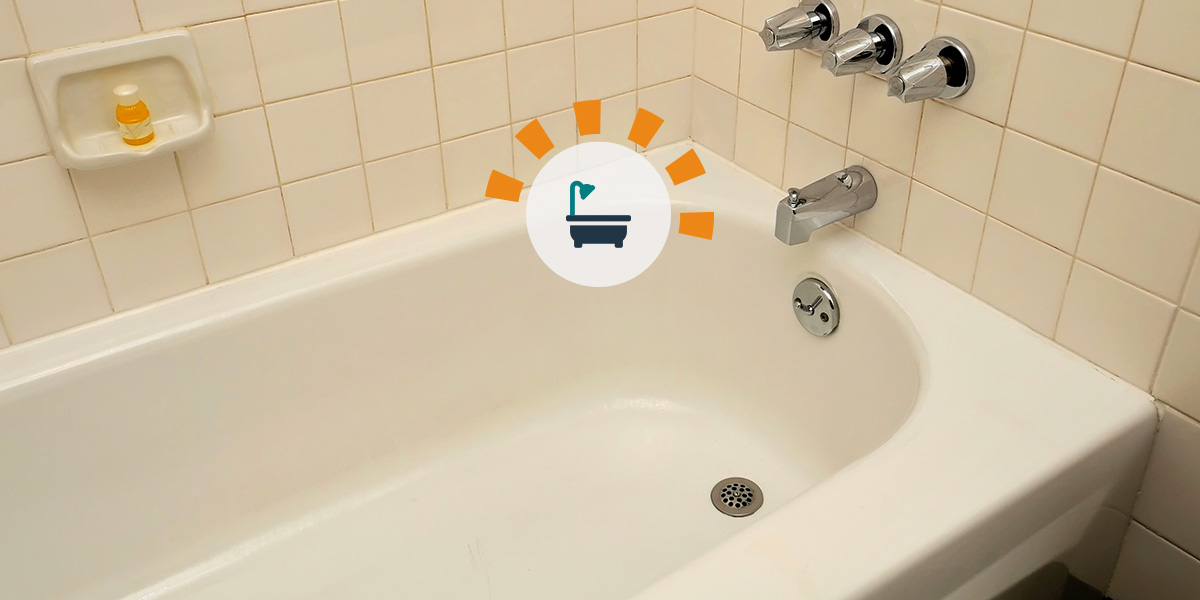
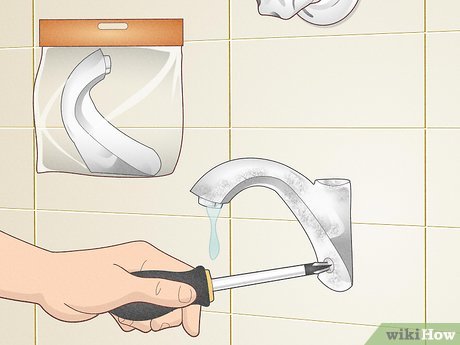
This guide details how to replace a bathtub faucet. It begins by emphasizing safety and turning off the water supply. Next, it covers removing the escutcheon plate followed by the old bathtub faucet handles. Then, you learn how to remove and install the valve and new faucet. Tools like screwdrivers and wrenches are needed.
Best for experienced DIYers and homeowners with some experience.
Tools & Materials
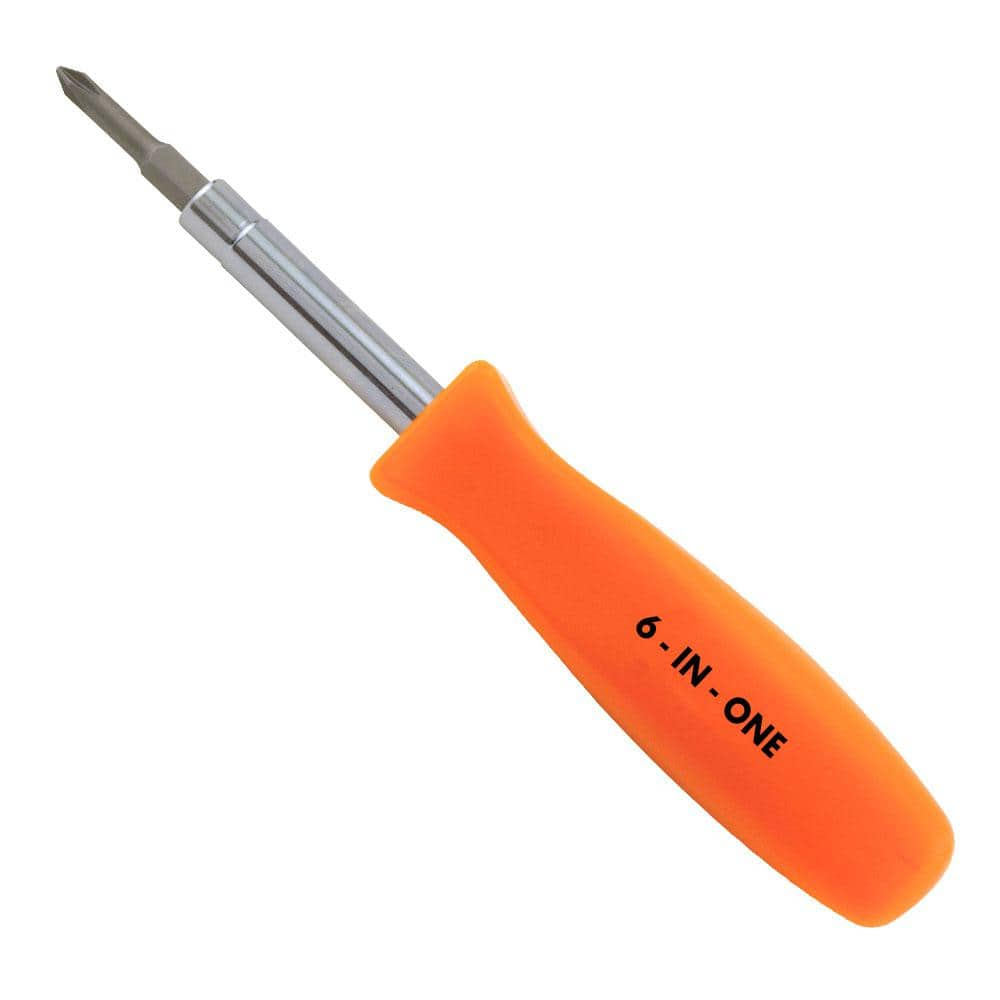
HDX 3-1/4 in. 6-in-1 Screwdriver 120SD12D
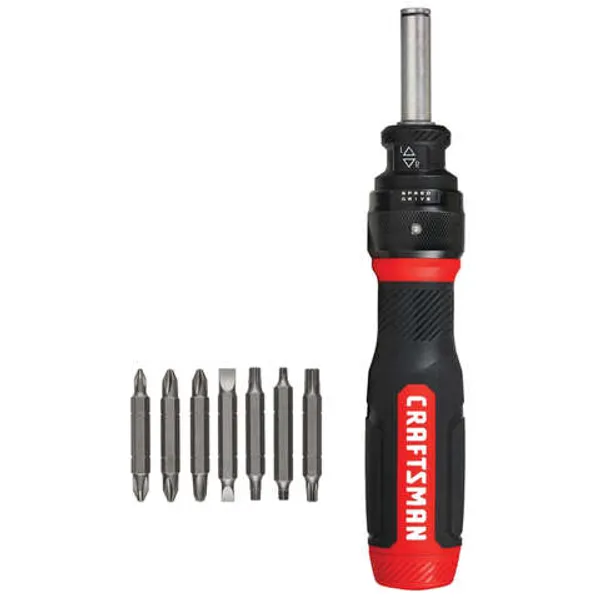
Screwdriver

Husky 12 in. Adjustable Wrench 90933
HDX 3-1/4 in. 6-in-1 Screwdriver 120SD12D
The HDX 3-1/4 in. 6-in-1 Screwdriver features double-sided bits with the four most common screwdriver tip styles, including a #1 Phillips bit, a #2 Phillips bit, a 3/16 in. flathead bit and a 1/4 in. flathead bit. Both ends of the shaft can be used as 1/4 in. nut drivers when the bits are removed, offering convenient, versatile use. The high-visibility orange handle makes the handy tool easy to find on a job site or in a toolbox.
Screwdriver
A tool used to turn screws.
Husky 12 in. Adjustable Wrench 90933
The Husky 12 in. Adjustable Wrench features a durable, comfortable handle. A large knurl allows for easy adjustment and a tight-fitting hex jaw design reduces slippage and tightly grips the fastener for
Steps

Turn Off the Bathtub's Water Supply
5 minsBefore you begin, safety first! Turn off the water supply to your bathtub faucet. Locate the shut-off valves under the sink or in the basement. Turn them clockwise to completely stop the water flow. Double-check that the water is off by turning on the faucet.
Watch: Shut Off the Water Supply
Remove the Old Bathtub Faucet Handles
15 minsCarefully remove the handles from your old faucet. This often involves removing small screws or caps hidden beneath the handles. Once these are removed, the handles should pull off relatively easily. Use the appropriate screwdriver (Phillips or flathead) to remove any securing screws.
Watch: Remove Handle
Remove the Escutcheon Plate
10 minsRemove the escutcheon plate (the decorative plate behind the faucet handles). This is usually held in place by screws. Carefully unscrew and remove these screws, and then gently remove the plate itself. Be cautious not to damage the finish.
Watch: Remove the Handle and Escutcheon Plate
Remove and Install the Valve and New Faucet
30 minsRemove the old valve using an appropriate wrench to loosen the nuts holding it in place. Then, install the new valve, ensuring it is securely tightened. Install the new faucet following the manufacturer's instructions. Carefully reassemble all components, starting with the valve and then the escutcheon and handles.
Watch: Reassemble the FaucetCommon Problems
Dropped tools can scratch your new tub.
Solution: Place a towel in the bottom of the tub to prevent dropped tools or parts from scratching the surface.
Faucet sleeve and faceplate are stuck due to old caulk.
Solution: The chrome sleeve and faceplate may be held on by old caulk. A utility knife or putty knife can be used to carefully break the seal if they are stuck.
Lost faucet handle or screws during replacement.
Solution: Keep the handle and screws in a safe place so they are not lost.
Stuck faucet handles won't budge, risking damage.
Solution: If the handles are stuck, try using a penetrating oil or gently tapping them with a rubber mallet.
Scratched faucet caps during removal.
Solution: Be gentle when prying off the cap to avoid scratching the plastic or chrome finish.
Faucet cap is stuck and won't budge.
Solution: If the cap is stuck, try using a small flathead screwdriver to gently pry it off.
Ensure the water is completely shut off before proceeding.
Solution: To avoid this issue: Be mindful of this warning and take appropriate precautions.
Frequently Asked Questions
What's the absolute first thing I must do before starting this project, even before grabbing tools?
The most critical first step is to turn off the water supply to your entire house or specifically to the bathroom. This prevents potential flooding and water damage while you are working on the plumbing. Always double-check by turning on the old faucet to confirm the water is off.
Are the specified tools like the HDX 6-in-1 screwdriver and Husky 12 in. adjustable wrench truly necessary, or can I get by with basic versions?
While basic tools might suffice for some tasks, the specific 6-in-1 screwdriver offers various tips for common screws you might encounter on escutcheons or handles. A 12-inch adjustable wrench provides better leverage and grip for stubborn or corroded nuts on the valve, making the job easier and preventing stripped hardware.
Given this is a 'beginner' project with a 3-hour estimate, what are the common hurdles that might extend the time?
The 3-hour estimate accounts for potential challenges like corroded old screws, seized components that are difficult to remove, or stubborn caulk around the escutcheon. Patience during these removal steps and careful alignment when installing new parts are key to staying within the estimated timeframe and ensuring a secure installation.
What's a frequent mistake beginners make during bathtub faucet replacement, and how can I prevent leaks after installation?
A common mistake is not properly sealing threaded connections or overtightening them, which can lead to leaks or damage. Always use plumber's tape (PTFE tape) or thread sealant on threaded pipe connections as recommended by the new faucet's instructions, and tighten fittings snugly but avoid excessive force.
The steps mention removing and installing the 'valve and new faucet.' What's the difference, and do I always need to replace both components?
The 'valve' is the internal assembly hidden behind the wall that controls water flow and temperature, while the 'faucet' refers to the visible handles and spout (the trim). This guide details replacing both for a complete update. If your existing valve is in good condition, you might only need to replace the trim, but ensure the new trim is compatible with your specific valve manufacturer and model.