

Bathroom Tub Faucet Replacement: A Step-by-Step DIY Guide
About This Project
This DIY guide details the steps for replacing a bathroom tub faucet. First, turn off the water supply to the tub by locating and closing the shut-off valves, then relieve any remaining pressure. Next, remove the old faucet handles, typically by loosening setscrews or consulting the manufacturer's instructions. Then remove the valve stems using a deep socket or adjustable wrench and inspect the O-rings. Install the new tub faucet according to the manufacturer's instructions, often involving plumber's putty for a watertight seal. Secure the new faucet's mounting nuts from below. Reinstall the handles and screws. Turn the water back on and check for leaks.
Best for experienced DIYers and homeowners with some experience.
Tools & Materials
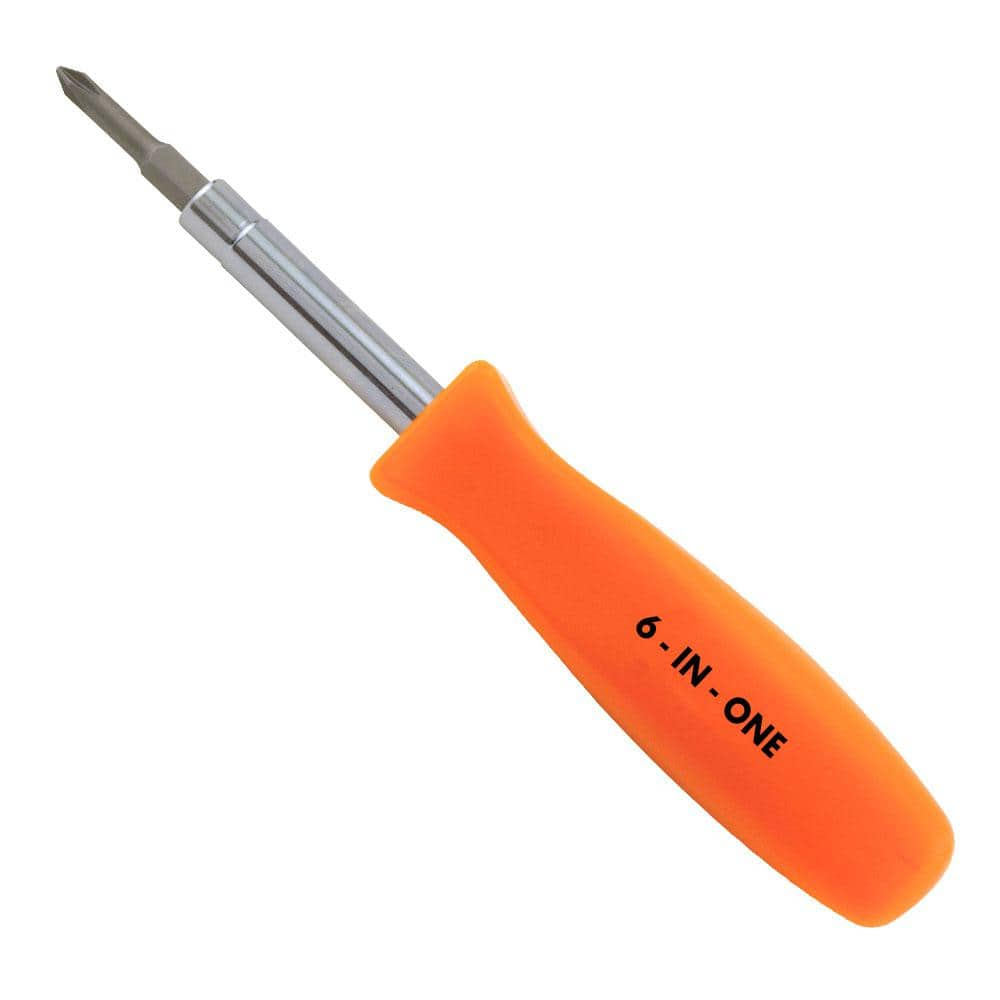
HDX 3-1/4 in. 6-in-1 Screwdriver 120SD12D

Adjustable Wrench
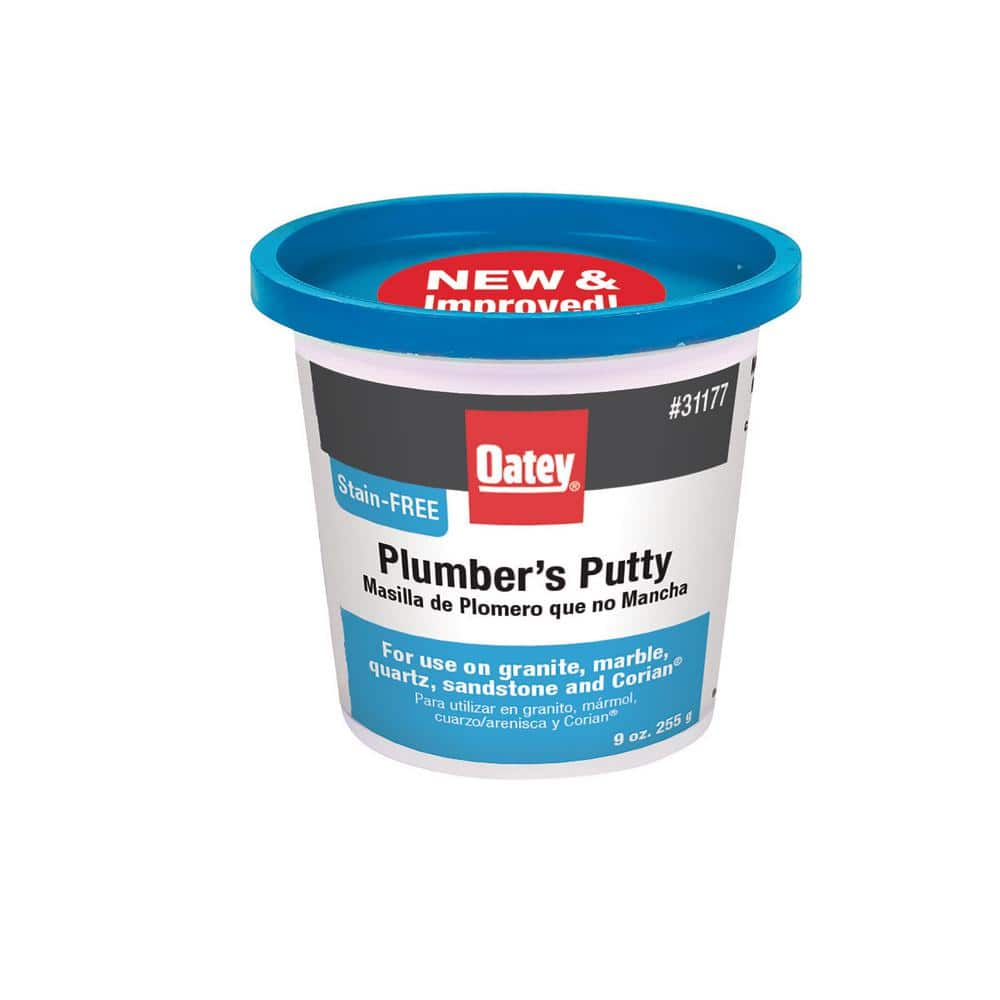
Oatey 9 oz. Stain-Free Plumber's Putty 31177
HDX 3-1/4 in. 6-in-1 Screwdriver 120SD12D
The HDX 3-1/4 in. 6-in-1 Screwdriver features double-sided bits with the four most common screwdriver tip styles, including a #1 Phillips bit, a #2 Phillips bit, a 3/16 in. flathead bit and a 1/4 in. flathead bit. Both ends of the shaft can be used as 1/4 in. nut drivers when the bits are removed, offering convenient, versatile use. The high-visibility orange handle makes the handy tool easy to find on a job site or in a toolbox.
Adjustable Wrench
Fits various nut and bolt sizes with its adjustable jaw.
Oatey 9 oz. Stain-Free Plumber's Putty 31177
For setting frames, faucets and basket strainers, use this Oatey 9 oz. Stain-Free Plumber's Putty on granite, marble, quartz, sandstone and other natural, porous materials. Will not crack or shrink. Cleans
Steps
Remove the Faucet Handles
15 minsCarefully remove the handles from the faucet. For compression valves, you may need to loosen a setscrew beneath a decorative cap first, using a small screwdriver. Other valve types may require consulting the manufacturer's instructions. Keep track of all screws and small parts for easy reassembly.
Install the New Tub Faucet
30 minsFollow the manufacturer's instructions for installing your new faucet. This usually involves applying plumber's putty to the underside of the new faucet base, carefully inserting it into the tub opening, and tightening the mounting nuts from below. Ensure a secure and watertight seal.
Common Problems
Wrongly threading the packing nut can lead to leaks.
Solution: Note the color of your packing nut. In the video, white nuts are right-hand threaded and tan nuts may be left-hand threaded.
Losing small faucet parts during disassembly.
Solution: Place all small parts like screws and caps in a container or the sink drain (with the stopper closed) to avoid losing them.
Escutcheon stuck and won't budge.
Solution: If the escutcheon is stuck, try using penetrating oil to loosen it.
Scratched chrome shower arm from pliers during faucet replacement.
Solution: Place a rag over the shower arm before using pliers to prevent scratching the finish if you plan to reuse it.
Be careful not to lose the small cap that covers the set screw hole.
Solution: To avoid this issue: Be mindful of this warning and take appropriate precautions.
Lost set screw prevents faucet reassembly.
Solution: Keep the small set screw in a safe place so it is not lost during the repair.
Lost set screw down drain during faucet replacement.
Solution: If the set screw is hard to see, use a flashlight. Be careful not to drop the screw down the drain.
Frequently Asked Questions
What should I do if I can't locate the shut-off valves for my bathtub, or if they don't work?
If individual tub shut-off valves are missing or malfunctioning, you'll need to turn off the main water supply to your entire house. The main valve is usually located where the water line enters your home, often in a basement, utility closet, or near the water heater. After turning off the main supply, open a lower-level faucet to drain water from the pipes before proceeding with the tub faucet replacement.
Beyond the adjustable wrench and screwdriver, are there any other tools that might make this tub faucet replacement project easier?
While the basic tools will suffice, a deep socket set (specifically for valve stems) or a basin wrench can be incredibly helpful for accessing and loosening nuts in tight spaces. You might also want a utility knife or scraper for removing old caulk or plumber's putty, and a flashlight for better visibility under the tub.
As a beginner, how much time should I allocate for replacing my tub faucet, and what's the typical cost for a new one?
For a beginner, this project typically takes between 1 to 3 hours, depending on how easily the old components come apart. The cost of a new tub faucet can vary widely, from around $50 for a basic model to several hundred dollars for high-end designer fixtures, so choose one that fits your budget and style.
What are the most common mistakes people make when replacing a tub faucet, and how can I avoid leaks after installation?
Common mistakes include not completely turning off the water, overtightening connections, or failing to use enough plumber's putty or thread sealant where required. To prevent leaks, ensure all connections are snug but not overtightened, apply plumber's putty consistently under the new faucet base, and always test for leaks thoroughly before closing up any access panels.
My old faucet handles or valve stems are extremely stuck; what's the best way to remove them without causing damage to the plumbing?
If components are stuck due to corrosion or mineral buildup, try applying a penetrating oil, like WD-40, and letting it sit for 15-30 minutes. Gently tap the component with a rubber mallet or use gradual pressure with your adjustable wrench. Avoid excessive force, as it can strip threads or damage pipes; sometimes a bit of heat from a hairdryer can also help loosen things.
The guide mentions inspecting O-rings; should I always replace them even if they look okay, and what if my new faucet didn't come with replacements?
It's always a best practice to replace O-rings when you have access, even if they appear fine, as they degrade over time and are crucial for preventing leaks. If your new faucet kit didn't include them, or you need to replace old ones, take the old O-rings to a hardware store to match their size and material for an exact fit.