

How to Install Cove Molding Under Stair Nosings
About This Project
This project outlines the steps for installing cove molding under stair nosings to enhance the aesthetic appeal and provide a finished look to the staircase. It covers preparation, cutting, fitting, and securing the molding.
Tools & Materials
Measuring Tape
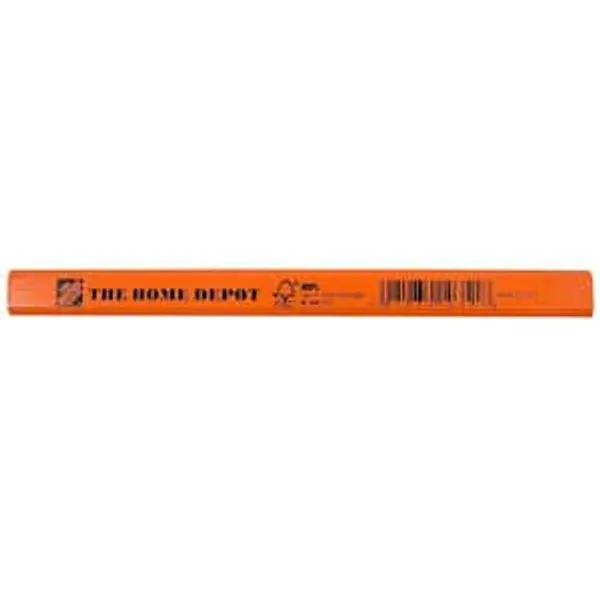
Pencil

Swanson Speed Square and Combination Square Bundle S0101CB

Miter Saw
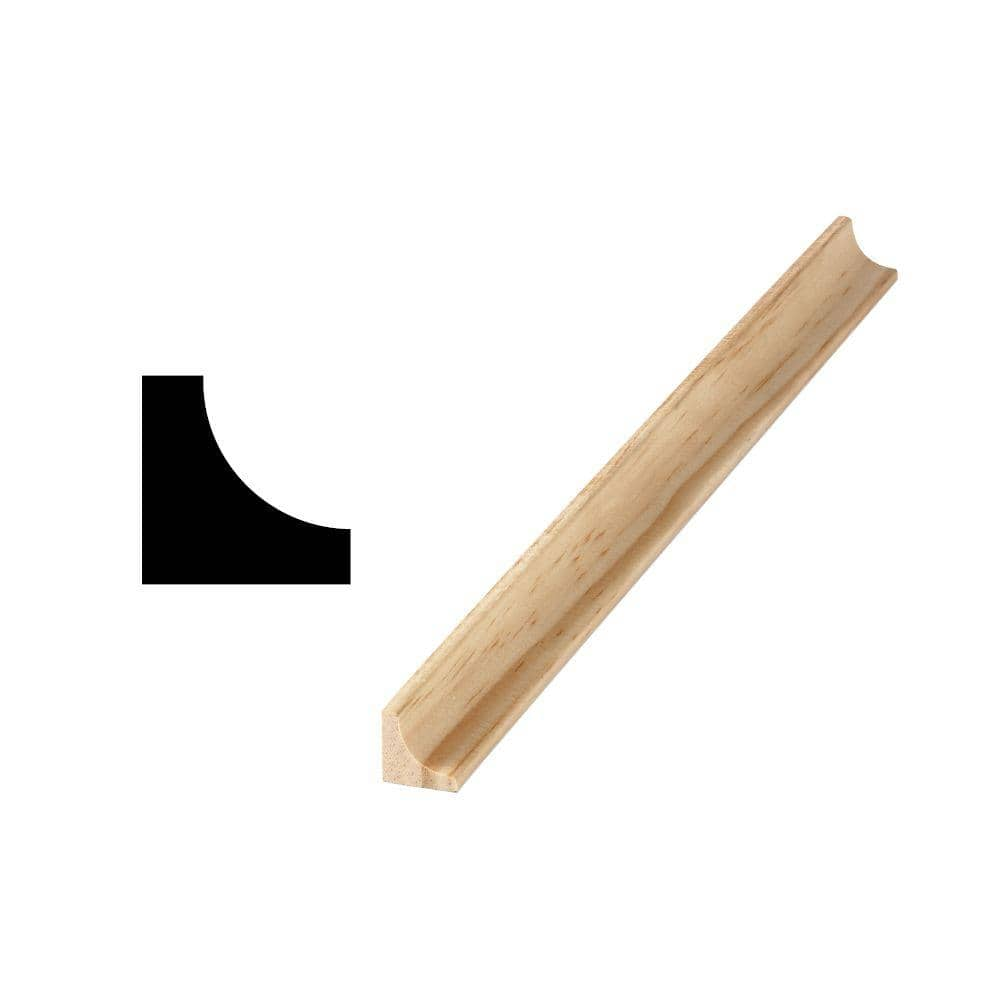
Woodgrain Millwork 100 11/16 in. x 11/16 in. Unfinished Solid Pine Cove Moulding (Sold by Linear Foot) 10000688
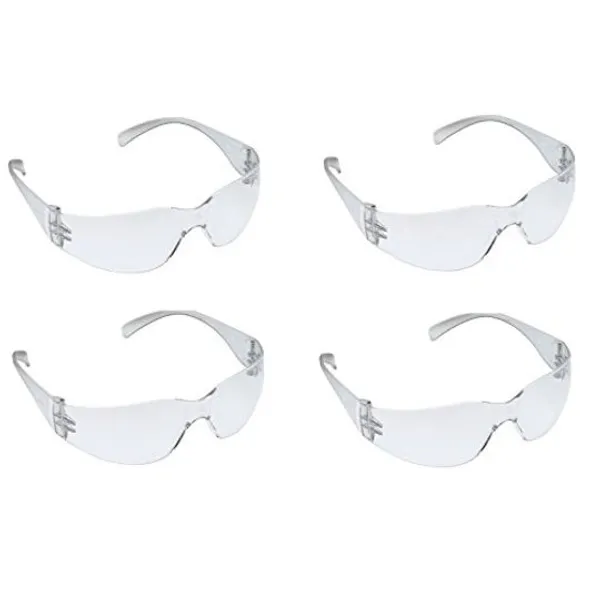
Eye Protection
Measuring Tape
For accurate measurements of plywood and components, ensuring proper assembly.
Pencil
Marks and draws with ease.
Swanson Speed Square and Combination Square Bundle S0101CB
Speed Squares and Combination Squares are essential tools, so we bundled our one and only top selling, innovative Speed Square with our 6 in. Combination Square for Home Depot customers. These 2 squares
Miter Saw
A saw designed for making precise crosscuts and miters in a workpiece.
Woodgrain Millwork 100 11/16 in. x 11/16 in. Unfinished Solid Pine Cove Moulding (Sold by Linear Foot) 10000688
The Woodgrain Millwork 11/16 in. x 11/16 in. WM 100 Pine Cove Molding is a concave profile used where walls meet ceilings. Pine WM 100 Cove Molding is sometimes used in craftsman style moldings due to
Eye Protection
Essential to protect eyes from sawdust, debris, and other hazards during cutting and drilling.
Steps
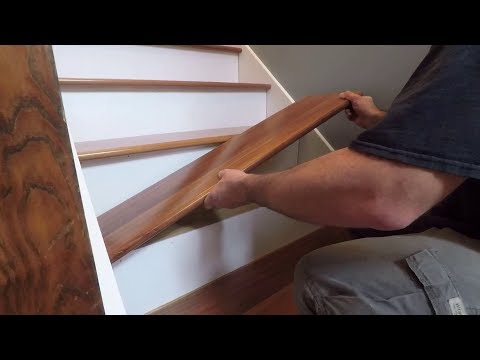
Measure and Mark Molding for Cuts
15 minutesBegin by measuring the length of each stair nosing where you intend to install the cove molding. Use a measuring tape for accuracy. Once you have the measurements, transfer them to the cove molding. Mark the exact cut points on the molding with a pencil. For angled cuts (often needed at the ends of nosings or where the molding turns a corner), use a speed square or miter box to ensure the correct angle is marked.
Watch: Install Cove Molding
Cut Cove Molding
20 minutesUsing your marked measurements and angles, carefully cut the cove molding. A miter saw is recommended for the most accurate and clean cuts, especially for angled joints. If using a handsaw, ensure you have a miter box to guide the blade for precise angles. Cut slowly and steadily to avoid splintering the molding. Make test cuts on scrap pieces if you are unfamiliar with your saw or the material.
Watch: Position Moulding on Miter SawDry Fit the Molding
10 minutesBefore applying any adhesive or fasteners, place the cut pieces of cove molding into their intended positions along the stair nosings. Check that each piece fits snugly and that the angles at the corners or joints align correctly. Look for any gaps or areas that do not meet flush. This is the crucial stage to make any necessary adjustments to your cuts.
Watch: Install Cove Molding
Apply Adhesive
5 minutesOnce you have confirmed a perfect fit, remove the molding pieces. Apply a consistent bead of high-quality construction adhesive along the back of each piece of cove molding. Apply the adhesive about 1/8 inch in from the edges to prevent excessive squeeze-out. For longer pieces, apply adhesive in a serpentine or zig-zag pattern to ensure even coverage and a strong bond.
Watch: Apply Adhesive to Molding
Install Molding with Adhesive
10 minutesCarefully position the cove molding pieces onto the stair nosings, pressing them firmly into place. Apply even pressure along the entire length of the molding to ensure good contact with the stair nosing and to activate the adhesive. Hold each piece in place for a few seconds, or as recommended by the adhesive manufacturer, to allow it to grab.
Watch: Install Straight Cove Base Section
Secure Molding with Fasteners (Optional)
15 minutesFor added durability, especially in high-traffic areas, you can reinforce the adhesive bond with small finish nails or brad nails. Using a brad nailer or a hammer, carefully drive 1-inch or 1 1/4-inch nails through the molding and into the stair nosing. Space the nails approximately every 12 to 18 inches, and ensure they are driven straight to avoid splitting the wood. Sink the nail heads slightly below the surface with a nail set.
Watch: Secure and Finish Nosing
Fill Nail Holes and Caulk Gaps
15 minutesOnce the adhesive has fully cured and any fasteners are in place, address any imperfections. Use a quality wood filler to fill all nail holes, pressing it in firmly with a putty knife. Allow the filler to dry completely, then sand it smooth. Apply a thin bead of paintable caulk along any seams where the molding meets the stair nosing or adjacent trim to hide small gaps and create a smooth, finished appearance.
Watch: Caulk and Fill Nail Holes
Clean and Paint/Stain
30 minutesOnce all filler and caulk have dried, thoroughly clean the installed molding and the surrounding stair nosing area to remove any dust or debris. If your molding is unfinished, now is the time to paint or stain it to match your desired aesthetic. Apply your chosen finish according to the product manufacturer's instructions. Multiple thin coats are usually better than one thick coat. Allow ample drying time between coats.
Watch: Final Touches: Fill, Sand, Paint, and Cover