How to Replace a Shower Knob or Handle: A DIY Guide
About This Project
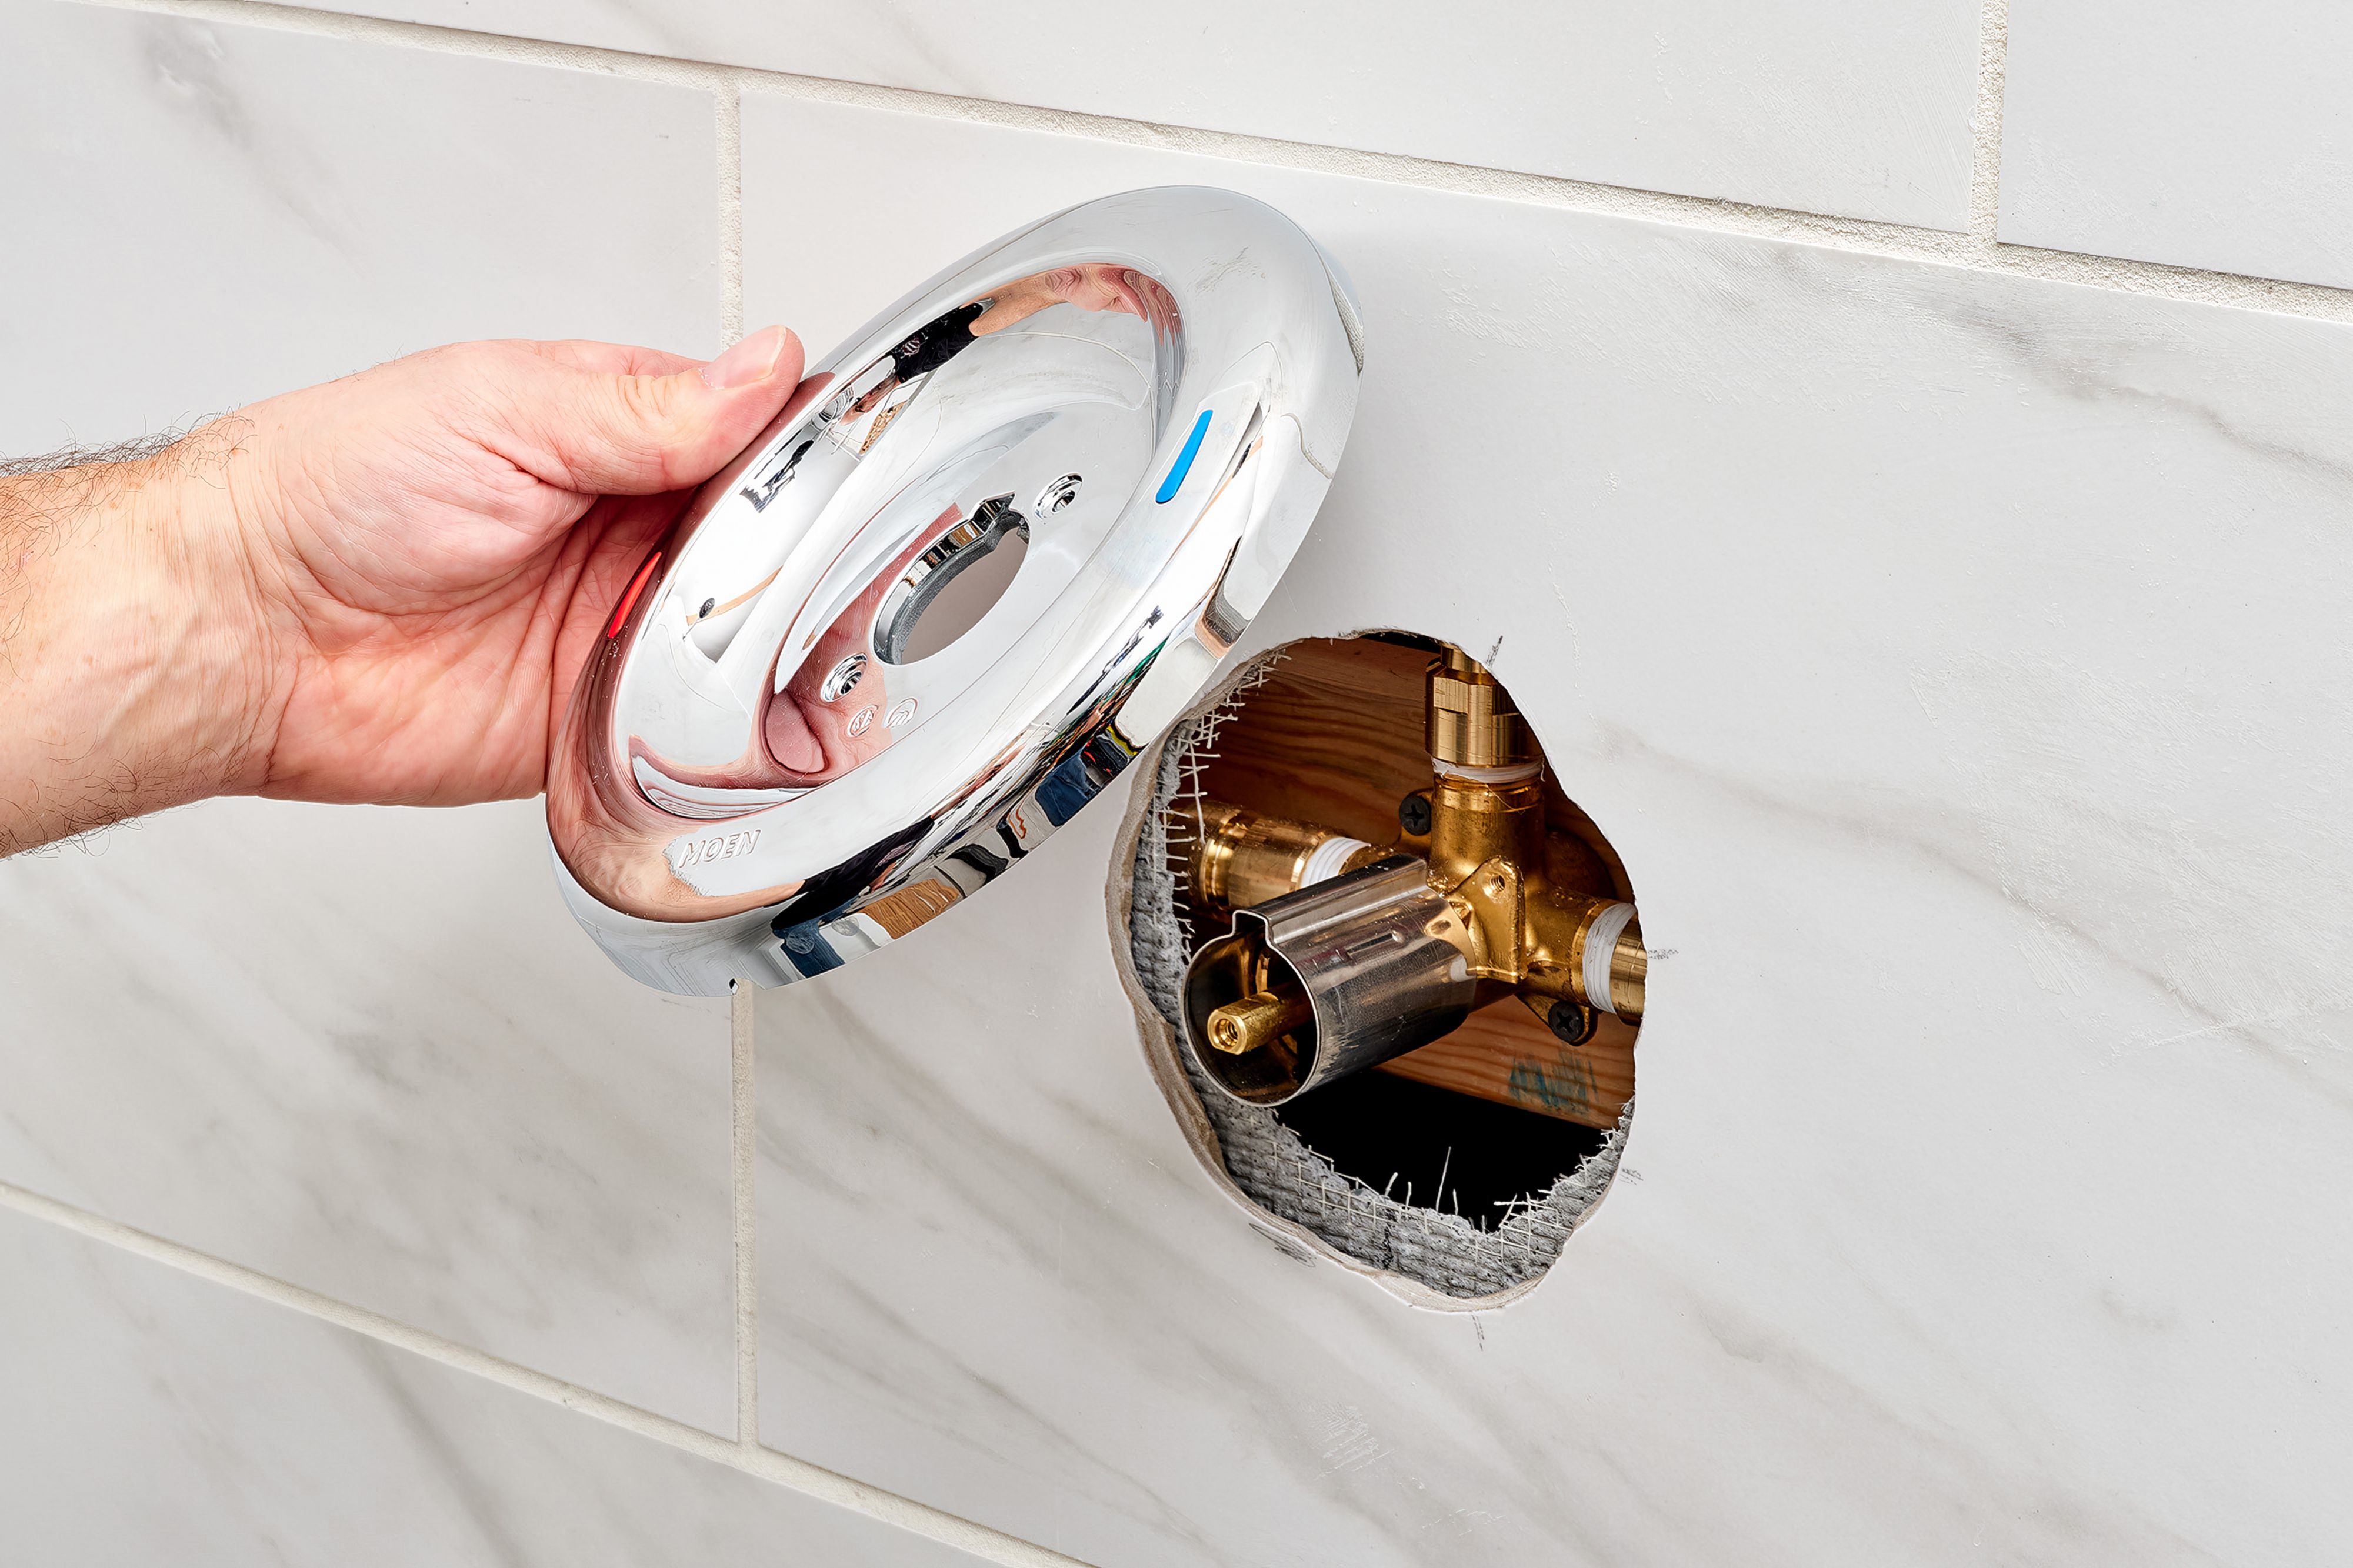
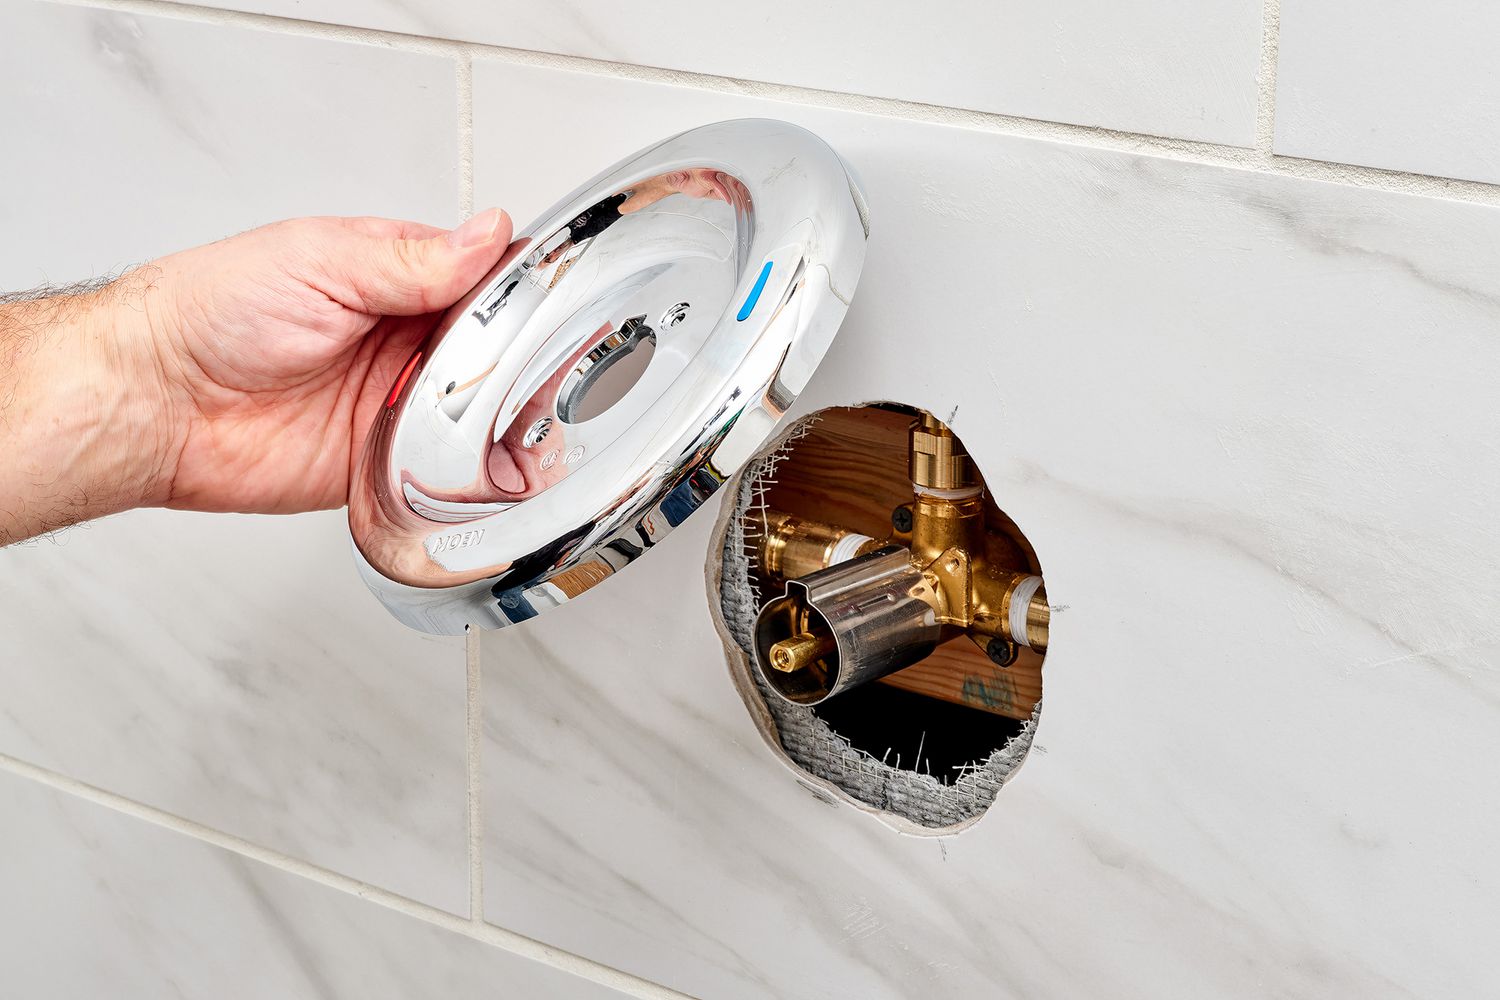
This project details how to replace a shower knob or handle. It involves five steps: 1) Turning off the shower's water supply by locating the shut-off valves and turning them clockwise. If individual valves are unavailable, shut off the main water supply. 2) Removing the old shower handle screw(s), often hidden beneath a decorative cap, which needs to be carefully pried off, followed by unscrewing the handle screw(s). 3) Removing the old shower handle by gently pulling it off the valve stem, using a handle puller tool if necessary. 4) Installing the new shower handle, aligning it with the valve stem and securing it with the previously removed screw(s). Avoid over-tightening. 5) Testing the new shower handle and checking for leaks by slowly turning the water supply back on. If leaks occur, tighten fittings and retest.
Best for homeowners and DIY enthusiasts.
Tools & Materials
HDX 3-1/4 in. 6-in-1 Screwdriver 120SD12D
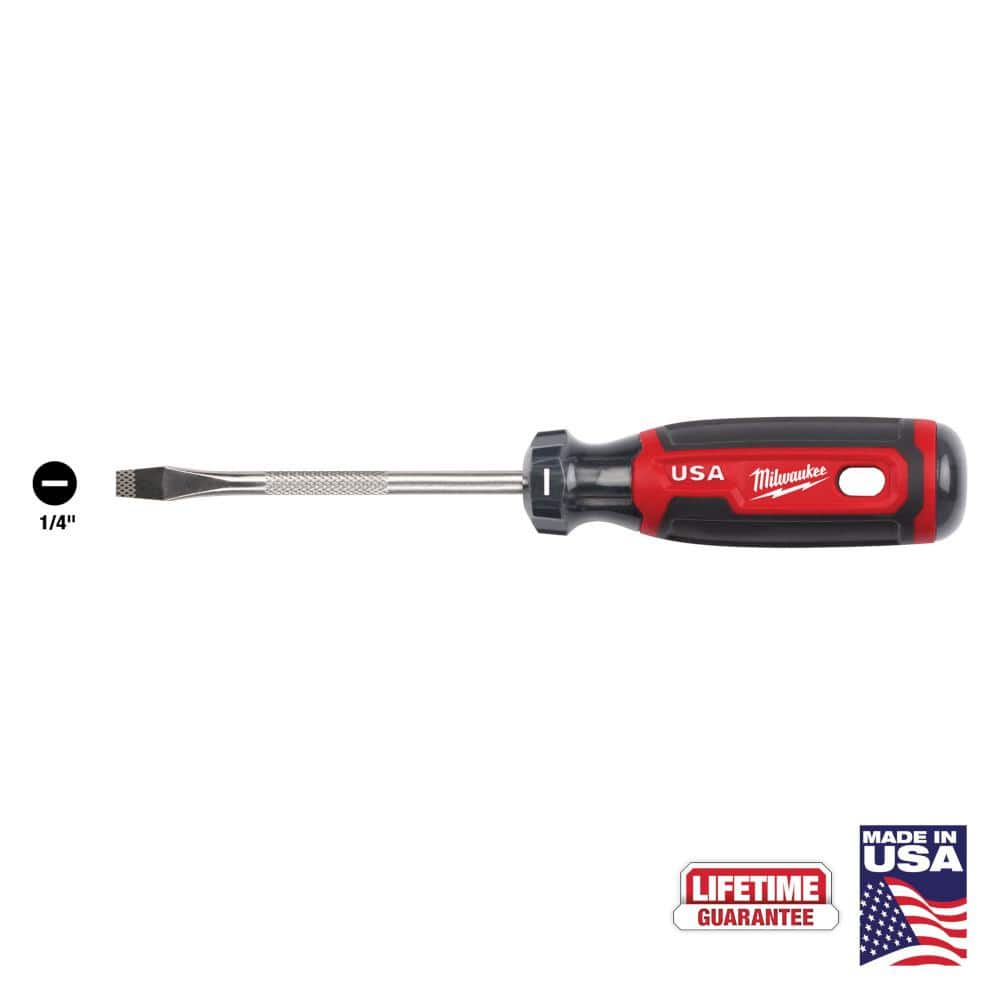
Milwaukee 4 in. x 1/4 in. Slotted Flat Head Screwdriver with Cushion Grip MT206
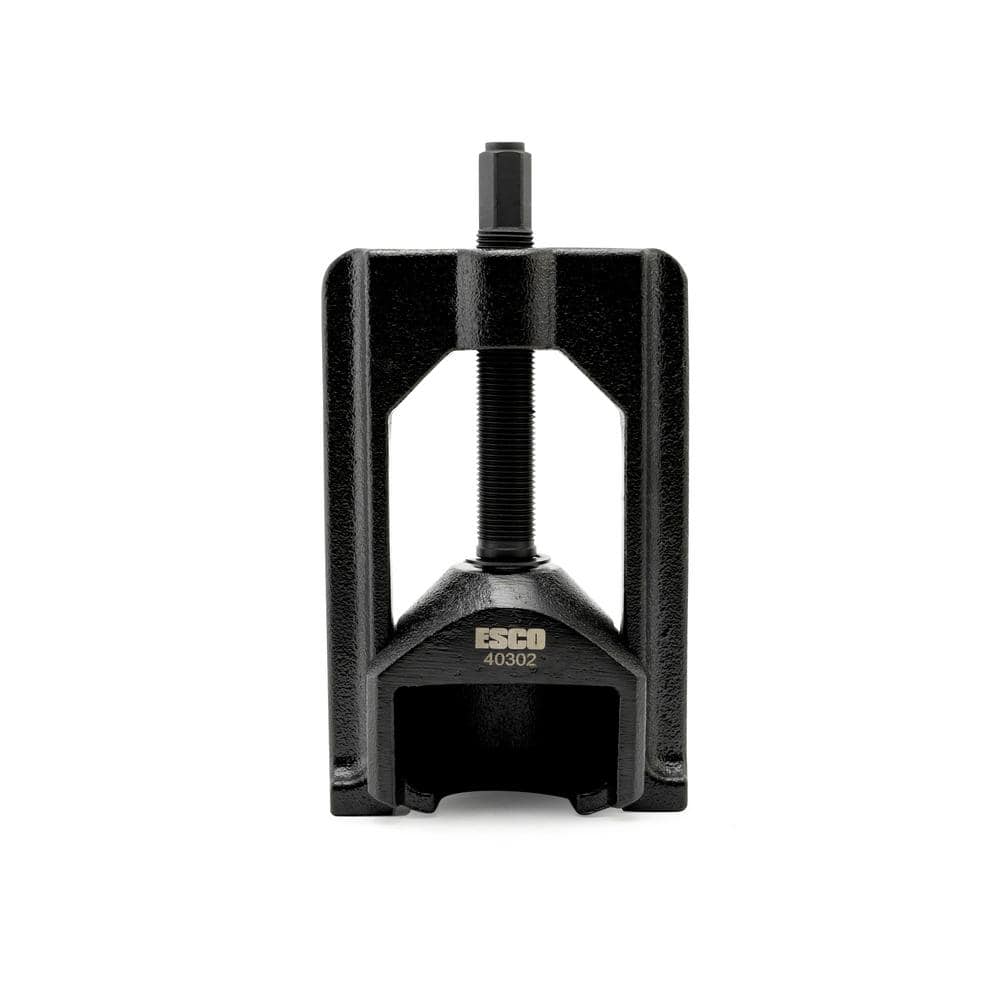
ESCO Automotive U-Joint Puller 40302
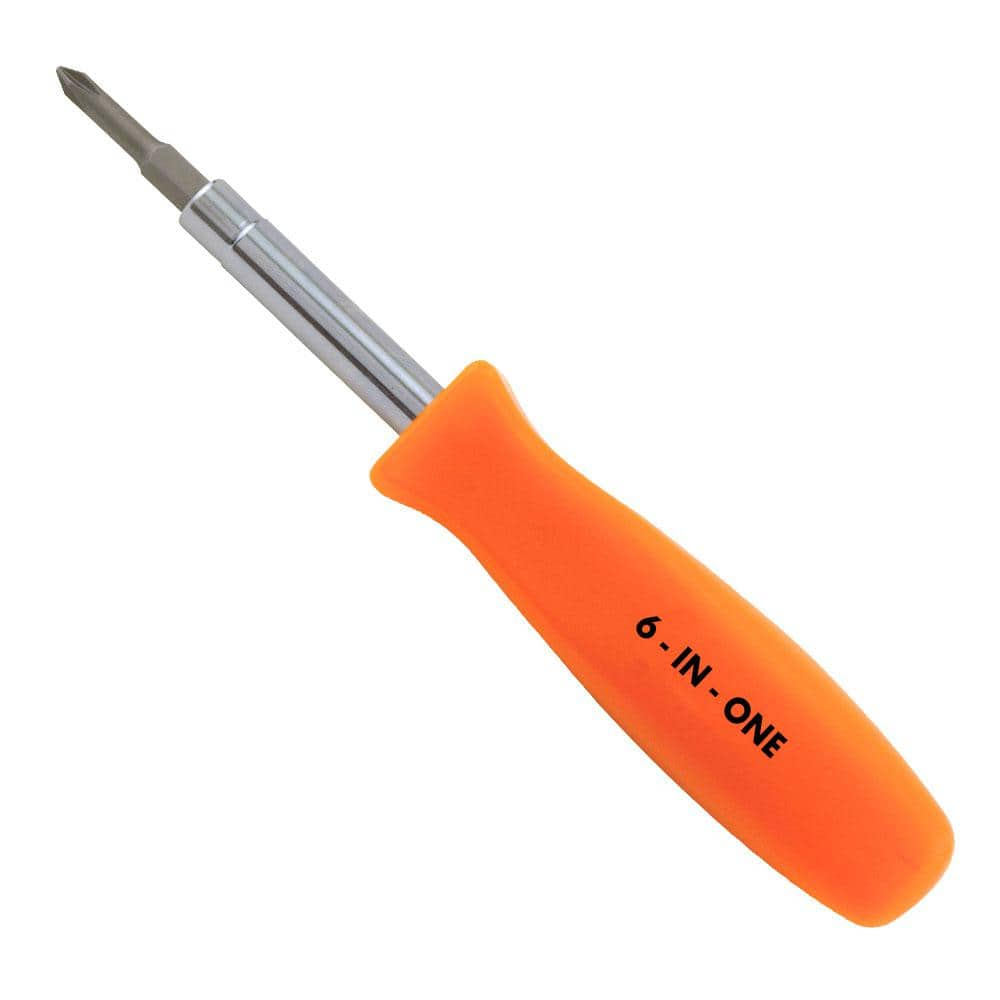
HDX 3-1/4 in. 6-in-1 Screwdriver 120SD12D
The HDX 3-1/4 in. 6-in-1 Screwdriver features double-sided bits with the four most common screwdriver tip styles, including a #1 Phillips bit, a #2 Phillips bit, a 3/16 in. flathead bit and a 1/4 in. flathead bit. Both ends of the shaft can be used as 1/4 in. nut drivers when the bits are removed, offering convenient, versatile use. The high-visibility orange handle makes the handy tool easy to find on a job site or in a toolbox.
Milwaukee 4 in. x 1/4 in. Slotted Flat Head Screwdriver with Cushion Grip MT206
The Milwaukee® 1/4" Slotted 4" Cushion Grip Screwdrivers (USA) are manufactured to give the professional the best-fitting screwdriver with max grip. These screwdriver tips are custom machined to deliver
ESCO Automotive U-Joint Puller 40302
ESCO U-Joint Pullers are manufactured to withstand rigorous use in day-to-day professional service applications. Cast out of high-quality heavy-duty steel, ESCO U-Joint Pullers are built with quality and precision to last and deliver the best user experience possible. Specifically designed to eliminate the use of dangerous vice-and-socket or hammering methods, ESCO U-Joint Pullers aid in reducing the risk of damaging joints, bearing caps, yokes, and driveshafts. Engineered to be a solution in the shop and provide universal application use to get the job done. This model works with a 1/2 in. impact tool.
Steps

Turn Off the Shower's Water Supply
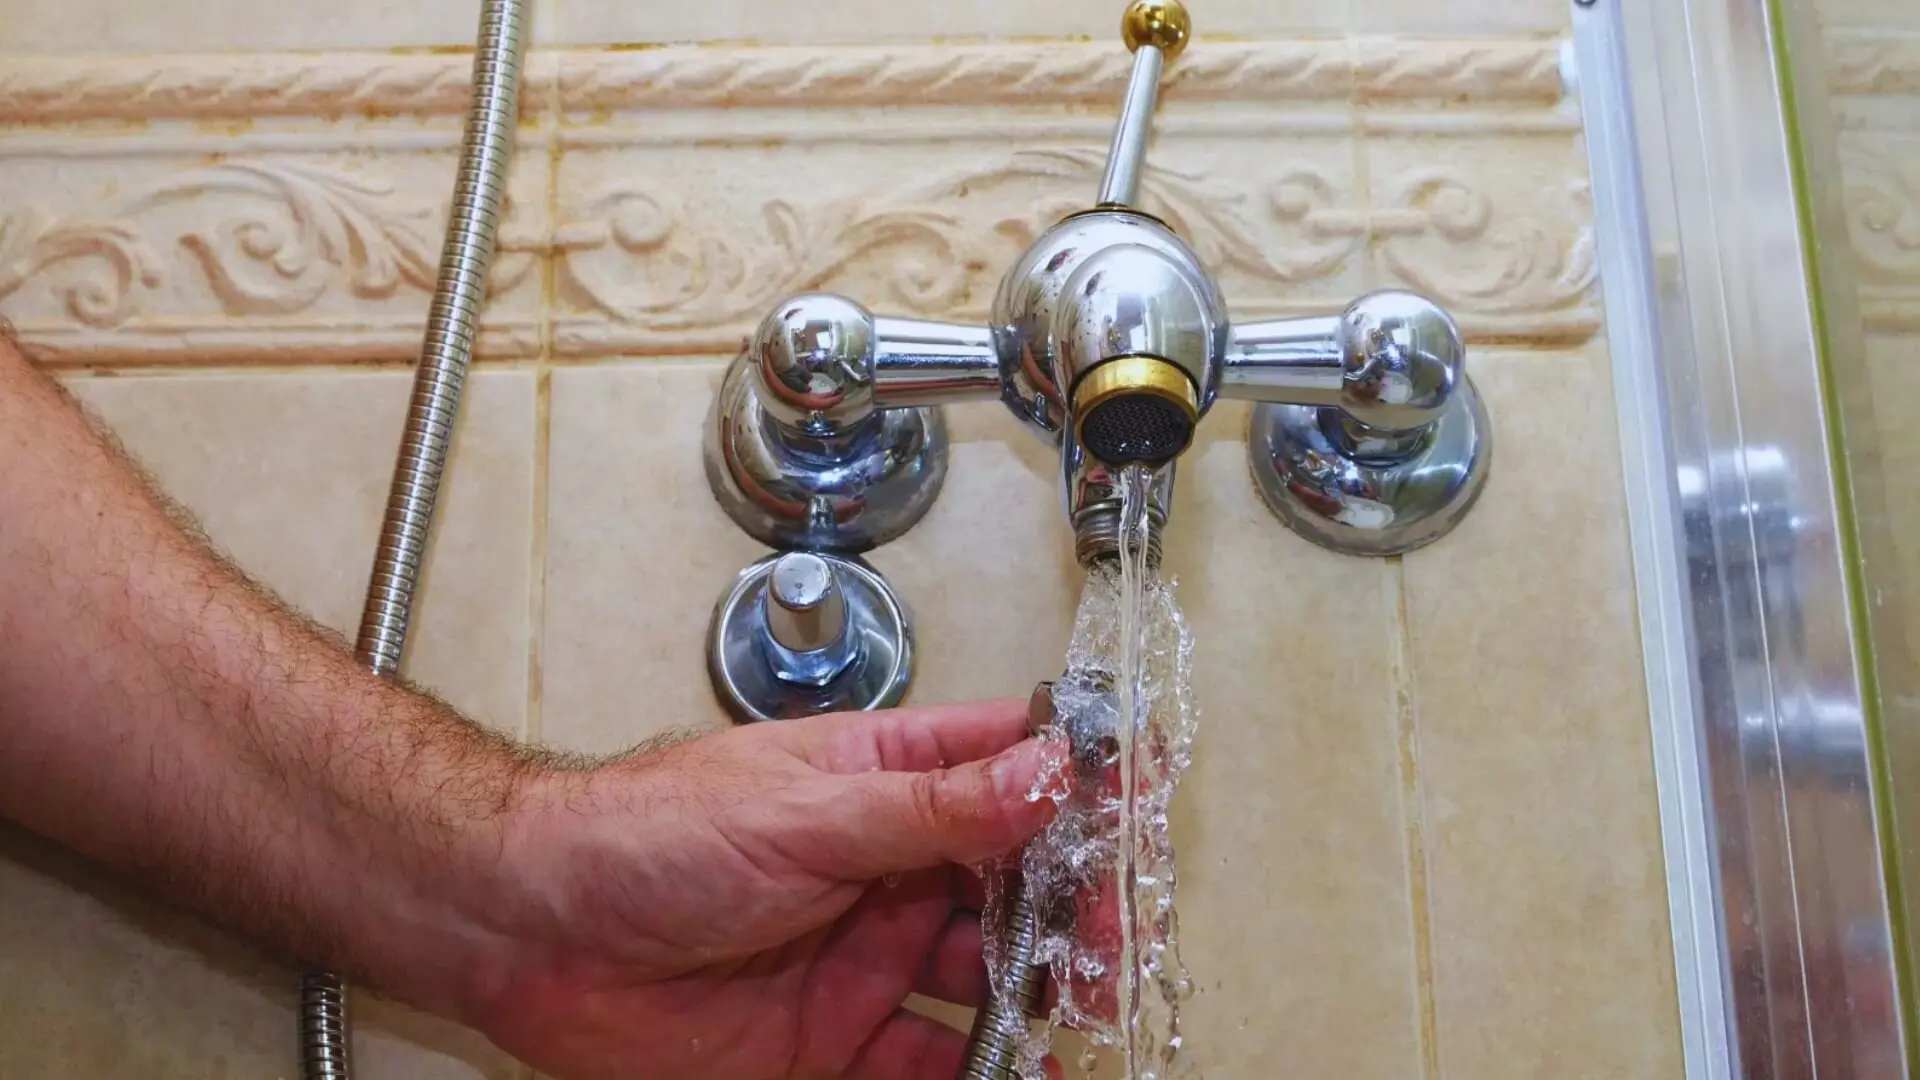
5 minsBefore you begin, safety first! Turn off the water supply to your shower. Locate the shut-off valves—usually behind an access panel, near the water heater, or under the sink. Turn the valves clockwise until they stop. If you can't find individual valves, you may need to shut off the main water supply to your house.
Watch: Shut off water supply
Remove the Old Shower Handle Screw(s)
10 minsNext, locate the screw(s) holding your shower handle in place. These are often concealed under a decorative cap. Carefully pry off the cap using a small flathead screwdriver. Then, use a screwdriver (or drill with a suitable bit) to remove the screw(s).
Watch: Disassemble Handle and Faceplate


Common Problems
Use a thin-bladed tool and be gentle to avoid breaking the plastic clips on the cap.
Solution: To avoid this issue: Be mindful of this warning and take appropriate precautions.
Incorrect Allen wrench size prevents handle removal or reattachment.
Solution: Keep a set of both metric and imperial Allen wrenches handy, as faucet hardware can vary.
Make sure the sink drain is closed before loosening the set screw to avoid losing it.
Solution: To avoid this issue: Be mindful of this warning and take appropriate precautions.
Stubborn shower handles can crack or damage the valve stem if pried off incorrectly.
Solution: A handle puller is the recommended tool for stubborn handles to prevent cracking the handle or damaging the valve stem.
Avoid overtightening the packing nut as it can damage the new washer and cause another leak.
Solution: To avoid this issue: Be mindful of this warning and take appropriate precautions.
Cross-threading can damage shower knob components if not hand-tightened first.
Solution: Hand-tighten components first to prevent cross-threading, which can damage the parts.
Shower handle won't turn or is damaged due to misaligned splines.
Solution: Ensure the splines are properly engaged before tightening to prevent misalignment or damage.
Frequently Asked Questions
What's the most important safety precaution to take before replacing my shower handle?
Always ensure the water supply to your shower is completely turned off before starting. This prevents accidental flooding and potential water damage. If individual shut-off valves for your shower are unavailable, you must turn off the main water supply to your entire home.
Do I need any special tools beyond basic screwdrivers for this shower handle replacement project?
While a flat-head screwdriver is usually sufficient for removing decorative caps and screws, a handle puller tool can be incredibly useful. If your old handle is stuck due to corrosion or mineral buildup, a puller will help remove it without damaging the valve stem or the handle itself.
How long should this project take for a beginner, and what's the typical cost for a new shower handle?
For a beginner, this project typically takes 30 minutes to an hour, assuming no major issues like heavily corroded parts. The cost for a new shower handle can vary widely, from $20 for basic models to $100+ for higher-end or brand-specific designs, depending on your existing faucet's requirements.
My new shower handle doesn't seem to fit correctly, or it's wobbly after installation. What should I check?
Shower handles are not universal; they often need to be compatible with your existing faucet brand and valve stem type. Double-check your new handle's compatibility with your shower's make and model. Ensure the handle is fully seated onto the valve stem and that the set screw is tightened securely, but avoid over-tightening which can strip threads.
What should I do if I can't find the set screw to remove the old shower handle?
The set screw is frequently hidden. Carefully inspect the handle's base or front for a small decorative cap or a tiny plastic plug. You can often pry these off gently with a thin flat-head screwdriver or a utility knife to reveal the screw underneath.
I've turned the water back on, and there's a leak around the new handle. What's the first thing I should do?
Immediately turn off the water supply again. A leak usually indicates the handle wasn't properly seated or the connection isn't tight enough. Ensure the handle is fully pushed onto the valve stem, and that any associated screws, gaskets, or escutcheon plates are snug and correctly aligned, then retest slowly.