/how-to-replace-a-shower-valve-5197461-10_reattach_23668-86d35b214a3849a796f94e0b38fab900.jpg)
Shower Valve Replacement: A Step-by-Step DIY Guide
About This Project
This DIY guide details the steps to replace a shower valve, including turning off the water, removing the old valve and handle, installing the new valve using plumber's putty and possibly compression fittings (especially for copper pipes to avoid soldering), and finally, reassembling and testing for leaks.
Best for advanced DIYers and professionals.
Tools & Materials
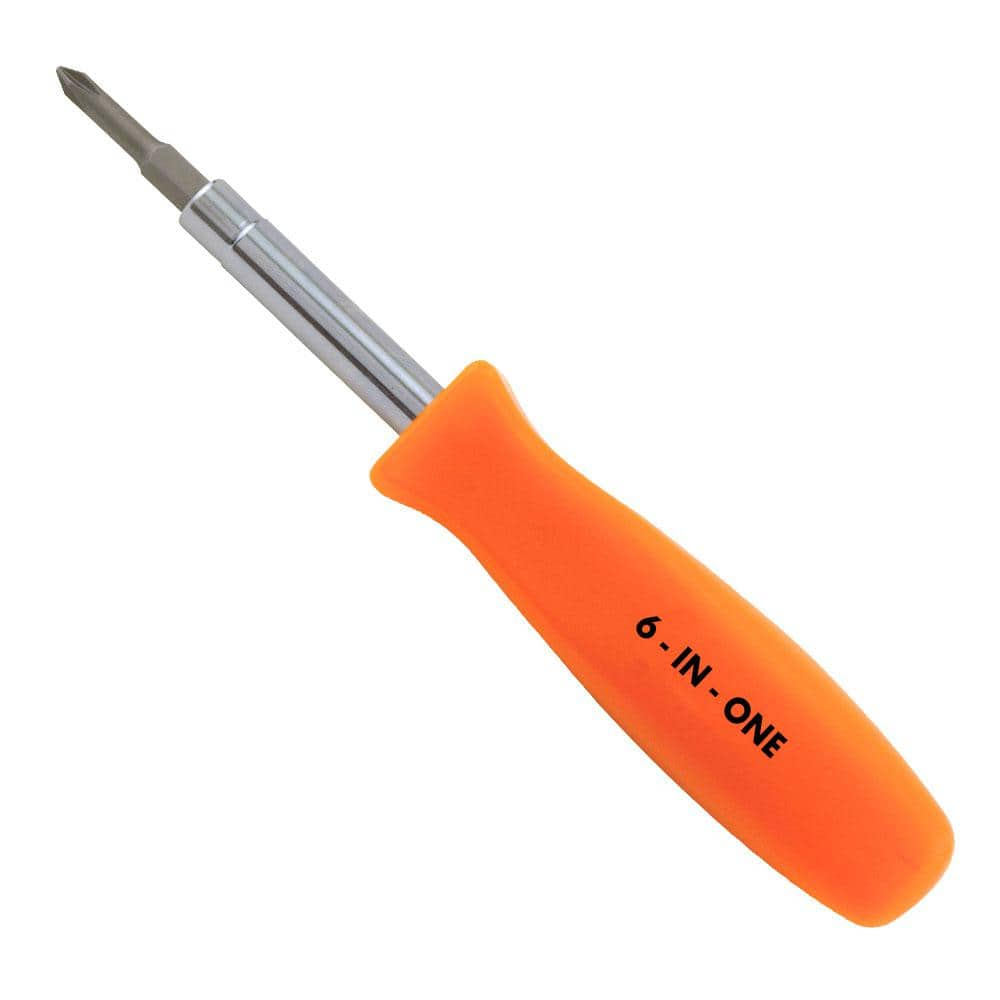
HDX 3-1/4 in. 6-in-1 Screwdriver 120SD12D
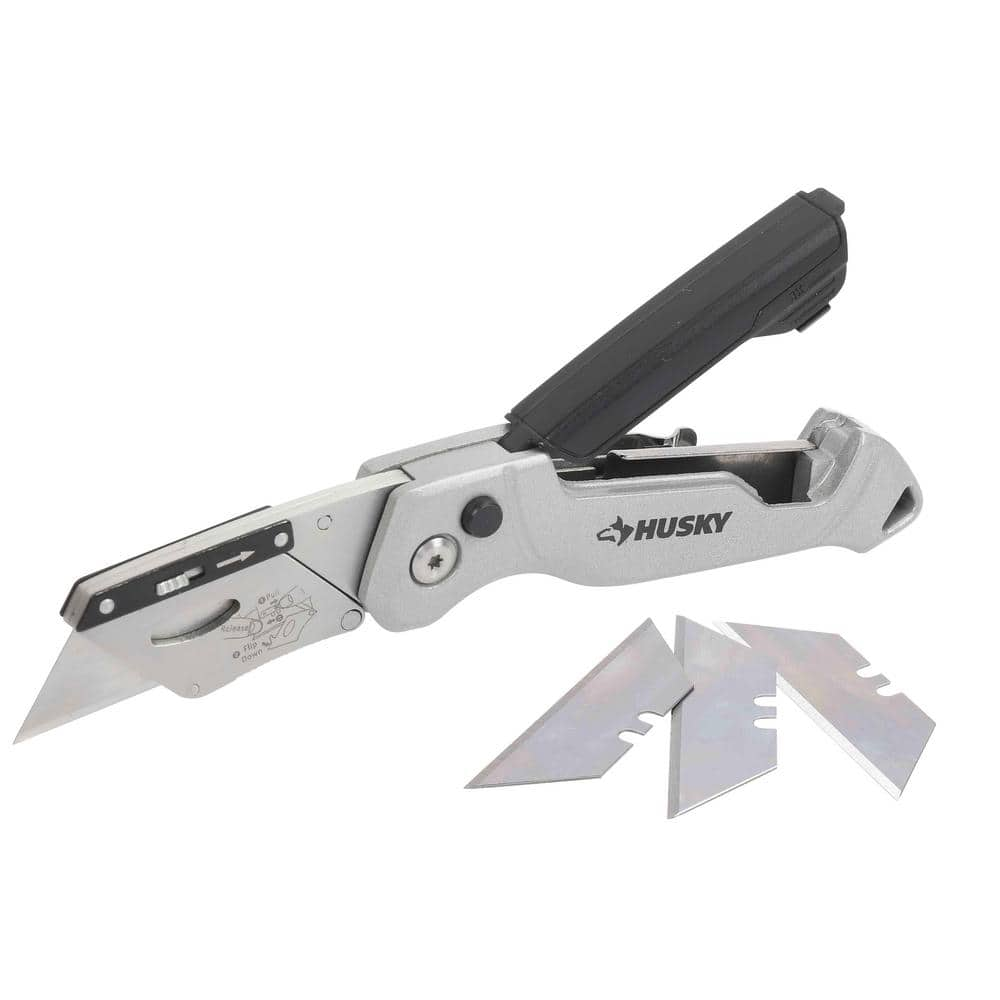
Husky Pro Utility Knife 00004

Adjustable Wrench

Husky 12 in. Adjustable Wrench 90933
Oatey 14 oz. Plumber's Putty 311662
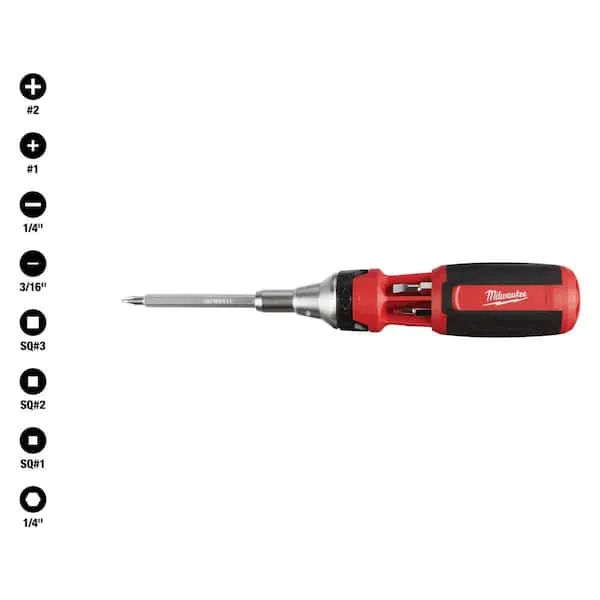
Screwdriver (Multi)
HDX 3-1/4 in. 6-in-1 Screwdriver 120SD12D
The HDX 3-1/4 in. 6-in-1 Screwdriver features double-sided bits with the four most common screwdriver tip styles, including a #1 Phillips bit, a #2 Phillips bit, a 3/16 in. flathead bit and a 1/4 in. flathead bit. Both ends of the shaft can be used as 1/4 in. nut drivers when the bits are removed, offering convenient, versatile use. The high-visibility orange handle makes the handy tool easy to find on a job site or in a toolbox.
Husky Pro Utility Knife 00004
Offering a precise cut every time, Husky Pro Folding Utility Knife lets you easily adjust the blade to multiple angles to tackle a wide range of jobs. Aluminum die casting handle with plastic spraying
Adjustable Wrench
Fits various nut and bolt sizes with its adjustable jaw.
Husky 12 in. Adjustable Wrench 90933
The Husky 12 in. Adjustable Wrench features a durable, comfortable handle. A large knurl allows for easy adjustment and a tight-fitting hex jaw design reduces slippage and tightly grips the fastener for
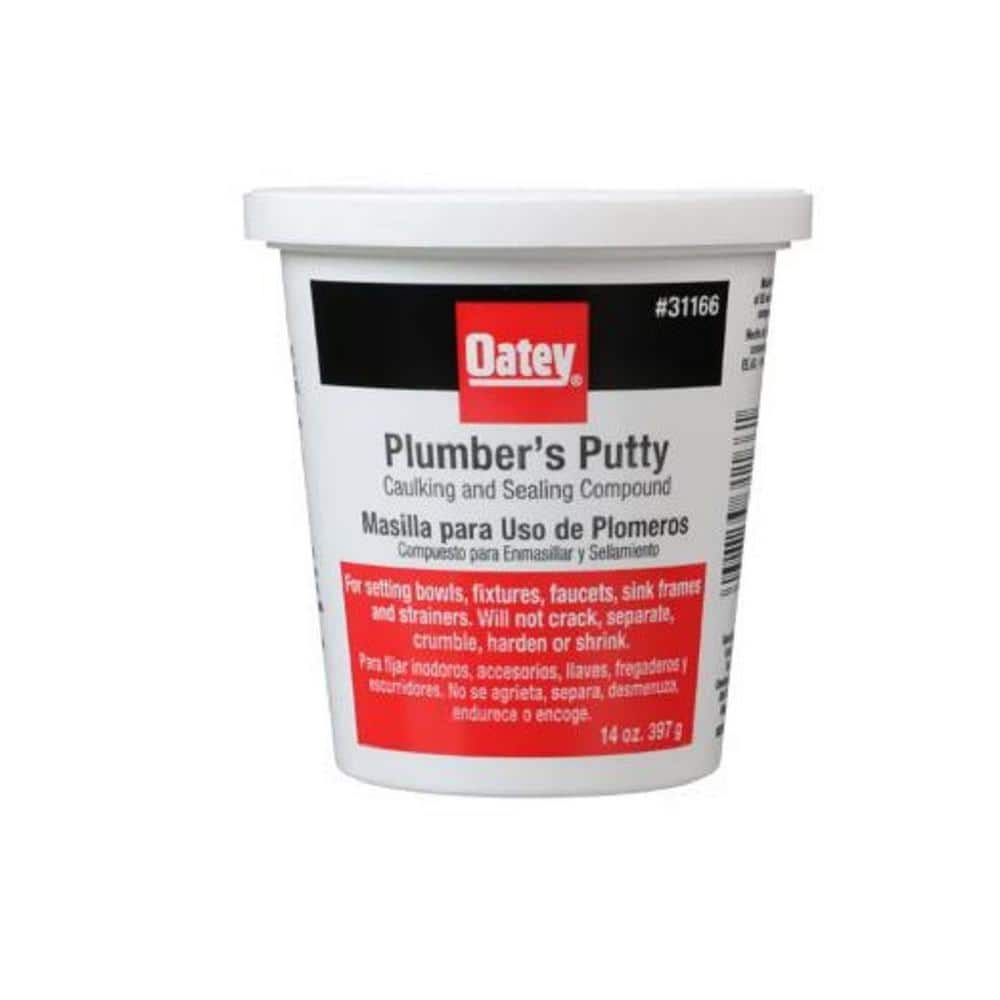
Oatey 14 oz. Plumber's Putty 311662
The Oatey 14 oz. Plumber's Putty is an easy-to-mold setting compound designed for use with stainless-steel sealing applications such as frames, faucets and strainer baskets. Not for use on plastic, marble,
Screwdriver (Multi)
Multiple bits for versatile use.
Steps

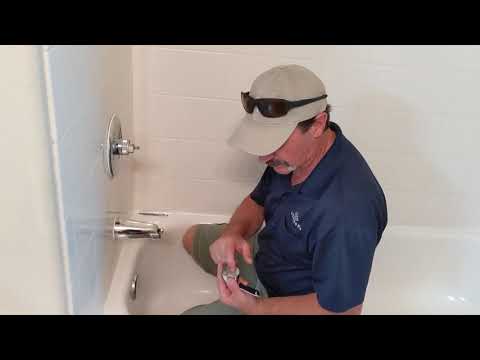
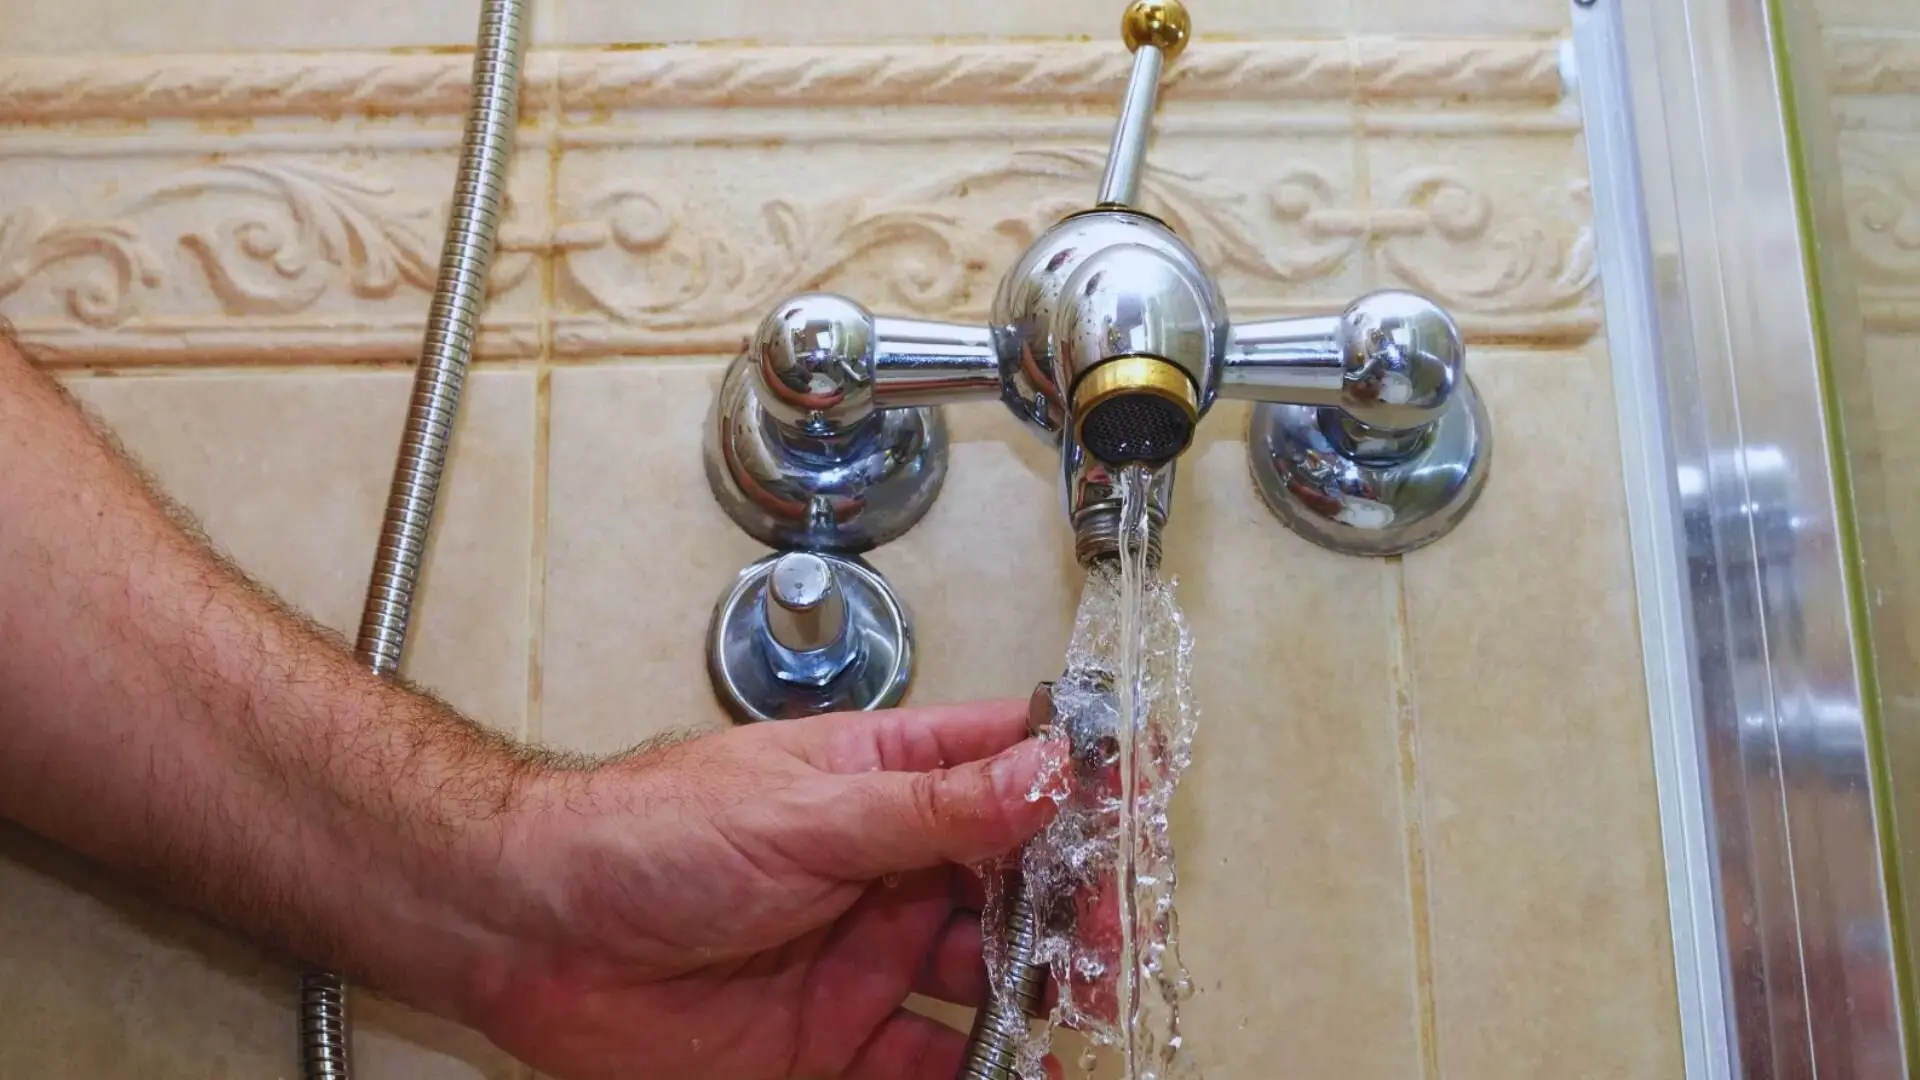
Remove the Old Shower Valve
30 minsIdentify your valve type and its retaining mechanism (screws, clips, or retaining nut). Carefully remove the retaining mechanism and gently extract the old valve. If you have copper pipes and are uncomfortable soldering, opt for a compression fitting replacement valve.

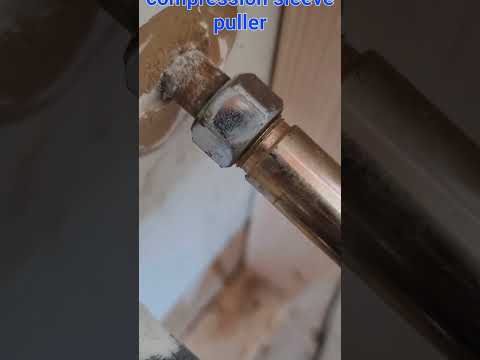
Install the New Shower Valve
30 minsInstall the new shower valve, using compression fittings if possible. Ensure proper alignment and securely tighten the compression nuts. If soldering is needed and you lack experience, call a licensed plumber. Apply plumber's putty to the valve base for a watertight seal.

Common Problems
Always ensure the water is completely shut off before disconnecting any pipes.
Solution: To avoid this issue: Be mindful of this warning and take appropriate precautions.
Failure to turn off the main water supply will result in significant water flow when you disassemble the valve.
Solution: To avoid this issue: Be mindful of this warning and take appropriate precautions.
Failing to shut off the water supply before disassembly will result in uncontrolled water flow and potential flooding.
Solution: To avoid this issue: Be mindful of this warning and take appropriate precautions.
Always ensure the water is completely off before disassembling the faucet to avoid water damage.
Solution: To avoid this issue: Be mindful of this warning and take appropriate precautions.
Sudden water surges can damage plumbing after a shower valve replacement.
Solution: Turn the water on slowly to prevent a sudden surge of pressure which could damage plumbing.
The project ends with an unresolved leak. The rubber gasket on the drain was not sufficient. To fix this, the drain must be disassembled and reinstalled using plumber's putty under the drain flange for a watertight seal.
Solution: To avoid this issue: Be mindful of this warning and take appropriate precautions.
Problem: New valve hole is too large, leaving an unsightly gap around the trim.
Solution: The remodel plate is essential for this type of conversion to provide a clean, finished look without re-tiling.
Frequently Asked Questions
What's the single most important safety precaution I need to take before starting this shower valve replacement?
Always confirm the main water supply to your entire home is completely shut off before starting any work. This prevents flooding and potential water damage. Additionally, open a lower faucet to drain any residual water from the pipes, relieving pressure and ensuring the lines are truly empty.
The guide mentions using compression fittings to avoid soldering; what are the pros and cons of using them instead of soldering?
Compression fittings are a great DIY alternative as they don't require soldering skills or special equipment, making installation quicker and safer. However, they are more susceptible to leaks if not tightened precisely and may not be suitable for all pipe types or very high-pressure systems. Always ensure they are rated for your specific application and tightened correctly to prevent future issues.
Is the 4-hour estimated time realistic for someone with intermediate DIY skills, or should I budget more time, especially if it's my first time?
While 4 hours is a good estimate for an intermediate DIYer, it's wise to budget 6-8 hours, especially if this is your first valve replacement. Unexpected issues like corroded pipes, seized screws, or limited access can significantly extend the project duration. Taking your time prevents costly mistakes and ensures a proper, leak-free installation.
What's a common mistake DIYers make when installing the new valve, and how can I avoid it?
A very common mistake is not performing a thorough leak check after installation and before closing up the wall. After installing the new valve, slowly turn the main water supply back on and carefully inspect all new connections for any drips or seepage for at least 15-30 minutes. Catching leaks early prevents extensive water damage behind the wall.
Beyond the cost of the new valve, what other potential hidden costs should I be aware of when doing this DIY project?
In addition to the new valve, you might need plumber's putty, pipe thread sealant, or replacement pipe sections if existing ones are corroded or cut incorrectly. If you don't already own the required tools like an adjustable wrench or specific screwdrivers, those purchase costs should also be factored in. Budget an extra 10-20% for these incidental supplies.
My old shower handle or valve seems stuck or corroded. What should I do if it won't budge?
For stuck handles or screws, try applying a penetrating oil like WD-40 or a rust penetrant and letting it soak for an hour before attempting removal again. If the valve body itself is severely corroded onto the pipes, you might need to use a reciprocating saw to cut the pipes carefully, giving you more leverage. Always work cautiously to avoid damaging surrounding plumbing or the wall.
My pipes are PEX or galvanized, not copper. Does this guide still apply, or do I need different tools and fittings?
While the general steps for valve replacement remain similar, the connection methods will differ significantly. For PEX, you'll need specific PEX crimp or expansion tools and fittings. For galvanized pipes, you'll use threaded fittings with pipe dope or Teflon tape. Ensure your new valve is compatible with your existing pipe material, or purchase the appropriate adapters and tools for a secure connection.