Shower Faucet Replacement: A Complete DIY Guide
About This Project
This project outlines the process of replacing a shower faucet, encompassing four main steps: 1. **Shut Off the Water Supply:** Locate and turn off the hot and cold water shut-off valves for the shower, verifying by checking a nearby faucet. 2. **Remove the Old Shower Hardware:** Carefully remove the old handle(s), escutcheon plate, and any other hardware using screwdrivers and/or a putty knife, using penetrating oil if needed and taking photos to aid in reassembly. 3. **Install the New Shower Valve:** Follow the manufacturer's instructions to install the new shower valve, using Teflon tape on threaded connections and soldering if required. Securely attach the valve as per the instructions. 4. **Install New Hardware and Test for Leaks:** Install the new handles, escutcheon plate, showerhead, and tub spout. Turn the water supply back on slowly, checking thoroughly for leaks. Adjust the temperature as necessary. If leaks persist, re-check connections and tighten or reseal as needed.
Best for experienced DIYers and homeowners with some experience.
Tools & Materials
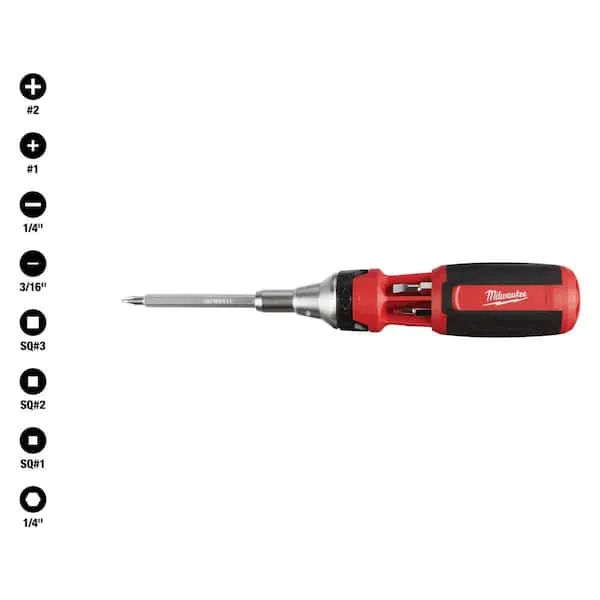
Screwdriver (Multi)
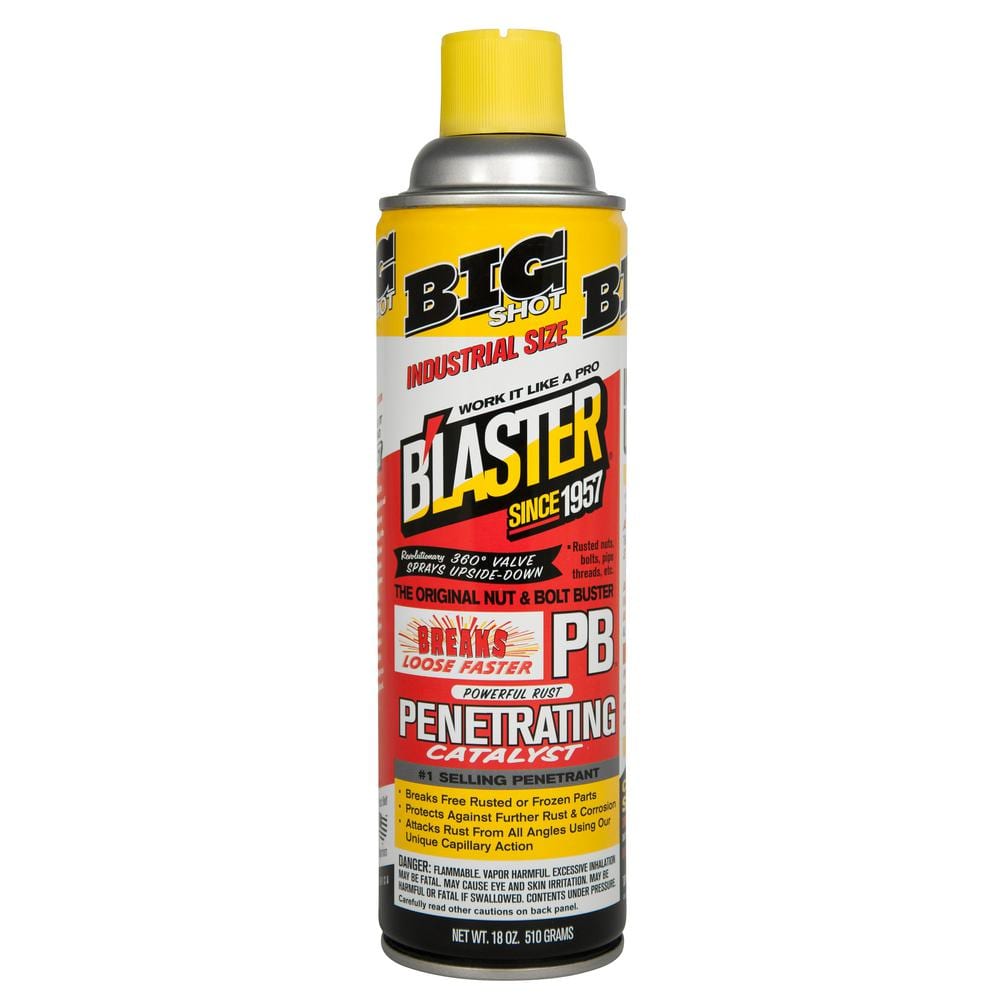
Blaster 18 oz. PB Penetrating Oil 26-PB

Adjustable Wrench
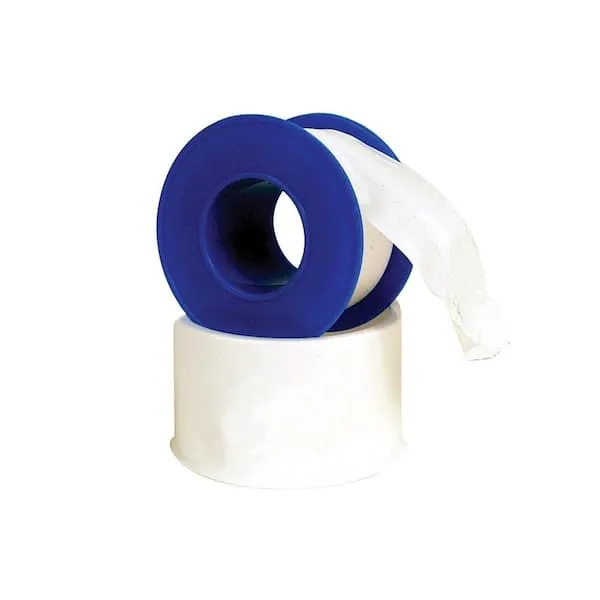
Teflon Tape
Screwdriver (Multi)
Multiple bits for versatile use.
Blaster 18 oz. PB Penetrating Oil 26-PB
The #1-selling penetrant since 1957, PB Blaster quickly busts loose rusted or frozen parts caused by rust and corrosion. PB Blaster penetrant also contains a non-evaporating lubricant that protects against
Adjustable Wrench
Fits various nut and bolt sizes with its adjustable jaw.
Teflon Tape
Seals pipe threads without leaks.
Steps
Shut Off the Water Supply
5 minsBefore you begin, completely shut off the water supply to your shower. Locate the shut-off valves, typically near the shower or on the main water line. Turn the valves clockwise to stop the flow of both hot and cold water. Double-check that the water is off by turning on a nearby faucet.

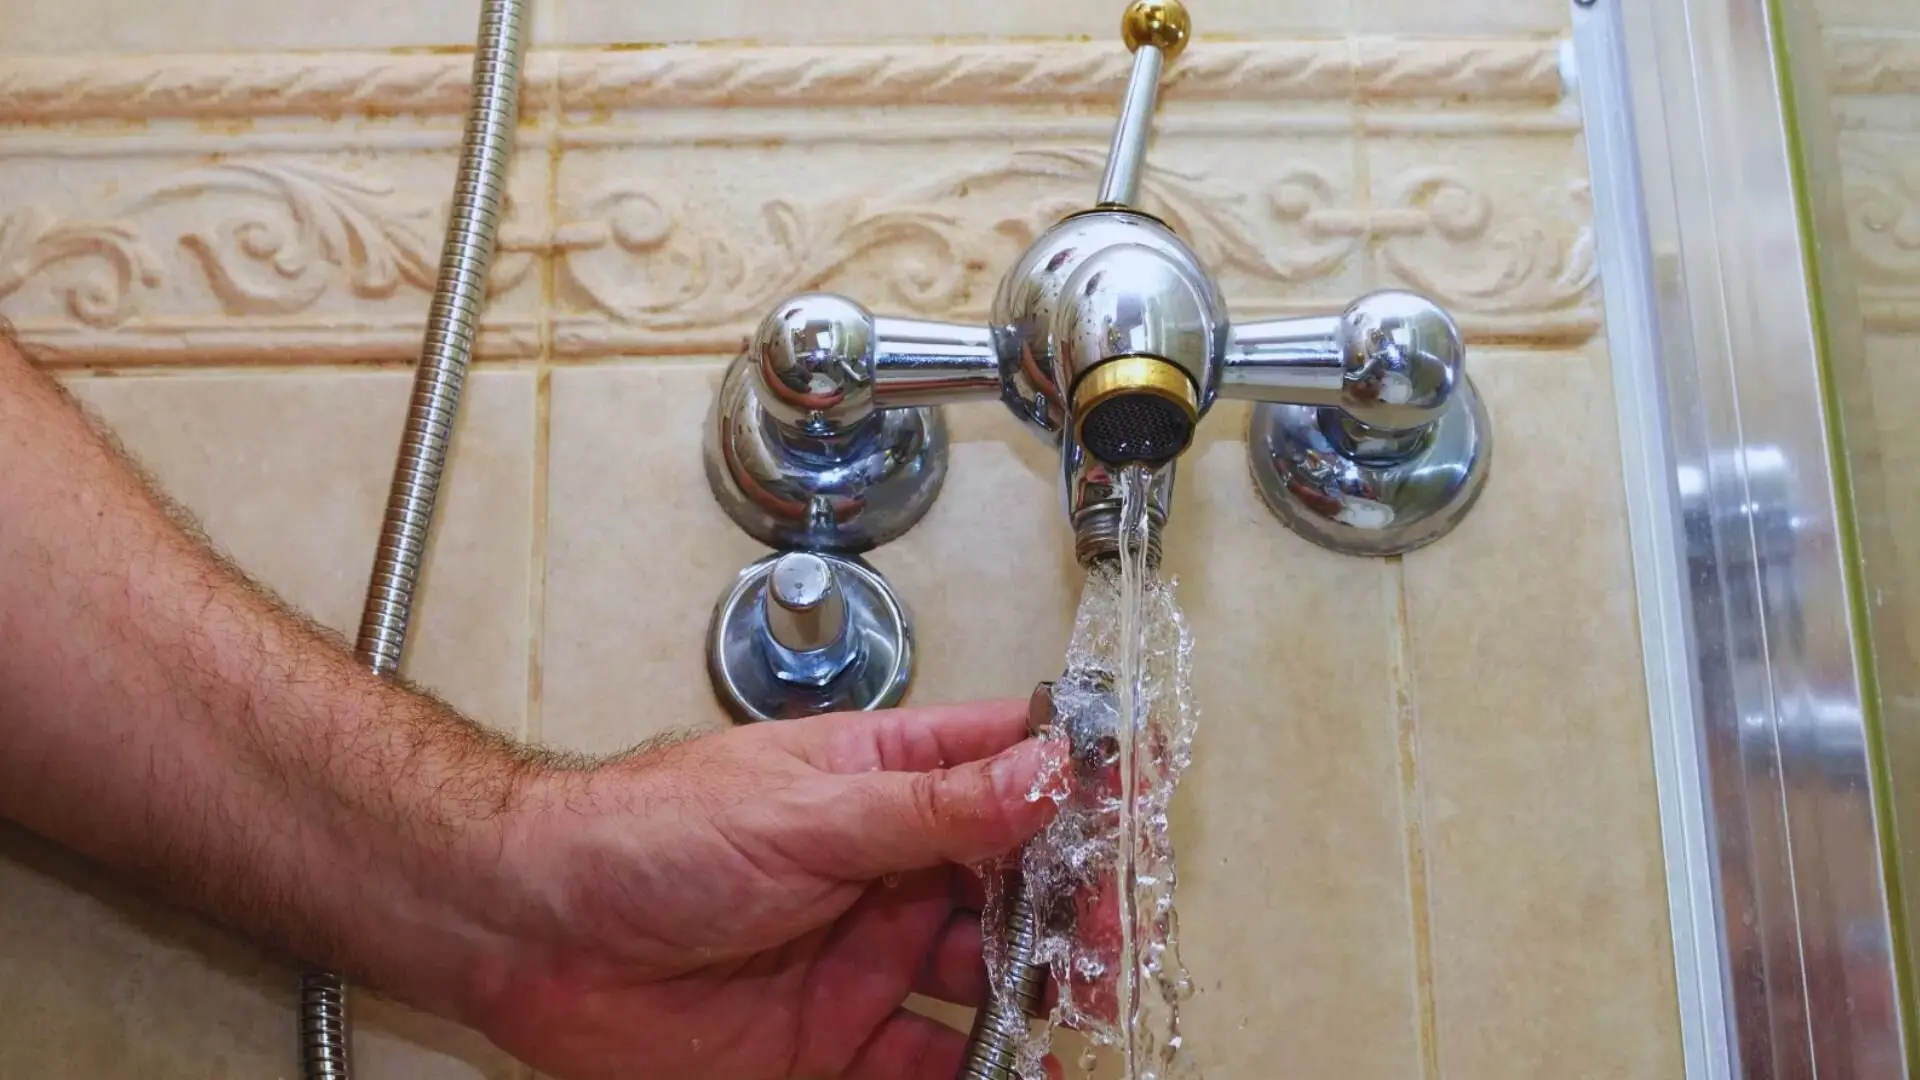
Remove the Old Shower Hardware
15 minsCarefully remove the old shower handle(s) and escutcheon plate. You may need a screwdriver to remove screws or a putty knife to gently pry off any glued or sealed components. Penetrating oil can help loosen corroded parts. Take photos before disassembling to assist with reassembly.

Install the New Shower Valve
1 minInstall the new shower valve, following the manufacturer's instructions precisely. Use new Teflon tape on all threaded connections to ensure a watertight seal. For some valves, soldering may be required; consult your valve's instructions. Securely attach the new valve according to the manufacturer's specifications.

Install New Hardware and Test for Leaks
30 minsInstall the new shower handle(s), escutcheon plate, showerhead, and tub spout. Slowly turn the water supply back on, checking carefully for any leaks around the valve and connections. Adjust the temperature if needed. If leaks persist, carefully re-check all connections and tighten as necessary.
Common Problems
Sealant unravels when tightening fittings.
Solution: Wrapping sealants in a clockwise direction prevents them from unraveling when you tighten the fittings.
Leaky connections due to a poor seal.
Solution: Keeping the Teflon tape flat and without twists ensures a better seal.
Incorrectly connecting hot and cold water lines to the shower valve.
Solution: Ensure the hot inlet is connected to the hot supply line and the cold inlet to the cold supply. Most valves are marked 'H' and 'C'.
Do not overtighten threaded connections, as this can crack the valve body.
Solution: To avoid this issue: Be mindful of this warning and take appropriate precautions.
Turn the water back on slowly. If you see any leaks, shut the water off immediately and check your connections.
Solution: To avoid this issue: Be mindful of this warning and take appropriate precautions.
Sudden water surges can damage your plumbing.
Solution: Turn the water on slowly to prevent a sudden surge of pressure which could damage plumbing.
Sudden water surges can damage plumbing.
Solution: Turn the water on slowly to avoid a sudden surge of pressure which could damage the plumbing.
Frequently Asked Questions
What additional tools or materials might I need that aren't listed as 'required'?
Beyond the basic adjustable wrench and multi-screwdriver, you might need penetrating oil for stubborn screws, a putty knife for escutcheon removal, or soldering equipment if your new valve requires soldered connections. Always check your specific faucet's manufacturer instructions for precise requirements.
How important is it to take photos of the old hardware before removal?
Taking photos is crucial, especially for beginners. It provides a visual guide for how various parts fit together, which is incredibly helpful during the reassembly of the new hardware and ensures you don't miss any small components or their correct orientation.
What should I do if I can't completely shut off the water to my shower?
If you can't locate or shut off the individual hot and cold supply lines for the shower, you'll need to turn off the main water supply to your entire house. If access is difficult or the main shut-off is problematic, it's best to contact a professional plumber before proceeding to avoid water damage.
My new shower valve requires soldering, but I've never done it before. What should I do?
Soldering copper pipes requires specific tools, training, and technique; improper soldering can lead to significant leaks. If your valve requires this method and you're uncomfortable, consider hiring a plumber for this specific step or look for a new valve that uses compression or PEX connections instead.
I've installed everything, but now the water pressure is low or the temperature isn't right. What could be the issue?
Low pressure could indicate debris caught in the new valve or aerator, or improper alignment of internal cartridges. Temperature issues often stem from incorrect installation of the mixing valve cartridge; review the manufacturer's instructions carefully for proper orientation and seating.
Is 4 hours a realistic time estimate for a beginner, or should I plan for more?
While 4 hours is an average estimate for this project, beginners should definitely plan for closer to 6-8 hours, or even a full day. Unexpected issues like corroded hardware, difficult access to plumbing, or learning new techniques can significantly extend the project duration.
After turning the water back on, I have a persistent drip or leak. What are the first steps to troubleshoot it?
First, re-tighten any threaded connections, ensuring Teflon tape was applied correctly and generously. For leaks around the escutcheon or handle, check that internal gaskets are seated properly and connections to the valve body are snug. If the leak is from inside the valve, it might indicate a faulty cartridge or incorrect installation.
/how-to-replace-a-shower-valve-5197461-10_reattach_23668-86d35b214a3849a796f94e0b38fab900.jpg)