Garage Door Opener Repair
About This Project
This project outlines the steps for diagnosing and repairing common issues with a DIY garage door opener system. It covers safety precautions, troubleshooting common problems like opener not working, door not closing fully, or opener making strange noises, and guidance on when to call a professional.
Tools & Materials
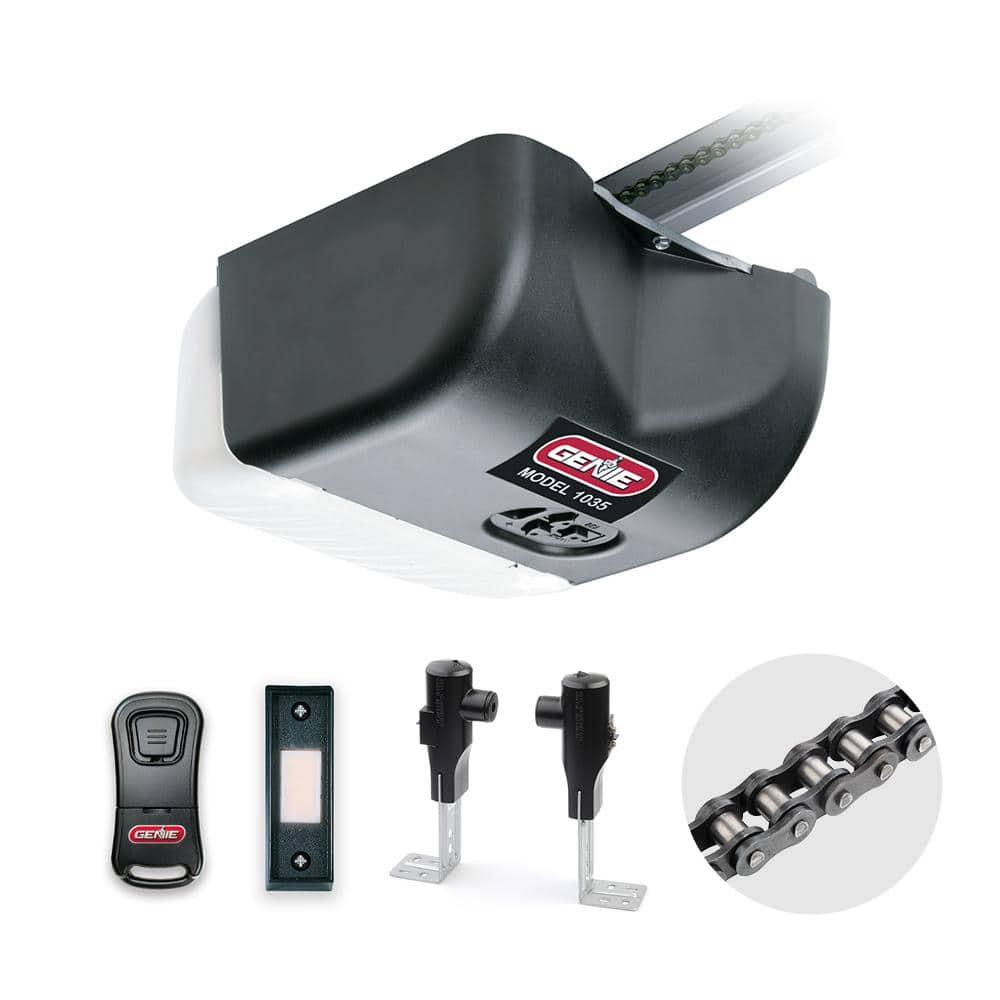
Genie 1/2 HP Durable Chain Drive Garage Door Opener 1035-SV
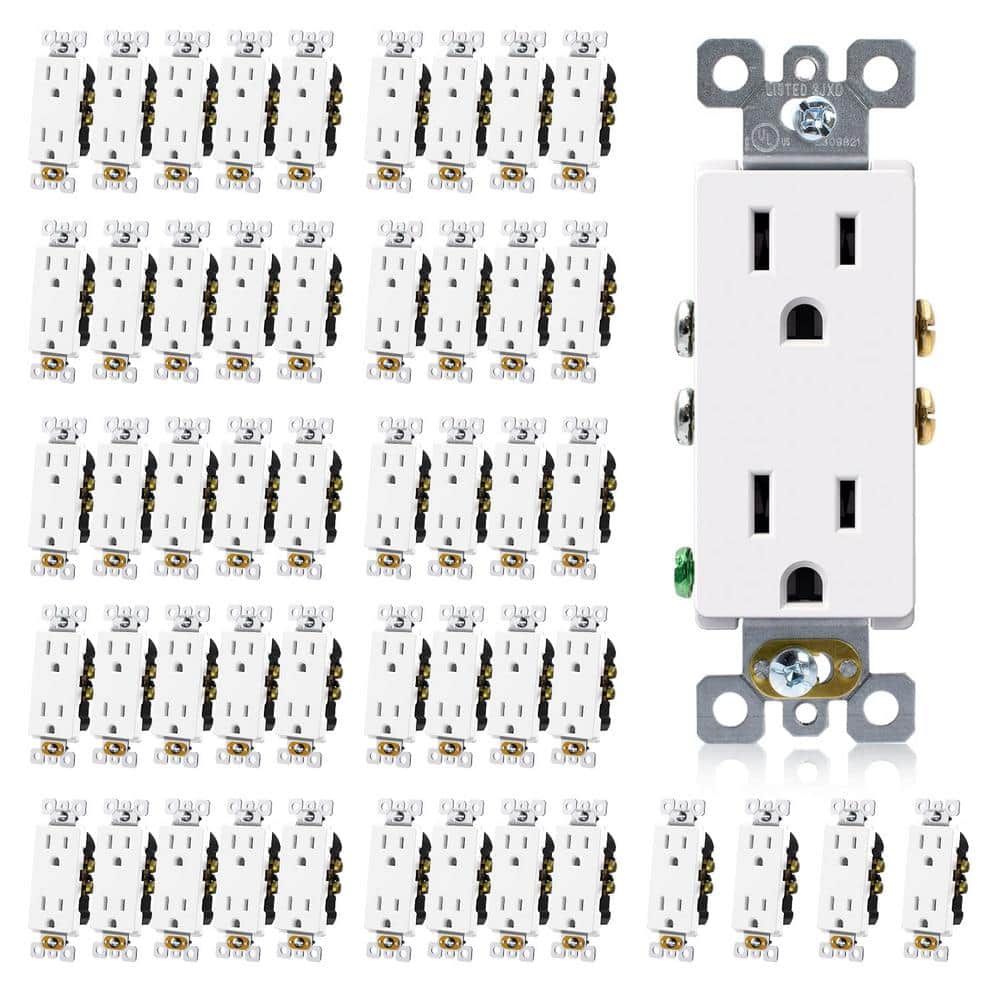
Etokfoks 15A/125-Volt, Standard Wall Outlet, 2-Pole Non-Tamper Resistant, Self-Grounding, UL Listed in Matte White - (50-Pack) MLPH005LT665
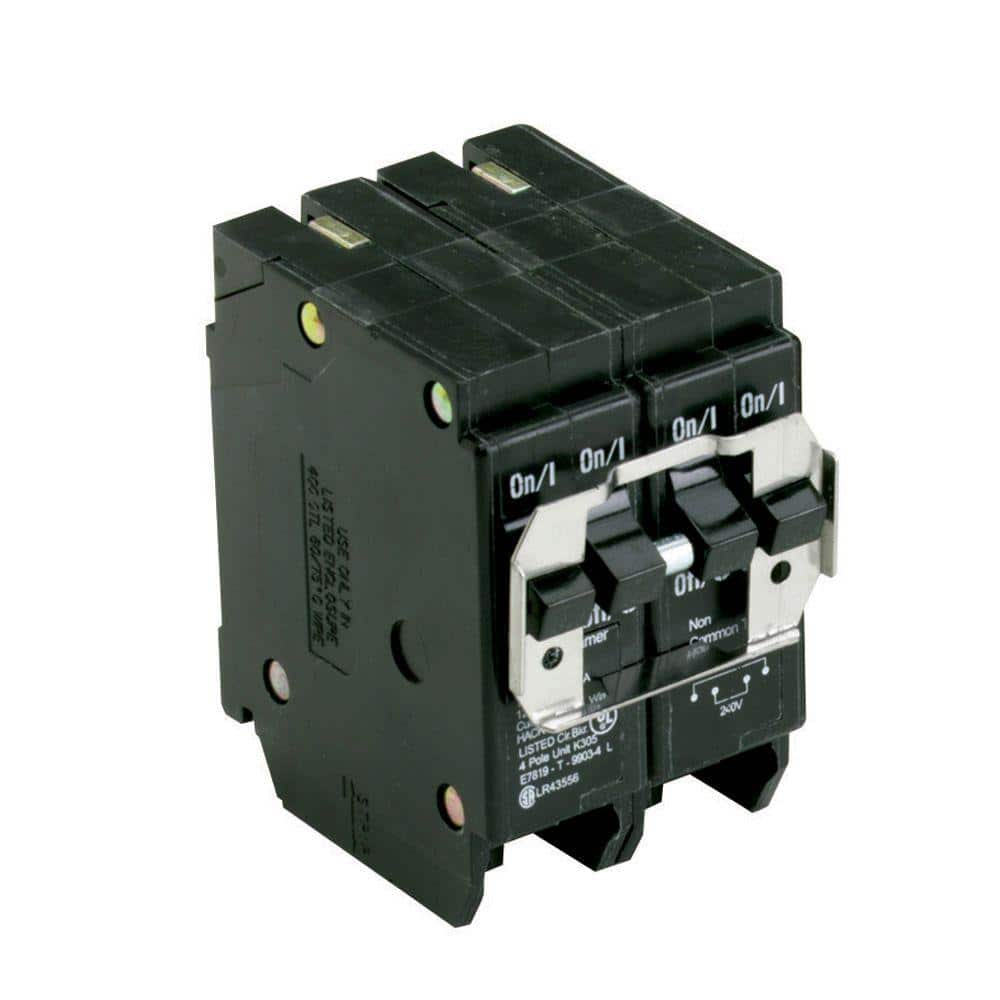
Eaton BR 1-20 Amp 2 Pole and 1-50 Amp 2 Pole BQC (Common Trip) Quad Circuit Breaker BQC220250
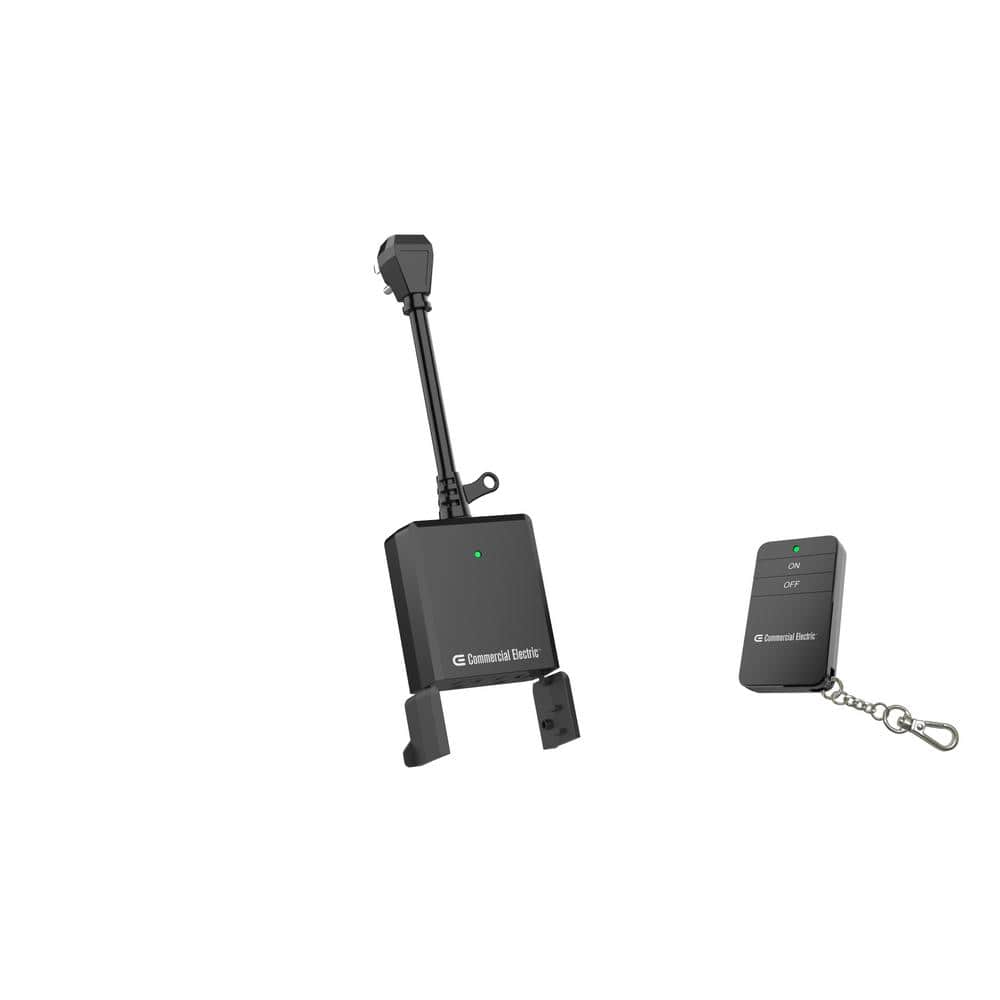
Commercial Electric Wireless Indoor/Outdoor Remote Control YLT-42B
Faucet
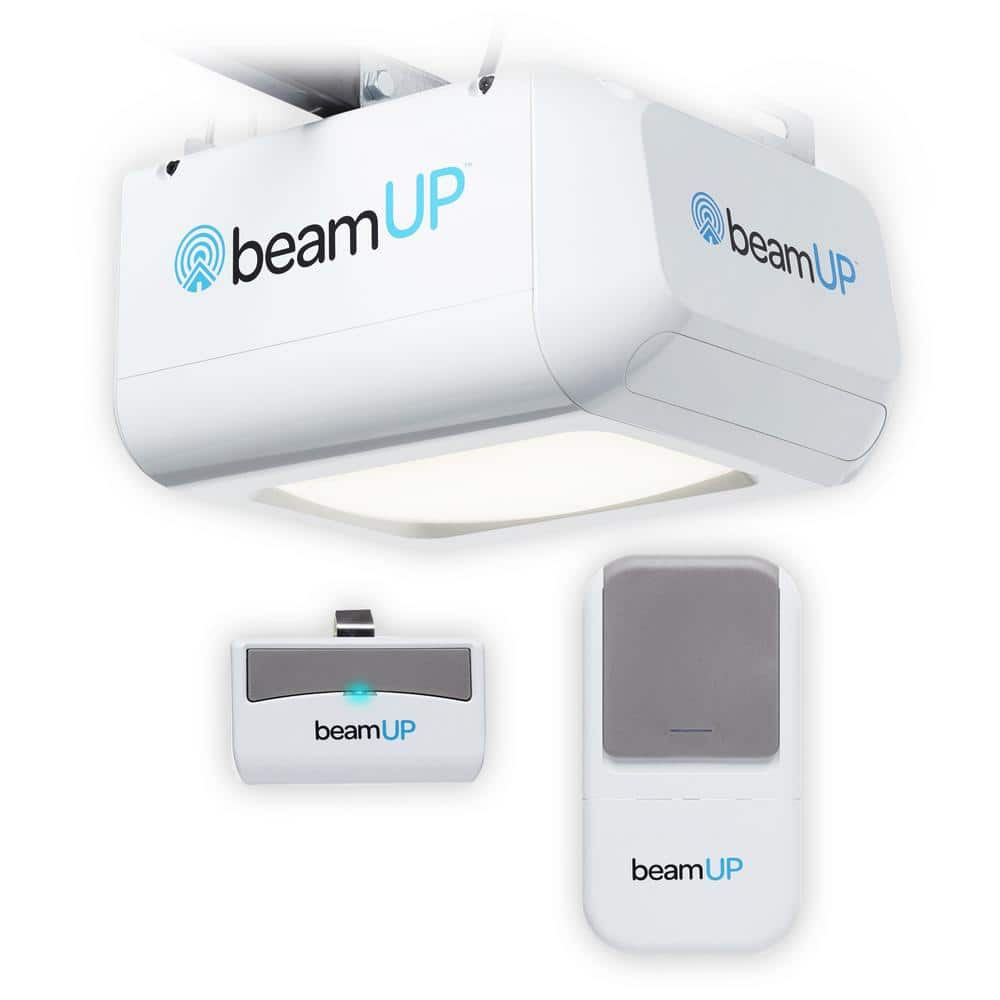
BeamUP Workhorse - BU100 - Garage Door Opener - Heavy-Duty Chain Drive Wall Mount - Door Control and Remote Included BU100
Genie 1/2 HP Durable Chain Drive Garage Door Opener 1035-SV
The Genie Chain Drive garage door opener offers the best in traditional chain drive garage door operation. Dependable, reliable, and durable; the Chain Drive opener is an affordable option with superior
Etokfoks 15A/125-Volt, Standard Wall Outlet, 2-Pole Non-Tamper Resistant, Self-Grounding, UL Listed in Matte White - (50-Pack) MLPH005LT665
Upgrade your electrical outlets with our 15A/125-Volt, Standard Wall Outlet 50-Pack in Matte White. Built with high-quality, high-impact resistant thermoplastic for a crack-free, trouble-free service life. Easy installation, universal application, and self-grounding features make these outlets a safe and elegant choice for any location, from home offices to public areas. UL & CUL listed, flame-resistant, and designed for durability, these outlets seamlessly blend toughness with style for a secure and sleek installation.
Eaton BR 1-20 Amp 2 Pole and 1-50 Amp 2 Pole BQC (Common Trip) Quad Circuit Breaker BQC220250
Circuit breakers protect the wires in your home from overheating (referred to as an overload) and fault currents (referred to as short circuits). The Eaton Cutler-Hammer Quadplex or Quad type Circuit Breaker is designed to create (4) circuits in (2) spaces. This allows for 240-Volt circuits. The BQC style breaker has a common trip as well as a rejection tab feature. These breakers are designed for use in BR type load centers and should be installed only in panel positions that have notched bus stabs that accommodate the rejection clip. Also, BQC circuit breakers are UL approved genuine replacement breakers for load centers made by Westinghouse, Challenger, and Bryant.
Commercial Electric Wireless Indoor/Outdoor Remote Control YLT-42B
Plug in holiday decorations and landscape Lighting to the Indoor/Outdoor Remote Plug and use the included keychain transmitter to easily activate Lights from a remote location. This remote plug offers
Faucet
Controls water flow elegantly.
BeamUP Workhorse - BU100 - Garage Door Opener - Heavy-Duty Chain Drive Wall Mount - Door Control and Remote Included BU100
beamUP's Workhorse Garage Door Opener is equipped with a 3/4 Horsepower equivalent heavy-duty chain drive & DC motor as the force behind your garage door. It does not matter whether your garage is an 8'x7' single door or a 16'x7' double door, the Workhorse motorhead quickly & reliably opens or closes your garage door with ease. The Workhorse also contains 1500 lumen (100W) LED security lighting, photo eye safety system, single button remote control with ClearCom technology, and door control. The Workhorse garage door opener is compatible with all generations of HomeLink as well. (HomeLink and the HomeLink House logo are registered trademarks of Gentex Corporation.)
Steps

Disconnect Power
5 minutesBefore performing any troubleshooting or repair on the garage door opener, it is crucial to disconnect the power supply. This typically involves unplugging the opener from the electrical outlet. If the opener is hardwired, you will need to turn off the corresponding circuit breaker in your electrical panel.
Watch: Disconnect power
Check Remote and Wall Button
5 minutesAttempt to operate the garage door using the remote control. If it doesn't work, try the wall-mounted button. If the wall button operates the opener but the remote does not, the problem likely lies with the remote or its programming. If neither works, the issue is with the opener unit or its power supply.
Watch: Initial Remote and Wall Switch Check
Inspect and Replace Remote Battery
10 minutesOpen the remote control and visually inspect the battery. If it appears corroded or damaged, replace it. Even if it looks fine, a weak battery is a common cause for a non-functioning remote. Replace the battery with a new one of the correct type and size.
Watch: Replace Remote Battery
Re-program Remote Control
15 minutesMost garage door openers have a 'Learn' or 'Program' button on the motor unit. Press and release this button, then within a short timeframe (usually 30 seconds), press and hold the button on your remote control that you want to use to operate the door. The opener's indicator light should flash or beep to confirm programming. Consult your opener's manual for specific instructions for your model.
Watch: Program Remote Control
Check for Obstructions
10 minutesVisually inspect the vertical and horizontal tracks for the garage door. Look for any debris, rocks, bent sections, or anything else that might be preventing the door from moving freely. Also, check the floor area where the door closes to ensure nothing is blocking its path.
Watch: Clear Obstructions from Door Path and Tracks
Inspect Door Rollers and Cables
15 minutesCheck the condition of the rollers that guide the door along the tracks. Ensure they are spinning freely and are not cracked or broken. Inspect the torsion springs (if applicable) and the lift cables for any signs of fraying, rust, or breakage. These components are under high tension.
Watch: Inspect Tracks, Cables, and Rollers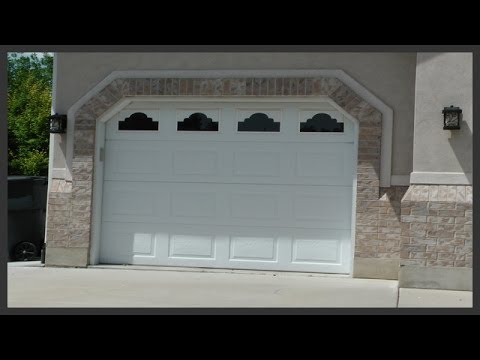
Test Safety Sensors
15 minutesLocate the safety sensors near the bottom of the garage door tracks. They are usually small boxes with an indicator light. Ensure they are clean, unobstructed, and aligned with each other. If the indicator lights are off or blinking erratically, they may be misaligned or damaged. Try to gently adjust their position until the lights are solid. Clean the sensor lenses with a soft cloth.
Watch: Inspect and Test Safety Sensors
Check Drive Mechanism (Chain, Belt, or Screw)
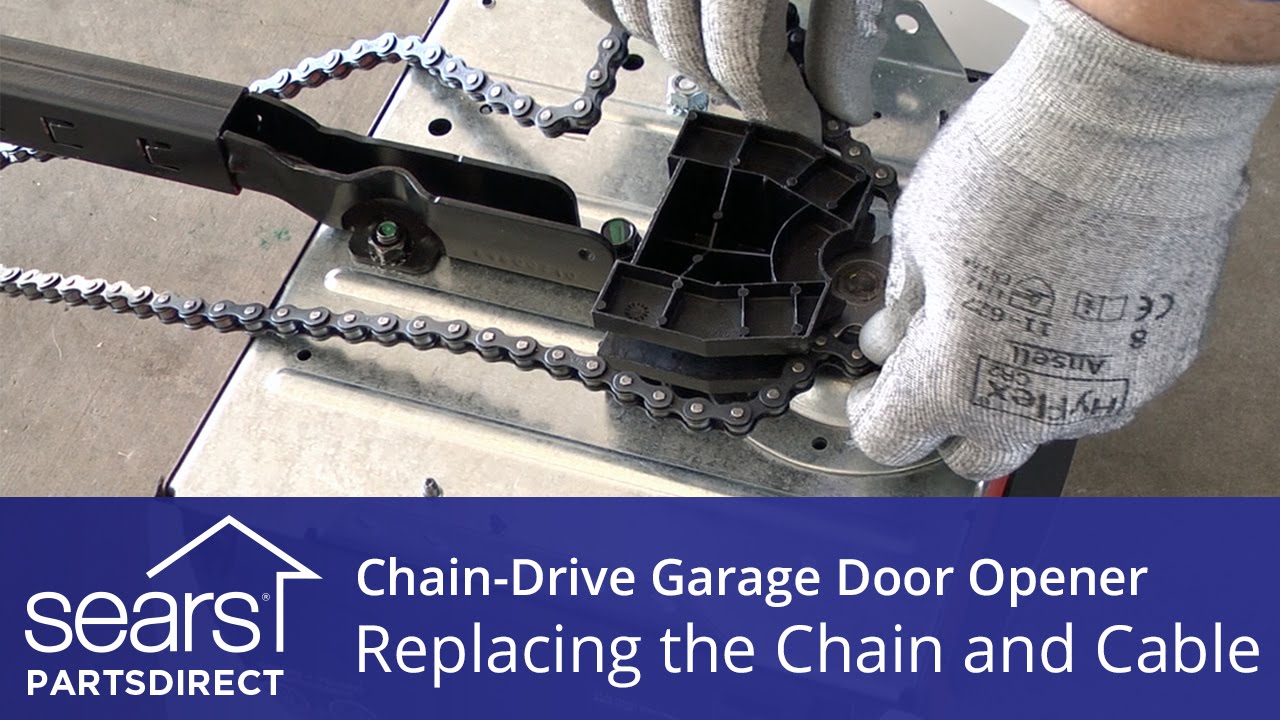
10 minutesExamine the chain, belt, or screw drive that moves the trolley along the opener rail. Look for loose connections, worn teeth (on belts or chains), or any foreign objects caught in the mechanism. If the drive mechanism appears damaged or excessively worn, it may need replacement.
Watch: Check Opener Mechanism and Error Codes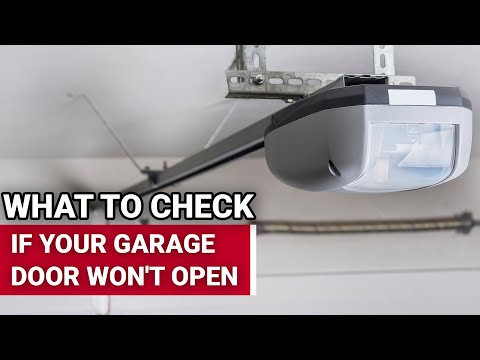
Inspect Trolley and Rail
5 minutesWith the power still disconnected, manually move the trolley along the rail to ensure it moves freely. There should be slight resistance, but it should not bind or stick. Check the rail for any bends or damage.
Watch: Test Manual Door Operation and Inspect Springs
Listen for Strange Noises
5 minutesWhen testing the opener (after reconnecting power, if safe to do so), listen for grinding, clicking, or straining noises. Grinding might suggest issues with the drive gears. Clicking could indicate a problem with the logic board or a loose connection. Straining noises might mean the opener is struggling with the door's weight or balance.
Watch: Diagnose Opener Malfunction
Check Door Balance
10 minutesWith the opener disengaged (using the red pull cord), try to lift the door manually. It should lift smoothly and stay open about halfway without assistance. If it's too heavy to lift, or if it slams shut or snaps upward, the springs are likely not balanced correctly, and the opener is working harder than it should. This is a critical safety issue.
Watch: Check Manual Door Operation and Balance
Consult Manual and Manufacturer Resources
15 minutesYour owner's manual is the best resource for specific troubleshooting steps, error codes, and maintenance recommendations for your particular model of garage door opener. Many manufacturers also provide online resources, FAQs, and support videos.
Watch: Diagnose Problem and Review ManualCall a Professional
If you have performed the basic troubleshooting steps and are unable to identify or resolve the issue, or if you encounter any problems involving the door's balance, springs, or cables, it is time to call a professional. Garage door systems involve heavy components and powerful mechanisms that can be dangerous if mishandled.
Watch: Contact a ProfessionalCommon Problems
Electrocution or injury from unexpected door movement
Solution: Immediately unplug the garage door opener from its electrical outlet or switch off the dedicated circuit breaker for the garage. Never work on the opener while it's connected to power. If the door moves unexpectedly, stand clear and only use the emergency release rope when the door is fully closed and stable.
Prevention: Always disconnect power to the garage door opener *before* starting any inspection, adjustment, or repair. Avoid wearing loose clothing, jewelry, or anything that could get caught in moving parts like the chain, belt, or springs.
Garage door starts to close but reverses immediately, or stops halfway
Solution: This is often due to the safety sensors. 1. Check the two small safety sensors (usually near the bottom of the door tracks) for any physical obstructions between them (e.g., spiderwebs, dust, debris). 2. Ensure both sensors are perfectly aligned; the indicator lights on both should be on and steady (not flickering or off). Gently adjust their position if needed until the lights are solid. 3. Clean the sensor lenses with a soft, clean cloth.
Prevention: Regularly inspect and clean your safety sensors, and ensure nothing is stored in their path that could block the invisible beam. Periodically check that they haven't been bumped out of alignment.
Garage door opener doesn't respond to remote control or wall button (no power/lights)
Solution: 1. Check if the opener is securely plugged into a working electrical outlet. 2. Verify that the circuit breaker for the garage or the specific outlet hasn't tripped; reset it if necessary. 3. For the remote control, replace the battery with a fresh one, ensuring it's the correct type specified in your opener's manual.
Prevention: Keep spare batteries for your remote control. Periodically test the wall button and ensure the opener's power cord remains securely plugged in.
Loud, unusual noises (grinding, squeaking, rattling) when the door opens or closes
Solution: 1. Disconnect power to the opener first for safety. 2. Inspect the door rollers for wear, damage, or rust; replace any faulty rollers. 3. Check the chain or belt drive for proper tension; refer to your opener's manual for specific adjustment instructions. 4. Apply a garage door-specific lubricant (not oil or WD-40) to the rollers, hinges, and springs. Do NOT lubricate the tracks themselves. 5. Tighten any loose nuts or bolts on the opener unit or the door's hardware using the appropriate screwdriver or wrench.
Prevention: Regularly lubricate all moving metal parts of your garage door (rollers, hinges, springs) with a proper garage door lubricant every 3-6 months. Periodically check for and tighten any loose hardware.
Garage door remote control won't program or frequently loses its programming
Solution: 1. Refer to your specific garage door opener's instruction manual for the exact programming steps; these can vary significantly by brand and model. 2. Ensure you are pressing the 'Learn' or 'Smart' button on the opener unit for the correct duration, then pressing the desired button on your remote within the specified time frame. 3. Try replacing the remote battery with a fresh one again, as sometimes new batteries can be faulty. 4. Stand closer to the opener unit during programming to ensure a strong signal.
Prevention: Keep your opener's manual in a safe, accessible place. Avoid dropping the remote, as physical damage can affect its functionality. If the issue persists, the remote or opener's logic board might be failing.
Stripped screw heads or overtightened bolts
Solution: If a screw head is stripped, try using a slightly larger flathead screwdriver, vice grips, or a specialized screw extractor kit to remove it. If a bolt is overtightened and has damaged its threads, it will likely need to be replaced along with its corresponding nut.
Prevention: Always use the correct size and type of screwdriver (e.g., Phillips for Phillips screws) or wrench for bolts. When tightening fasteners, apply firm but reasonable pressure; stop when snug to avoid stripping threads or damaging components.
Frequently Asked Questions
Can I get DIY guidance for garage door opener repair?
Repairing a garage door opener, especially when it involves inspecting or working with the door's cables, rollers, or drive mechanisms, is classified as a high-risk structural project. Due to the significant safety hazards, including potential for severe injury or death from falling doors or tensioned components, it is strongly recommended to consult a licensed professional for all repairs.