Fix a Water Heater: No Hot Water Troubleshooting
About This Project
This project details how to troubleshoot a water heater that isn't producing hot water. The first step is to turn off both the power and water supply to the water heater. If you are replacing the heating element, drain the water heater tank. Next, test the heating element using a multimeter set to measure resistance(ohms). Touch one lead of the multimeter to each of the screw terminals where the wires connect to the element. If the reading is between 10 and 30 ohms, the heating element is not faulty. An OL reading indicates that the element needs to be replaced.
Best for experienced DIYers and homeowners with some experience. Requires access to electrical panel and access to electrical panel.
Tools & Materials
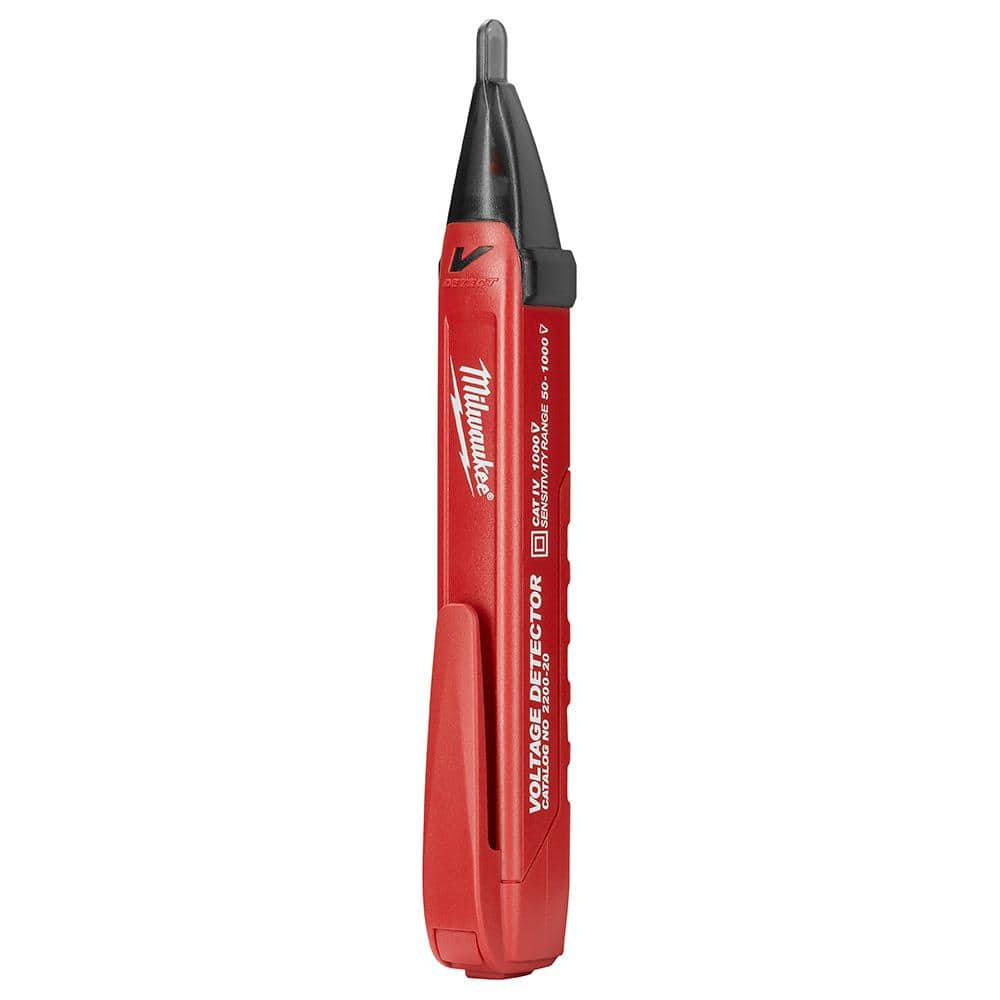
Milwaukee Non-Contact Voltage Tester 2202-20

Adjustable Wrench
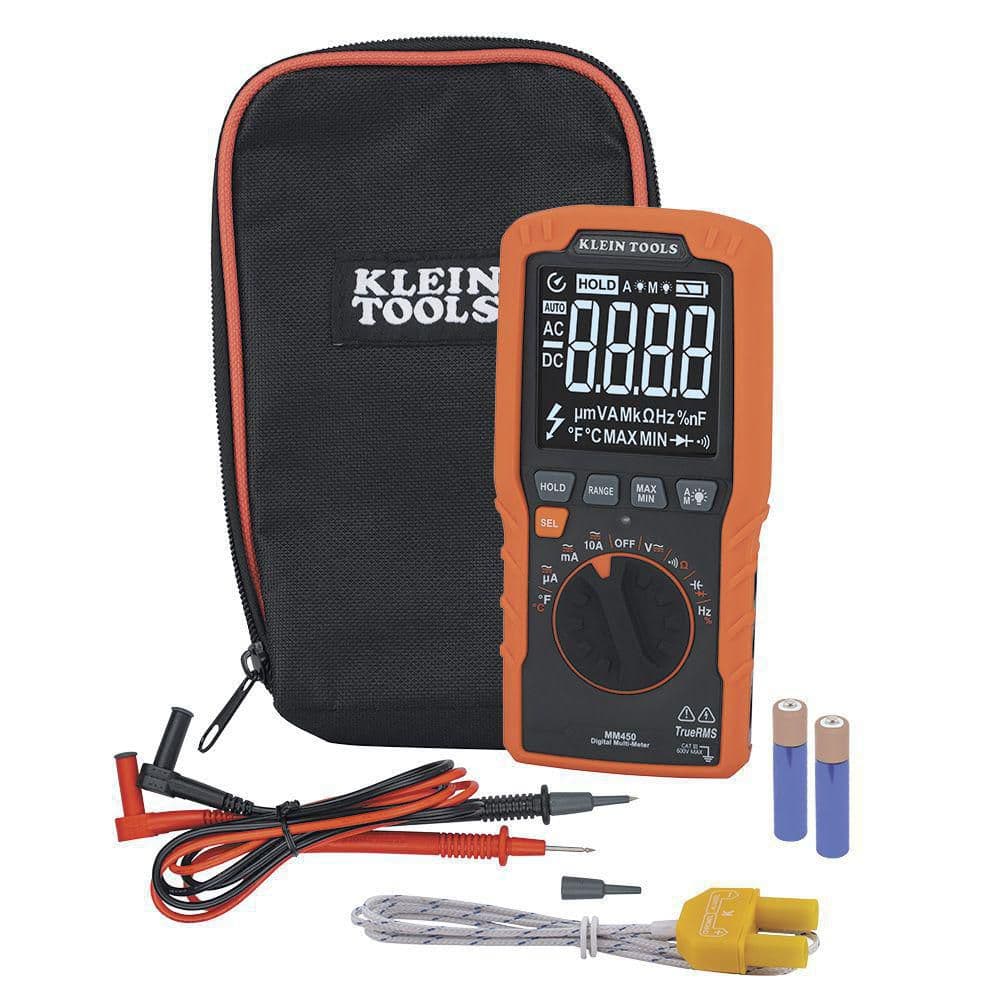
Klein Tools Slim Digital Multimeter, TRMS Auto-Ranging, 600-Volt, Temp MM450
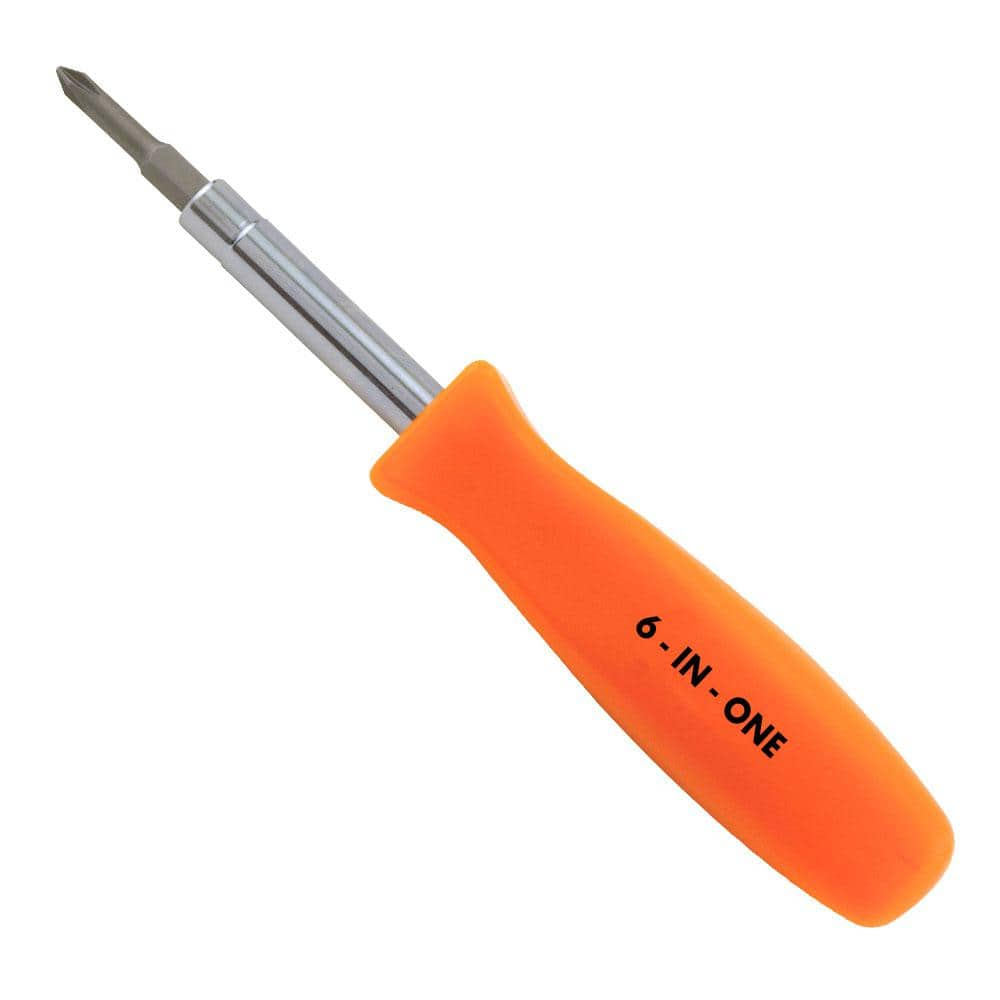
HDX 3-1/4 in. 6-in-1 Screwdriver 120SD12D
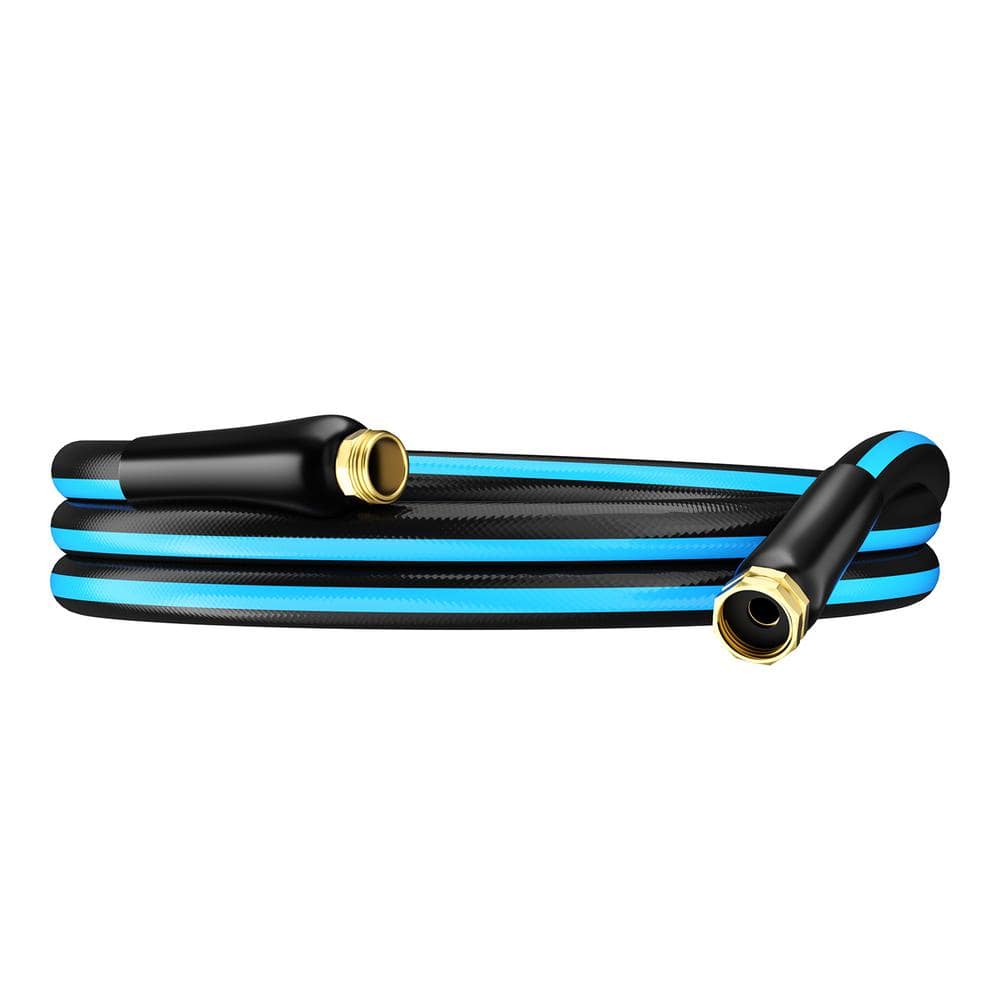
GardenJoy PVC Garden Hose 5/8 in. x 25 ft. Heavy-Duty Durable Hose Outdoor Water Hose LG-GHB5825
Milwaukee Non-Contact Voltage Tester 2202-20
The Milwaukee 2202-20 Voltage Detector with LED is used for residential, commercial and industrial applications. The 2202-20 can detect between 50 and 1000-Volt AC and has an industry leading safety rating
Adjustable Wrench
Fits various nut and bolt sizes with its adjustable jaw.
Klein Tools Slim Digital Multimeter, TRMS Auto-Ranging, 600-Volt, Temp MM450
Klein Tools MM450 Multimeter is a TRMS auto-ranging slim multimeter that measures AC/DC voltage, AC/DC current, and resistance. It can also measure temperature, capacitance, frequency, duty-cycle, and
HDX 3-1/4 in. 6-in-1 Screwdriver 120SD12D
The HDX 3-1/4 in. 6-in-1 Screwdriver features double-sided bits with the four most common screwdriver tip styles, including a #1 Phillips bit, a #2 Phillips bit, a 3/16 in. flathead bit and a 1/4 in. flathead bit. Both ends of the shaft can be used as 1/4 in. nut drivers when the bits are removed, offering convenient, versatile use. The high-visibility orange handle makes the handy tool easy to find on a job site or in a toolbox.
GardenJoy PVC Garden Hose 5/8 in. x 25 ft. Heavy-Duty Durable Hose Outdoor Water Hose LG-GHB5825
Lightweight and Flexible: Made from premium PVC, our garden hose is both lightweight and durable, allowing for easy handling without kinks or tangles, ideal for all your watering and cleaning needs. Durable
Steps
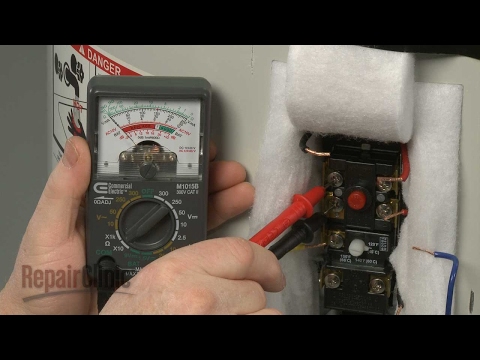
Power and Water Shut-Off: Prioritize Safety
5 minsBegin by turning off the power to your electric water heater at the circuit breaker. Use a non-contact voltage tester to confirm the power is off. Then, shut off the cold water supply valve located on the top of the water heater.
Watch: Shut Off Power
Heating Element Test: Diagnosing the Problem
5 minsUse a multimeter to test the heating element(s). Set the multimeter to ohms. Touch one lead to each terminal of the element. Readings between 10 and 30 ohms (often 12, 16, or 18) indicate a good element. An 'OL' (open line) reading means it's faulty and needs replacement.
Watch: Test Element with Multimeter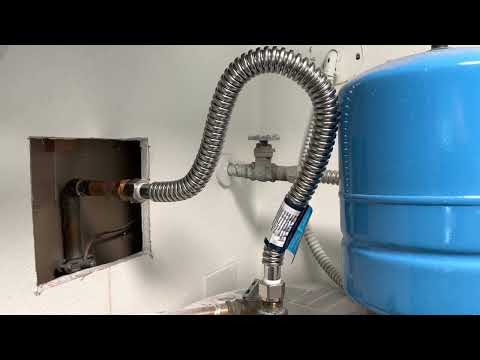
Draining the Water Heater (If Replacing Element)
30 minsIf your heating element is faulty, drain the water heater before replacing it. Attach a hose to the drain valve at the bottom of the tank and run the other end outside to a drain. Open the drain valve and a hot water faucet to speed up drainage.
Watch: Drain the Water Heater
Common Problems
Electrical issues or no power
Solution: Double-check all connections and follow the installation steps carefully.
Prevention: Ensure the power is OFF before disconnecting any wires to the heating element.
Temperature regulation issues
Solution: If the valve is difficult to turn, use a wrench, but be careful not to overtighten.
Prevention: The water will be hot. Be careful.
Frequently Asked Questions
What are the most critical safety precautions I need to take before starting this water heater troubleshooting project?
The absolute first steps are to turn off the power to the water heater at your electrical panel and shut off the cold water supply valve to the tank. Always use a non-contact voltage tester to confirm the power is off at the element terminals before touching any wires to prevent electrical shock. This prioritization of safety prevents serious injury or property damage.
Do I really need a multimeter for this project, and how does it help diagnose the problem?
Yes, a multimeter is essential for accurately diagnosing if the heating element is faulty. You'll set it to measure resistance (ohms) and touch the leads to the element's screw terminals. A reading between 10-30 ohms indicates the element is likely good, while an "OL" (Open Line) reading means it's broken and needs replacement.
When do I need to drain the entire water heater tank, and when is it not necessary?
You only need to drain the water heater tank if you determine the heating element is faulty and you plan to replace it. If you are just performing the diagnostic test on the element and it proves to be functional, there is no need to drain the tank. Draining can add significant time to the project, so avoid it if not necessary.
My multimeter displayed "OL" when I tested the heating element; what does this signify, and what's my next step?
An "OL" (Open Line) reading on your multimeter indicates that the heating element has an open circuit, meaning it's faulty and needs to be replaced. Your next step is to proceed with draining the tank, disconnecting the old element, and installing a new one. Be sure to purchase a replacement element that matches your water heater's specifications.
Is this project truly suitable for a beginner, and what might make it take longer than the estimated 3 hours?
Yes, this troubleshooting process is beginner-friendly because it involves clear, sequential steps and diagnostic testing. However, the 3-hour estimate assumes straightforward access and no complications. Factors like rusted parts, difficulty in draining, or needing to run to the store for a replacement element could extend the project time.
What is a common mistake beginners make when testing water heater heating elements?
A common mistake is not fully confirming the power is off to the water heater before testing, or misinterpreting multimeter readings. Always double-check with your non-contact voltage tester after flipping the breaker, and ensure your multimeter is set correctly to resistance (ohms) before testing the element. Incorrect testing can lead to misdiagnosis or safety hazards.