Troubleshooting & Fixing a Non-Working Hot Water Heater
About This Project
This DIY project guide demonstrates how to troubleshoot and fix a hot water heater that's not working. The steps cover both electric and gas water heaters. Key steps include turning off the power and water supply, inspecting the heating element (electric) or igniter and burner assembly (gas), testing components with a multimeter (electric) or visually (gas), and replacing any faulty parts. Safety precautions are emphasized throughout, including turning off power and water before starting work.
Best for advanced DIYers and professionals. Requires access to electrical panel.
Tools & Materials
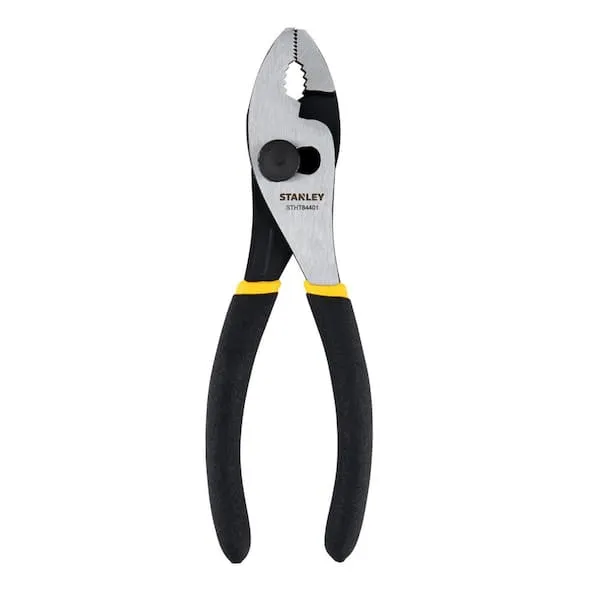
Pliers
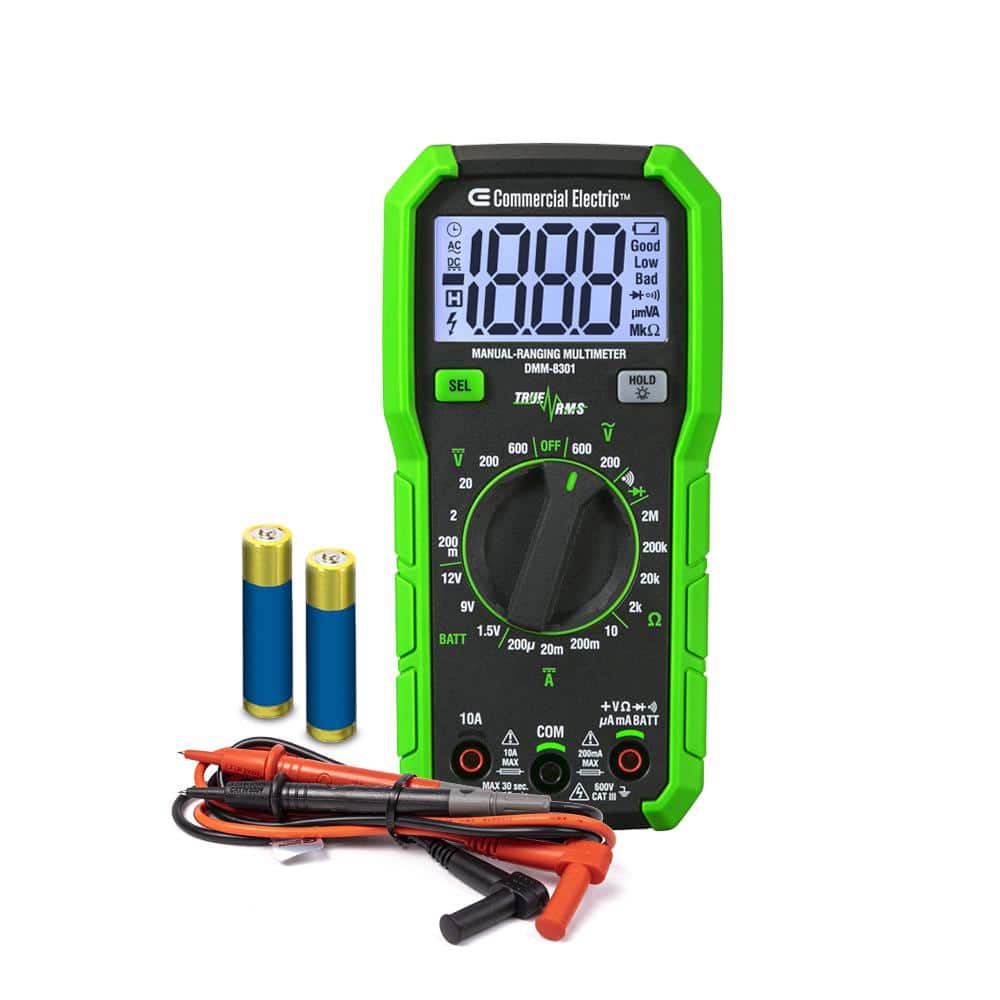
Commercial Electric 600-Volt True RMS Manual-Ranging Digital Multimeter DMM-8301
Pliers
Grips and manipulates objects.
Commercial Electric 600-Volt True RMS Manual-Ranging Digital Multimeter DMM-8301
The Commercial Electric 600-Volt True RMS Manual-Ranging Digital Multimeter (DMM-8301) is a True RMS manual-ranging multimeter known for its durable construction and rubberized shell, ensuring both reliability
Steps

Safety First: Power and Water Shut-Off
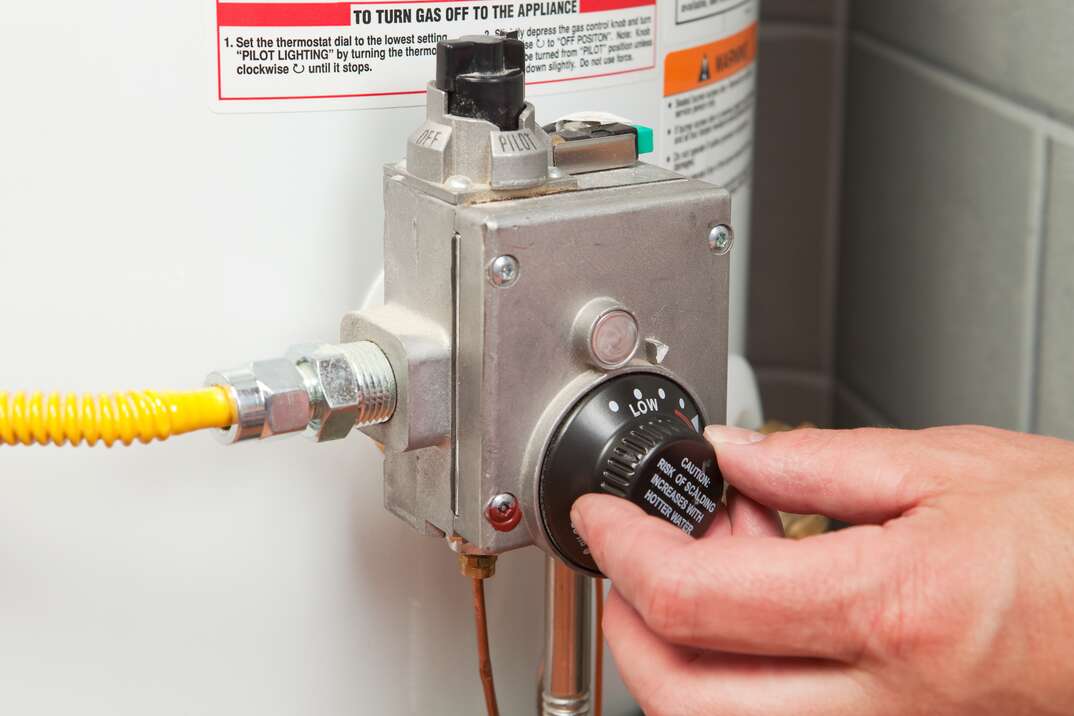
5 minsBegin by prioritizing safety. Turn off the power to your water heater at the circuit breaker. For gas water heaters, turn the gas control knob to the 'Off' position. Then, turn off the cold water supply valve located at the top of the heater to prevent water flow.
Watch: Turn Off the Water Heater
Inspect and Test Heating Element (Electric) or Gas System
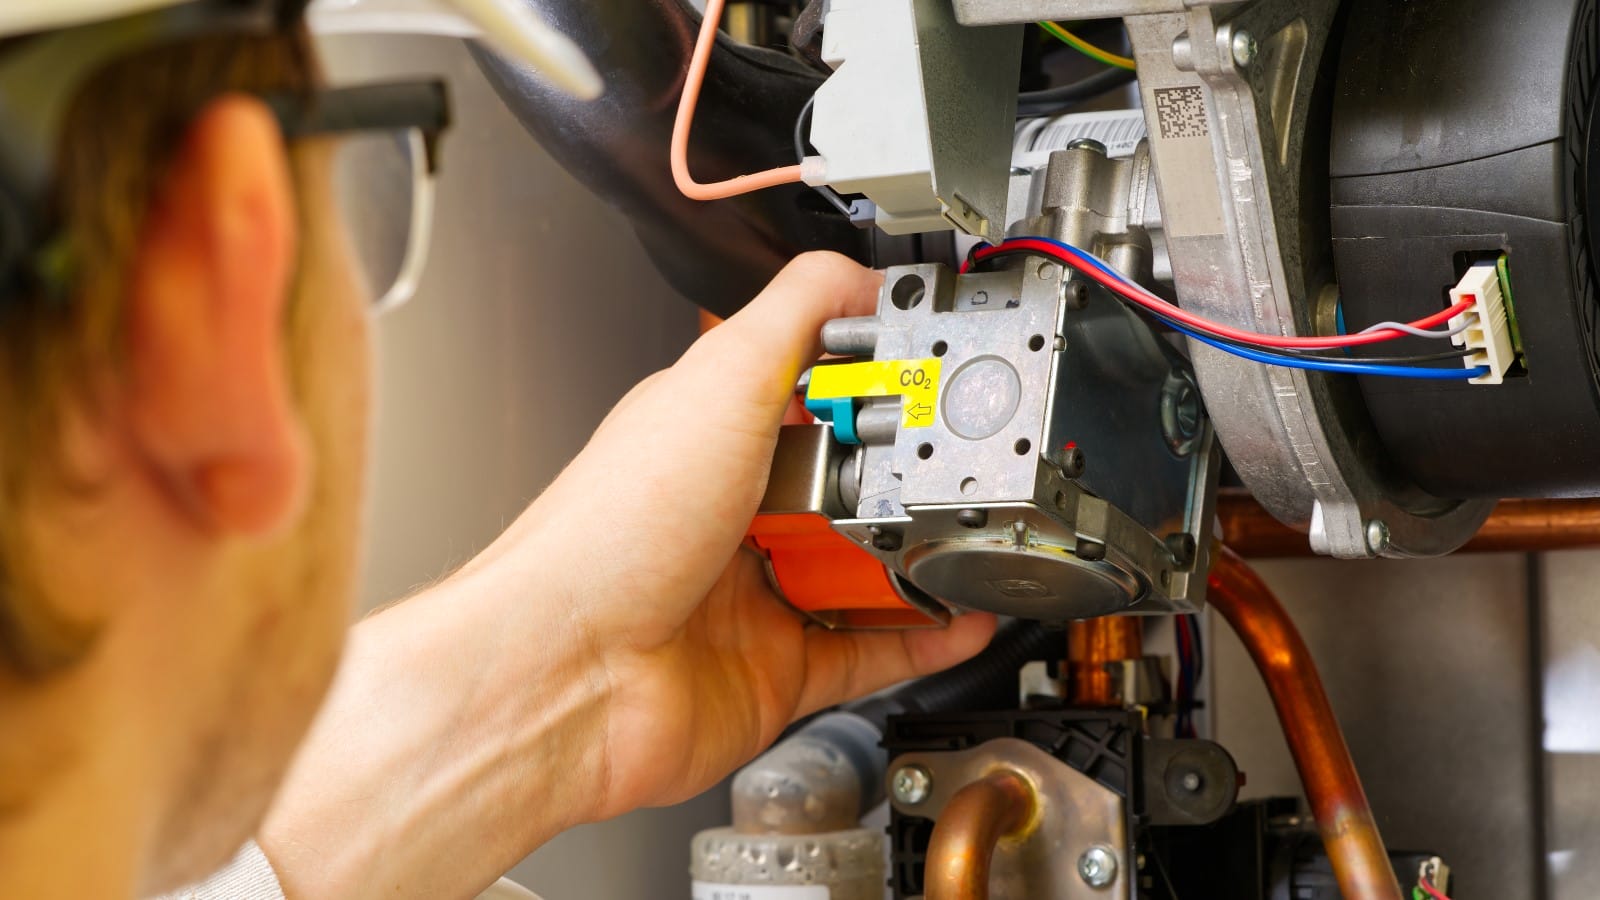
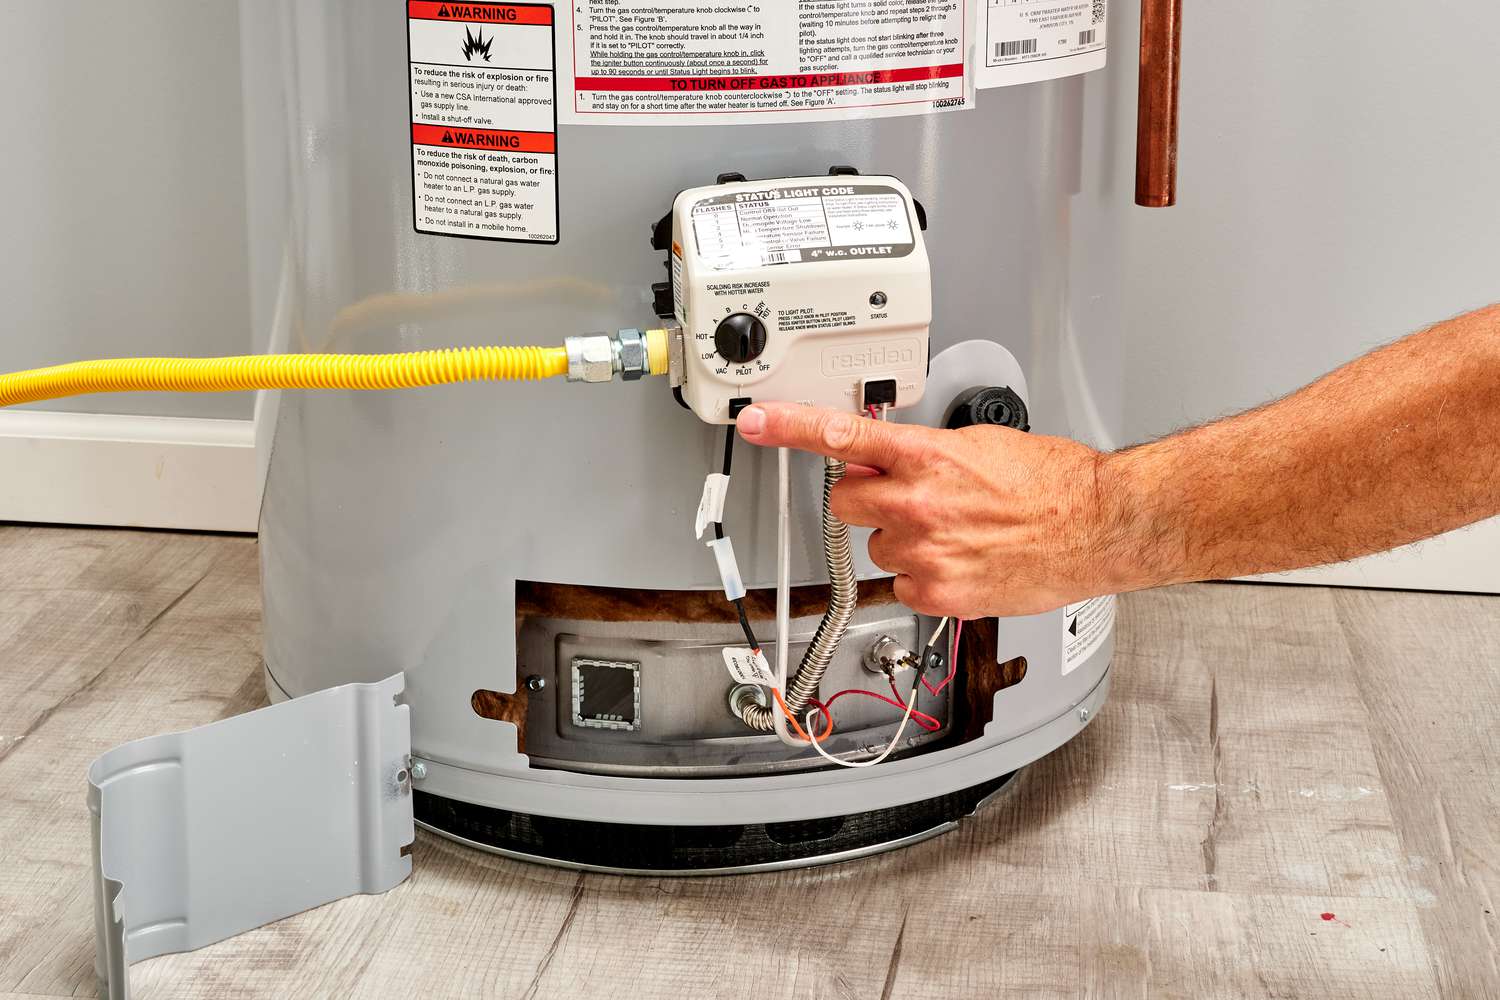
5 minsFor electric water heaters, carefully test the heating element using a multimeter. Check for continuity; a reading between 10 and 30 ohms typically indicates a functional element. If faulty, replace it following manufacturer's instructions. For gas water heaters, inspect the igniter and burner assembly, checking for any visible damage or obstructions. Replace any defective components.
Watch: Check Elements (Continuity)
Common Problems
Water leaking after installation
Solution: Double-check all connections and follow the installation steps carefully.
Prevention: For gas water heaters, ensure proper ventilation and check for gas leaks before relighting the pilot.
Electrical issues or no power
Solution: Double-check all connections and follow the installation steps carefully.
Prevention: Double-check that the power is off by trying a nearby outlet.
Frequently Asked Questions
Before I start, what are the absolute first safety steps I must take when troubleshooting my hot water heater?
Always begin by turning off the power to your water heater at the breaker box for electric models, or shutting off the gas supply and turning the thermostat to "Vacation" or "Off" for gas models. Next, turn off the cold water supply valve leading to the heater to prevent water flow. This ensures your safety from electrical shock, gas leaks, or scalding water.
The project says 'beginner' and '3 hours.' Is that realistic for someone who's never done this before?
While the troubleshooting steps are designed for beginners, replacing parts like a heating element or igniter might require a bit more comfort with basic tools. The 3-hour estimate is typically for diagnosing and replacing a common faulty component. If you encounter unexpected issues or need to drain the entire tank, the project could take longer.
Do I really need a 'Commercial Electric 600-Volt True RMS Manual-Ranging Digital Multimeter DMM-8301' for this project, or can I get by without one?
For electric water heaters, a multimeter is essential for safely testing heating elements and thermostats for continuity and resistance. While the specific model listed is recommended for its reliability, any digital multimeter capable of measuring ohms and volts will work. For gas models, visual inspection is often key, but a multimeter can still be useful for testing certain electrical components.
My electric water heater isn't producing hot water at all. What's the most likely culprit I should check first after ensuring power is off?
The most common causes for an electric water heater to stop heating are a tripped high-limit reset button or a failed heating element. First, check for a red reset button, usually on the upper thermostat, and press it if popped. If that doesn't resolve it, use your multimeter to test the heating elements for continuity; a lack of continuity indicates a faulty element that needs replacement.
If my gas water heater isn't producing hot water, where should I start looking after confirming the gas supply is on?
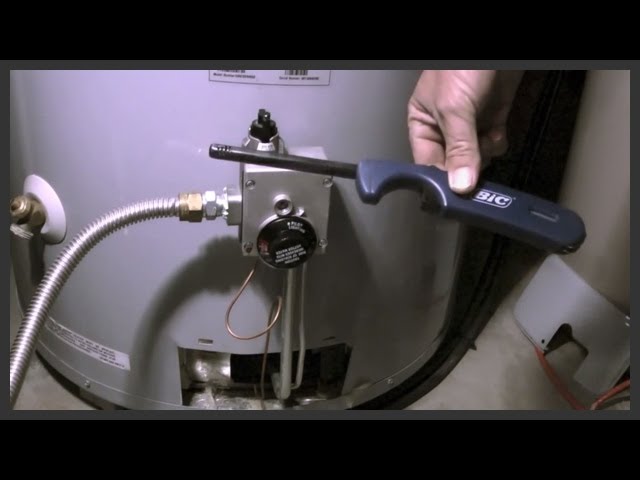
For gas water heaters, a common issue is a pilot light that has gone out or a faulty thermocouple/thermopile. Check the pilot light first and attempt to relight it according to your unit's instructions. If it won't stay lit, the thermocouple, which senses the pilot flame, likely needs to be replaced as it may no longer be sending the signal to keep the gas valve open.
At what point should I stop troubleshooting and call a professional plumber or HVAC technician?
You should call a professional if you're uncomfortable working with electricity or gas, if you smell gas (evacuate immediately!), or if your troubleshooting efforts don't identify a clear problem after checking the common culprits. Also, if you discover major leaks from the tank itself, or suspect issues with the main gas control valve, it's best to defer to an expert for safety and proper repair.