Epoxy Floor Coating
About This Project
Outline for applying an epoxy floor coating to a concrete surface, typically in a garage or basement. This involves preparing the surface, mixing and applying the epoxy, and allowing it to cure.
Tools & Materials

HDX Giant Commercial Corn Broom 750
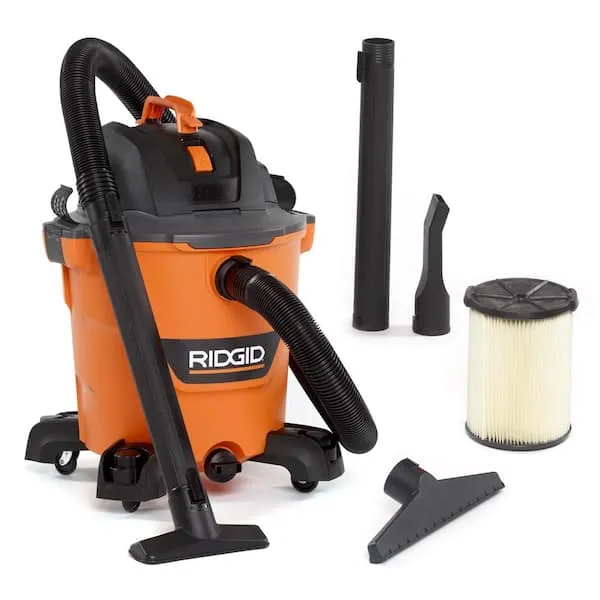
Shop Vacuum
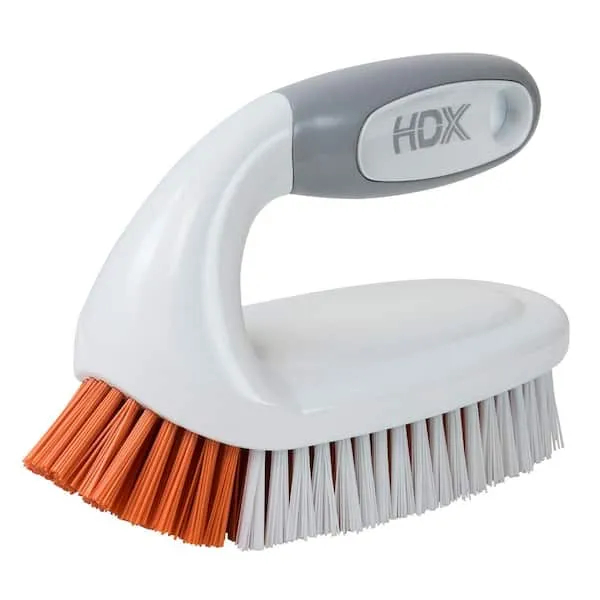
Scrub Brush
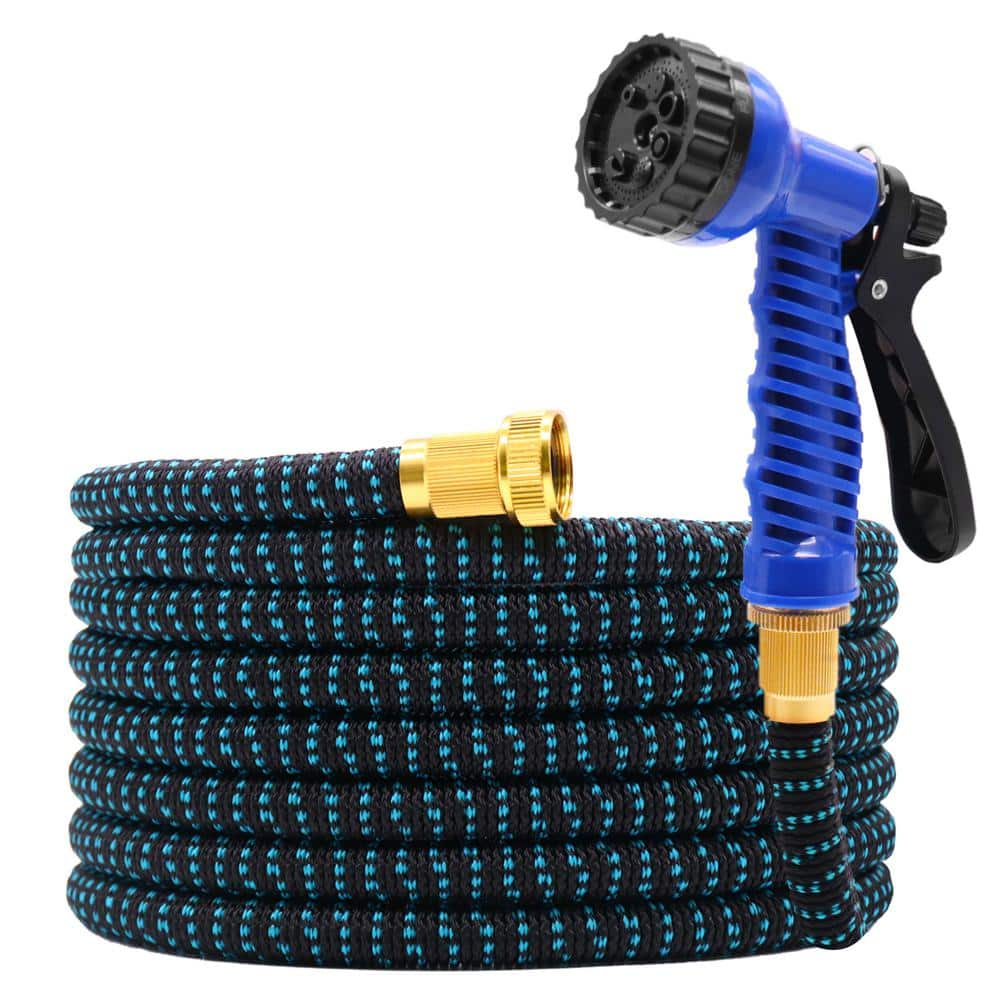
GardenJoy Expandable Garden Hose 3/4 in. x 50 ft. with 7 Function Spray Nozzle Magic Hose GEHBM50
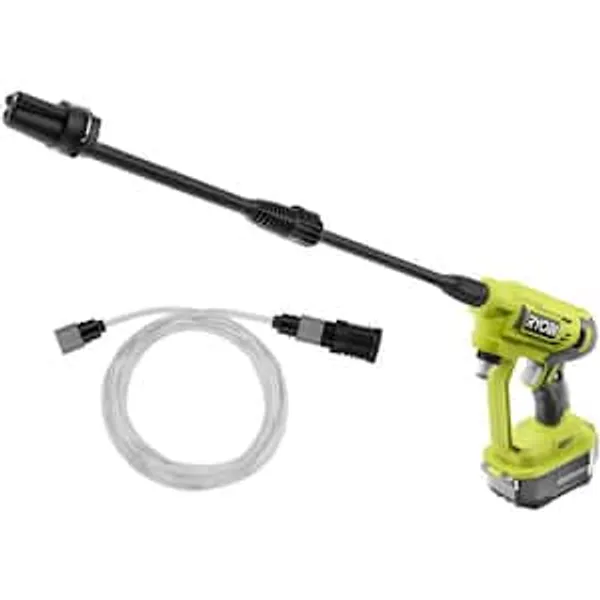
Pressure Washer
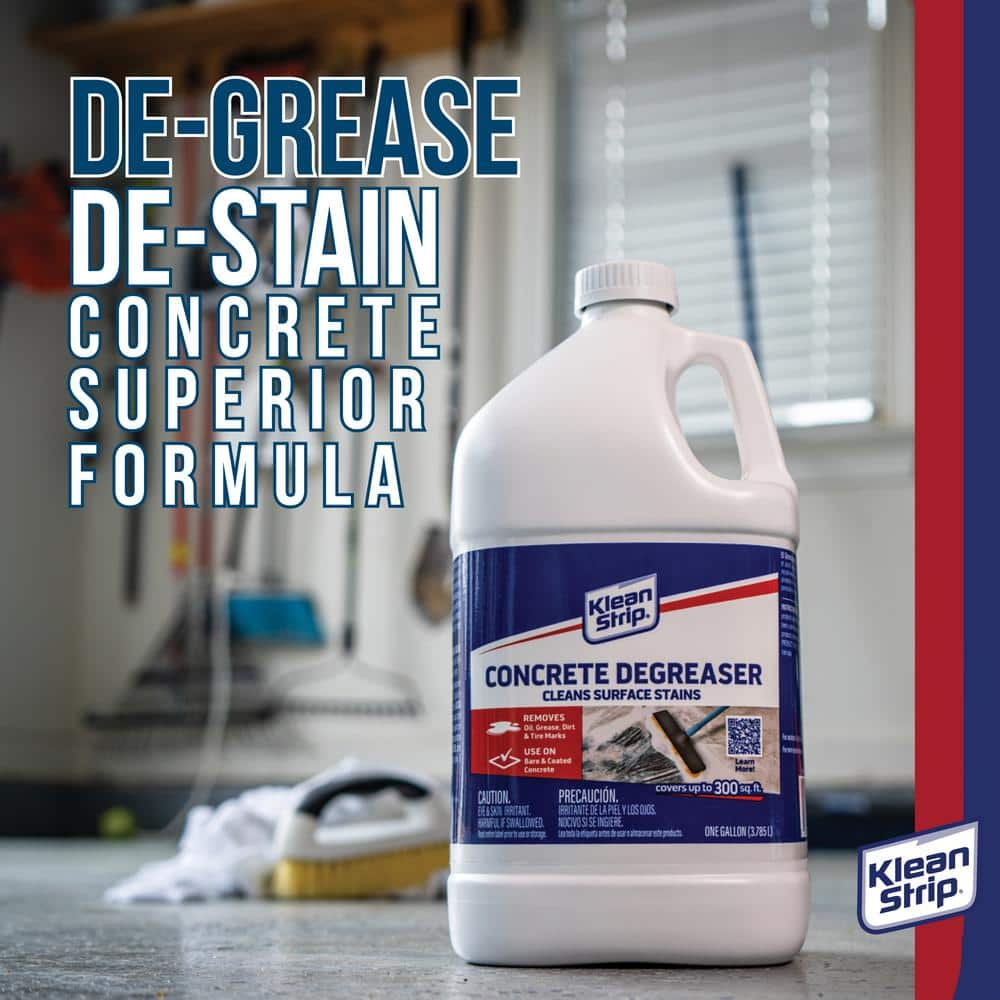
Klean-Strip 1 gal. Liquid Concrete Degreaser, Cleans Surface Stains Removes Oil, Grease and Dirt on Concrete Unscented (1-Pack) GKCD755
HDX Giant Commercial Corn Broom 750
This Giant Commercial Corn Broom is a premium, heavy-duty corn broom with exceptional fiber weight that picks up dirt and dust effectively. It offers an extra wide 15 in. sweep path, creating a larger
Shop Vacuum
Cleans workshop mess efficiently.
Scrub Brush
Tackles tough stains with stiff bristles.
GardenJoy Expandable Garden Hose 3/4 in. x 50 ft. with 7 Function Spray Nozzle Magic Hose GEHBM50
A expandable hose suitable for multiple purposes: Garden hose comes with 1 in. x 50 ft. Garden Hose, 1 x Water Hose Nozzle. Easy to store on the provided hanger or in the custom drawstring bag. Great for house/car/floor/yard washing, garden watering, pet cleaning, having fun or business use.
Pressure Washer
Cleans surfaces with high-pressure water.
Klean-Strip 1 gal. Liquid Concrete Degreaser, Cleans Surface Stains Removes Oil, Grease and Dirt on Concrete Unscented (1-Pack) GKCD755
Clean surface stains by removing oil, grease, dirt, and tire marks with Kelan-Strip Concrete Degreaser. Use on bare or coated, interior or exterior concrete. Do not use on raw wood, ceramic tile, polished
Steps

Clean the Concrete Floor
180 minutesBegin by sweeping or vacuuming the entire concrete surface to remove loose debris. For any stubborn grease or oil stains, apply a concrete degreaser according to the product's instructions, scrub with a stiff-bristled brush, and rinse thoroughly. If the concrete has old paint or sealers, these may need to be mechanically removed in a later step. Ensure the floor is completely dry before proceeding.
Watch: Clean and Degrease Concrete Surface
Etch the Concrete Surface
120 minutesIf using an etching solution, follow the manufacturer's instructions carefully. Usually, this involves diluting the solution, spreading it over the damp concrete, allowing it to foam for a specified time, scrubbing it in, and then rinsing thoroughly with clean water until all etching solution residue is removed. If mechanical grinding, use a diamond grinder with appropriate dust collection. The goal is to open the pores of the concrete, creating a surface similar in texture to 100-grit sandpaper.
Watch: Apply Etch and Scrub
Repair Cracks and Pits
60 minutesCarefully examine the entire floor for any imperfections. Wider cracks may need to be widened slightly with a chisel or grinder to ensure the patching material can get a good grip. Mix the concrete patching compound or epoxy filler according to the manufacturer's directions and apply it to the damaged areas, smoothing it flush with the surrounding concrete surface. Allow repairs to cure completely as per the product instructions.
Watch: Patch and Repair Concrete Cracks
Prime the Concrete (if recommended)
90 minutesSome epoxy floor coating systems recommend or require a specific primer for optimal performance and adhesion. Read your epoxy kit's instructions carefully. If a primer is required, mix it according to the manufacturer's instructions and apply a thin, even coat to the entire concrete surface using a roller or squeegee. Allow the primer to dry to the stage specified by the manufacturer (often tacky, not fully cured).
Watch: Mixing and Applying the Primer
Mix the Epoxy Coating
20 minutesEpoxy coatings are typically a two-part system (Part A and Part B). It is critical to measure the components accurately by volume or weight as specified. Pour Part B into Part A (or vice-versa, as directed). Mix thoroughly with a drill equipped with a mixing paddle for the time recommended by the manufacturer (usually 2-3 minutes). Be sure to scrape the sides and bottom of the container to ensure all material is incorporated. Once mixed, the epoxy has a limited pot life, so have everything ready for application.
Watch: Mix the Epoxy Coating
Apply the Epoxy Coating
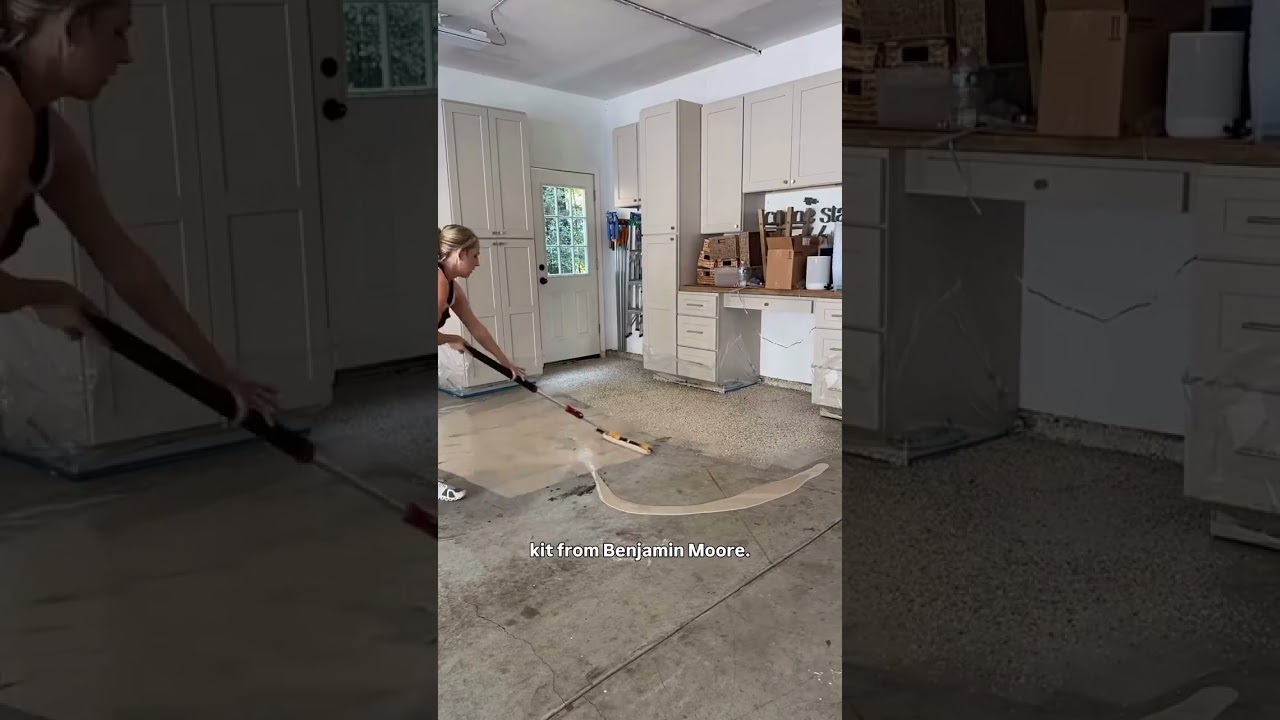
240 minutesStart by pouring a manageable amount of the mixed epoxy onto the floor, often along one edge of the work area. Use a squeegee to spread the epoxy evenly across the surface. Immediately follow with a high-quality, solvent-resistant roller to back-roll the epoxy, ensuring a consistent thickness and eliminating squeegee marks. Work in sections, maintaining a wet edge to avoid lap lines. If using decorative flakes, broadcast them into the wet epoxy immediately after rolling, as per the kit's instructions.
Watch: Spread and Roll Out Epoxy
Apply Topcoat (if applicable)
120 minutesSome epoxy systems benefit from or require a clear topcoat, such as a polyurethane or polyaspartic, for added scratch resistance, UV stability, or gloss. Follow the manufacturer's instructions for the curing time of the base epoxy before applying the topcoat. Mix and apply the topcoat using similar methods as the base epoxy (squeegee and roller), ensuring even coverage.
Watch: Mix and Apply Urethane Top Coat
Cure the Epoxy
168 minutesThis is a critical step. The epoxy needs time to fully harden and achieve its designed strength and chemical resistance. Follow the manufacturer's recommended cure times for light foot traffic (typically 24-72 hours) and for vehicle traffic or heavy load bearing (often 5-7 days or longer). Ensure the environment remains at the recommended temperature and humidity range during the curing process.
Watch: Allow Epoxy to CureCommon Problems
The epoxy coating is lifting, flaking, or peeling away from the concrete surface, sometimes in sheets, shortly after application or over time.
Solution: You'll need to remove the failing epoxy from the affected areas (e.g., by scraping or grinding). Then, thoroughly re-prepare that specific section: clean it with degreaser, etch it again, rinse well, and let it dry completely. Once the surface is ready, reapply the epoxy according to the instructions. For widespread failure, you may need to strip the entire floor and start over.
Prevention: Proper surface preparation is the most critical step. Ensure the concrete is completely free of all oil, grease, old paint, or sealers. Use a degreaser and consider grinding if there are stubborn contaminants. Follow the concrete etch instructions precisely, ensuring the floor feels like medium-grit sandpaper when dry. Perform a 'water test': sprinkle water on the concrete; it should soak in uniformly within 60 seconds. If it beads up, the surface isn't porous enough for the epoxy to bond properly, and more etching or mechanical preparation (like grinding) is needed.
The epoxy remains sticky, soft, or pliable hours or days after the recommended cure time, rather than becoming hard and durable.
Solution: If only small spots are tacky, you can sometimes encourage curing by gently applying heat (e.g., from a heat gun on a low setting, held at a safe distance). However, be careful not to overheat. For larger uncured areas, you will likely need to scrape or grind away the sticky epoxy, which can be very difficult. Once removed, clean the underlying concrete with a suitable solvent (like denatured alcohol, following all safety precautions) and then reapply new, properly mixed epoxy.
Prevention: Accurately measure the two parts of the epoxy (Part A and Part B) as specified by the manufacturer – guessing can lead to curing issues. Mix them very thoroughly for the recommended duration (often 3-5 minutes), making sure to scrape the sides and bottom of the mixing bucket with your stir stick to ensure all components are fully combined. Also, ensure the room and concrete slab temperature are within the manufacturer's recommended range during application and for the entire curing period, as cold temperatures are a common cause of incomplete curing.
Small air pockets (bubbles) or tiny holes (pinholes) appear on the surface of the cured epoxy, making it look uneven or rough.
Solution: For minor bubbles or pinholes, if the epoxy is fully cured, you can lightly sand the affected areas to smooth them out and then apply a very thin coat of topcoat or more epoxy. For severe bubbling, you might need to grind down the problematic sections and reapply the epoxy.
Prevention: Avoid mixing the epoxy too rapidly, which can whip air into the mixture. If your concrete is very porous, it can release trapped air (called outgassing) as the epoxy starts to cure; applying a thin primer coat (like Seal-Krete Lock-Down) can help seal the surface and reduce outgassing. Also, try to apply epoxy when the concrete temperature is stable or slightly decreasing (often later in the day) to minimize air expansion from rising concrete temperature. Some professionals use a spiked roller immediately after application to help release trapped air bubbles.
You experience skin redness, itching, burning, or eye irritation from contact with degreasers, etching acid, or epoxy chemicals.
Solution: Immediately stop work. If chemicals get on your skin, wash the affected area thoroughly with plenty of soap and water for at least 15-20 minutes. If chemicals get in your eyes, flush them with water for at least 15 minutes, holding eyelids open, and seek immediate medical attention. If you inhale fumes and feel unwell, move to fresh air and consult a doctor if symptoms persist.
Prevention: Always wear appropriate personal protective equipment (PPE): chemical-resistant gloves (heavy-duty latex or nitrile), safety glasses or goggles (like 3M Chemical Splash Goggles), long-sleeved shirts, long pants, and closed-toe shoes. Use respiratory protection (like an N95 mask for dust, or an organic vapor respirator for fumes) in well-ventilated areas, especially when mixing or applying epoxy. Have a source of clean water readily available for emergency rinsing.
You run out of epoxy coating material mid-application, leaving a section of your floor unfinished or with a visible seam.
Solution: If you run out mid-section, immediately stop and order more material. If possible, try to finish to a natural break point (like a doorway or edge) to minimize the visibility of seams. When the new material arrives, you may need to lightly sand the edge of the existing epoxy (if it's already cured) to help with adhesion before applying the new batch, blending carefully at the seam.
Prevention: Accurately measure your floor's square footage. Read the epoxy product's coverage rate carefully and purchase slightly more than your calculation (add 10-15% for waste, porous surfaces, or mistakes). It's always better to have a little left over. Apply the epoxy at the manufacturer's recommended thickness; applying it too thickly will consume more material than estimated.
The cured epoxy has visible lines, streaks, an uneven sheen, or differences in color, indicating inconsistent application.
Solution: For minor imperfections, a second, thin topcoat applied evenly over the entire surface might help to level out the appearance and even the sheen. For more pronounced streaks or unevenness, once the epoxy is fully cured, you might need to lightly sand the affected areas and then apply a new, thin layer of epoxy or topcoat over the entire surface to achieve a uniform finish.
Prevention: Ensure the epoxy is thoroughly mixed, especially if it's colored, to avoid pigment streaks. Apply the epoxy evenly using a squeegee to spread it out, then back-roll with a good quality, lint-free roller (e.g., 3/8-inch nap) in a consistent pattern. Work in small, manageable sections, maintaining a 'wet edge' as you move across the floor to prevent lap lines. Avoid pressing too hard on the roller or overworking the epoxy once it begins to set.
Frequently Asked Questions
Is a 3-day timeframe realistic for a beginner applying epoxy flooring, and what does it entail?
Yes, the 3-day estimate is realistic, but it includes significant drying and curing times, not just active work. Day 1 focuses on meticulous surface preparation (cleaning, repairs, etching), Day 2 on priming (if needed) and applying the epoxy, and Day 3 (and often beyond) is primarily for curing before light use. Rushing any step, especially prep or cure, can compromise the final result and durability.
How critical is surface preparation, and what are the key steps involved before applying epoxy?
Surface preparation is the most critical step for successful epoxy adhesion and longevity. It involves thoroughly cleaning to remove all dirt, oil, and grease using a degreaser. Next, the concrete needs to be etched or ground to create a proper profile for the epoxy to bond to. Finally, any cracks or pits must be repaired with a product like Rust-Oleum Concrete Patch, and the floor must be completely dry before application.
Do I really need specialized tools like a floor grinder, or is chemical etching sufficient for surface prep?
While chemical etching (like with Rust-Oleum Concrete Etch and Cleaner) can be sufficient for some porous or lightly soiled surfaces, a floor grinder (e.g., Tomahawk Power TGDR10) provides a superior profile for epoxy adhesion, especially on very smooth or previously sealed concrete. For optimal, long-lasting results, grinding is often recommended over etching alone. Renting a grinder might be a cost-effective option for better adhesion.
What safety precautions are essential when mixing and applying epoxy floor coatings?
Proper ventilation is crucial due to strong fumes; ensure all doors and windows are open and use fans to circulate air. Wear appropriate personal protective equipment, including chemical-resistant gloves, eye protection (safety glasses or goggles), and a respirator to protect against fumes. Always read and follow the safety guidelines on the product labels for both the epoxy and cleaning chemicals.
What are the most common mistakes beginners make when applying epoxy flooring, and how can they be avoided?
Common mistakes include improper mixing ratios of the two-part epoxy, exceeding the epoxy's 'pot life' (working time) before application, and insufficient surface preparation. To avoid these, carefully measure and mix components according to instructions, work in smaller batches if necessary to manage pot life, and dedicate ample time to thorough cleaning, etching/grinding, and repairing the concrete. Skipping the primer when recommended is also a common error.
How long does epoxy need to cure before I can walk on it or drive a vehicle on it?
Curing times vary by specific product and environmental conditions (temperature and humidity), but generally, you can walk on the epoxy floor in 24-48 hours. For full vehicle traffic or placing heavy objects, allow at least 5-7 days for the epoxy to achieve full hardness and chemical resistance. Always consult the specific manufacturer's instructions for precise cure times for your chosen ARMORPOXY or Rust-Oleum product.