Delta Shower Head Installation: A Step-by-Step Guide
About This Project
This project outlines the steps to install or replace a Delta shower head. The first step is to turn off the water supply to prevent accidents. Next, carefully remove the old shower head, clean the shower arm threads, and apply Teflon tape clockwise to the threads for a watertight seal. Then, install the new Delta shower head by screwing it onto the shower arm clockwise, hand-tightening it first and then using a wrench with cloth protection to avoid damage. Finally, turn the water back on slowly and check for leaks. If any leaks are found, tighten connections or reapply Teflon tape as needed. Once the installation is complete, test the water flow to ensure everything functions properly.
Best for homeowners and DIY enthusiasts.
Tools & Materials

Adjustable Wrench
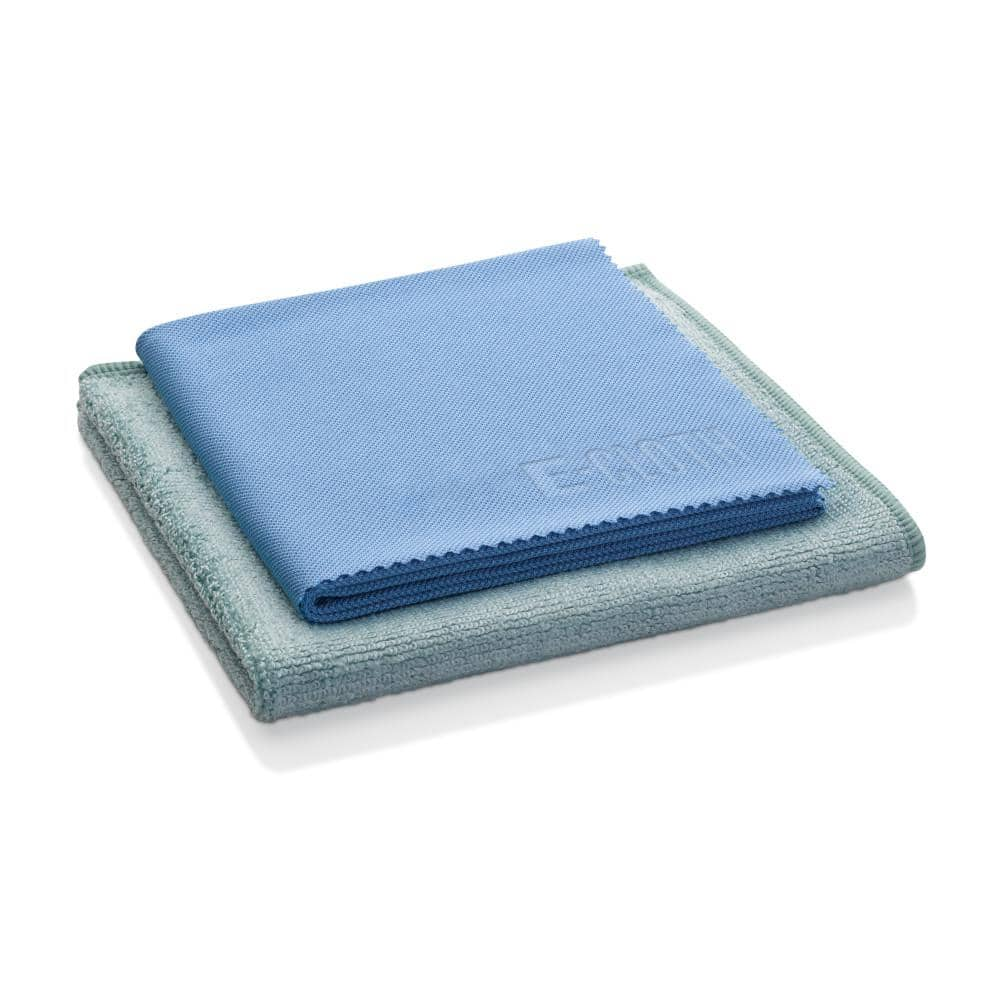
E-Cloth 20 in. x 16 in. Microfiber Kitchen Cleaning Kit 2 Cloth Set 10601M
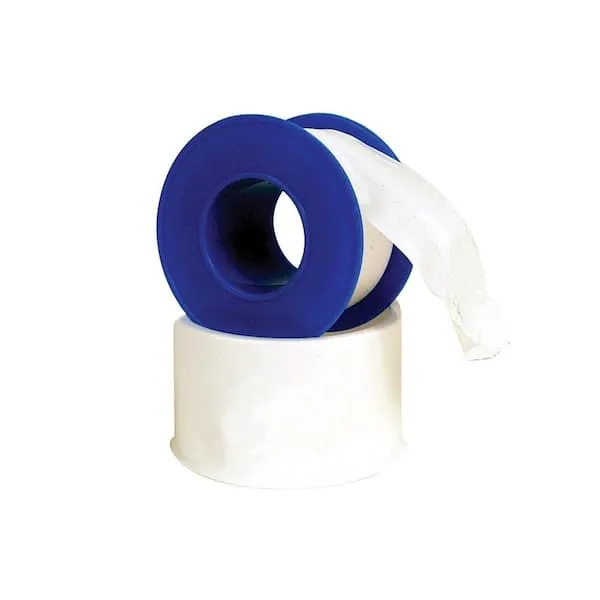
Teflon Tape
Adjustable Wrench
Fits various nut and bolt sizes with its adjustable jaw.
E-Cloth 20 in. x 16 in. Microfiber Kitchen Cleaning Kit 2 Cloth Set 10601M
The 2-piece E-Cloth Kitchen Cleaning Kit effortlessly keeps your kitchen looking like new from sink to stove, with premium microfiber that's appropriate for all surfaces. Use the Cleaning Cloth to wipe
Teflon Tape
Seals pipe threads without leaks.
Steps
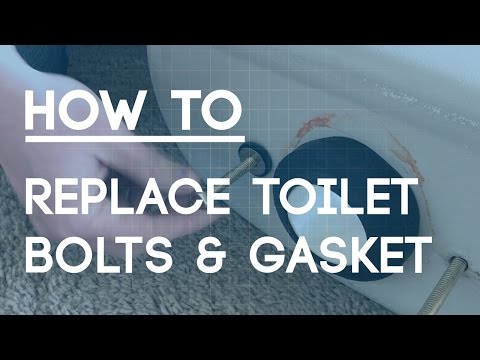

Remove the Old Shower Head
5 minsCarefully unscrew the old shower head by turning it counterclockwise. Use an adjustable wrench or pliers wrapped in a cloth to protect the finish if necessary. Clean the shower arm threads thoroughly with a cloth to remove any debris or old Teflon tape.
Watch: Remove Old Showerhead and Clean Threads


Test for Leaks and Final Checks
5 minsTurn the water supply back on slowly. Carefully inspect all connections for leaks. If any leaks are present, gently tighten the connection. If the leaks persist, remove the shower head, reapply Teflon tape, and reinstall. Check the water flow and ensure everything is working correctly.
Watch: Test for LeaksCommon Problems
Do not over-tighten the showerhead. Hand-tight plus a small turn with a wrench is sufficient. Over-tightening can crack the connector.
Solution: To avoid this issue: Be mindful of this warning and take appropriate precautions.
Scratched finish on a new showerhead due to direct wrench contact.
Solution: If you are concerned about scratching the new showerhead's finish, place a rag between the wrench and the fixture.
Do not over-tighten, as this can crack the showerhead or damage the threads.
Solution: To avoid this issue: Be mindful of this warning and take appropriate precautions.
Adjustable wrenches can scratch or mar the new showerhead's finish.
Solution: Use a cloth to protect the new showerhead's finish if using an adjustable wrench.
Scratched chrome shower arm from pliers.
Solution: Cover the pliers with a towel to avoid scratching the fixture.
Be very careful when unscrewing the original shower pipe. A lot of times the threads can break off inside the wall fitting, which are reasonably hard to get out.
Solution: To avoid this issue: Be mindful of this warning and take appropriate precautions.
Stuck shower arm won't unscrew.
Solution: To help loosen a stuck pipe, spray some penetrating oil like WD-40 into the fitting and let it work for a bit before attempting to unscrew it.
Frequently Asked Questions
What specific tools and materials are essential for installing a Delta shower head, besides the new head itself?
You'll definitely need an adjustable wrench to remove the old head and tighten the new one. Crucially, have Teflon tape on hand for a watertight seal, and a soft cloth (like a microfiber cleaning cloth) to protect the finish of your new Delta shower head when using the wrench.
What is the most important safety precaution to take before beginning to replace my Delta shower head?
The absolute most critical step is to turn off the main water supply to your shower or, if possible, to your entire home. This prevents unexpected water sprays or potential flooding once you start removing the old shower head from the arm.
My newly installed Delta shower head is leaking around the connection point. What's the first thing I should check?
A leak usually indicates an issue with the seal. First, ensure you applied enough Teflon tape (typically 3-5 wraps clockwise) and that it's seated properly. Then, gently tighten the connection further with your adjustable wrench, making sure to protect the finish with a cloth.
The project mentions 45 minutes for a beginner. Is this realistic for someone who has never installed a shower head before?
Yes, 45 minutes is a realistic estimate for a beginner, assuming you have all your tools ready and follow the steps. Most of the time is spent carefully removing the old head and ensuring a good, leak-free seal with the new one. Don't rush applying the Teflon tape.
How do I prevent scratching or damaging the finish of my new Delta shower head when tightening it with a wrench?
Always use a soft cloth, like a microfiber towel, between the adjustable wrench and the shower head's nut. This provides a protective barrier, preventing direct metal-on-metal contact that could mar the finish. Hand-tighten first, then use the wrench for a final snug fit.
Is cleaning the shower arm threads really necessary, or can I skip that step before applying Teflon tape for my Delta shower head?
Cleaning the shower arm threads is highly recommended and should not be skipped. Removing old Teflon tape residue, mineral deposits, or debris ensures the new Teflon tape can create a smooth, consistent, and watertight seal, preventing future leaks.