Ceiling Rain Shower Installation: A Comprehensive DIY Guide
About This Project
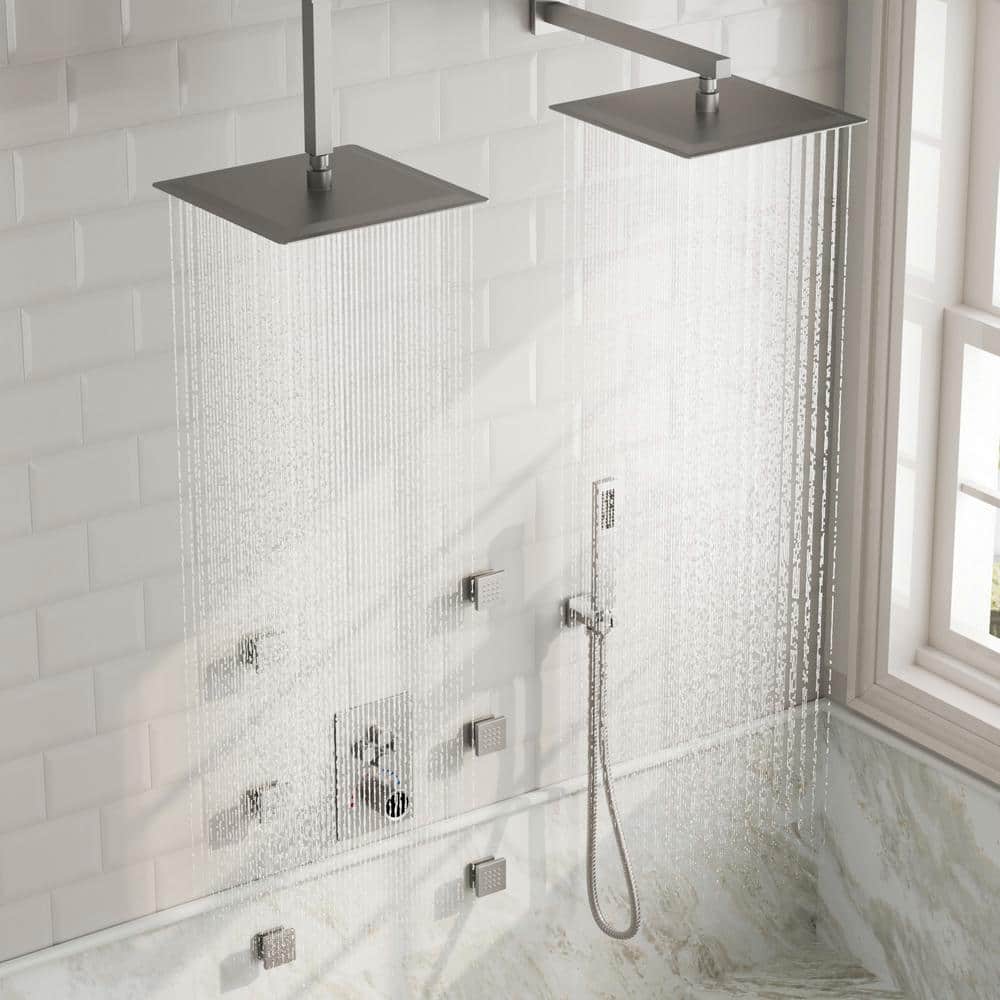
This DIY guide explains how to install a ceiling-mounted rain shower head. First, turn off the main water supply. Then, access the ceiling cavity above the shower and run new plumbing lines to the location of the shower head, ensuring proper slope for drainage. Install the ceiling shower head and all necessary fittings, making sure all connections are leak-free. Finally, repair and finish the ceiling to match the existing finish.
Best for advanced DIYers and professionals.
Tools & Materials
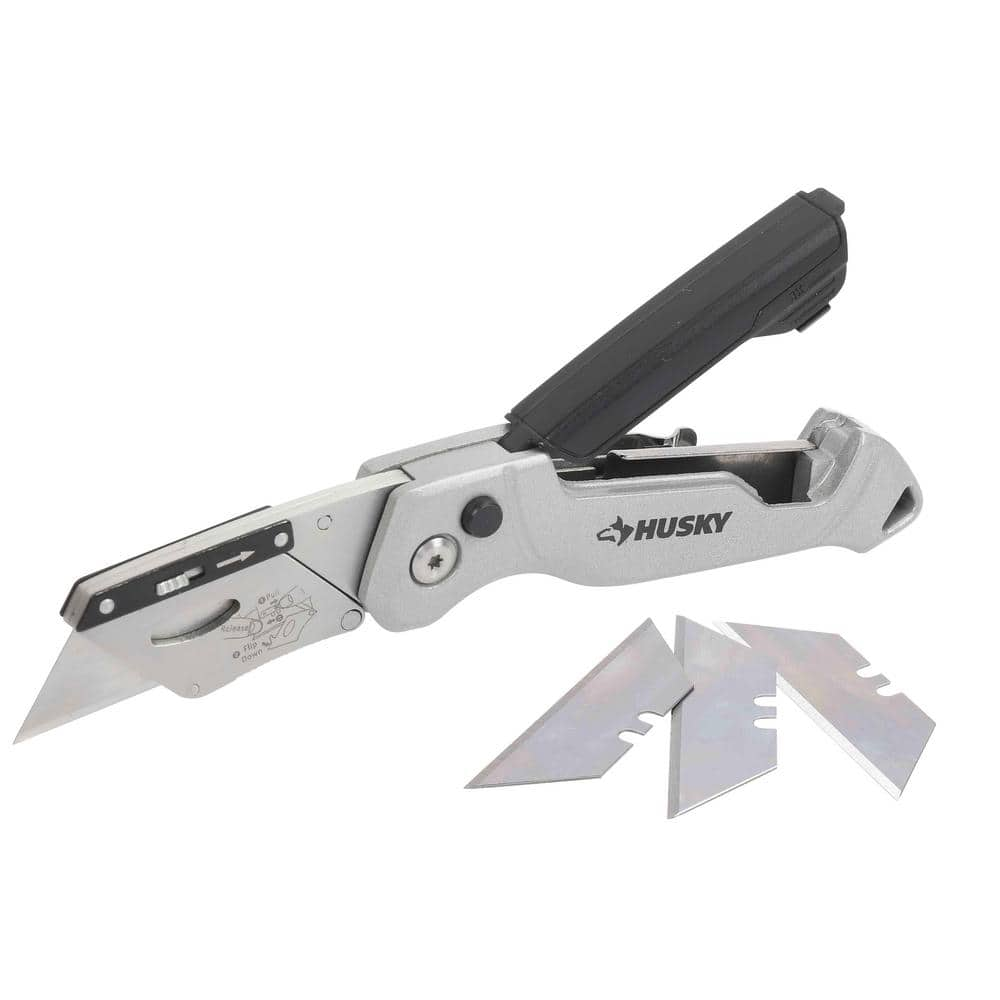
Husky Pro Utility Knife 00004
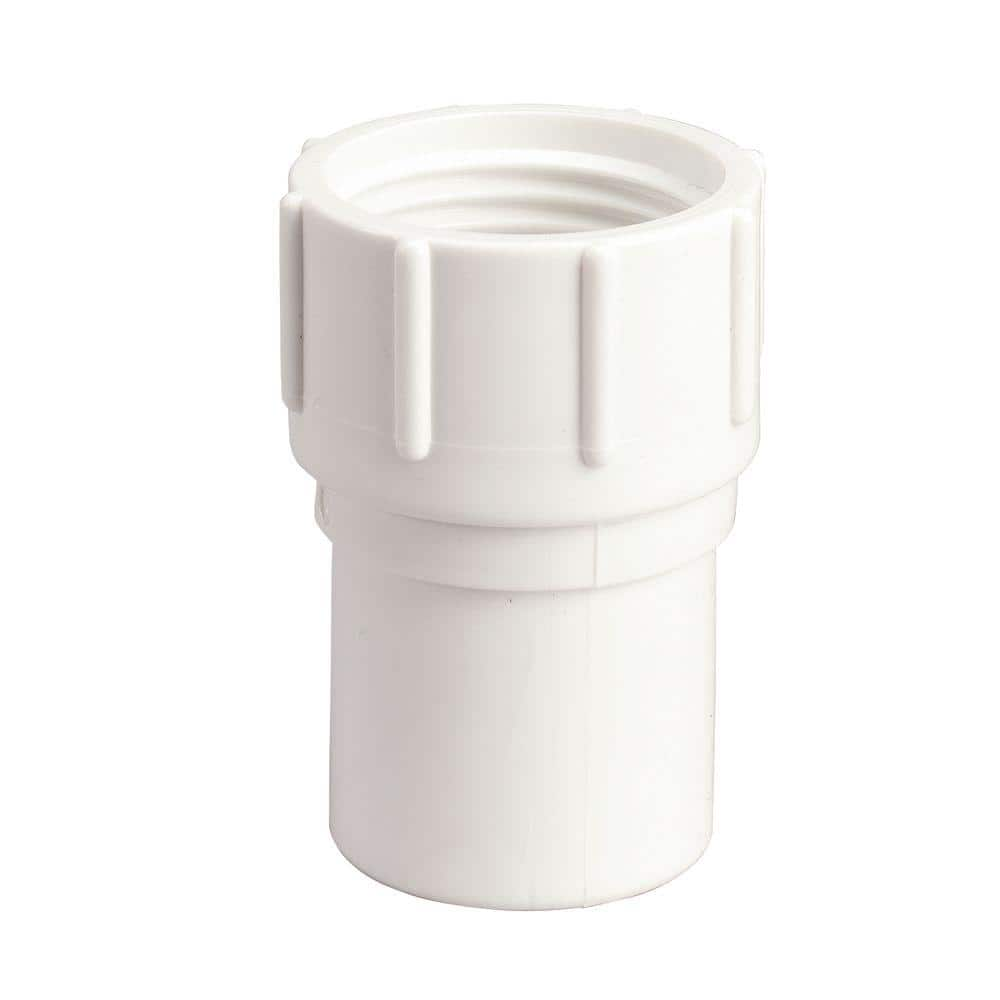
Orbit 1/2 in. Slip x 3/4 in. FHT PVC Fitting 53368
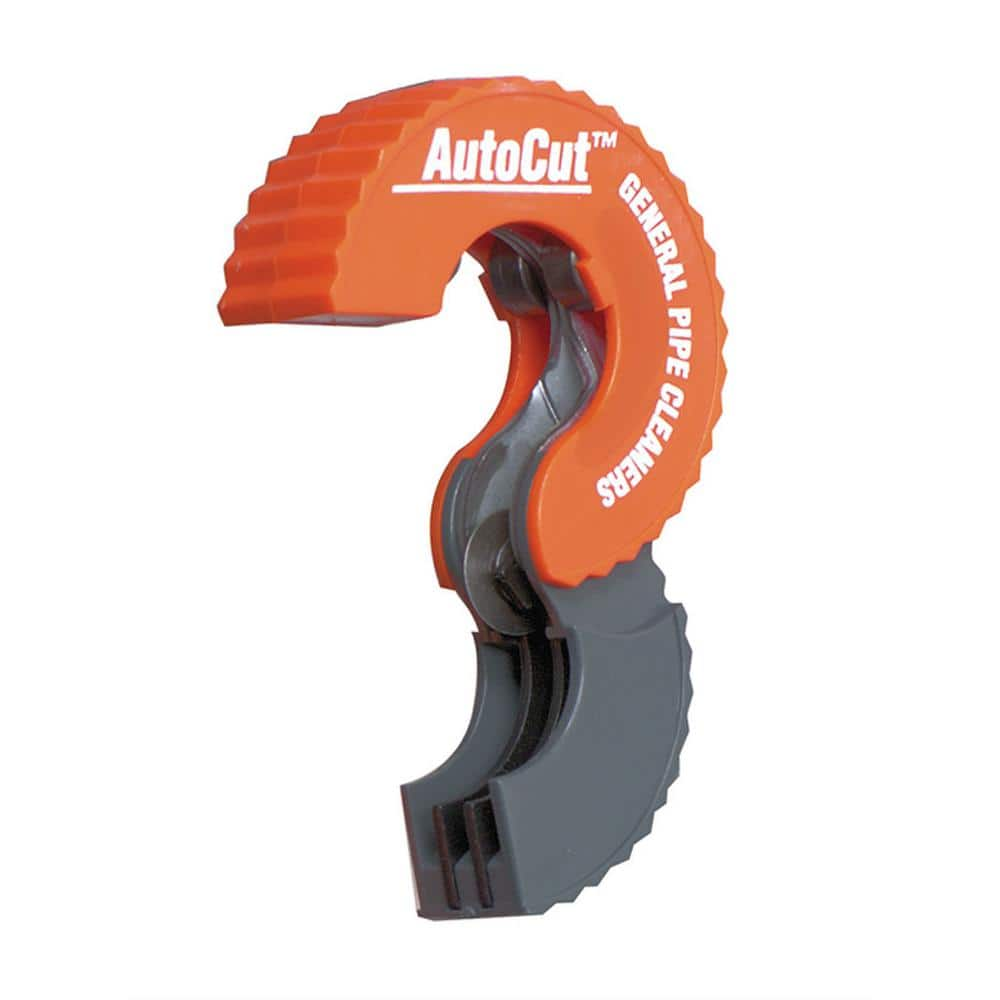
AUTOCUT 1/2 in. Copper Pipe Tubing Cutter ATC12
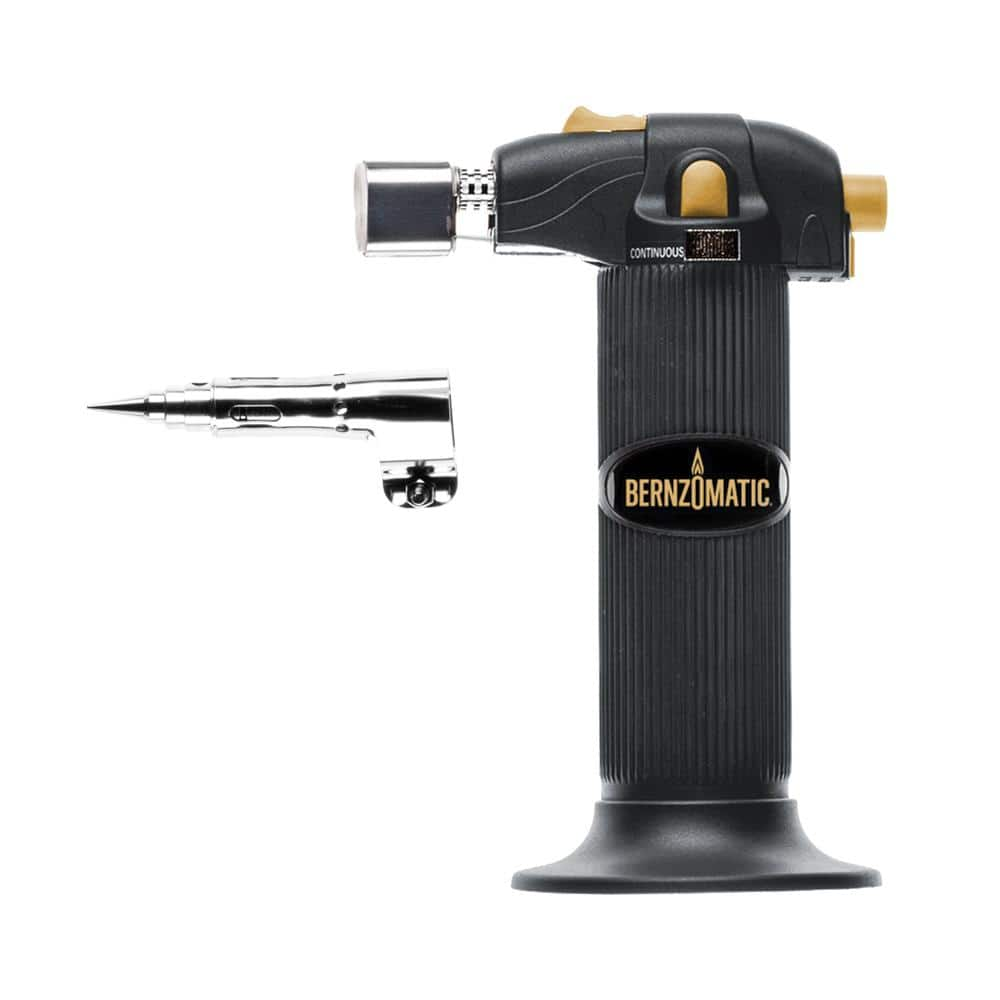
Bernzomatic Butane Detail Torch with Soldering Tip, Trigger Ignition and Flame Lock ST2200T
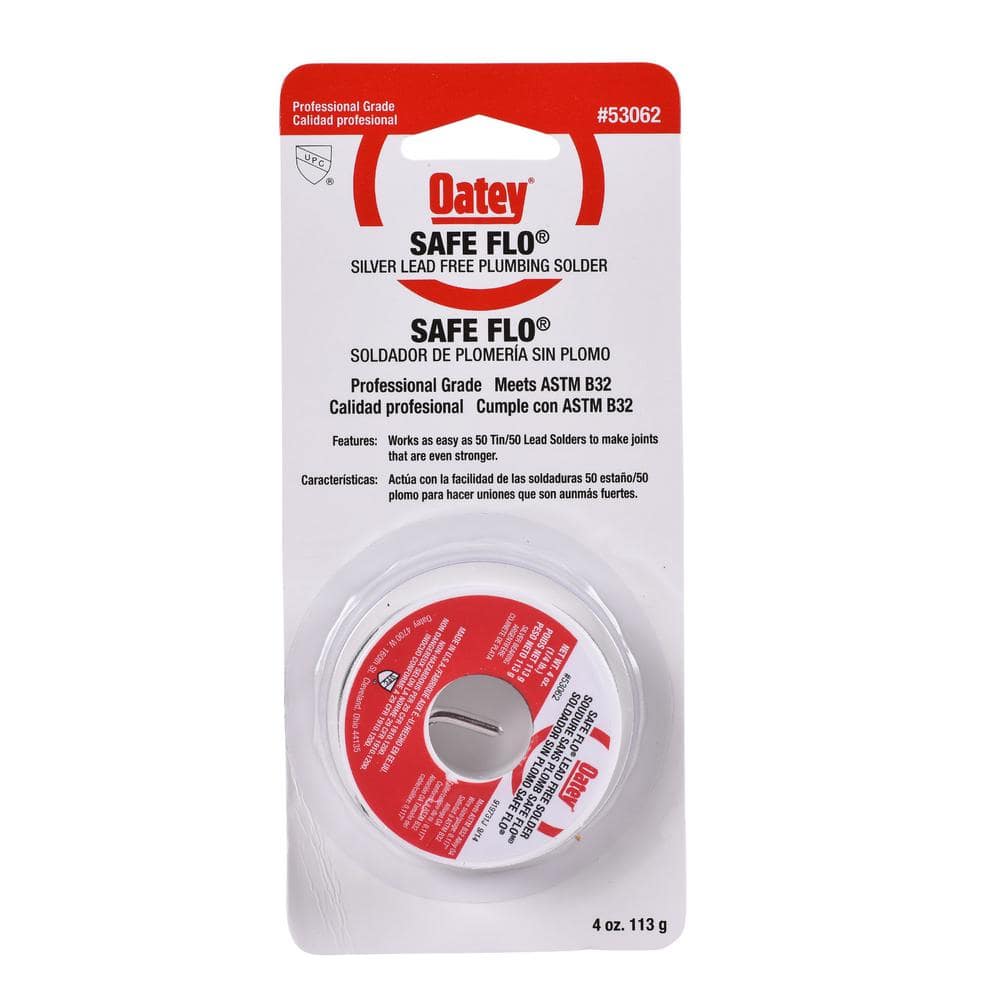
Oatey Safe Flo 0.25 lb. Lead-Free Silver Solder Wire 530622

Adjustable Wrench
Husky Pro Utility Knife 00004
Offering a precise cut every time, Husky Pro Folding Utility Knife lets you easily adjust the blade to multiple angles to tackle a wide range of jobs. Aluminum die casting handle with plastic spraying
Orbit 1/2 in. Slip x 3/4 in. FHT PVC Fitting 53368
The Orbit 1/2 in. x 3/4 in. FHT PVC Fitting features a 1/2 in. slip pipe connection and 3/4 in. female hose thread. It connects a hose directly to PVC pipe.
AUTOCUT 1/2 in. Copper Pipe Tubing Cutter ATC12
Autocut copper tubing cutters are a great tool to have when you don't have enough swing room to use a full-size tubing cutter. You can cut copper tubing with less than one inch of clearance or you can
Bernzomatic Butane Detail Torch with Soldering Tip, Trigger Ignition and Flame Lock ST2200T
The Bernzomatic Detail Torch with trigger start ignition provides instant flame activation and adjustable flame control for precise heat application. Its ergonomic design offers a comfortable grip, reducing
Oatey Safe Flo 0.25 lb. Lead-Free Silver Solder Wire 530622
The OATEY 0.25 lb. Lead-Free Solder is ideal for soldering together copper pipe and fittings. The lead-free formula has a wide melting range and is easy to use in plumbing, fire sprinkler, heating, venting
Adjustable Wrench
Fits various nut and bolt sizes with its adjustable jaw.
Steps


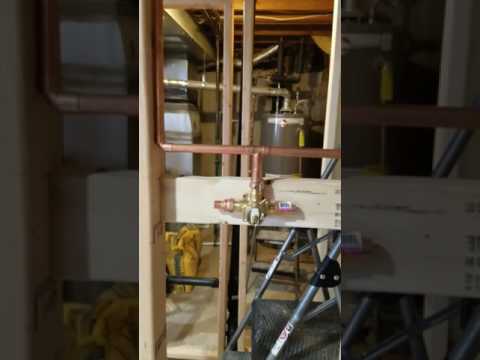
Run New Plumbing Lines: Extend the Water Supply
1 minInstall new plumbing lines from the existing shower supply lines up to the ceiling shower head location. This might involve soldering copper pipes (if using copper) or using PEX fittings. Maintain a proper slope for efficient drainage. For PEX, ensure correct crimping of the connections.
Watch: Connect to Showerheads
Install the Ceiling Shower Head: The Finishing Touch
1 minSecurely attach the shower head's mounting bracket. Connect the shower arm and shower head, ensuring all connections are leak-free. Tighten connections carefully. Briefly restore water supply to check for leaks. Repair any leaks immediately.
Watch: Test for Leaks
Common Problems
Safety concern: Turning off the water supply is crucial before starting any plumbing work to prevent flooding., Incorrectly soldering copper pipes can lead to leaks. If unsure, consult a professional plumber.
Solution: Take proper safety precautions. Turning off the water supply is crucial before starting any plumbing work to prevent flooding., Incorrectly soldering copper pipes can lead to leaks. If unsure, consult a professional plumber.
Prevention: Always follow safety guidelines before starting the project.
Soldering is difficult in cramped shower spaces or with limited water shutoff.
Solution: A press fitting tool is a great alternative to soldering, especially in tight spaces or when a complete water shutoff is difficult.
Soldering creates high heat and open flames. Take extreme caution and have a fire extinguisher nearby.
Solution: To avoid this issue: Be mindful of this warning and take appropriate precautions.
Pipes may vibrate or sag if not secured to framing.
Solution: Use pipe straps to secure the pipes to the framing, preventing movement and vibration.
Ensure the ceiling showerhead pipe is well-supported to handle the weight of the showerhead and water pressure.
Solution: To avoid this issue: Be mindful of this warning and take appropriate precautions.
Incorrect plumbing connections lead to water flow issues or leaks.
Solution: For a two-device system, the primary showerhead should be connected to outlet #1, and the secondary device (e.g., handheld shower) to outlet #2. Outlet #3 should be capped.
Wing nuts stripped or damaged from over-tightening with tools.
Solution: The wing nuts on the extension arm are designed to be hand-tightened. Using tools on them can cause damage.
Frequently Asked Questions
What specialized tools and skills are essential for extending the water supply and installing the new plumbing lines for a ceiling shower?
You'll definitely need a copper pipe tubing cutter and a butane detail torch for soldering the new copper lines. Proficiency in soldering copper pipes is crucial for creating secure, leak-free connections, so practice on scrap pieces if you're new to it. An adjustable wrench is also vital for tightening fittings.
What critical safety precautions should I prioritize, especially when working with water and in the ceiling cavity?
Always turn off the main water supply to your house before starting any plumbing work to prevent flooding. When working in the ceiling, wear eye protection and a dust mask. If there's any electrical wiring near your work area, ensure power to those circuits is off as well to prevent electric shock.
Given the 'intermediate' difficulty, how much time should I realistically allocate for this project, and what are the main cost drivers?
Realistically, plan for at least 1-2 full days for the plumbing and installation, plus additional time for ceiling repair and finishing. The main cost drivers will be the new rain shower head itself, copper piping and fittings, and materials for drywall repair like the Prest-on Drywall Repair Kit and joint compound.
What are the most common plumbing mistakes DIYers make during this installation, and how can I ensure my connections are leak-free?
Common mistakes include improper soldering, not applying enough Teflon tape to threaded connections, or failing to properly secure pipes. To ensure leak-free connections, clean and flux all copper joints thoroughly before soldering, and apply Teflon tape clockwise to all threaded fittings. Always pressurize the new lines and inspect for leaks before closing up the ceiling.
How important is the 'proper slope for drainage' mentioned in the guide, and how do I achieve it for the new plumbing lines?
Ensuring a proper slope for your new plumbing lines is crucial to prevent standing water and potential future issues within the pipes. A minimal slope of about 1/4 inch per foot, running back towards your main drainage or supply lines, is generally sufficient. Use a level when running your new lines to confirm the slight downward angle.
What's the best way to ensure the ceiling repair blends seamlessly with my existing bathroom ceiling after installation?
After installing the Prest-on Drywall Repair Kit, apply thin layers of USG Sheetrock Brand All Purpose Ready-Mixed Joint Compound, letting each layer dry and sanding it smooth. For a seamless look, match any existing ceiling texture, which might involve using a sponge or texture spray. Finally, prime and paint the repaired area, extending the paint to blend with the surrounding ceiling.
Will installing a ceiling rain shower head affect my overall water pressure, and what can I do if it's too low?
A large ceiling rain shower head can sometimes lead to a perceived decrease in water pressure if your home's existing supply isn't robust enough. If you experience low pressure, ensure your shower head has a good flow rate (GPM) suitable for your system. In severe cases, a pressure-balancing valve or even a dedicated pump might be considered, though often simply adjusting to the new flow is sufficient.