Low Water Pressure Rainshower Shower Head Installation Guide
About This Project
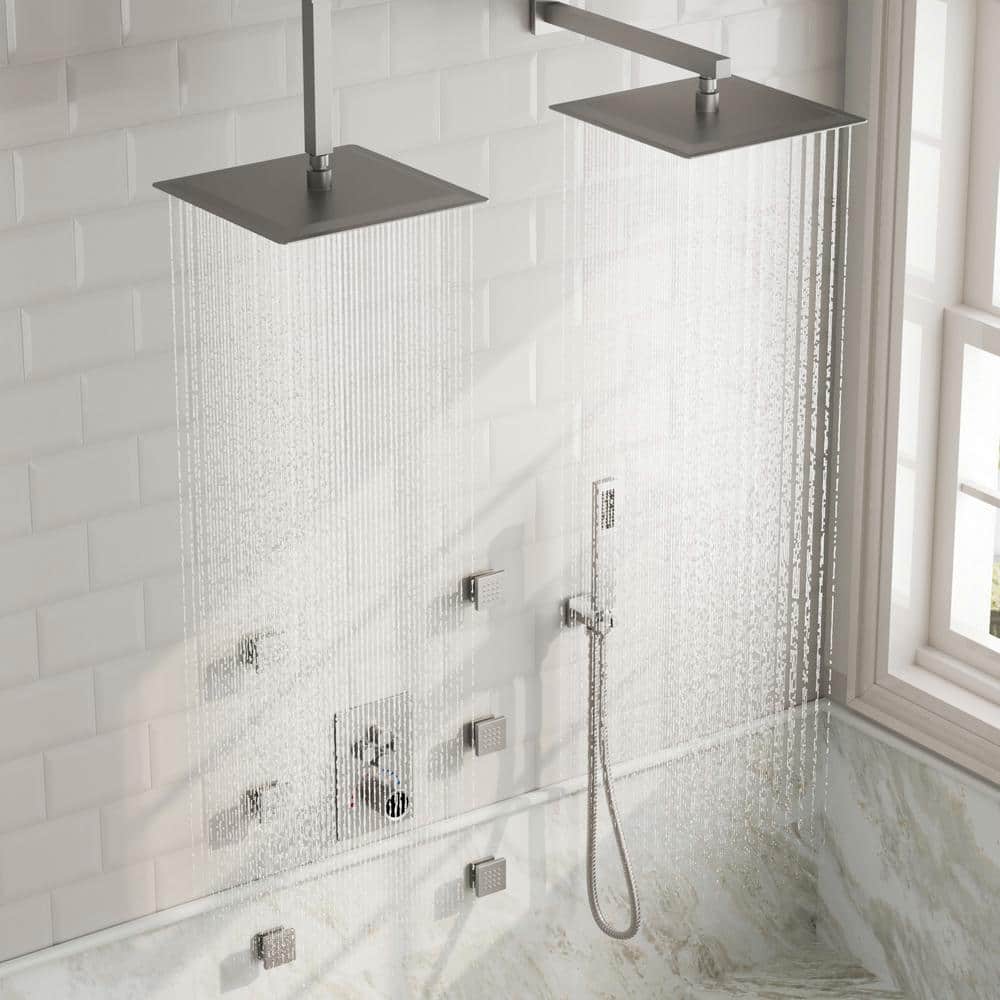
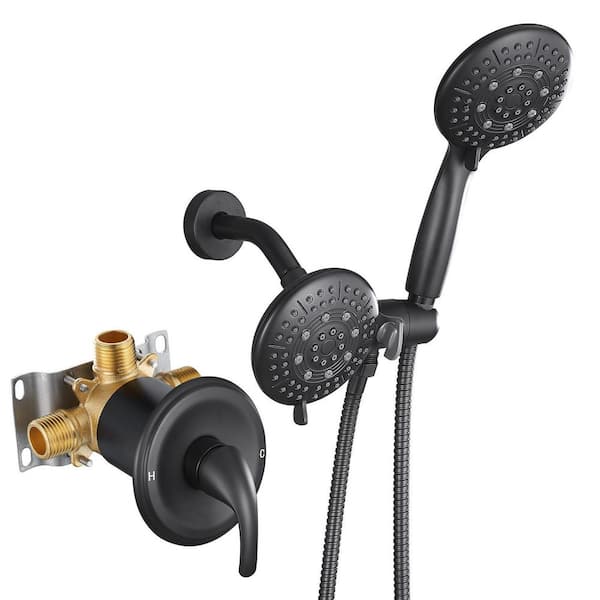
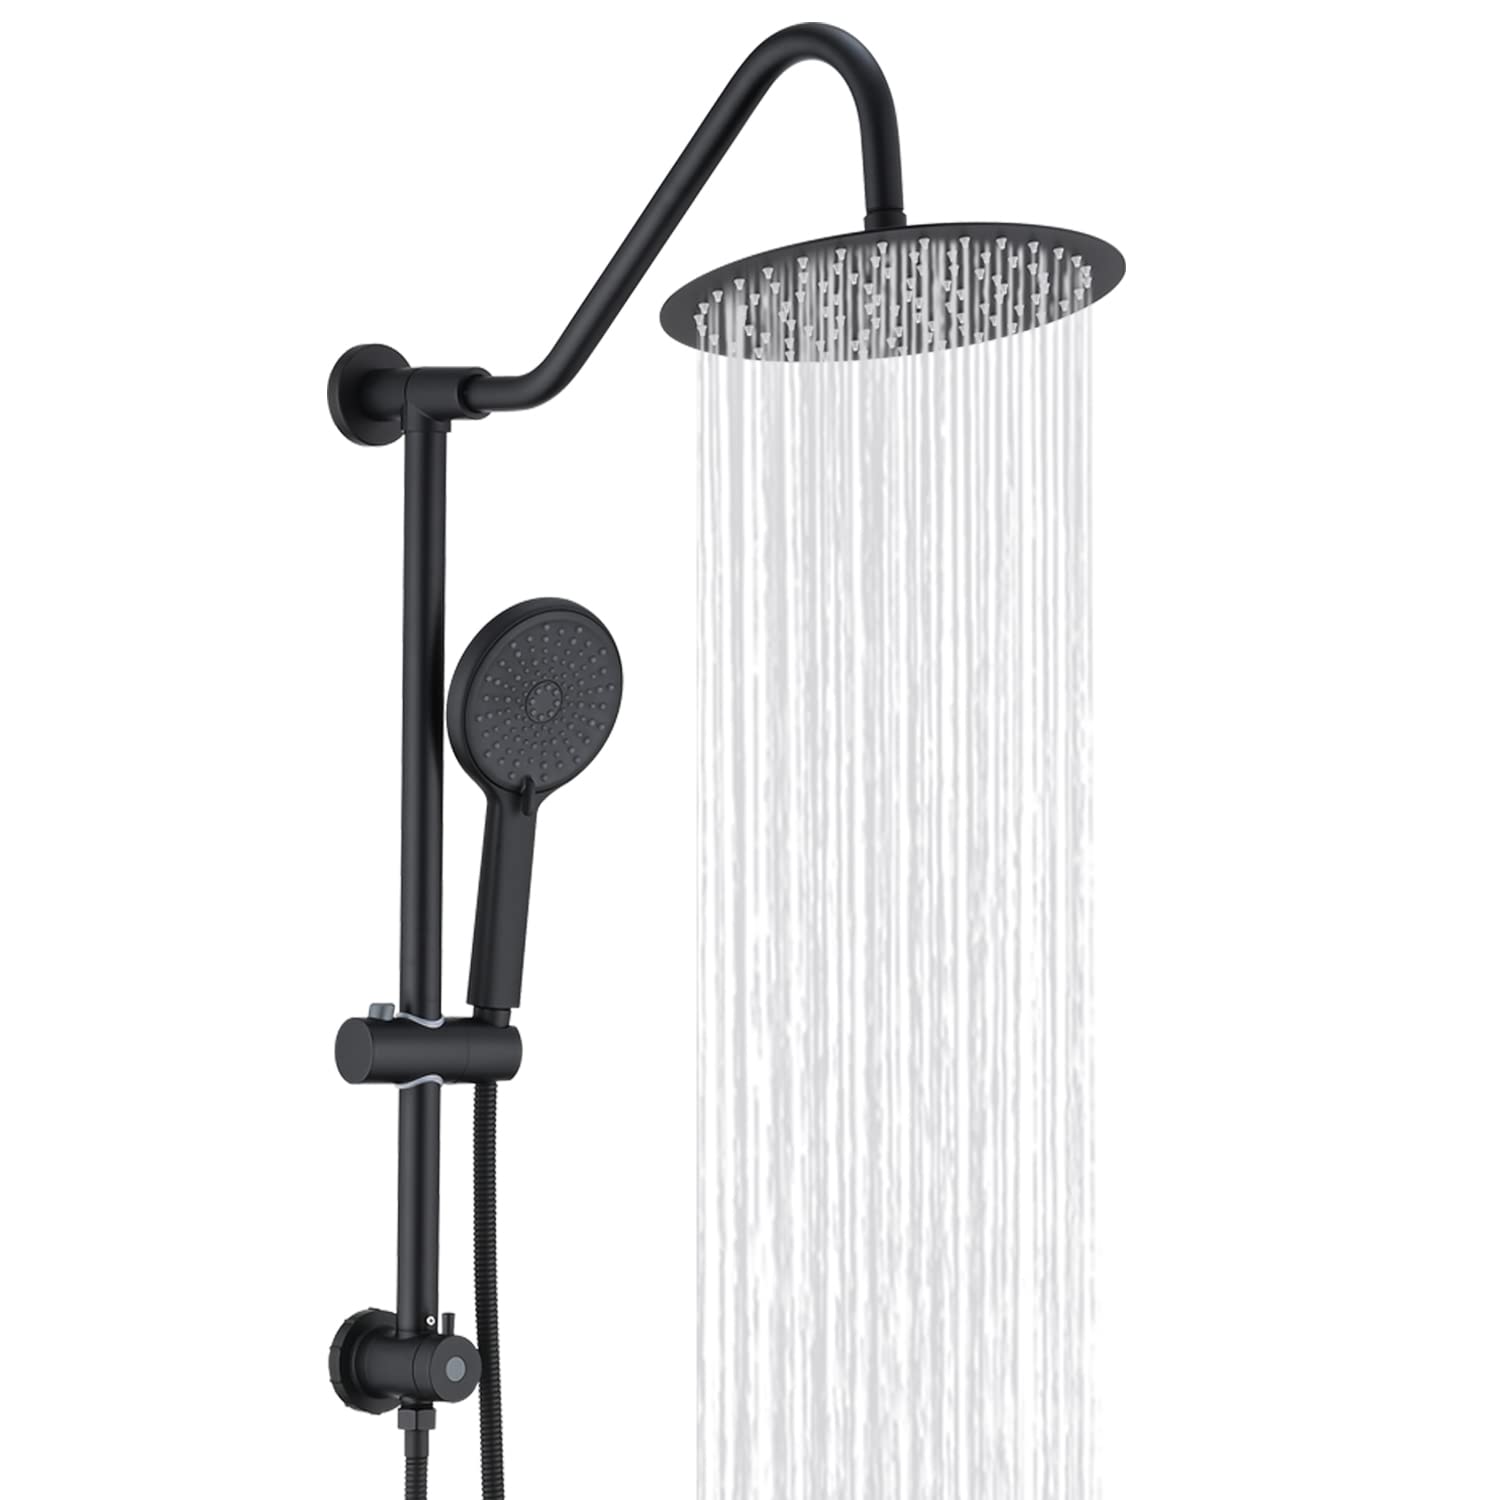
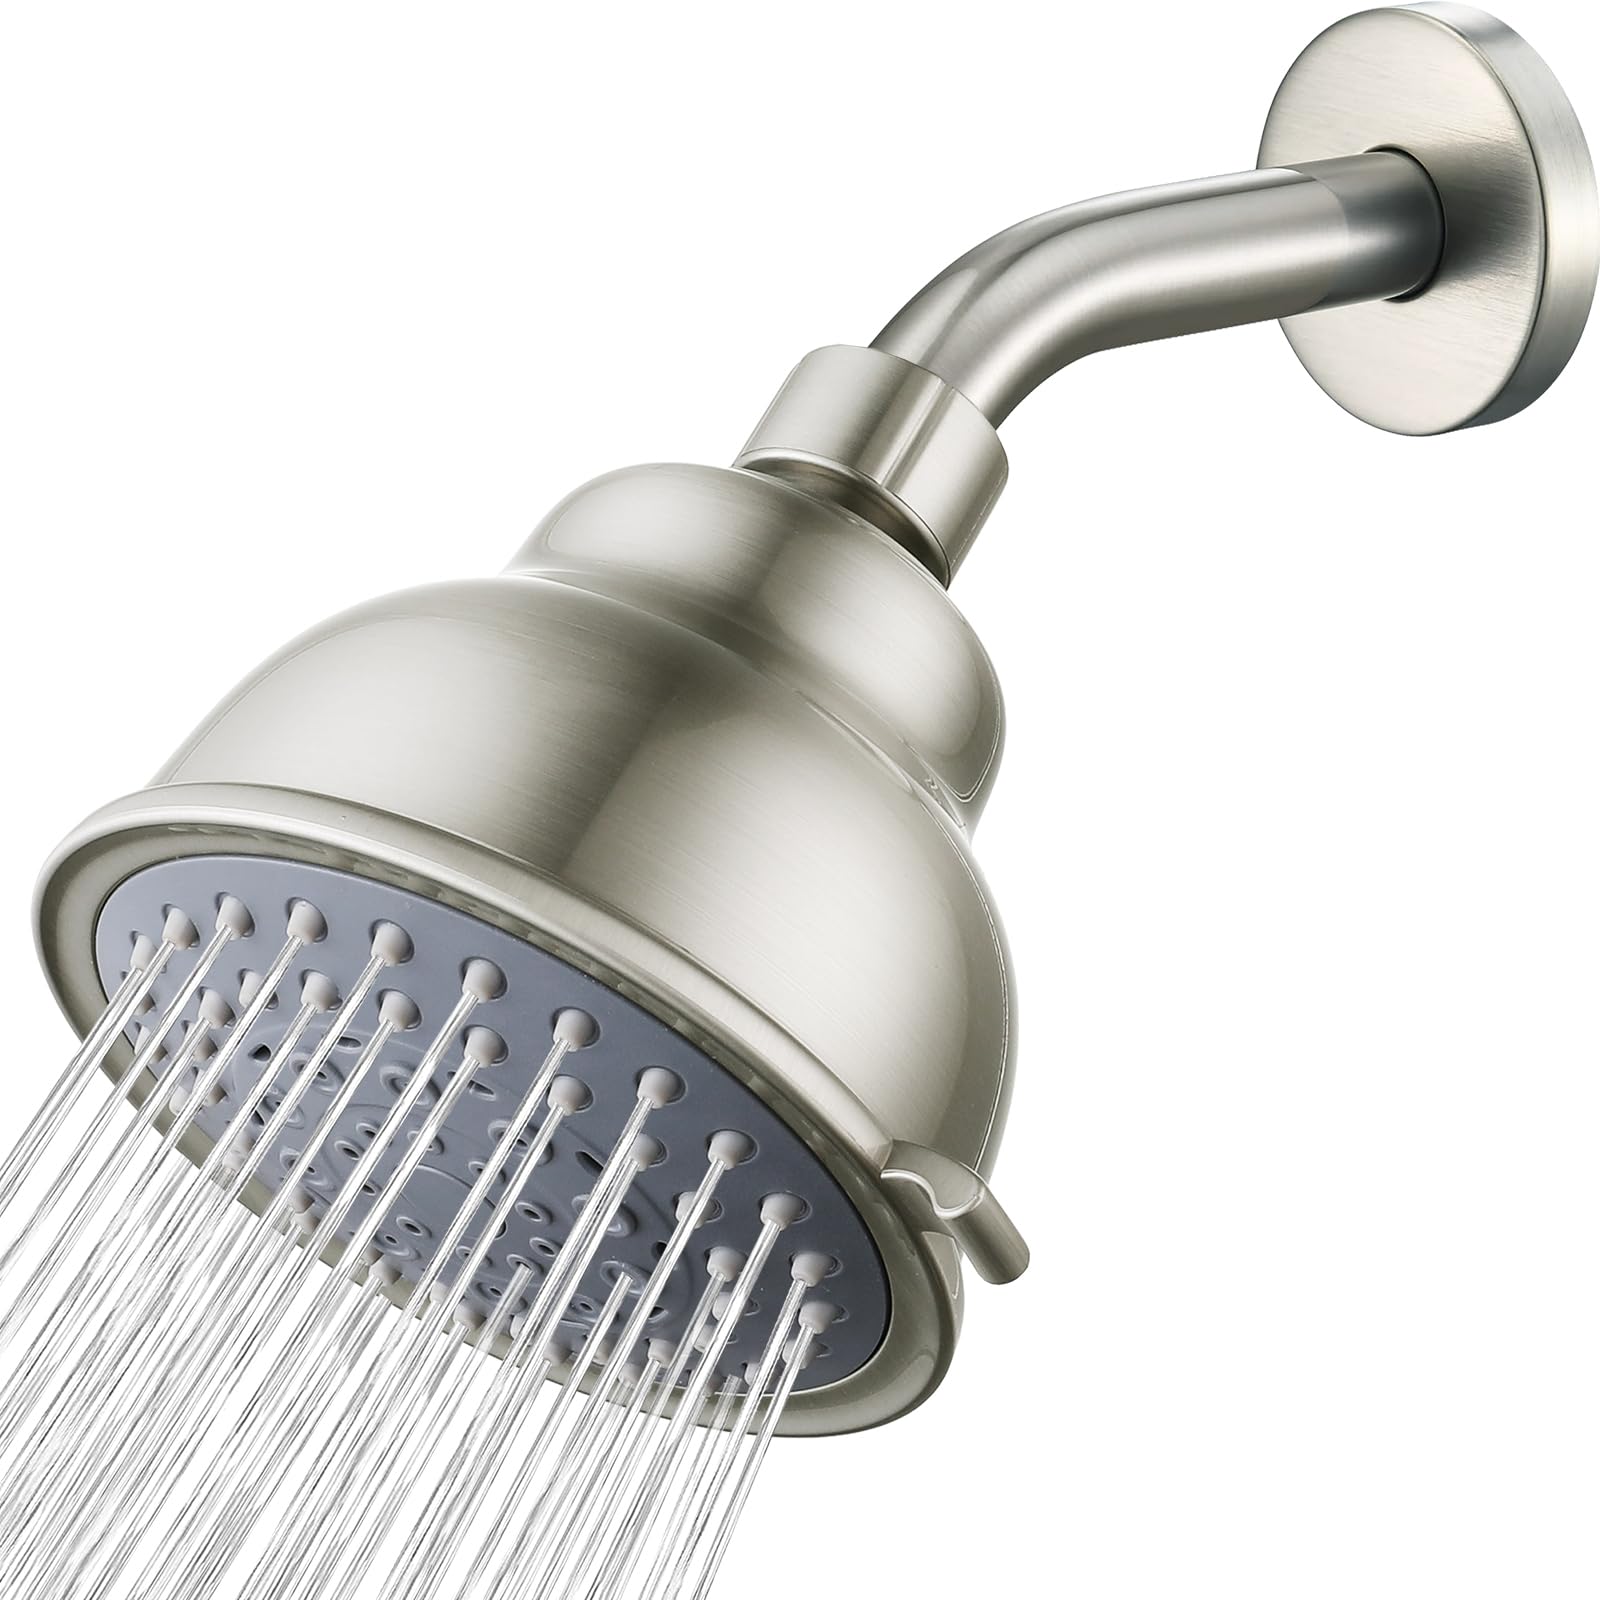
This project provides a guide for installing a rainshower shower head, especially for situations with low water pressure. It involves three main steps: 1) **Removing Your Old Shower Head:** Unscrew the old showerhead counterclockwise, using tools and lubricant if necessary. 2) **Cleaning the Shower Arm Threads:** Clean the threads on the shower arm with a cloth or wire brush to remove debris and ensure a good seal. 3) **Installing Your New Rainshower Shower Head:** Apply Teflon tape to the shower arm threads, screw on the new showerhead, and tighten gently with a wrench, avoiding overtightening.
Best for homeowners and DIY enthusiasts.
Tools & Materials

Adjustable Wrench
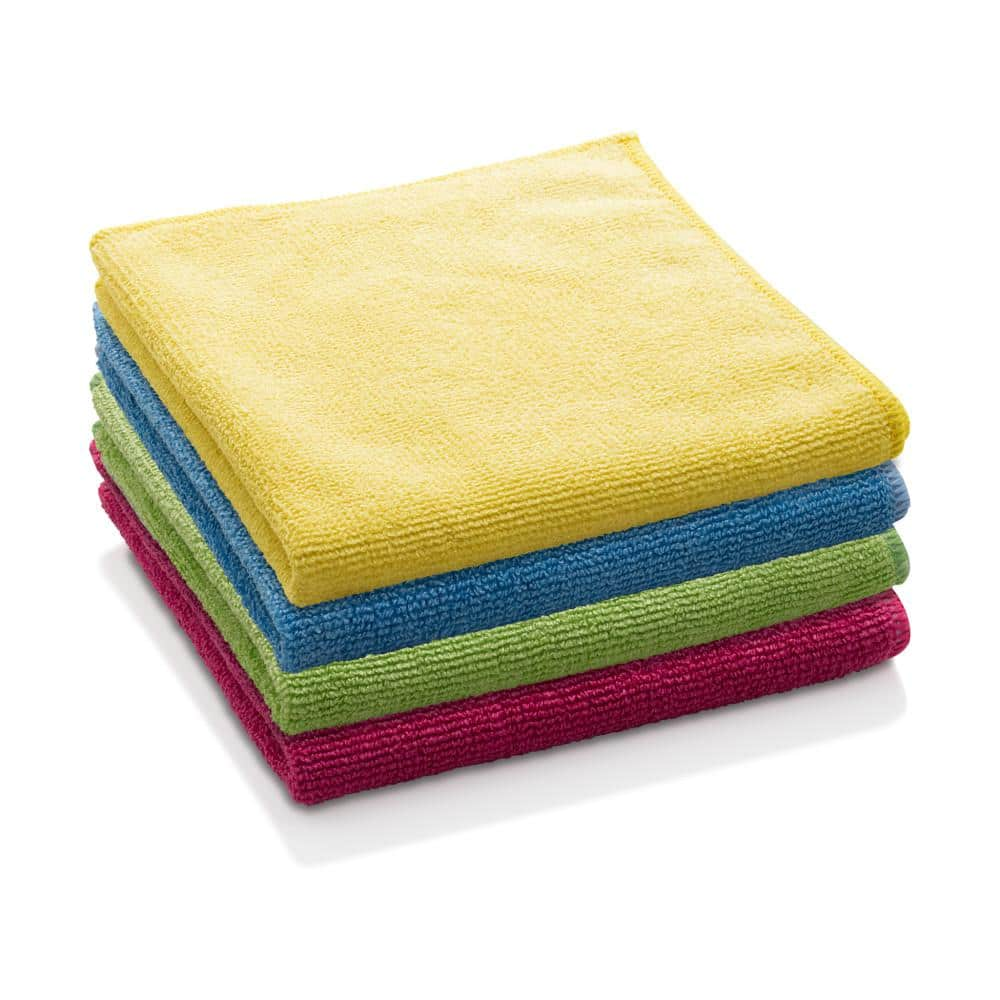
E-Cloth Microfiber General Purpose Cloths - Assorted Colors - 4 Pack 10902M
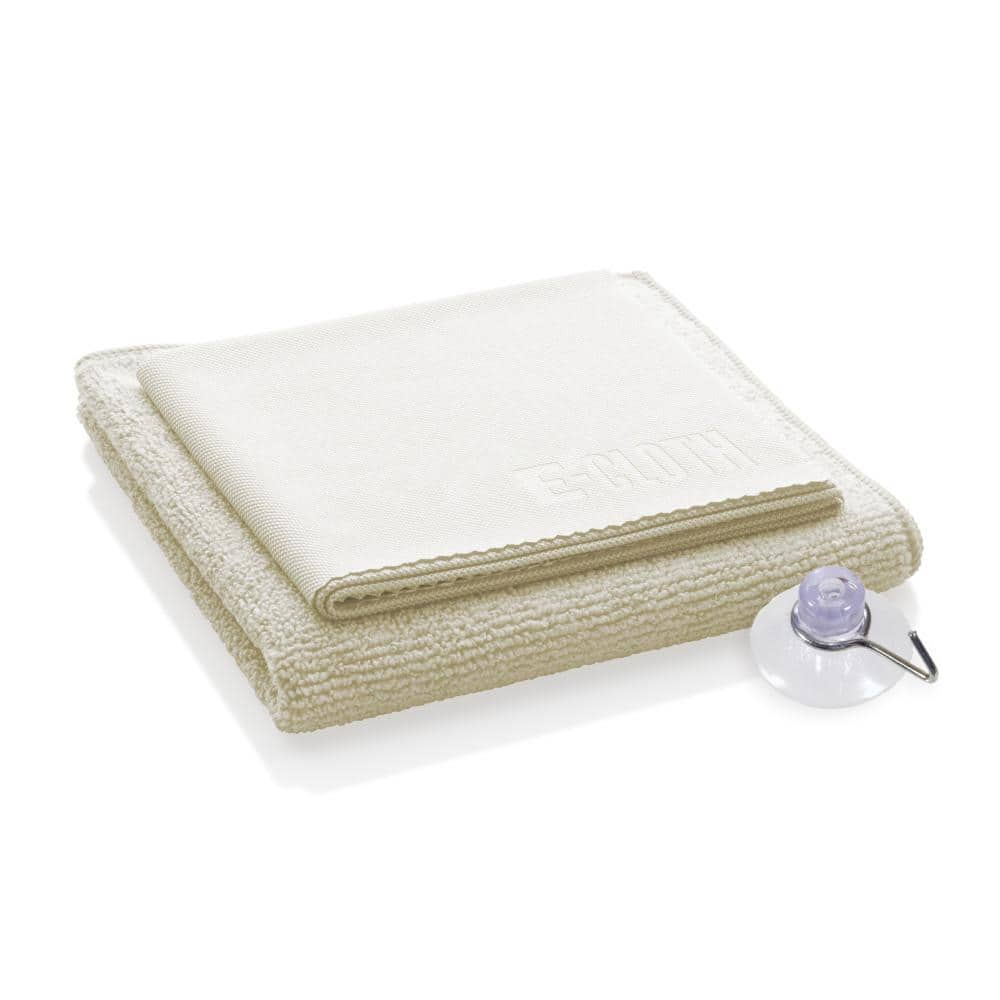
E-Cloth Microfiber Shower Cleaning Kit 2 Cloth Set 10612M
Adjustable Wrench
Fits various nut and bolt sizes with its adjustable jaw.
E-Cloth Microfiber General Purpose Cloths - Assorted Colors - 4 Pack 10902M
Always up for some good clean fun, E-Cloth General Purpose Cloths tackle nearly every household cleaning task on your list. Masses of precision-engineered microfibers attract and trap grease, grime, fingerprints,
E-Cloth Microfiber Shower Cleaning Kit 2 Cloth Set 10612M
The E-Cloth Shower Cleaning Kit holds the one-two punch your cleaning routine is missing. with a specialized microfiber cloth for removing grime, limescale and 99% of bacteria, plus another for polishing
Steps

Removing Your Old Shower Head
15 minsCarefully unscrew the old showerhead by turning it counterclockwise. If it's stuck, use an adjustable wrench wrapped in a cloth to prevent damage. Apply penetrating lubricant like WD-40 if needed, allowing it to sit for a few minutes before attempting removal.
Watch: Remove Existing Shower Head

Installing Your New Rainshower Shower Head
15 minsApply Teflon tape to the shower arm threads in a clockwise direction. Screw the new rainshower head onto the shower arm by hand until snug. Use an adjustable wrench or pliers to gently tighten further, being cautious not to overtighten and damage the finish. Always hand-tighten first to avoid cross-threading.
Watch: Install New Shower Arm and HeadCommon Problems
Do not overtighten the showerhead, as this can crack the plastic connector or damage the threads.
Solution: To avoid this issue: Be mindful of this warning and take appropriate precautions.
Showerhead leaks or won't tighten properly due to tape unraveling.
Solution: Wrapping tape clockwise ensures it doesn't unravel as you tighten the showerhead.
Scratched or damaged finish on the shower arm from pliers.
Solution: Protect the finish of the new shower arm by wrapping it with a rag before using pliers for final tightening.
Do not over-tighten the showerhead as it can damage the threads on the shower arm or the showerhead itself.
Solution: To avoid this issue: Be mindful of this warning and take appropriate precautions.
Stripped threads or damaged fixtures from overtightening.
Solution: Try unscrewing by hand first before using tools.
A small amount of residual water may drip out of the shower arm when the head is removed.
Solution: To avoid this issue: Be mindful of this warning and take appropriate precautions.
Scratched or damaged showerhead finish from pliers.
Solution: Use a rag to protect the showerhead's finish if you need to use pliers.
Frequently Asked Questions
What additional materials or tools might I need beyond an adjustable wrench and cleaning cloths for this rainshower installation?
You will definitely need plumber's tape (also known as Teflon tape) to create a watertight seal on the shower arm threads. An old rag or towel is also useful to protect surfaces and catch any drips during the process.
What's the most common mistake beginners make when installing a new shower head, and how can I avoid it?
The most common mistake is overtightening the shower head, which can strip threads or crack the fixture. Tighten by hand until snug, then use an adjustable wrench for a final quarter to half turn, ensuring it feels secure without excessive force.
My old shower head is really stuck and won't unscrew. What's the best way to remove it without damaging my shower arm?
Ensure you're turning it counter-clockwise. If it's still stuck, try applying a penetrating lubricant (like WD-40) to the joint and letting it sit for 15-30 minutes. Use an adjustable wrench for leverage, but apply steady pressure rather than sudden jerks.
I installed my new rainshower head, but the water pressure still feels too low. What should I check?
Many new shower heads, especially rainshowers, come with a removable flow restrictor designed to conserve water. Carefully check your shower head's instructions for how to locate and remove this small plastic disc, as it can significantly improve pressure. Also, ensure your main house water valve is fully open.
Is it really necessary to clean the shower arm threads, or can I skip that step?
Cleaning the shower arm threads is crucial for a leak-free seal. Debris, mineral buildup, or old sealant can prevent the Teflon tape from properly adhering and sealing, leading to drips or leaks down the line. Skipping this step often results in needing to redo the installation.
How can I tell if my old shower arm threads are damaged, and what should I do if they are?
Visually inspect the threads for any flattened, stripped, or corroded areas after cleaning. If you see significant damage, a new shower head might not seal properly, leading to leaks. In that case, you may need to replace the entire shower arm, which is a slightly more involved but still manageable DIY task.