Shower Head & Handle Replacement: A Step-by-Step DIY Guide
About This Project
This DIY guide demonstrates how to replace a shower head and handle. Begin by turning off the water supply to prevent accidents. Next, remove the old shower handle, usually by loosening a set screw with an Allen wrench. Then, remove the old shower head, using an adjustable wrench if necessary. Finally, install the new shower head, wrapping the shower arm threads with Teflon tape for a watertight seal, and reattach the handle.
Best for homeowners and DIY enthusiasts.
Tools & Materials
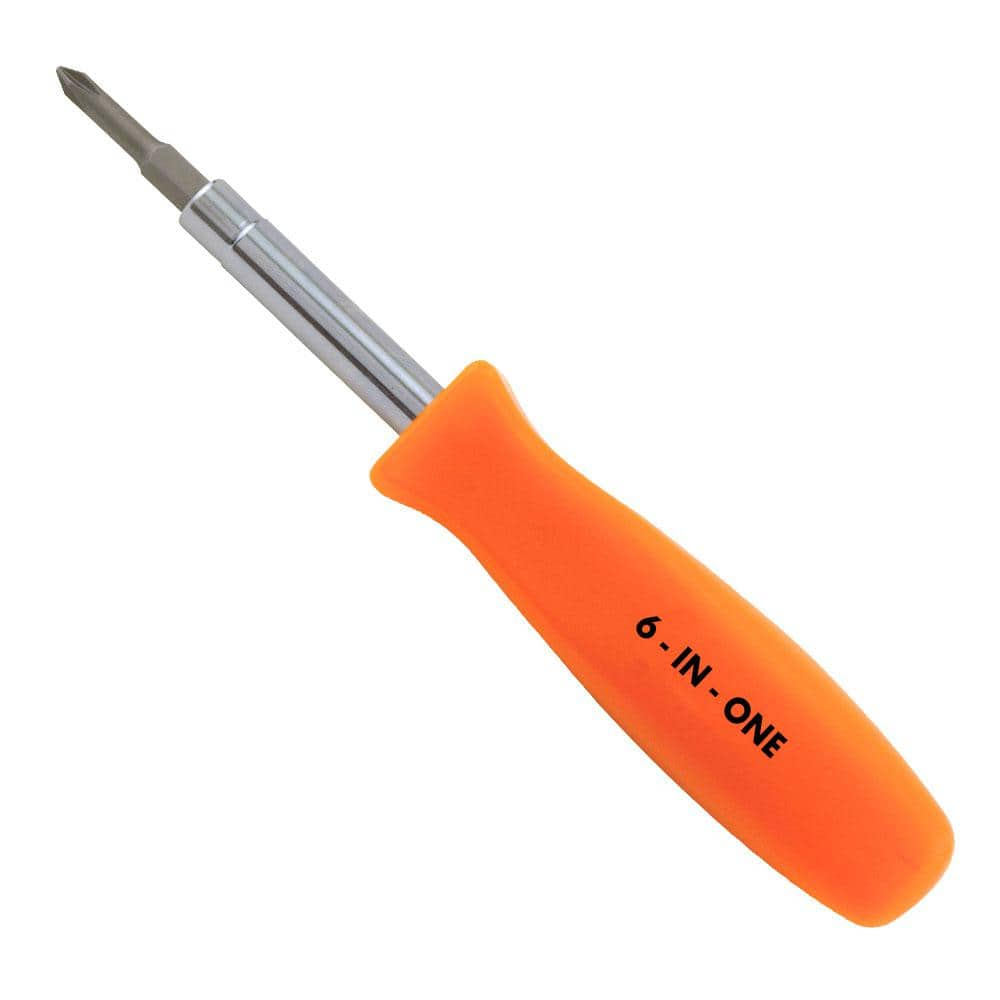
HDX 3-1/4 in. 6-in-1 Screwdriver 120SD12D

Adjustable Wrench
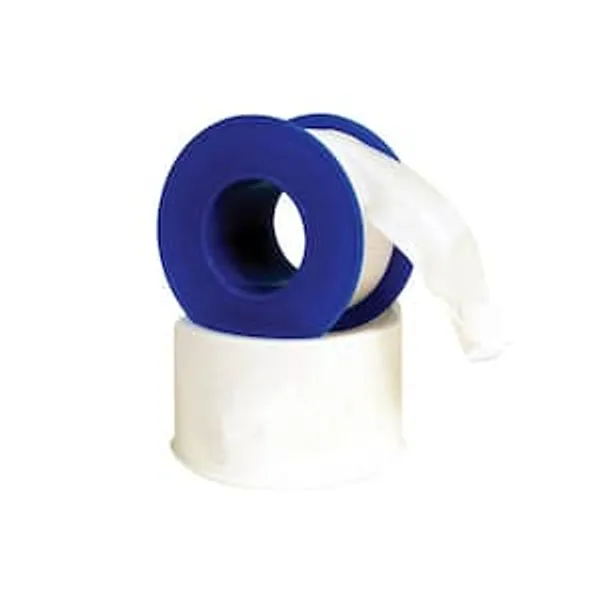
Plumbers Tape
HDX 3-1/4 in. 6-in-1 Screwdriver 120SD12D
The HDX 3-1/4 in. 6-in-1 Screwdriver features double-sided bits with the four most common screwdriver tip styles, including a #1 Phillips bit, a #2 Phillips bit, a 3/16 in. flathead bit and a 1/4 in. flathead bit. Both ends of the shaft can be used as 1/4 in. nut drivers when the bits are removed, offering convenient, versatile use. The high-visibility orange handle makes the handy tool easy to find on a job site or in a toolbox.
Adjustable Wrench
Fits various nut and bolt sizes with its adjustable jaw.
Plumbers Tape
Ensures leak-proof pipe joints.
Steps

Turn Off the Water Supply: A Crucial First Step
5 minsBefore starting any plumbing work, safety is paramount. Completely shut off the water supply to your shower. Locate the shut-off valves near the shower or, if necessary, turn off the main water supply to your house. This prevents flooding and potential water damage.
Watch: Preparation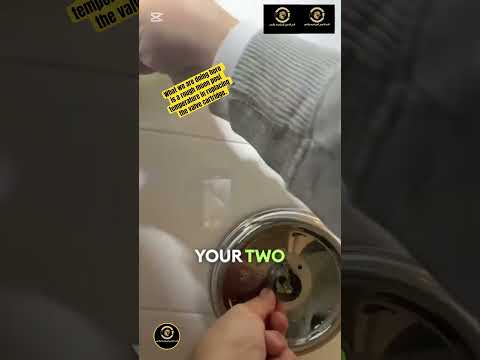
Remove the Old Shower Handle: A Step-by-Step Process
10 minsCarefully remove the existing shower handle. For single-handle valves, this often involves locating a small screw or cap concealing a set screw. Loosen this set screw using an Allen wrench, then gently pull the handle off. If it’s stubborn, a bit of penetrating oil can help.
Watch: Remove Shower Handle

Common Problems
Shut off the main water supply before beginning any plumbing project.
Solution: To avoid this issue: Be mindful of this warning and take appropriate precautions.
Cannot shut off water, leading to flooding during shower head replacement.
Solution: If you don't know where your main water shutoff is, contact your local water company for assistance.
Water sprays uncontrollably when you remove the shower head or handle.
Solution: Open the valve to relieve water pressure after shutting off the main supply.
If you cannot find local shut-off valves, you will need to shut off the main water supply to the entire house.
Solution: To avoid this issue: Be mindful of this warning and take appropriate precautions.
The last thing you want in your bathroom is the Trevi Fountain. Make sure the water is completely off.
Solution: To avoid this issue: Be mindful of this warning and take appropriate precautions.
Double-check that the water is completely off by briefly turning on the shower controls.
Solution: To avoid this issue: Be mindful of this warning and take appropriate precautions.
Use a thin-bladed tool and be gentle to avoid breaking the plastic clips on the cap.
Solution: To avoid this issue: Be mindful of this warning and take appropriate precautions.
Frequently Asked Questions
What should I do if I can't find or access the main water shut-off valve for my home?
If you can't locate your main shut-off valve, look for individual shut-off valves for your bathroom or shower, often under the sink or behind an access panel. If those aren't present or accessible, you may need to contact a plumber to identify and mark the main valve, or temporarily shut off water to your entire property from the street if you have access and permission. Do not proceed with the project until the water supply is confirmed off to prevent significant leaks.
The project mentions a screwdriver, but what if my old handle has a set screw that requires an Allen wrench?
Many modern shower handles use a small set screw, often hidden underneath the handle, behind a decorative cap, or on the side, which typically requires an Allen wrench. Carefully inspect your handle for a small opening or a cap that can be popped off. A multi-size Allen wrench set is an inexpensive and valuable investment for various DIY projects.
What if my old shower head or handle is corroded or stuck and won't budge with normal tools?
For a stuck shower head, try applying a penetrating oil like WD-40 to the threads and letting it sit for 15-30 minutes before trying again with an adjustable wrench. For a stuck handle, ensure any set screws are fully loosened. If corrosion is severe, using a pipe wrench with gentle, increasing pressure (for metal parts) or carefully applying heat with a hairdryer to expand metal connections might help, but avoid excessive heat on plastic components.
My new shower head is leaking right after installation, even with plumber's tape. What could be the issue?
The most common reason for leaks is insufficient or improperly applied plumber's tape. Ensure you wrap the tape clockwise around the shower arm threads (the direction it tightens) 3-5 times, making sure it covers all threads without gaps. Also, confirm the connection is hand-tightened, then given a final quarter to half turn with a wrench, but be careful not to overtighten and crack plastic components.
Is plumber's tape (Teflon tape) absolutely essential, or can I get by without it for the new shower head?
Yes, plumber's tape is absolutely essential for creating a watertight seal on threaded connections like your new shower head. It lubricates the threads, allowing for a tighter connection without over-tightening, and fills tiny gaps to prevent leaks. Skipping it almost guarantees a dripping or leaking shower head that will require you to re-do the installation.
How can I ensure this 90-minute project doesn't turn into an all-day ordeal for a beginner?
To stay on track, lay out all your tools and materials before you begin, and read through the entire guide once to understand all the steps. Take your time with crucial steps like turning off the water and applying plumber's tape, as rushing can lead to mistakes. Having a bucket and towels handy will also help manage any unexpected drips without causing significant delays.