Dual Shower Head Installation: Low Water Pressure Solutions
About This Project
This project details the steps involved in installing dual shower heads, especially focusing on solutions for low water pressure. It starts with essential safety precautions like turning off the water supply. Next, it guides you through removing the old shower arm and showerhead. Then, the diverter valve is installed with Teflon tape for a watertight seal. Following that, the shower arms and low-flow shower heads are connected and tightened. Finally, the project emphasizes testing for leaks to prevent future issues and ensure proper water flow from both shower heads. It provides optional considerations for using a plumber if needed, understanding the type of current shower valve, current water pressure, and the location for the new shower head.
Best for experienced DIYers and homeowners with some experience. Requires access to water shutoff and access to water shutoff.
Tools & Materials

Husky 12 in. Adjustable Wrench 90933

Adjustable Wrench
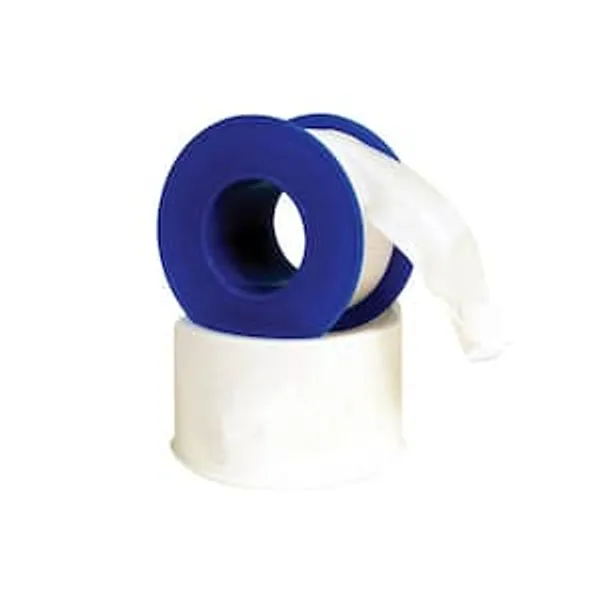
Plumbers Tape
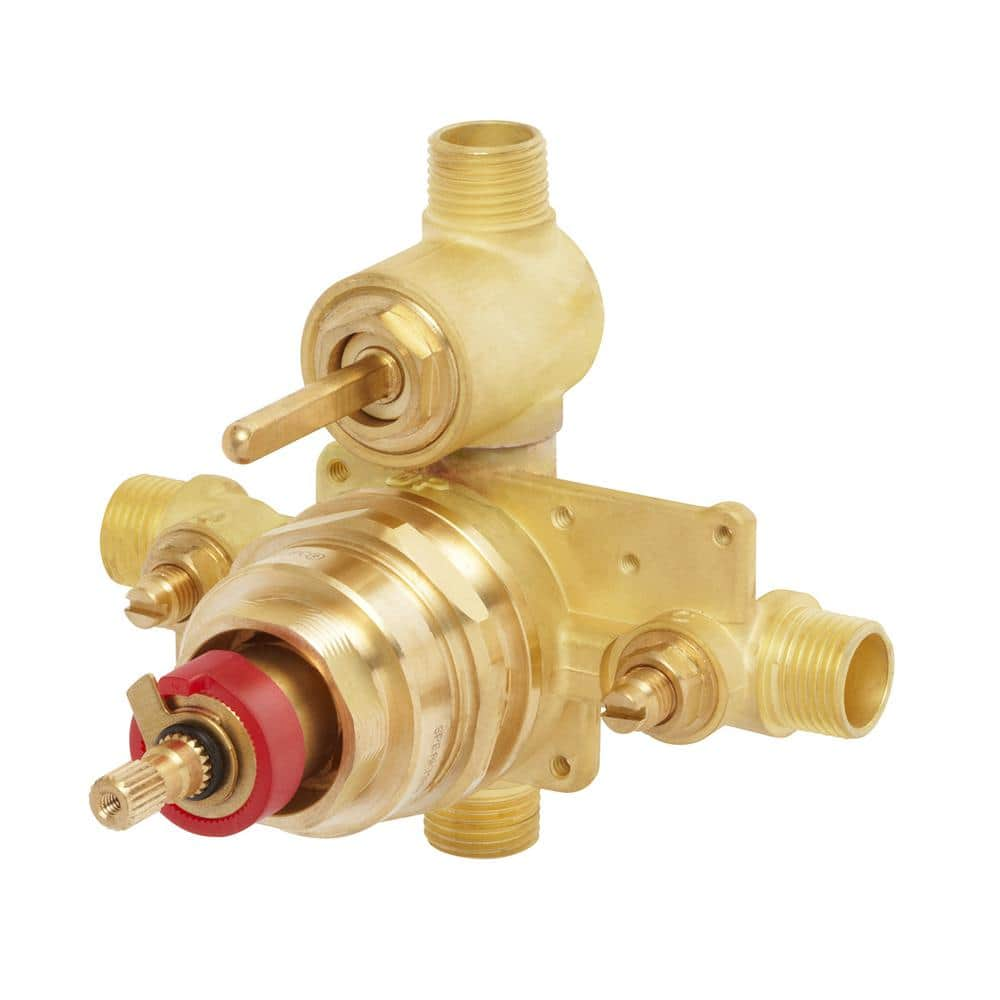
Speakman Sentinel Mark II Thermostatic Diverter Shower Valve CPV-T-DV
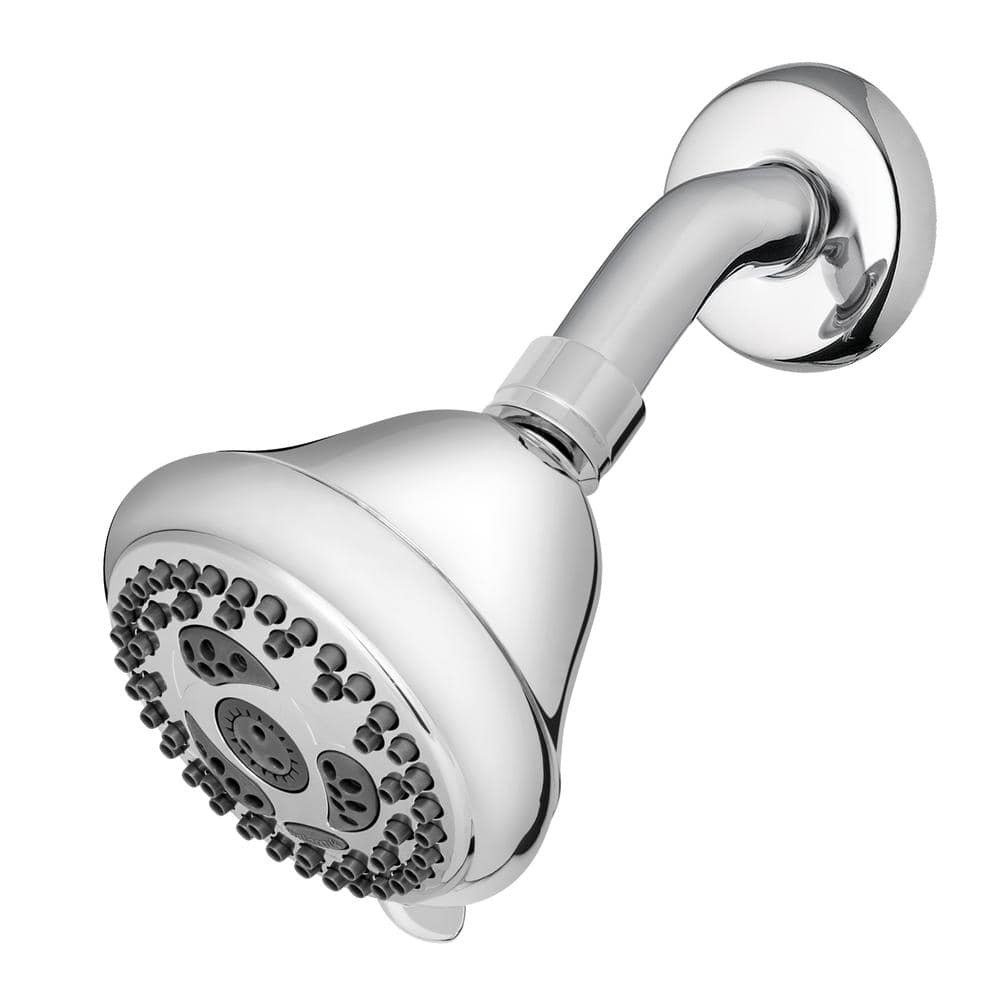
Waterpik 6-Spray Patterns 3.5 in. Single Wall Mount Low Flow Fixed Shower Head in Chrome NSC-623HE
Husky 12 in. Adjustable Wrench 90933
The Husky 12 in. Adjustable Wrench features a durable, comfortable handle. A large knurl allows for easy adjustment and a tight-fitting hex jaw design reduces slippage and tightly grips the fastener for
Adjustable Wrench
Fits various nut and bolt sizes with its adjustable jaw.
Plumbers Tape
Ensures leak-proof pipe joints.
Speakman Sentinel Mark II Thermostatic Diverter Shower Valve CPV-T-DV
The Speakman Sentinel Mark II CPV-T-DV Thermostatic Diverter Shower Valve uses thermostatic technology to blend hot and cold water perfectly ensuring a constant and safe temperature is delivered. The thermostatic element delivers superior protection against scalding. The CPV-T-DV model features an integral diverter for easy transition between two shower heads or shower and tub. The CPV-T-DV model has sweat and thread connections. Speakman thermostatic valves feature solid brass bodies with integral stops allowing for water shut off for valve maintenance. The valves also include temperature limit stops which allow the user to set a maximum temperature level. Speakman Sentinel Mark II Thermostatic Valves are ASSE 1016 certified to perform at flow rates as low as 1.35 GPM, making these valves ideal for use with shower heads down to 1.5 GPM.
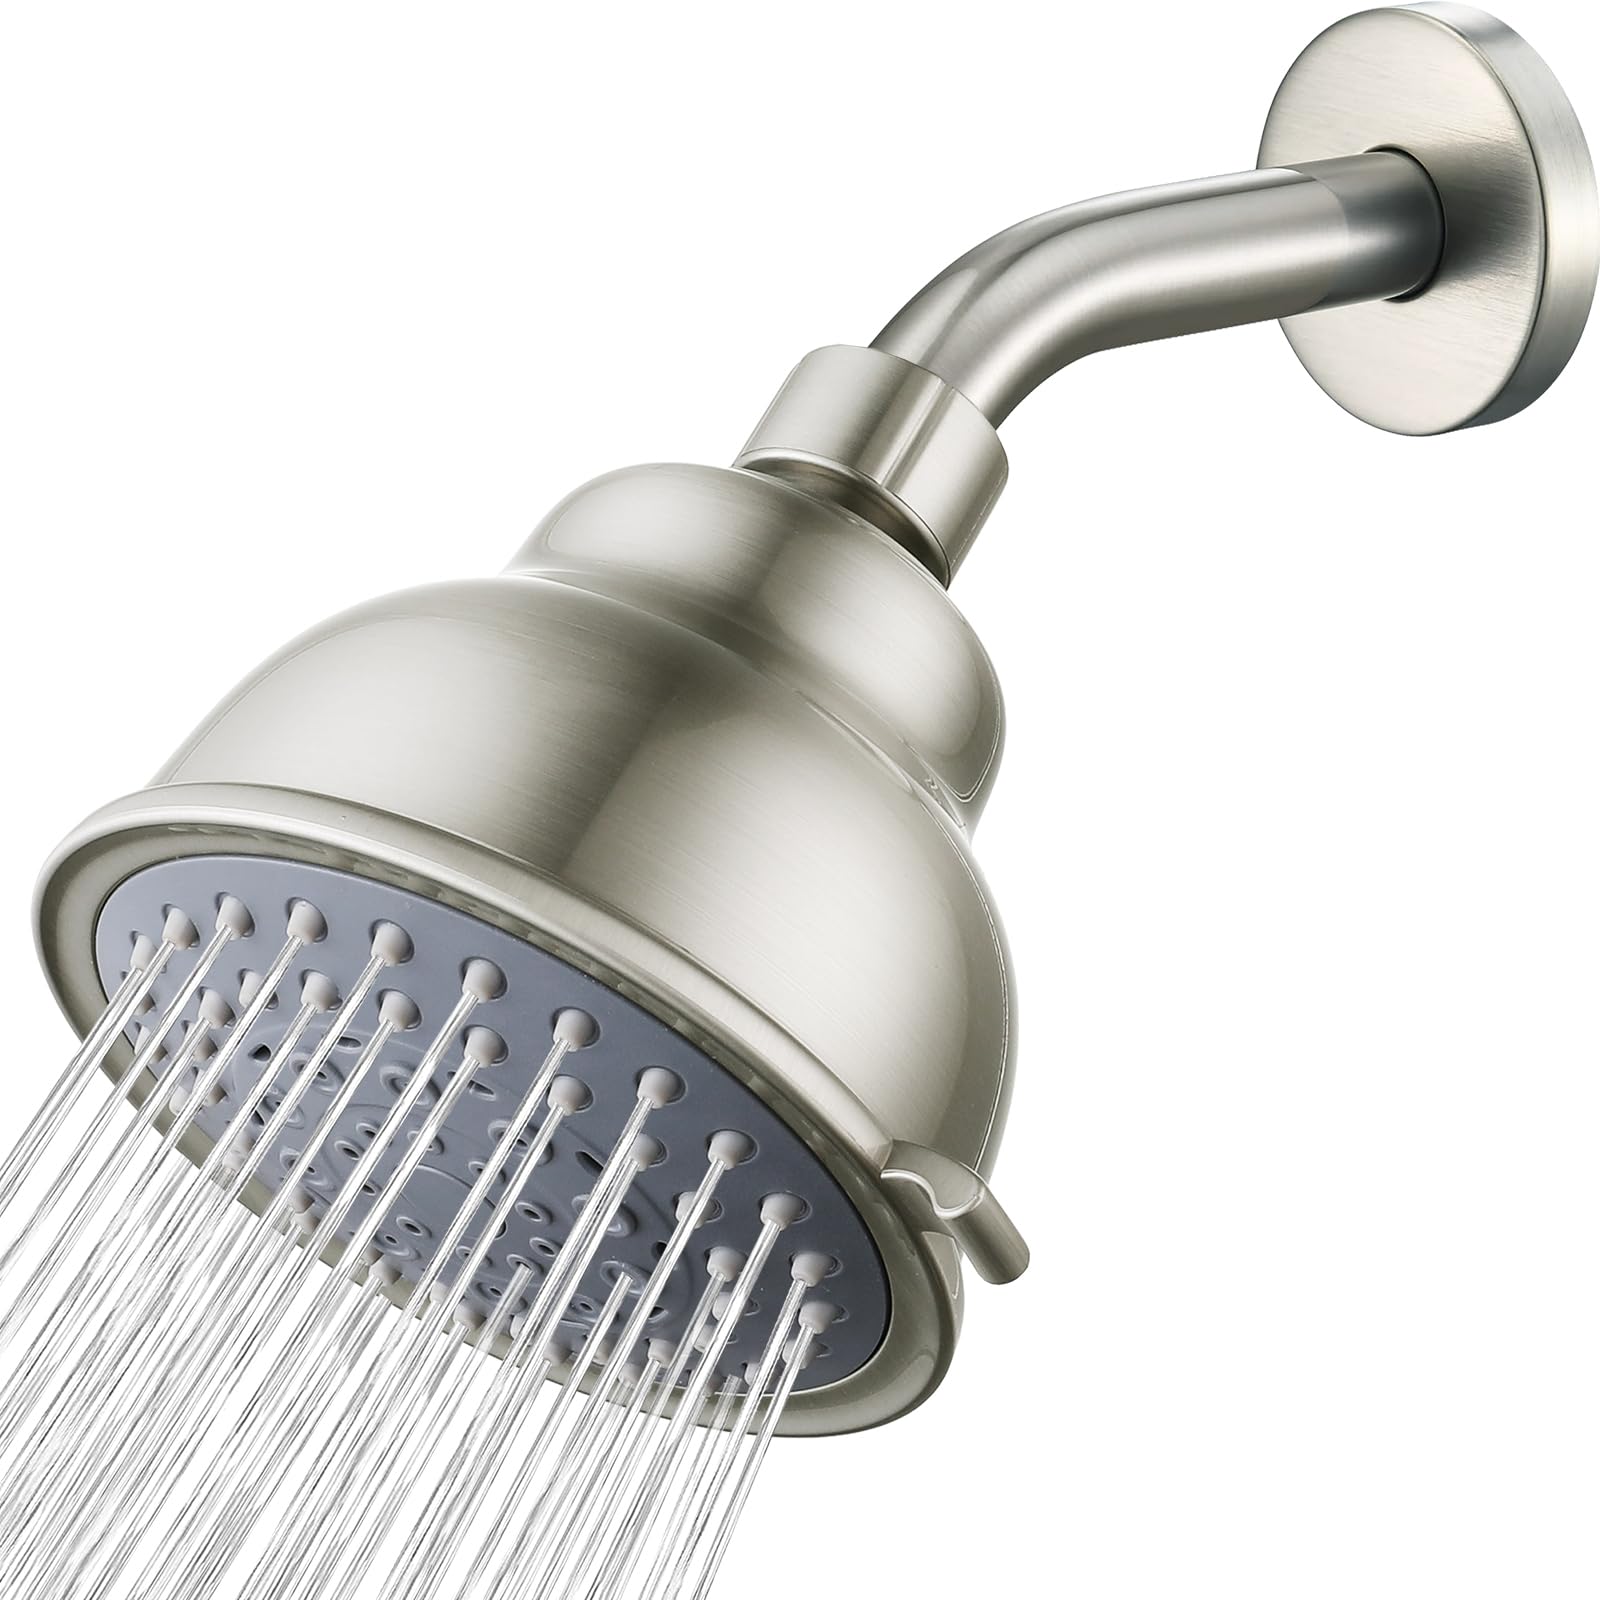
Waterpik 6-Spray Patterns 3.5 in. Single Wall Mount Low Flow Fixed Shower Head in Chrome NSC-623HE
Get a customizable shower ranging from relaxing to invigorating. This Waterpik PowerSpray 6-spray showerhead in chrome conserves water while offering 6 powerful spray settings that deliver an incredibly
Steps


Remove Existing Shower Arm and Shower Head
10 minsCarefully remove the existing shower arm using an adjustable wrench. Wrap a rag around the arm for better grip and to prevent scratching. Once loosened, remove it by hand. Then, use an adjustable wrench to remove the old shower head. Remember to turn the wrench counter-clockwise.
Watch: Remove Existing Showerhead
Install Dual Shower Head Diverter Valve
15 minsInstall the dual shower head diverter valve where the old shower arm was. Wrap Teflon tape clockwise around the valve's threads to create a watertight seal. This is crucial to prevent leaks. Screw the valve securely into the shower fitting.
Watch: Install New Shower Arm and Flange
Attach Shower Arms and Low-Flow Shower Heads
15 minsAttach the shower arms to the diverter valve outlets, ensuring a secure fit. Next, screw on your low-flow shower heads. Hand-tighten first, then use an adjustable wrench for a firm seal. Ensure that the shower heads are properly positioned.
Watch: Reinstall Shower Arm and Head
Common Problems
Water leaking after installation
Solution: Double-check all connections and follow the installation steps carefully.
Prevention: If leaks are present, immediately turn off the water supply and re-check all connections.
Frequently Asked Questions
Why is 'Shut Off Water Supply' the very first step, and what happens if I forget this crucial safety precaution?
Shutting off the water supply to your shower or entire home is the most critical initial safety step to prevent significant water damage and flooding. Forgetting to do so will result in an uncontrolled gush of water as soon as you remove the existing shower arm or install the new diverter, potentially causing costly damage. Always double-check by briefly turning on the shower to confirm the water is off before proceeding.
Do I need the specific Husky 12 in. Adjustable Wrench mentioned, and why is plumber's tape so important for this project?
While the Husky wrench is a recommended tool, any standard adjustable wrench of sufficient size will work for tightening the connections. Plumber's tape (Teflon tape) is crucial for creating a watertight seal on all threaded connections, preventing leaks. Wrap it clockwise around the threads 3-5 times for an effective and reliable seal.
How does installing dual 'low-flow' shower heads actually help with existing low water pressure, instead of making it worse?
Low-flow shower heads are specifically designed to maximize perceived pressure by either constricting the water stream or introducing aeration, even with less water usage. The diverter allows you to concentrate the available water flow to one head at a time, directing the full pressure to a single spray rather than thinly splitting a weak flow between two, significantly improving your showering experience.
The project mentions a Speakman Sentinel Mark II Thermostatic Diverter. Do I absolutely need a thermostatic diverter, and how should I choose one?
A thermostatic diverter like the Speakman model helps maintain a consistent water temperature, preventing sudden scalding or cold shocks when switching between shower heads. While a standard (non-thermostatic) diverter will still allow dual head functionality, the thermostatic feature offers a significant upgrade in comfort and safety. When choosing, ensure it's compatible with your existing plumbing and rated for your desired water flow and shower setup.
Is this dual shower head installation truly a 'beginner' project, and is the 3-hour estimated time realistic?
Yes, this project is considered beginner-friendly as it primarily involves simple unscrewing and screwing components with basic tools. The 3-hour estimate is realistic for someone new to DIY, assuming all tools and materials are at hand and no unexpected issues arise, such as heavily corroded or seized plumbing. Allowing a bit of extra time for meticulous leak checks is always a good idea.
What should I do if I find a leak during the 'Check for Leaks' step, and what are common reasons for them?
If you discover a leak, immediately shut off the water supply again. Common reasons include insufficient plumber's tape, improper tightening (either too loose or cross-threaded), or damaged threads. Disassemble the leaking connection, clean the threads thoroughly, reapply plumber's tape liberally (3-5 wraps, clockwise) ensuring full coverage, and retighten firmly but carefully with your adjustable wrench.