
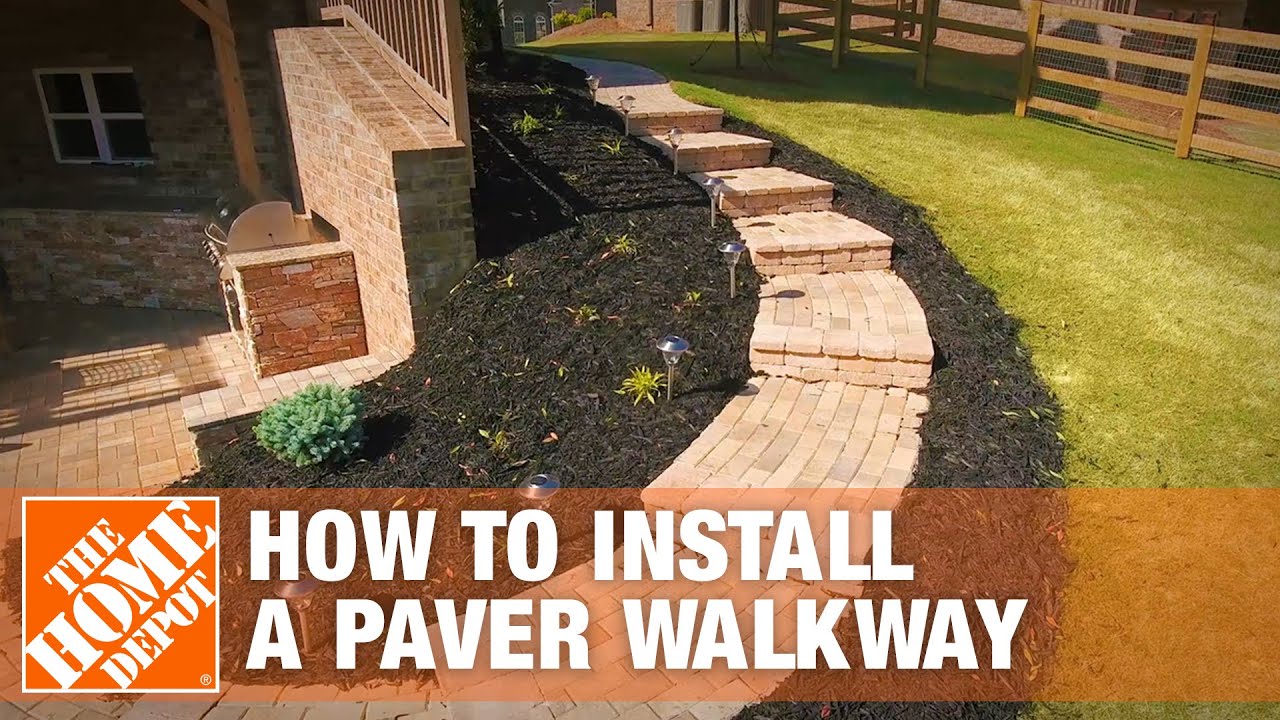
How to Build Paver Steps into a Hill
About This Project
Outline for building durable and aesthetically pleasing steps into a hillside using pavers.
Tools & Materials
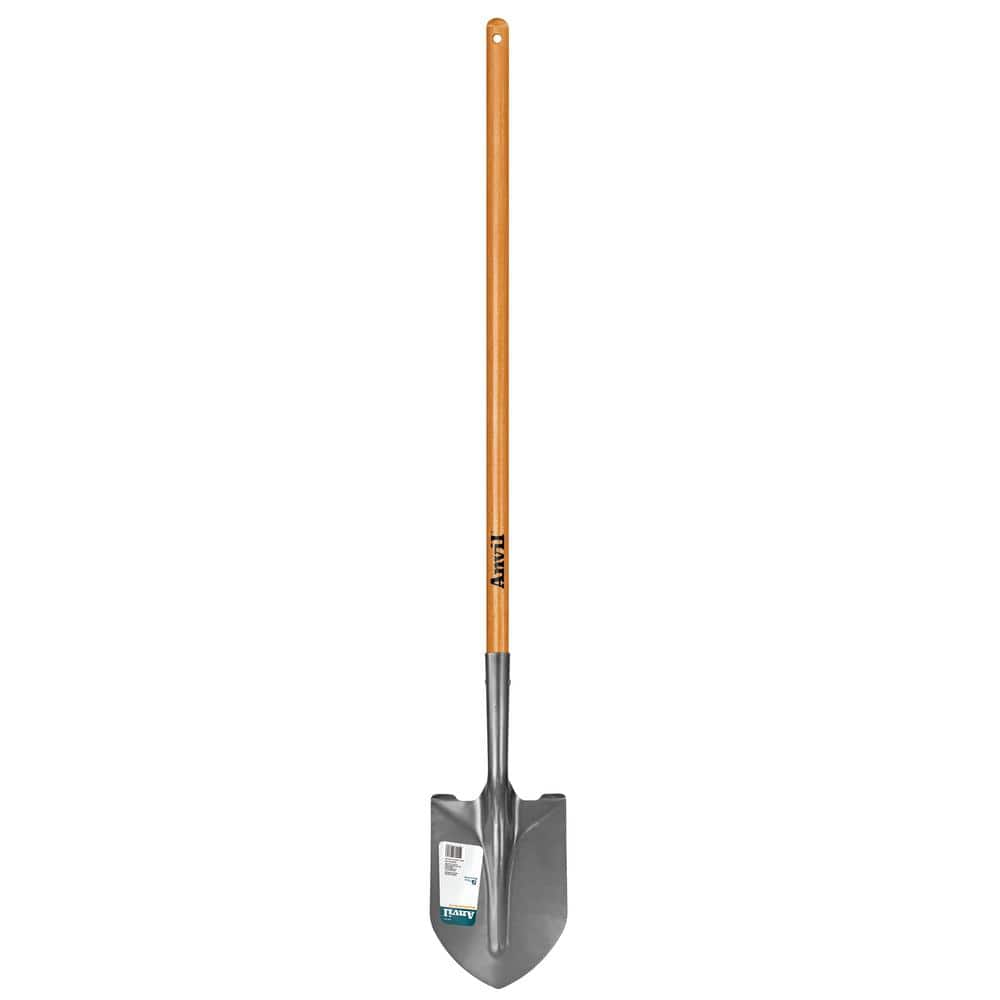
Anvil 47 in. Wood Handle Carbon Steel Digging Shovel 77470-939

Bullet Tools Ergonomic Flooring Tapping Block 711
Measuring Tape
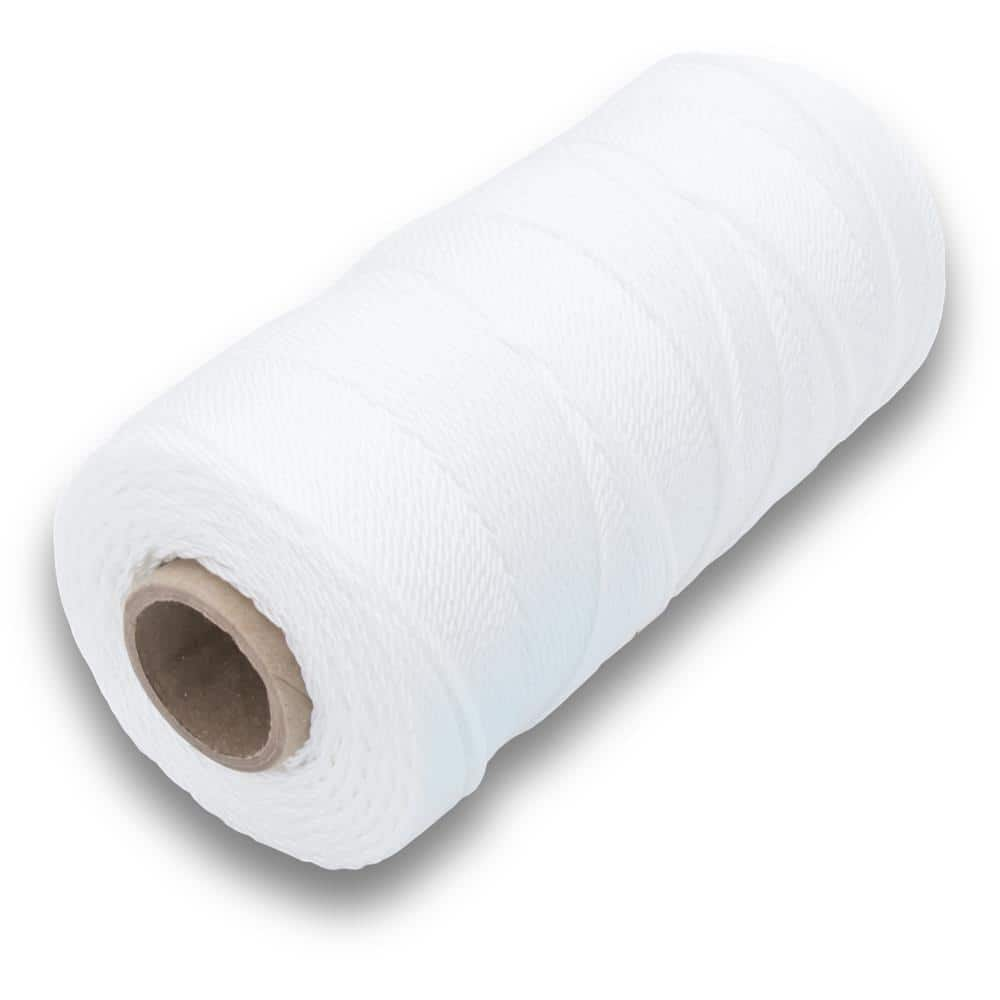
MARSHALLTOWN 1000 ft. White Twisted Mason's String Line 629
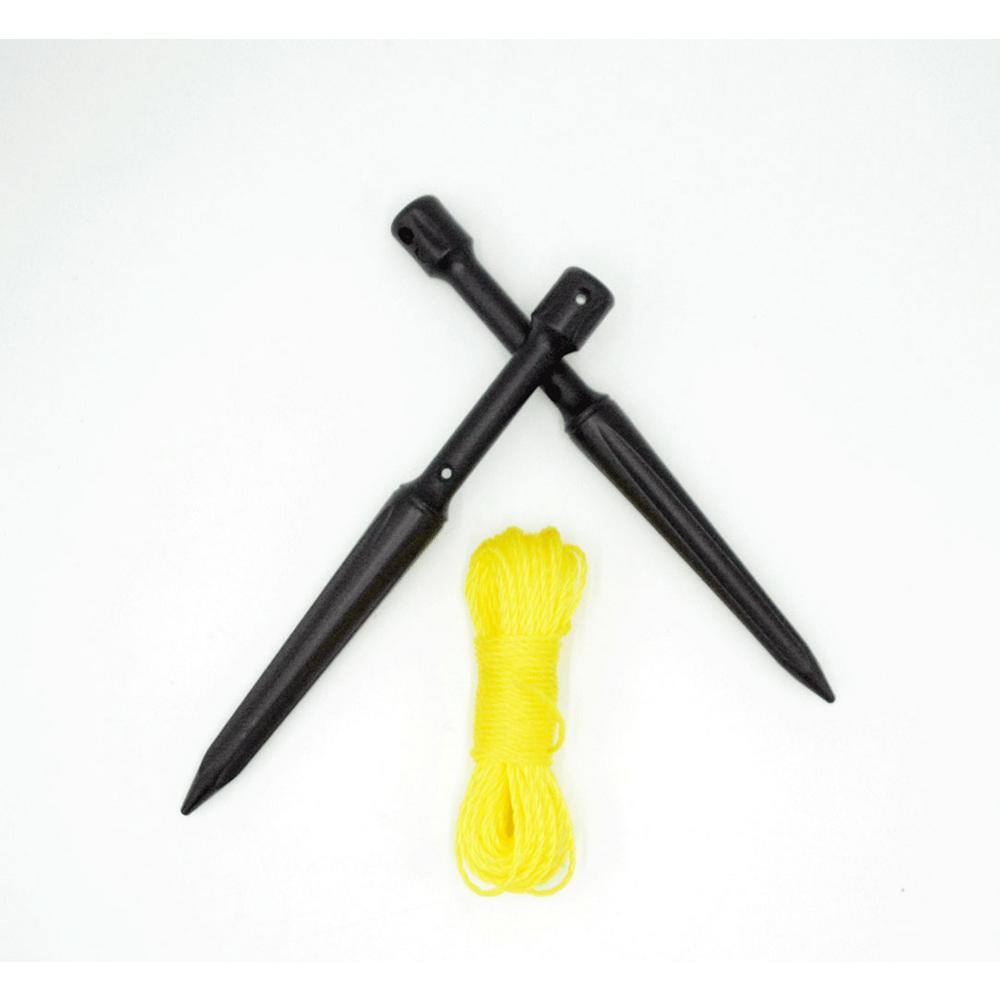
Planting Line Stake Holder Set and 50 ft. Nylon Cord GA711
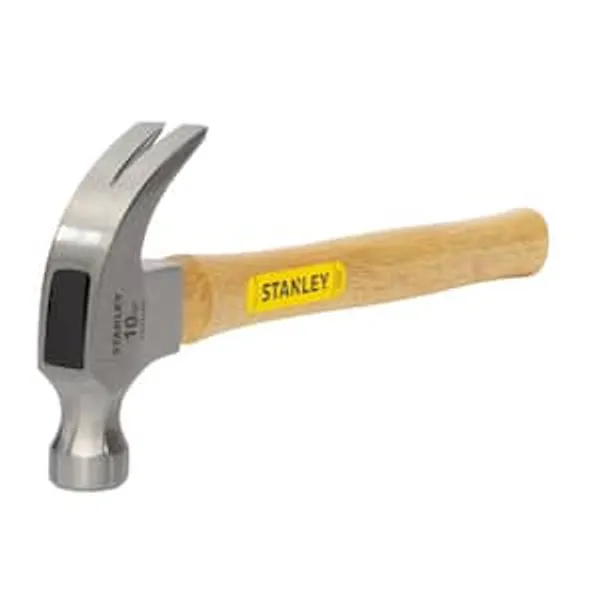
Hammer
Anvil 47 in. Wood Handle Carbon Steel Digging Shovel 77470-939
Discover the Unparalleled Performance of the Anvil 47 in. Digging Shovel. Are you seeking a digging shovel that combines durability, strength, and reliable performance. Look no further than the Anvil Digging Shovel. Crafted with a laser-cut blade made of high-quality carbon steel, it effortlessly slices through soil, roots, and debris, making it an ideal tool for all your lawn and garden projects. What sets this shovel apart is the head, which is fully tempered for exceptional strength and durability. This means it can withstand the toughest digging tasks with ease and longevity. The 47 in. wood handle is not only functional but visually appealing as well, thanks to its varnished finish. This coating not only adds to its appearance but also provides protection against the elements, ensuring your shovel stays in top condition for years to come. This tool comes with a 5-year manufacturer warranty.
Bullet Tools Ergonomic Flooring Tapping Block 711
The Ergonomic Tapping Block provides a very durable, high-quality plastic tapping block for closing gaps during flooring installation. Heavy Duty Tapping Block so that it will long lasting. Comes with
Measuring Tape
For accurate measurements of plywood and components, ensuring proper assembly.
MARSHALLTOWN 1000 ft. White Twisted Mason's String Line 629
This Marshalltown 1,000 ft. White Twisted Mason's String Line is ideal for staking out construction sites for concrete, brick, block or landscaping layouts. This rope isn't affected by mortar, oil and
Planting Line Stake Holder Set and 50 ft. Nylon Cord GA711
The Zenport GA711 Planting Line Stake Holder for professional vegetable gardening. Great helper for garden design projects. Kit comes with a two 12 in. x 1 in. plastic stake holder. Kit also comes with
Hammer
Delivers forceful blows with precision.
Steps

Excavate for Step Base
120 minutesMark the outline of the first step's footprint. Dig down to the required depth, accounting for the thickness of the paver base material (e.g., compacted gravel) and the pavers themselves. The excavated area should be wider than the planned steps to allow for retaining the sides. Ensure the bottom of the excavation is level.
Watch: Excavate Base Material
Install Retaining Edge (Optional but Recommended)
90 minutesIf using a retaining edge, such as landscape timbers, heavy-duty plastic edging, or concrete blocks, secure it firmly around the perimeter of the excavated area. This edge will help contain the gravel base and provide a stable edge for the pavers. For timber or block edges, ensure they are level and plumb.
Watch: Install Edge Restraints and Ensure Drainage
Add and Compact Paver Base
180 minutesAdd a layer of coarse gravel (e.g., crushed stone or paver base material) to the excavation. Spread it evenly to a depth of 4-6 inches. Compact the gravel thoroughly using a hand tamper or a plate compactor. Repeat in 2-3 inch layers until the desired base depth is reached and it is firm and level, slightly below the final paver height.
Watch: Build the Gravel Base
Lay Sand Setting Bed
60 minutesAdd a layer of coarse sand (e.g., coarse masonry sand or concrete sand) over the compacted gravel. Aim for a consistent thickness of about 1 inch. Use screed rails (pipes or lumber) to strike off the sand to a perfectly level surface, ensuring it is slightly below the final desired paver height to account for paver thickness.
Watch: Add Sand Bedding
Set First Row of Pavers
90 minutesPlace the first paver onto the sand bed, pressing it down gently. Use a rubber mallet to tap it into place, ensuring it is flush with the retaining edge (if used) and level. Continue laying pavers for the first row, maintaining consistent joint widths (typically 1/8 to 1/4 inch). Check for levelness across multiple pavers and along the row.
Watch: Lay the First Row of PaversLay Subsequent Rows of Pavers
240 minutesLay subsequent rows of pavers, staggering the joints between pavers by at least one-third of a paver's length. This 'running bond' or 'offset' pattern provides structural integrity. Ensure each paver is level and firmly seated in the sand. Check for alignment with the previous row and maintain consistent joint spacing.
Watch: Lay and Level the Pavers
Cut Pavers for Edges and Risers
120 minutesFor the vertical 'risers' between step treads, you may need to cut pavers to size. Use a wet saw or a specialized paver saw to make precise cuts. Measure carefully before cutting. Ensure cut edges are clean and smooth. Secure cut pavers with construction adhesive if necessary, especially for risers.
Watch: Cut Pavers for Edge DetailsInstall Risers and Treads
180 minutesFor each step, first install the riser pavers against the back of the previous tread. Ensure they are plumb and securely set. Then, lay the tread pavers for the current step on top of the sand bed, ensuring they are level and firmly seated. Use construction adhesive to bond risers to treads if desired for extra stability, particularly on steeper slopes.
Watch: Lay Step Treads and Continue Pavers
Sweep Joint Sand
60 minutesOnce all pavers are laid and any necessary cuts are made, sweep a fine polymeric sand or regular paver joint sand across the surface of the pavers. Work the sand into all the gaps and joints between them. Ensure all joints are completely filled.
Watch: Sweep in Joint Sand
Compact Paver Surface
60 minutesUse a plate compactor with a protective pad (or a hand tamper for small areas) to go over the entire surface of the paver steps. This vibration will settle the pavers into the sand bed and help lock them together with the joint sand. Make multiple passes in different directions.
Watch: Compact Pavers
Final Joint Sand Application and Cleaning
30 minutesAfter compacting, sweep away any loose excess sand from the paver surface. If you used polymeric sand, you may need to lightly mist the surface with water according to the manufacturer's instructions to cure the sand. Clean the surrounding area of any debris.
Watch: Activate Polymeric Sand