

Wall-Mounted Television Installation
About This Project
Tired of bulky TV stands taking up valuable floor space? Mounting your television on the wall is a fantastic DIY project that creates a clean, modern look and enhances safety. This guide will walk you through every step, from choosing the right hardware to hanging your TV securely, empowering you to achieve a result you can be proud of.
Tools & Materials
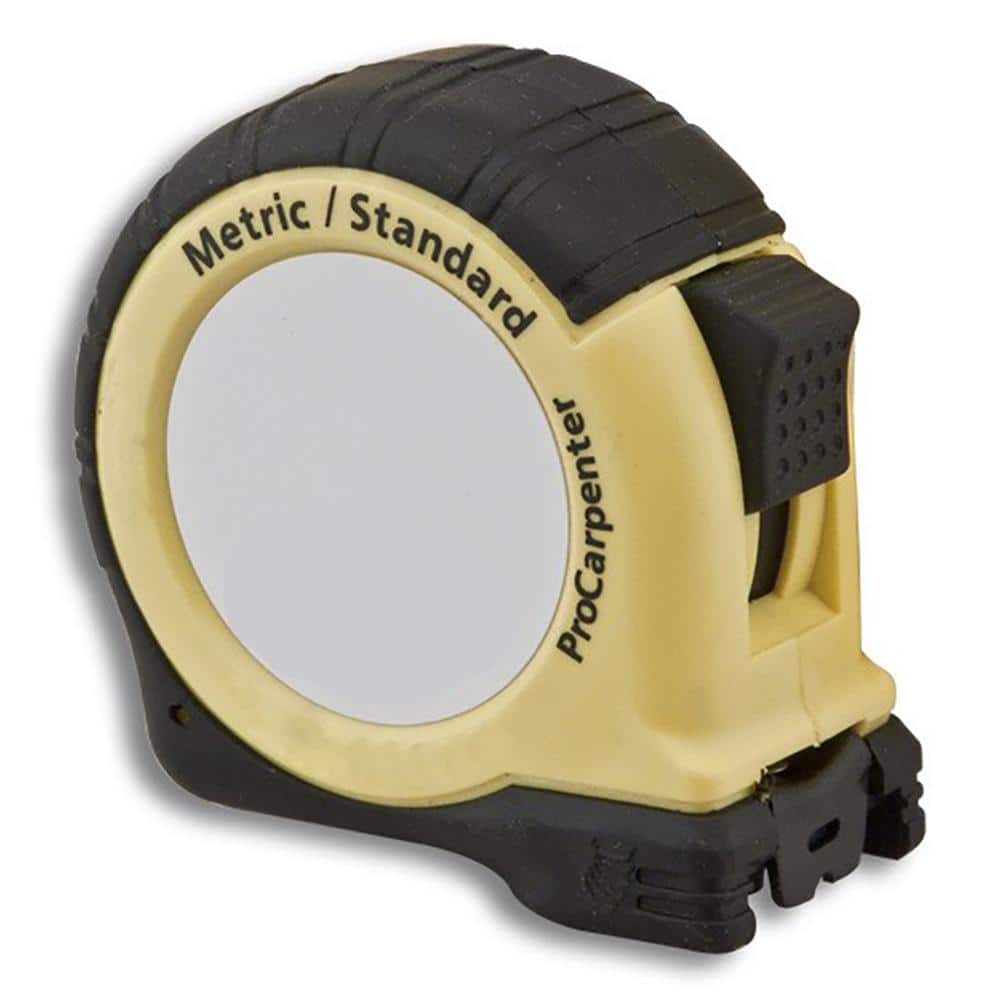
FASTCAP 16 ft. Metric/Standard Measure Tape FC.PMS.16
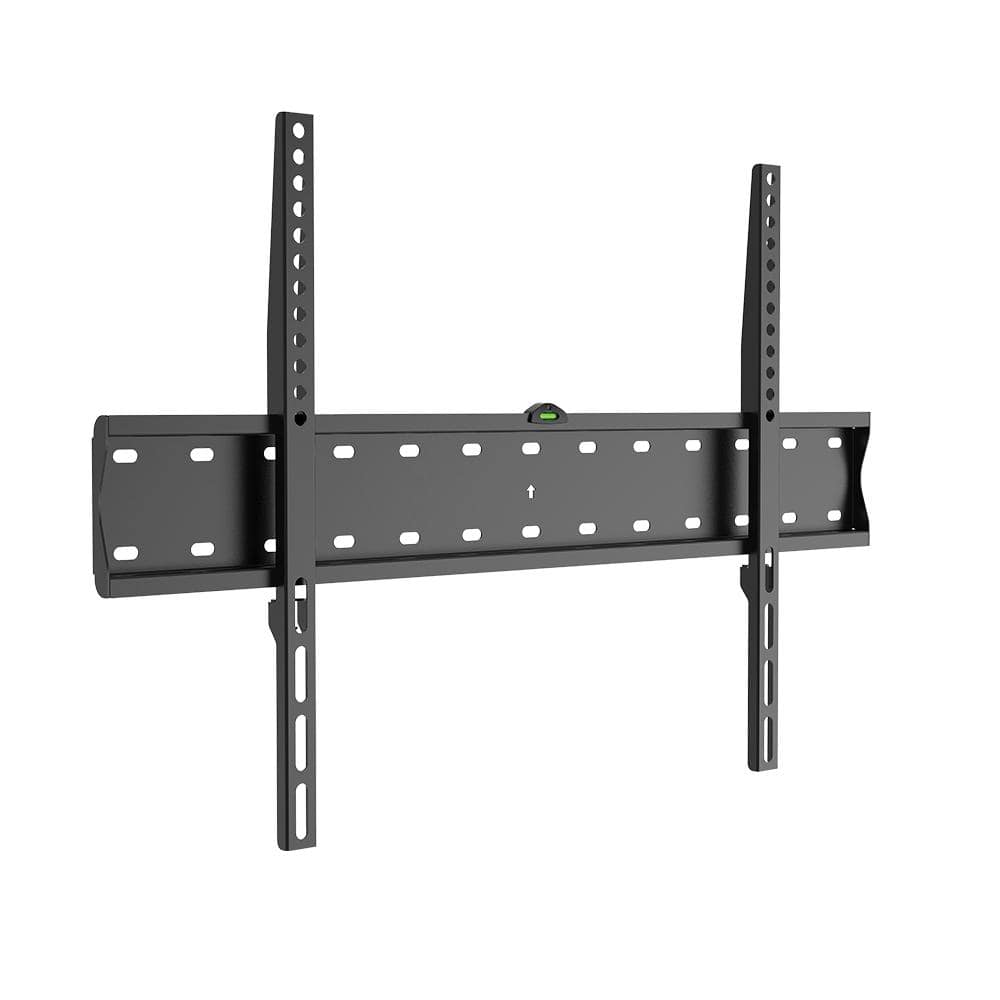
Commercial Electric Fixed Mount for 37 in. - 90 in. TVs MB-50900
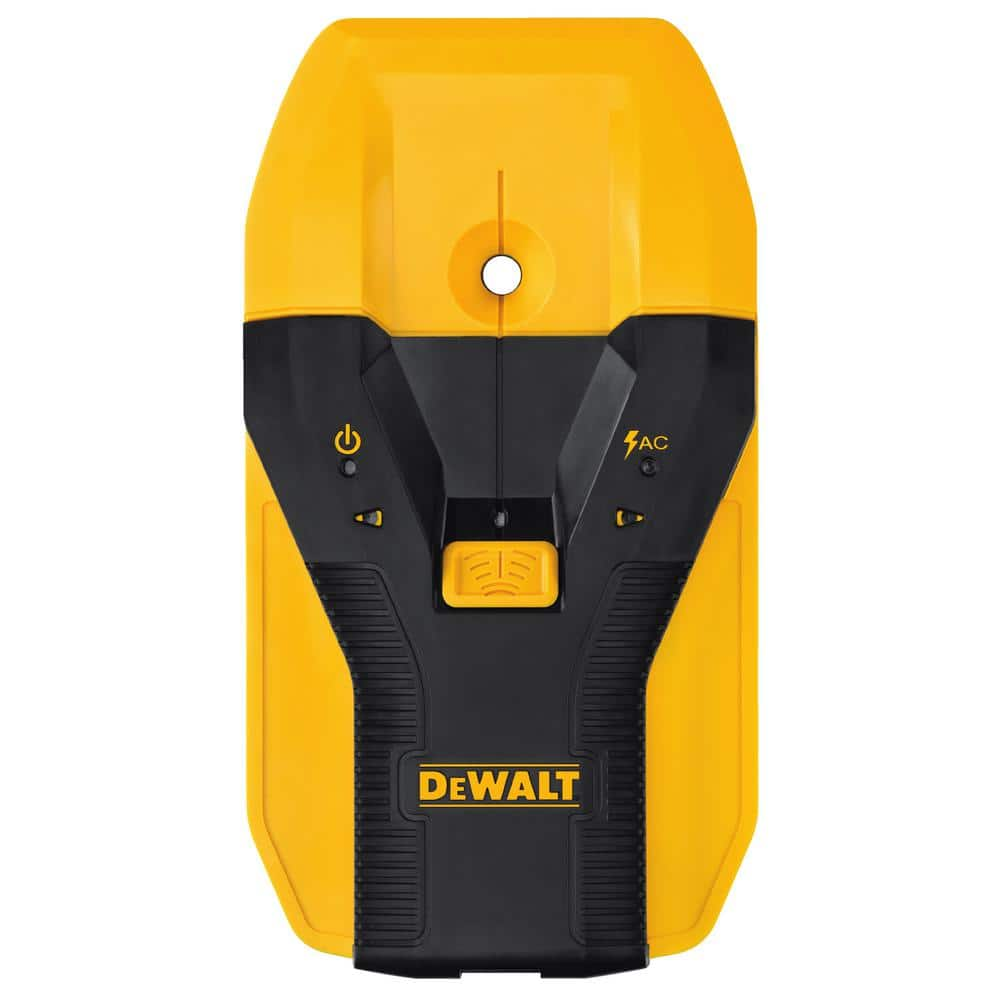
DEWALT 1-1/2 in. Stud Finder DW0150
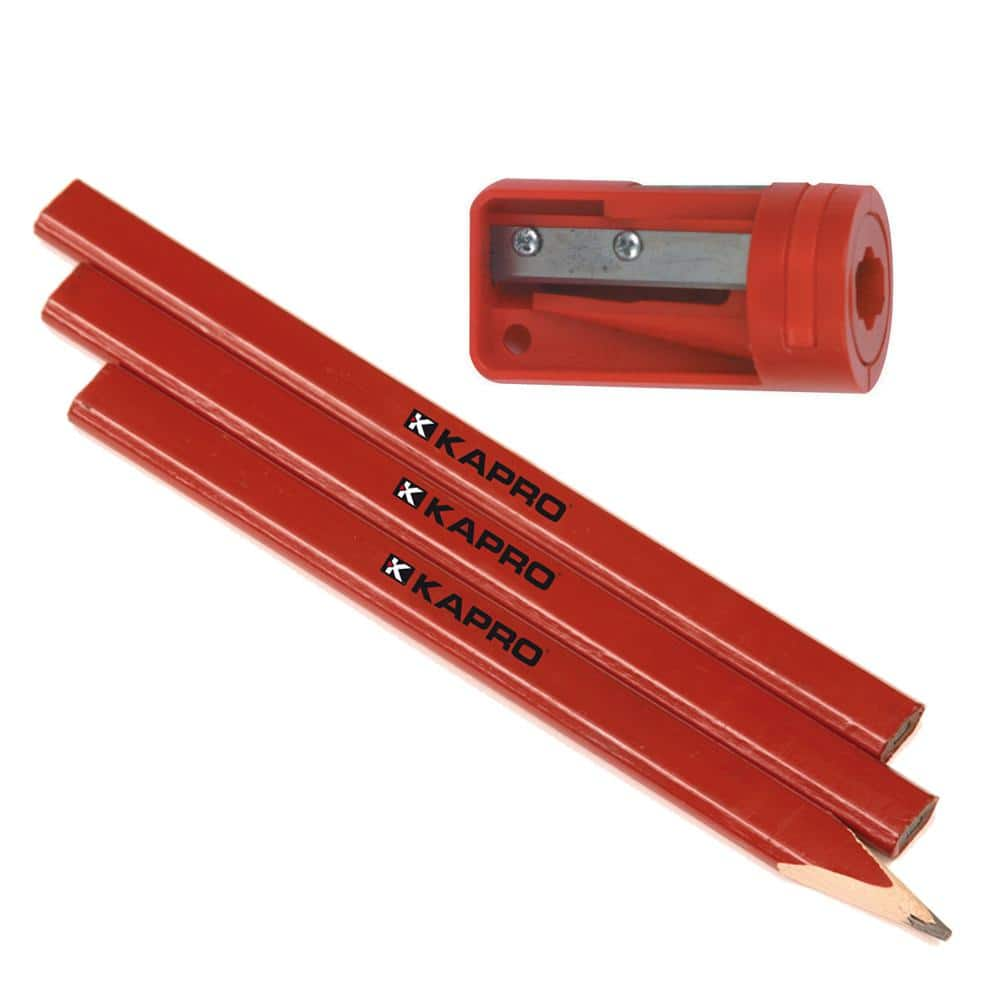
Kapro Sharpener and 3 Pencil Set 275S
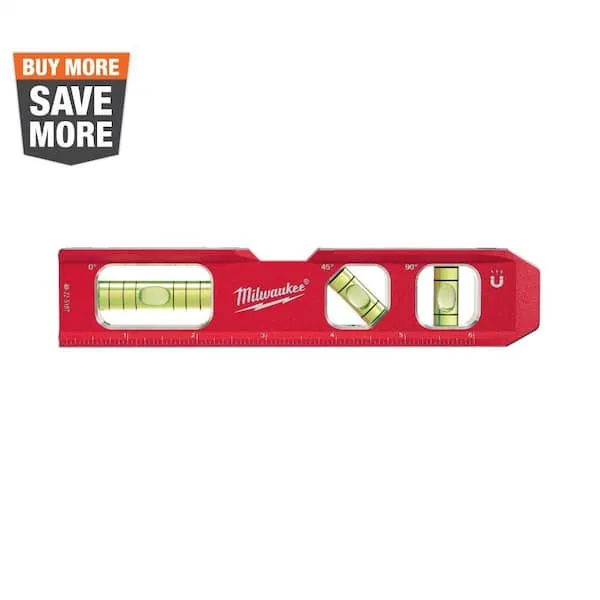
Level
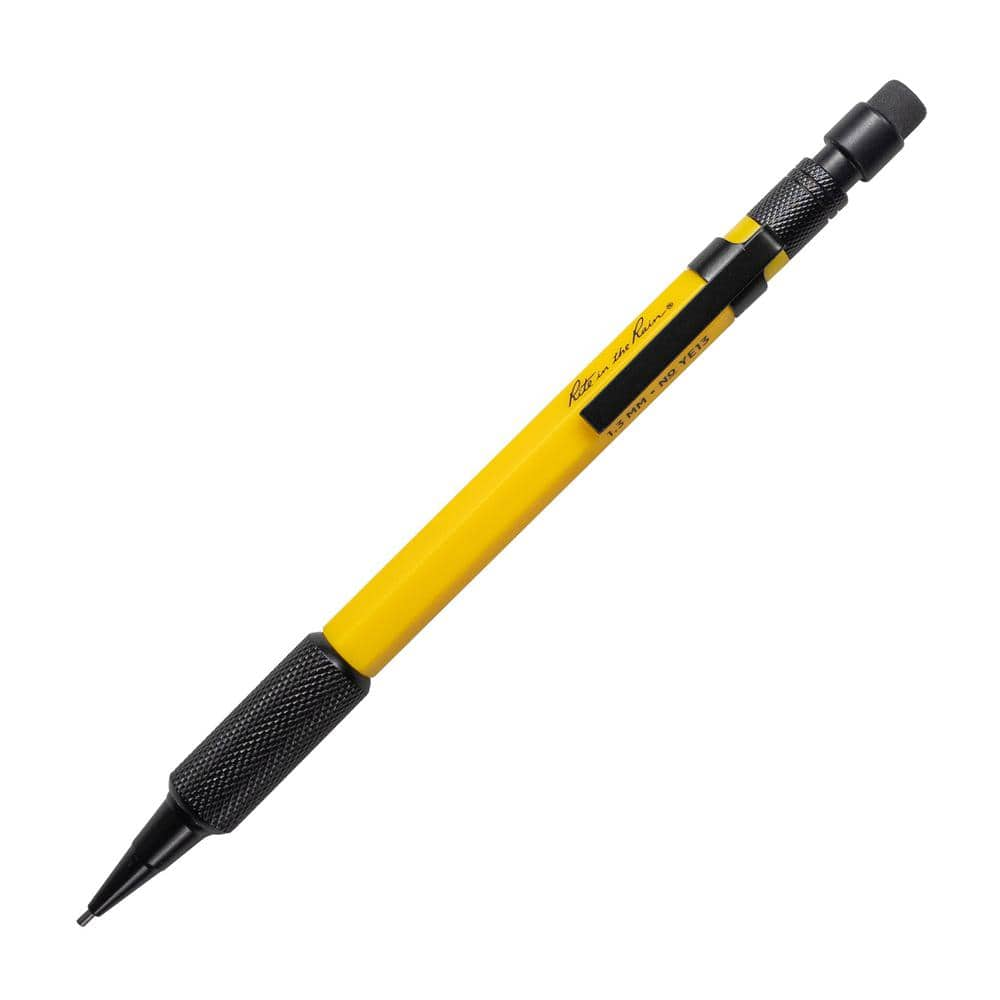
Rite in the Rain 1.3 mm Black Lead Weatherproof Mechanical Pencil, Yellow Barrel YE13
FASTCAP 16 ft. Metric/Standard Measure Tape FC.PMS.16
The Fastcap ProCarpenter Tape Measures are developed with 7 innovative features that are helpful in building fine furniture or cabinets. Exclusively available on the Metric/Standard 16 ft. tape measures
Commercial Electric Fixed Mount for 37 in. - 90 in. TVs MB-50900
This Fixed TV Wall Mount is Easy to use and install is designed to fit any 37 in. to 90 in. Flat Panel TV up to 100 lbs. This fixed-position mount is perfect for viewing your TV at eye level. Integrated
DEWALT 1-1/2 in. Stud Finder DW0150
This Center Sensor Stud Finder has a detection depth of 1-1/2 in. for wood and metal. Traditional stud sensors locate the edge of the stud, but our new product locates the center for a more efficient read, even when held at an angle. Plus, it is constantly calibrating to save time during use. An audible alert and directional LED arrows clearly notify you once the stud is located and you can easily mark the center of the stud with the center marking channel.
Kapro Sharpener and 3 Pencil Set 275S
The Kapro 275S Carpenter Set includes 3 quality carpenter pencils and 1 carpenter sharpener. A reliable staple for carpentry work, this pencil sharpener has a built-in emery board for fine sharpening and a durable plastic body. These construction pencils resist crumbling while sharpening. The carpenter sharpener fits most carpenter pencils and can be used in carpentry and construction projects. At Kapro, we reimagine precision tools and accessories for professional craftsmen to weekend warriors while setting high standards by driving innovation in our designs.
Level
Ensures surfaces are just right.
Rite in the Rain 1.3 mm Black Lead Weatherproof Mechanical Pencil, Yellow Barrel YE13
Do you prefer using pencils but fear they'll break when it matters most when out taking job notes. You're not alone. The Rite in the Rain Mechanical Pencil may well be the last pencil you'll ever need
Steps

Choose the Right Mount for Your TV
30 minutesFirst, find your TV's VESA pattern—this is the standard distance between the four mounting holes on the back of your TV (e.g., 200x200mm). Next, confirm the mount's weight capacity can easily handle your television for total peace of mind. Finally, decide what kind of functionality you need: a fixed mount for a simple, low-profile look; a tilting mount to reduce glare; or a full-motion mount for complete viewing flexibility. Investing in the right quality mount is the first step to success.
Watch: Gather Tools and Select TV MountLocate Wall Studs for a Secure Anchor
15 minutesUsing an electronic stud finder, scan the wall where you plan to hang your TV. Clearly mark the center of at least two studs with a pencil. Drywall alone is not strong enough to hold the weight of a television and will fail. Anchoring directly into the studs provides the structural support needed to keep your TV—and your family—safe.
Watch: Locate Studs and Mark Pilot Holes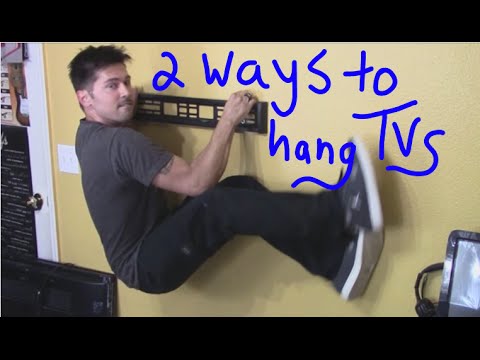
Position and Mark the Mount Placement
10 minutesDecide on the ideal height for your TV—a good rule of thumb is to have the center of the screen at eye level when you're seated. Hold the mount's wall plate against the wall, making sure it's centered over your marked studs. Use a level to ensure it's perfectly horizontal for a professional finish. Then, use a pencil to mark where your screws will go through the holes in the plate.
Watch: Mark Wall Plate Positions
Drill Pilot Holes for a Strong Hold
15 minutesChoose a drill bit that's slightly smaller in diameter than the lag bolts that came with your mount. This is key for a tight, secure fit. Carefully drill a straight hole at each of your marks, directly into the center of the stud. Make sure the hole is deep enough for the entire lag bolt.
Watch: Pre-Drill Pilot HolesAttach the Wall Plate
10 minutesLine up the wall plate with your pilot holes. Insert the lag bolts through the plate and into the holes. Using a socket wrench, tighten the bolts until the plate is absolutely firm and snug against the wall. Give it a gentle tug—there should be no movement or wiggle at all.
Watch: Final Level Check and Tighten Wall Mount
Attach Brackets to Your TV
15 minutesLay your TV face down on a soft, protected surface. Identify the VESA mounting holes on the back. Attach the vertical brackets using the screws included with your mount. Pay close attention here: using screws that are too long can damage your TV's internal components, while screws that are too short won't be secure. Use the included washers if needed to get a perfectly snug fit.
Watch: Pre-assemble Mount to TVHang the TV on the Mount
10 minutesFor safety, always ask for help with this step. Together, lift the TV and carefully align the brackets on the back with the wall plate. Gently lower the TV until you feel the brackets securely hook onto the mount's rail. Most mounts are designed to 'seat' the TV with a satisfying clunk, letting you know it's in place.
Watch: Mount TV to Wall
Secure and Adjust for Peace of Mind
10 minutesMany mounts have safety screws or locking tabs at the bottom of the brackets. Be sure to engage these mechanisms to prevent the TV from being accidentally bumped or lifted off the mount. This is a crucial step for families with children or pets. Once locked, gently test the TV's stability. If you have an adjustable mount, now is the time to set your preferred tilt and angle. You did it!
Watch: Final Adjustments and Cable Management