Toilet Installation Guide: Mastering Bathroom Plumbing with Diagrams
About This Project
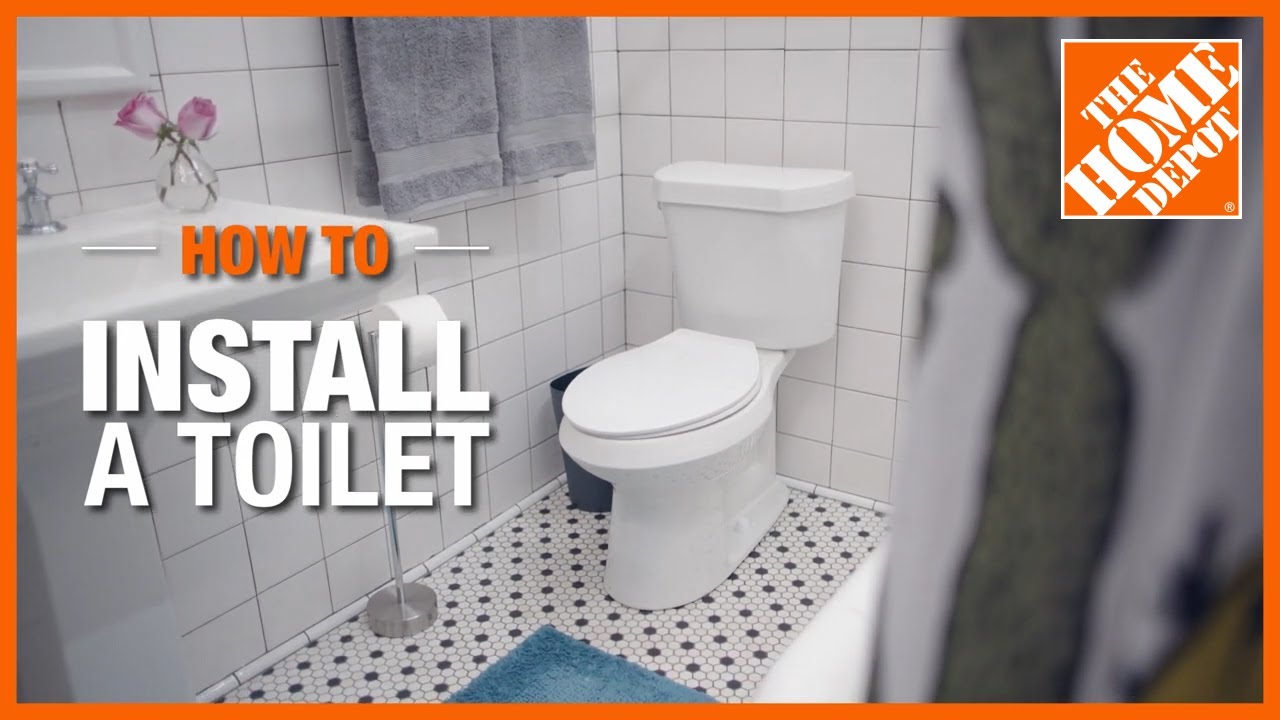
This project details the process of installing a toilet, covering steps from preparation and removal of the old unit to installation and final checks. It begins with disconnecting the water supply, flushing, and emptying the tank and bowl. Next, the old tank is removed followed by detaching the bowl from the floor, breaking the wax seal, and removing the old wax ring. A new wax ring is installed on the flange, and the new bowl is carefully lowered onto it, aligning the bolts. The bowl is secured with nuts and bolts, tightened evenly to avoid wobbling. The tank is then placed on the bowl, aligned with the bolts, and fastened. Finally, the water supply line is connected, and a leak test is performed by turning the water back on and flushing multiple times to verify functionality and seal integrity.
Best for experienced DIYers and homeowners with some experience.
Tools & Materials

HDX Multi-Purpose Sponge (2- Sponges) 32242

Adjustable Wrench
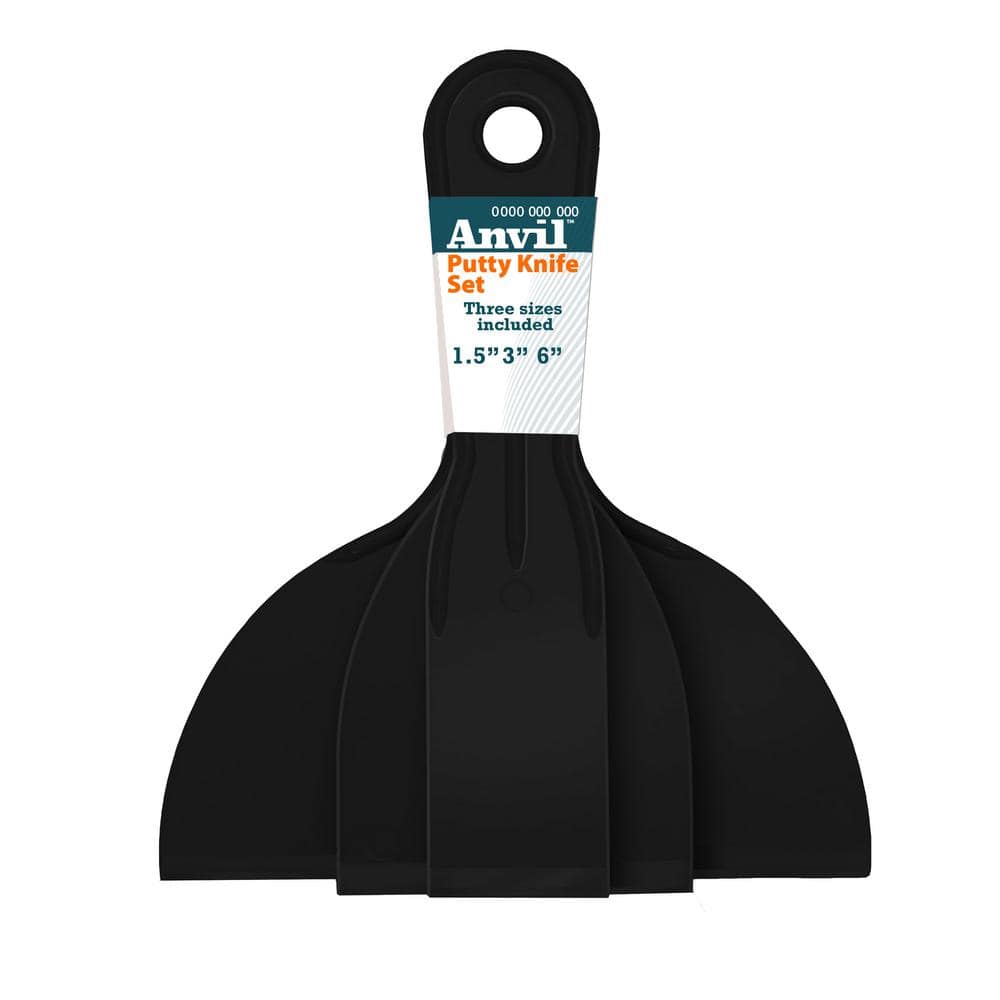
Anvil 1.5/3/6 in. Plastic Putty Knife Set, 3 Pack DS-3PKLHD
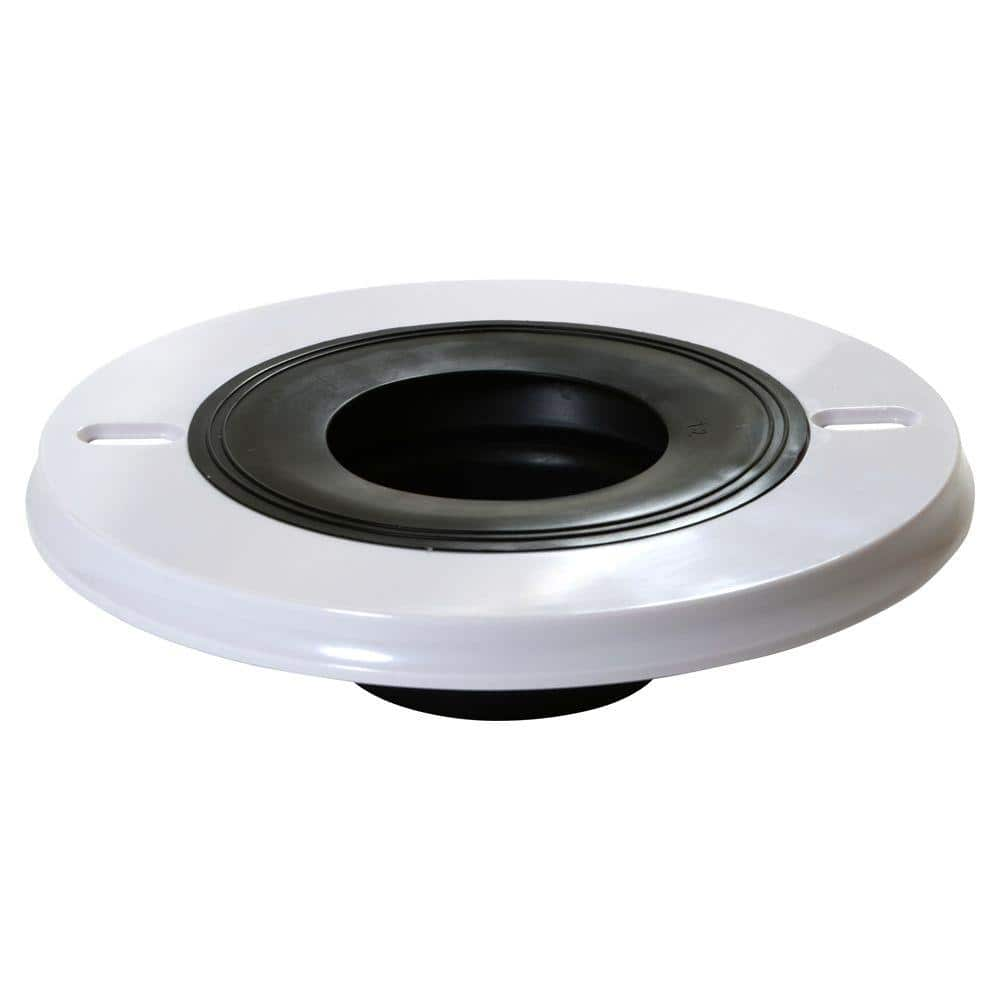
DANCO HydroCap Sure Seat Wax Ring Cap HCP110X
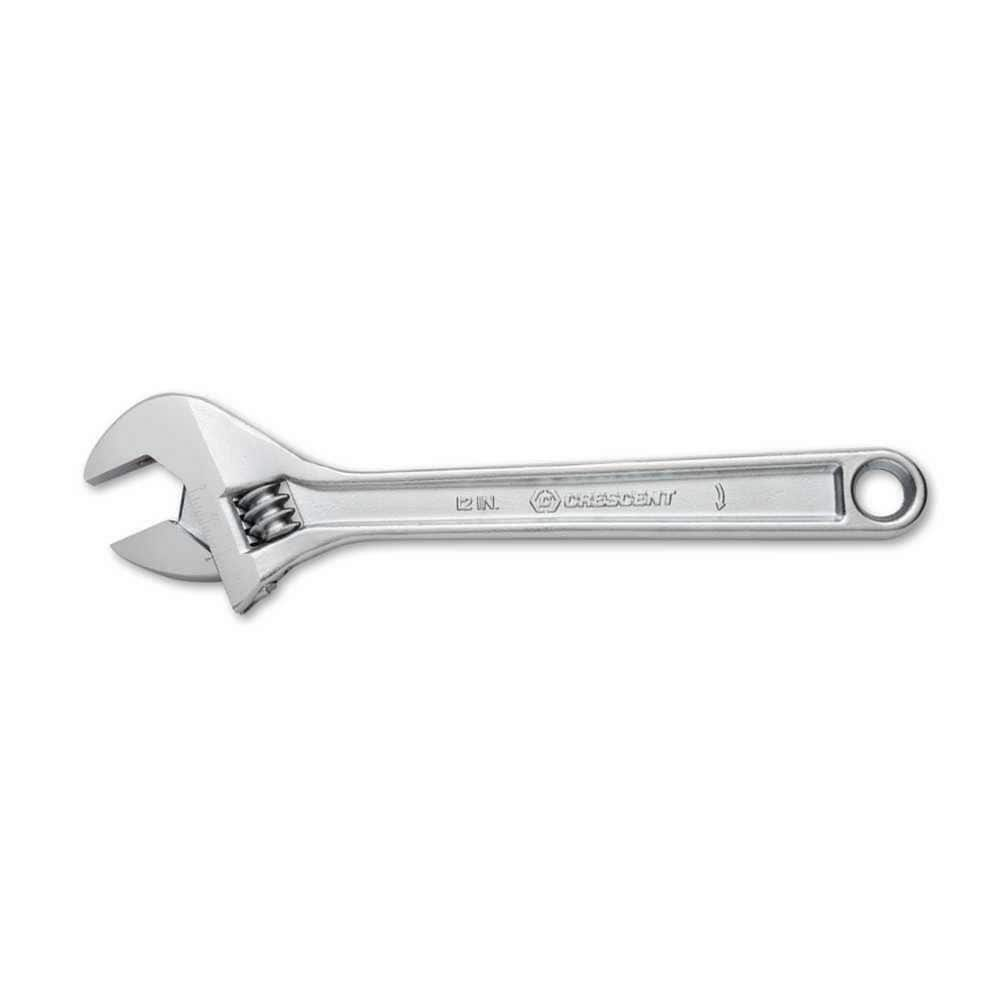
Crescent 12 in. Chrome Adjustable Wrench AC212VS
HDX Multi-Purpose Sponge (2- Sponges) 32242
HDX Hydrophilic Sponge 7.25 in. x 5 in. x 1.875 in. (2-Pack) highly absorbent, the HDX Sponge washes, wipes, and rinses faster. Strong enough for use with acid based products like TSP. Heavy-duty polyester
Adjustable Wrench
Fits various nut and bolt sizes with its adjustable jaw.
Anvil 1.5/3/6 in. Plastic Putty Knife Set, 3 Pack DS-3PKLHD
Putty knife set is solvent proof and disposable for your convenience. Durable polypropylene construction provides long lasting strength. Perfect for filling and patching holes and cracks, scraping and
DANCO HydroCap Sure Seat Wax Ring Cap HCP110X
The HydroCap improves wax ring performance and ensures a better seal than a wax ring alone. It creates a frame area to keep wax in place and to eliminate waxy mess and allows toilet to be reset without
Crescent 12 in. Chrome Adjustable Wrench AC212VS
Since the introduction of the original Crescent wrench in the early 1900s, the Crescent brand has become synonymous with adjustable wrenches. Crescent Adjustable Wrenches feature a large knurl for easy
Steps

Preparing for Toilet Removal: Disconnecting Water Supply
30 minsBefore you begin, shut off the water supply valve located behind or near the toilet base. If no valve exists, turn off the main water supply. Then, flush the toilet completely and use a sponge to remove any remaining water from the tank and bowl. This prevents spills and simplifies the process.
Watch: Turn Off Water and Drain Tank


Installing the New Wax Ring: Ensuring a Watertight Seal
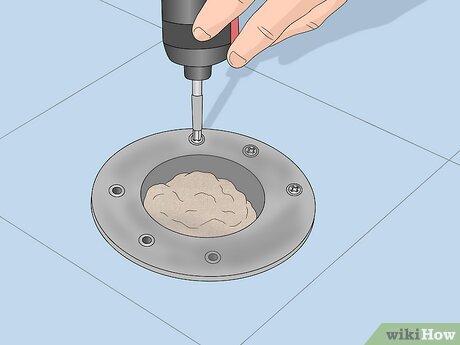
10 minsApply a new wax ring (or a Fluidmaster Better Than Wax seal for easier installation) to the toilet flange, ensuring it's centered and smoothly pressed. Follow the manufacturer’s instructions for your chosen seal.
Watch: Install New Wax Ring
Securing the Toilet Bowl: Aligning and Tightening
20 minsCarefully lower the new toilet bowl onto the wax ring, ensuring the bolts align perfectly with the holes in the base. Secure the bowl using the nuts and bolts, tightening evenly to prevent wobbling but avoid over-tightening.
Watch: Reinstall and Secure the Toilet
Installing the Toilet Tank: Connecting and Securing
15 minsPlace the tank onto the bowl, aligning the tank bolts and washers with the corresponding holes. Securely fasten the tank using the bolts and nuts. Connect the water supply line to the tank's fill valve.
Watch: Mount and Secure the Tank to the Bowl
Common Problems
Do not slide or twist the toilet once it is placed on the wax ring, as this can break the seal. If you need to reposition it, you must use a new wax ring.
Solution: To avoid this issue: Be mindful of this warning and take appropriate precautions.
Overtightening the closet bolts can easily crack the base of the toilet.
Solution: To avoid this issue: Be mindful of this warning and take appropriate precautions.
Do not overtighten the closet bolts, as this can easily crack the ceramic base of the toilet.
Solution: To avoid this issue: Be mindful of this warning and take appropriate precautions.
Once the toilet is placed on the seal, try not to rock or twist it, as this can break the seal and cause leaks.
Solution: To avoid this issue: Be mindful of this warning and take appropriate precautions.
Improper wax ring placement leads to leaks and a wasted, uncompressed ring.
Solution: The wax ring can be messy. It's a one-time use item, so once it's compressed, you can't reuse it if you have to lift the toilet again.
Leaking toilet base due to improper flange seal.
Solution: You can use either a modern foam seal or a traditional wax ring. Both work effectively to create a watertight seal.
Flange below floor level can cause leaks.
Solution: Use a reinforced or extra-thick wax ring if the flange is slightly below floor level.
Frequently Asked Questions
What essential tools do I absolutely need for a successful toilet installation?
You'll definitely need adjustable wrenches, like the 12-inch crescent wrench mentioned, for tightening nuts and supply lines. A putty knife is crucial for scraping off old wax, and a sponge along with a bucket will help manage any residual water during removal. Don't forget towels for spills!
What are the critical safety steps I should take before and during toilet removal and installation?
Always shut off the water supply completely and flush the toilet until both the tank and bowl are empty to prevent water damage. When lifting the old or new toilet, bend with your knees and use proper lifting techniques, or have assistance, as toilets are heavy and awkward to maneuver.
How can I ensure a leak-free seal when installing the new wax ring and toilet bowl?
Place the new wax ring precisely onto the toilet flange, ensuring it's perfectly centered over the drain opening. When lowering the toilet bowl, aim directly down onto the ring without twisting or rocking, which can break the seal. Tighten the mounting bolts evenly and gradually, alternating sides, to compress the wax uniformly.
Is installing a toilet suitable for a beginner, and what's a realistic time estimate?
Yes, toilet installation is considered a beginner-friendly DIY project, but it requires careful attention to detail. While the estimated time is 4 hours, a beginner might take a bit longer, so plan for 4-6 hours to account for preparation, unexpected issues, and the learning curve.
Are there any alternatives to the traditional wax ring that I should consider for sealing?
Yes, waxless toilet seals are a popular alternative to traditional wax rings. They offer an easier, less messy installation and often allow for slight repositioning of the toilet without compromising the seal, which can be advantageous for first-time installers.
What are the typical hidden or additional costs beyond the toilet itself for this project?
Beyond the toilet, you'll need a new wax ring (or waxless seal) and potentially new toilet mounting bolts if the old ones are rusted. It's also a good idea to replace your water supply line with a new, flexible braided one. These essential accessory parts typically add $10-$30 to your overall cost.
My newly installed toilet wobbles slightly; how can I fix this without over-tightening the bolts?
A slight wobble often indicates an uneven floor. You can correct this by carefully sliding plastic toilet shims under the bowl at the lowest points until it is firm and stable. Once secure, trim off any excess shim material with a utility knife, but avoid overtightening the bolts as this can crack the porcelain.