

Replace Your Toilet: A Step-by-Step Guide
About This Project
This project details the process of replacing an existing toilet. It involves five main steps: 1. **Prepare the Bathroom:** Turn off the water supply, flush and empty the tank and bowl using a sponge, and protect the floor with towels. 2. **Remove the Old Toilet:** Disconnect the water supply line, unscrew the bolts securing the toilet to the floor (scoring any caulk if present), gently rock and lift the old toilet, placing it on the towels and disposing of the old wax ring. 3. **Clean and Prepare the Toilet Flange:** Remove old wax from the flange with a putty knife, inspect for damage (replace if needed), and install new closet bolts. 4. **Install the New Toilet:** Place a new wax ring on the flange, lower the toilet onto the flange, aligning the bolts, press down to seal, and secure with nuts and washers, tightening evenly. 5. **Connect Water Supply and Test for Leaks:** Connect the water supply line, turn the water back on, check for leaks at the base and tank connection, test flush, and install the seat and lid.
Best for experienced DIYers and homeowners with some experience.
Tools & Materials

HDX Multi-Purpose Sponge (2- Sponges) 32242

Adjustable Wrench
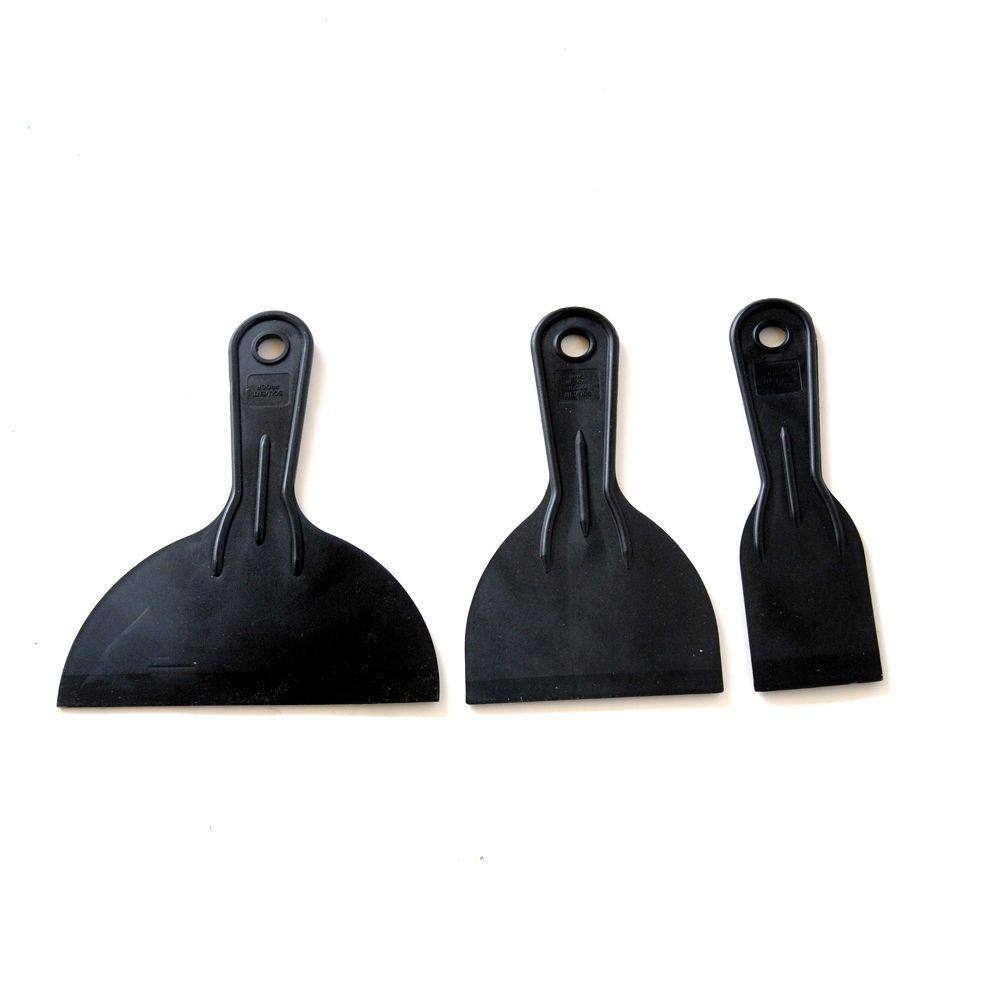
PRIVATE BRAND UNBRANDED Putty Knife Set DS-3PKL
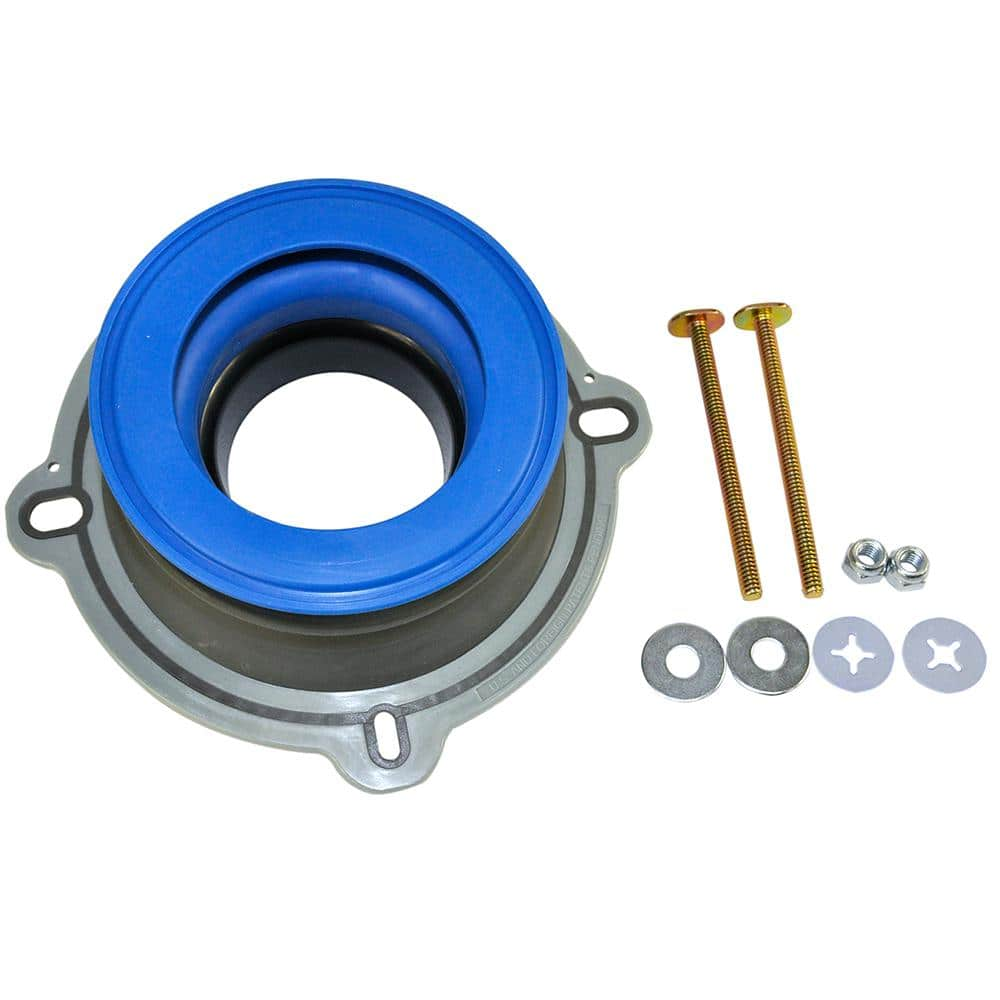
DANCO Perfect Seal Toilet Wax Ring with Bolts 10826X
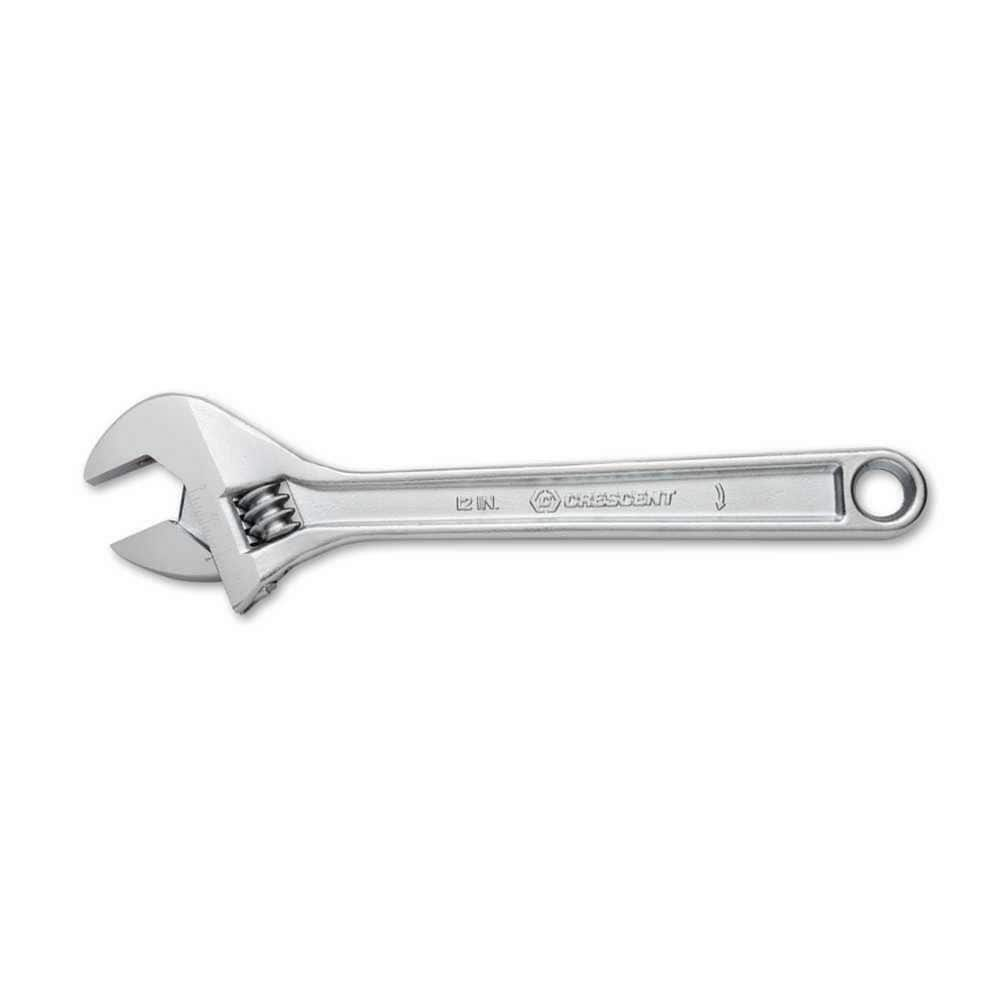
Crescent 12 in. Chrome Adjustable Wrench AC212VS
HDX Multi-Purpose Sponge (2- Sponges) 32242
HDX Hydrophilic Sponge 7.25 in. x 5 in. x 1.875 in. (2-Pack) highly absorbent, the HDX Sponge washes, wipes, and rinses faster. Strong enough for use with acid based products like TSP. Heavy-duty polyester
Adjustable Wrench
Fits various nut and bolt sizes with its adjustable jaw.
PRIVATE BRAND UNBRANDED Putty Knife Set DS-3PKL
The Economy Putty Knife Set includes 2 in., 4 in. and 6 in. polypropylene putty knives. This multi-purpose set allows you to complete all of your jobs and dispose of the tools when done.
DANCO Perfect Seal Toilet Wax Ring with Bolts 10826X
Perfect Seal is an innovative new product that takes the guesswork out of toilet installation. Perfect Seal is truly universal and it will work with any toilet installation. It fits any drain size and
Crescent 12 in. Chrome Adjustable Wrench AC212VS
Since the introduction of the original Crescent wrench in the early 1900s, the Crescent brand has become synonymous with adjustable wrenches. Crescent Adjustable Wrenches feature a large knurl for easy
Steps
Prepare the Bathroom for Toilet Replacement
30 minsBegin by turning off the water supply to the toilet. Then, flush the toilet thoroughly to empty the tank and bowl. Use a sponge to remove any remaining water. Protect the surrounding floor with old towels or a drop cloth to prevent damage from potential spills or leaks.
Remove the Old Toilet Carefully
30 minsDisconnect the water supply line from the toilet tank. Carefully unscrew the nuts and bolts securing the toilet to the floor using an adjustable wrench. If caulk was used, score it with a utility knife before removing the bolts. Gently rock and lift the toilet from the flange, placing it on towels or a drop cloth to protect the floor. Dispose of old wax ring properly.
Install the New Toilet
30 minsPlace a new wax ring onto the toilet flange, ensuring it's centered. Carefully lower the new toilet onto the flange, aligning the bolts with the holes in the toilet base. Press down firmly to compress the wax ring, creating a watertight seal. Secure the toilet to the floor with the nuts and washers, tightening them evenly.
Connect Water Supply and Test for Leaks
30 minsConnect the water supply line to the toilet tank. Slowly turn the water supply back on and carefully check for leaks around the base of the toilet and where the tank meets the bowl. Perform a test flush to confirm proper functionality. Install the toilet seat and lid.
Common Problems
Toilet is too heavy and awkward to lift alone, risking injury or damage.
Solution: Have a second person help lift the toilet, as they can be heavy and awkward to handle alone.
Toilet bowls are heavy and awkward; without a safe spot, you risk dropping and damaging it.
Solution: Have a place ready to set the toilet bowl down before you lift it, as it can be heavy and awkward to handle.
Be careful when lifting the toilet; it can be heavy and awkward. Ask for help if needed.
Solution: To avoid this issue: Be mindful of this warning and take appropriate precautions.
Toilets are heavy and awkward to lift. Get help from another person to avoid injury or dropping the toilet.
Solution: To avoid this issue: Be mindful of this warning and take appropriate precautions.
Water spills and messes on the floor when removing the old toilet.
Solution: For added protection, place a container under the valve to catch drips.
Unexpected water spills can damage your subfloor and create a mess.
Solution: Placing extra towels or paper towels on the floor around the base of the toilet can help catch any unexpected drips or spills.
Be careful with the ceramic tank lid as it can easily break if dropped.
Solution: To avoid this issue: Be mindful of this warning and take appropriate precautions.
Frequently Asked Questions
Is replacing a toilet truly a beginner-friendly project, and how long should I expect it to take?
Yes, this project is rated as beginner-friendly, but requires careful attention to detail. Most DIYers can complete it in approximately 3 hours, assuming no major complications like flange damage. Allocate extra time if you're working alone or if your old toilet is particularly stubborn.
Besides the listed adjustable wrench, sponge, and putty knife, what other essential tools or materials might I need?
You'll also want work gloves for hygiene, a utility knife for scoring caulk, and possibly shims if your floor isn't perfectly level. Don't forget rags or old towels to protect your floor and a bucket for any residual water. A new wax ring with bolts is crucial, as listed in materials.
What are the most critical safety precautions to take when removing the old toilet, especially regarding water and waste?
Always turn off the water supply completely and flush multiple times to empty the tank and bowl as much as possible. Wear sturdy gloves and eye protection when handling the old toilet, as it can be heavy and contain residual waste. Be careful lifting, as toilets are heavy; bend with your knees.
What are the most common mistakes people make when installing a new wax ring, and how can I prevent leaks?
A common mistake is misaligning the toilet over the wax ring, which can crush it improperly and lead to leaks. Ensure the new wax ring is seated correctly on the flange or base of the toilet and lower the toilet straight down onto the bolts. Do not lift and reposition the toilet once the wax ring has made contact, as this can break the seal.
What should I do if my new toilet rocks or isn't perfectly stable after installation?
If the toilet rocks, it likely means your floor isn't completely level or the bolts are unevenly tightened. You can use plastic toilet shims, placed discreetly under the base, to stabilize it. Ensure the bolts are tightened evenly and alternately until snug, but avoid overtightening, which can crack the porcelain.
What if I discover my toilet flange is damaged or corroded when removing the old toilet?
A damaged flange can prevent a proper seal and lead to leaks, so it must be addressed. You might need a flange repair kit, a flange extender, or even a full replacement depending on the severity. It's often best to stop, consult a plumbing professional, or visit a hardware store with photos for guidance if you're unsure.
Are there alternatives to a traditional wax ring for sealing the toilet, and when should I consider them?
Yes, waxless toilet seals are available, often made from rubber or synthetic materials. They are a great alternative, especially if you anticipate needing to remove the toilet again in the future, as they are reusable and less messy. They are also recommended if your flange height is slightly off, as some models offer more flexibility.