New Toilet Installation: A Step-by-Step DIY Guide
About This Project
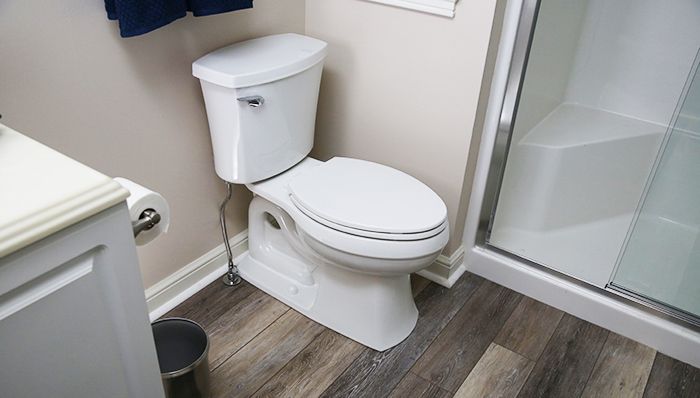
This DIY guide demonstrates how to install a new toilet in your bathroom. First, turn off the water supply using the shut-off valve, usually located behind the toilet. Flush the toilet and sponge out any remaining water. Disconnect the water supply line and remove the nuts securing the old toilet to the floor. Carefully lift the old toilet off the flange. Next, install a new wax ring on the toilet flange. Lower the new toilet onto the flange, making sure it's seated correctly. Secure the toilet to the floor with nuts and bolts, tightening securely but avoiding over-tightening. Reconnect the water supply line, turn the water back on slowly, and check for leaks. Flush the toilet multiple times to ensure proper operation. Finally, install the toilet seat and lid.
Best for experienced DIYers and homeowners with some experience.
Tools & Materials

HDX Multi-Purpose Sponge (2- Sponges) 32242
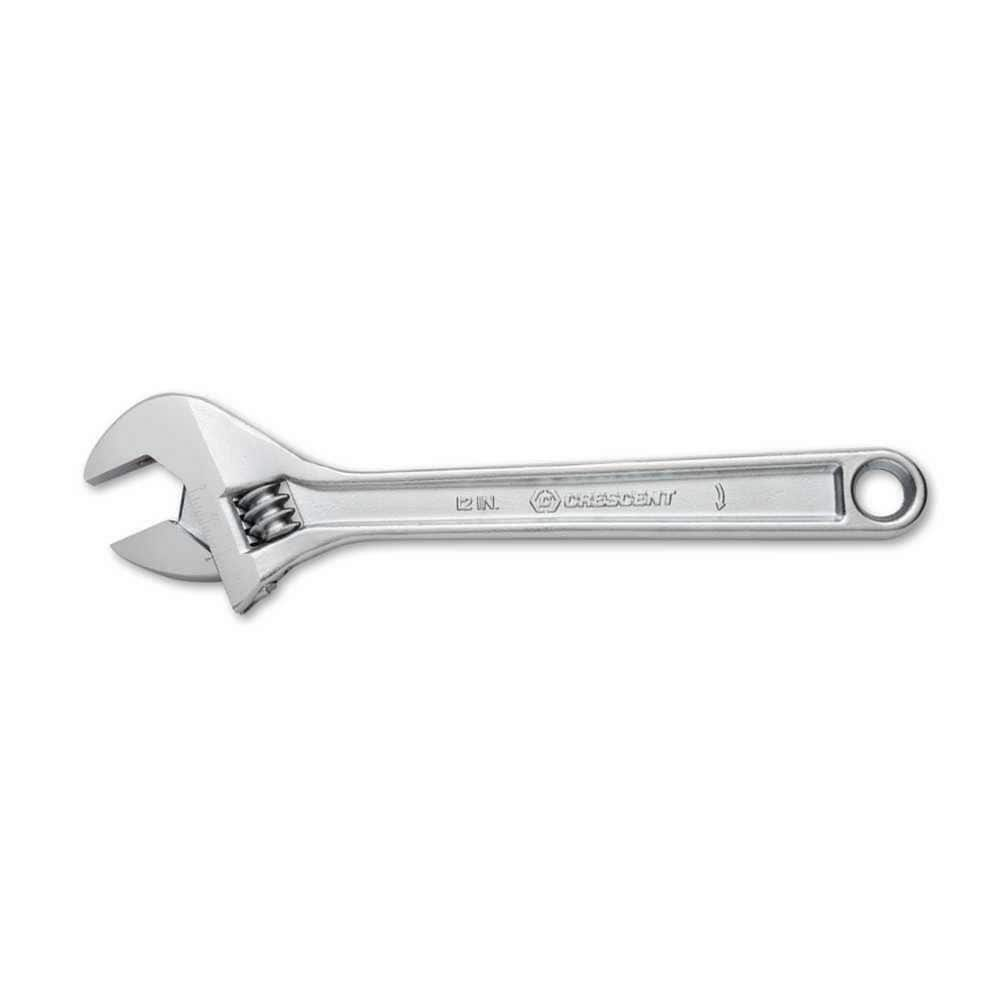
Crescent 12 in. Chrome Adjustable Wrench AC212VS
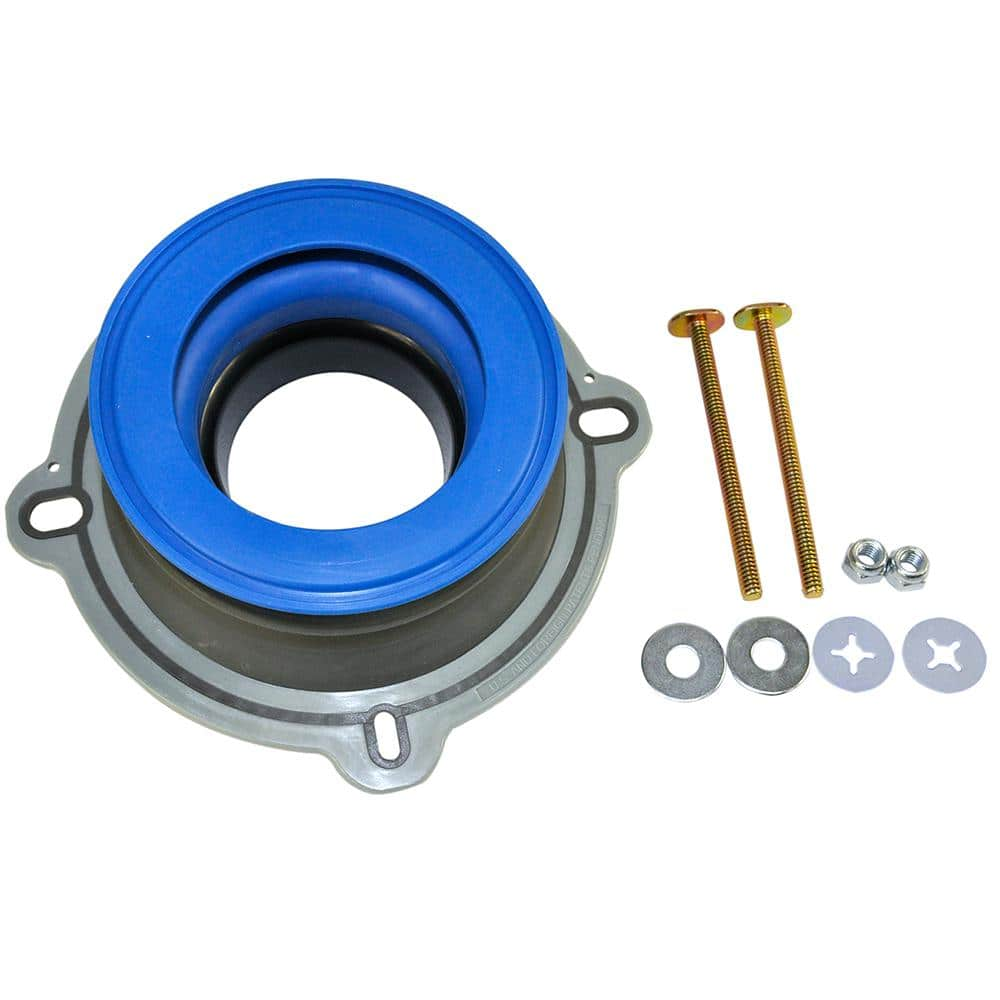
DANCO Perfect Seal Toilet Wax Ring with Bolts 10826X
HDX Multi-Purpose Sponge (2- Sponges) 32242
HDX Hydrophilic Sponge 7.25 in. x 5 in. x 1.875 in. (2-Pack) highly absorbent, the HDX Sponge washes, wipes, and rinses faster. Strong enough for use with acid based products like TSP. Heavy-duty polyester
Crescent 12 in. Chrome Adjustable Wrench AC212VS
Since the introduction of the original Crescent wrench in the early 1900s, the Crescent brand has become synonymous with adjustable wrenches. Crescent Adjustable Wrenches feature a large knurl for easy
DANCO Perfect Seal Toilet Wax Ring with Bolts 10826X
Perfect Seal is an innovative new product that takes the guesswork out of toilet installation. Perfect Seal is truly universal and it will work with any toilet installation. It fits any drain size and
Steps

Shut Off Water Supply & Empty Toilet Bowl
15 minsBefore you begin, safety first! Turn off the water supply to the toilet. This is typically a shut-off valve located behind or underneath the toilet. Turn the valve clockwise to shut off the water. Flush the toilet to empty the tank and bowl. Use a sponge to remove any remaining water.
Watch: Shut Off Water and Drain Tank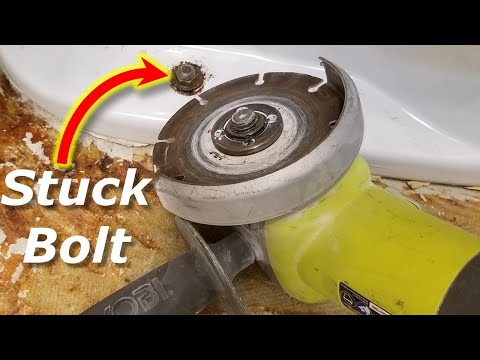
Remove the Old Toilet
30 minsDisconnect the water supply line from the toilet tank. Use an adjustable wrench to carefully remove the nuts securing the toilet to the floor. Gently lift the toilet off the flange. You may need assistance for this step due to the weight of the toilet. Remember to protect your floor with a drop cloth.
Watch: Disconnect Water Line and Remove Toilet
Install the New Toilet
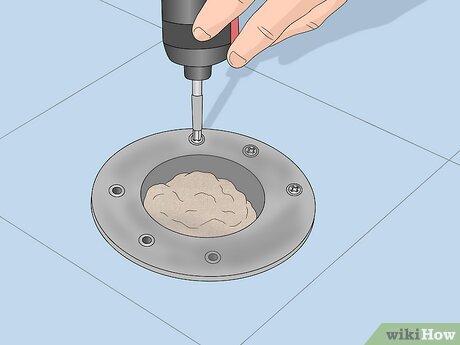
30 minsApply a new wax ring to the toilet flange. Carefully lower the new toilet onto the flange, ensuring it's properly seated. Secure the toilet to the floor using the nuts and bolts. Tighten them securely but avoid over-tightening.
Watch: Set and Secure the Toilet Bowl
Reconnect Water Supply & Test for Leaks
30 minsConnect the water supply line to the toilet tank. Turn the water supply back on slowly. Carefully check all connections for leaks. If any leaks are found, tighten the connections slightly. Flush the toilet several times to ensure proper operation. Install the toilet seat and lid.
Watch: Reconnect Water and Test for LeaksCommon Problems
Connection problems
Solution: Double-check all connections and follow the installation steps carefully.
Prevention: Tighten connections snugly, but do not overtighten.
Frequently Asked Questions
What additional tools or materials, beyond the adjustable wrench and sponge, are highly recommended for a successful toilet installation?
A five-gallon bucket is crucial for collecting residual water from the old toilet. Also, have a utility knife for trimming bolt caps, rags for cleanup, and consider purchasing a new braided stainless steel supply line for optimal reliability and leak prevention.
What are the most crucial safety precautions and potential hazards I should be aware of during this DIY toilet installation?
The old toilet can be very heavy; always lift with your legs or ask for help to prevent back injury. Be extremely careful not to overtighten the mounting bolts or the tank bolts, as this can easily crack the porcelain fixture. Ensure the water supply is completely off before disconnecting anything to avoid water damage.
The project is rated 'beginner' with an estimated 3 hours. Is this realistic, and what factors might unexpectedly increase the project time or difficulty?
While 3 hours is a good estimate for ideal conditions, beginners should allocate more time, perhaps 4-6 hours, to avoid rushing. Rusted bolts, a damaged flange requiring repair, or discovering an uneven floor can significantly extend the project. Always be prepared for unforeseen challenges.
After installation, if my new toilet rocks slightly or I detect a leak, what are the most common causes and how should I troubleshoot them?
Toilet rocking often indicates an uneven floor or bolts tightened unevenly; use shims to stabilize if the floor is uneven. Leaks typically stem from an improperly seated wax ring, loose supply line connections, or an issue with the tank-to-bowl gasket (if applicable). Retighten connections carefully or inspect the wax ring if a leak persists at the base.
Is the DANCO Perfect Seal wax ring the only option, or are there alternative sealing methods I should consider for my toilet installation?
While wax rings are traditional and effective, waxless toilet seals are a popular alternative. They offer a cleaner installation, are less prone to mess, and can often be repositioned without losing their seal. They are particularly useful if your flange height is slightly problematic or if you prefer a reusable option.
What's the best way to ensure the toilet flange is perfectly prepared for the new wax ring and toilet?
After removing the old toilet and wax, thoroughly scrape off any remaining wax or debris from the flange using a putty knife or scraper. Ensure the flange is clean, level, and free of cracks, as a compromised flange can lead to leaks. If the flange is damaged or sits too far below floor level, consider using a flange repair kit or extender.