Toilet Flange Replacement & Installation: A DIY Guide
About This Project
This DIY guide provides step-by-step instructions for replacing or installing a toilet flange. The first step involves removing the old flange by turning off the water, disconnecting the supply line, removing the toilet, and then either unscrewing, breaking, or cutting away the old flange. The second step focuses on installing the new flange, which includes dry-fitting, securing it with screws or closet bolts, ensuring it's level and flush, and addressing any subfloor damage. The guide emphasizes avoiding overtightening to prevent cracks and includes tips for a secure, leak-free seal.
Best for experienced DIYers and homeowners with some experience.
Tools & Materials

Adjustable Wrench

Putty knife
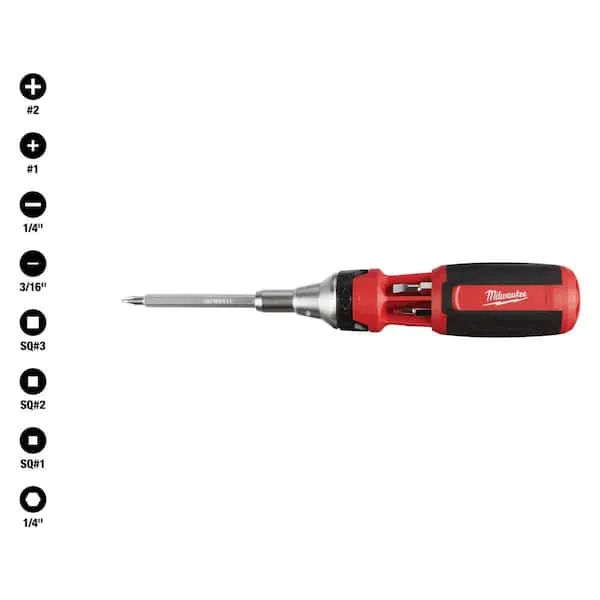
Screwdriver (Multi)
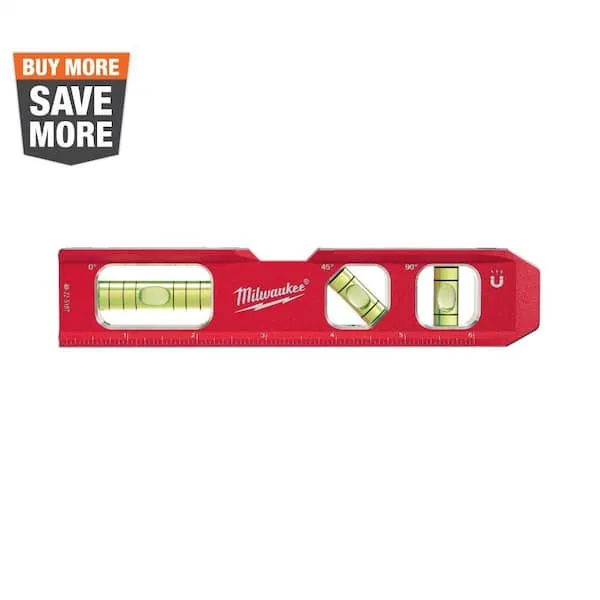
Level
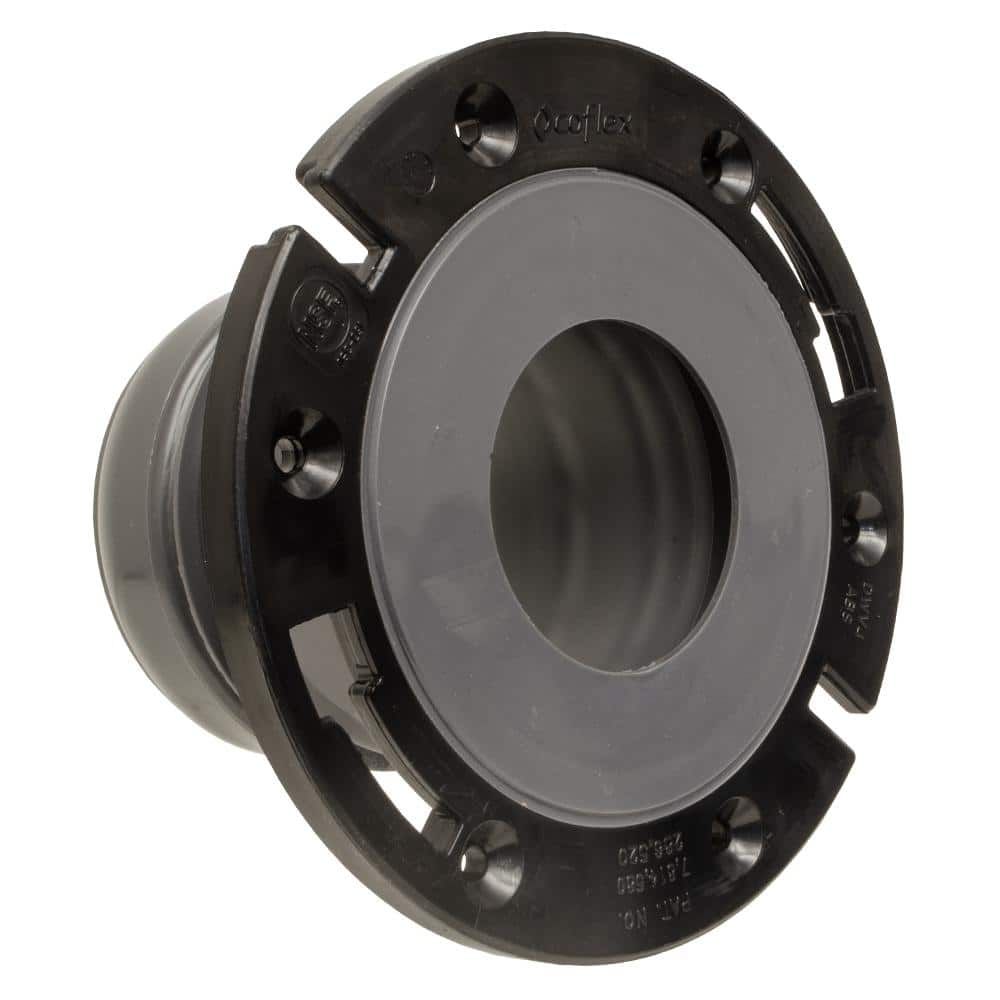
Flexon Toilet Flange for 4 in. PVC, ABS, Cast Iron or Lead Pipes PB-204
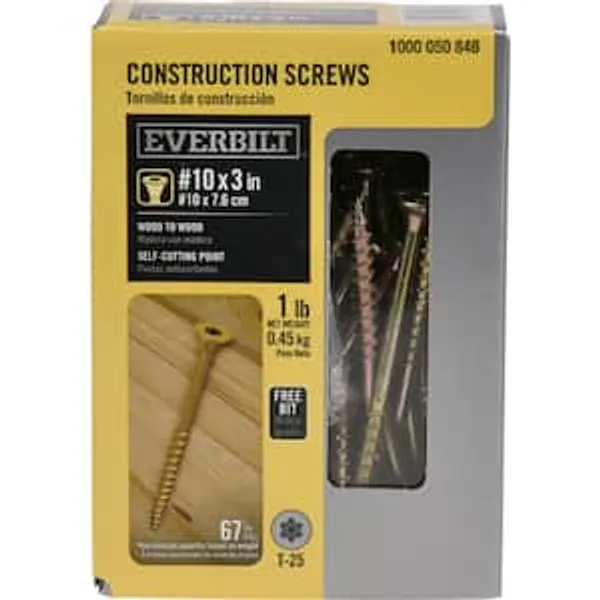
#10 3” Wood Screws
Adjustable Wrench
Fits various nut and bolt sizes with its adjustable jaw.
Putty knife
Spreads putty with its flat blade.
Screwdriver (Multi)
Multiple bits for versatile use.
Level
Ensures surfaces are just right.
Flexon Toilet Flange for 4 in. PVC, ABS, Cast Iron or Lead Pipes PB-204
The Flexon Flange is the best new solution to install or replace a toilet flange. The inward seal eliminates the need for a wax ring and provides a hermetic seal to the toilet horn. Additional seals on
#10 3” Wood Screws
Sturdy screws ideal for wood.
Steps

Removing the Old Toilet Flange: A Step-by-Step Process
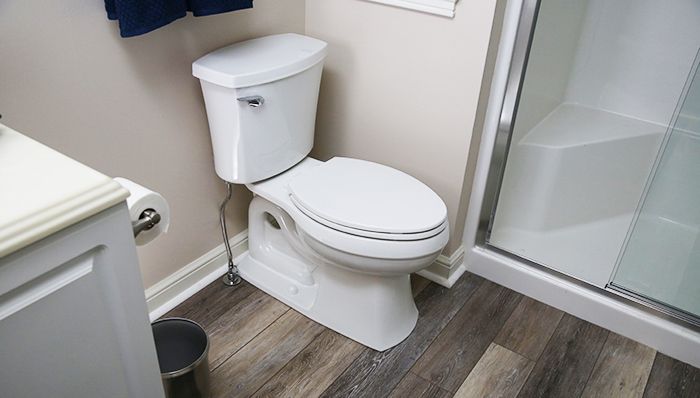
30 minsBegin by turning off the water supply to the toilet. Flush the toilet to remove any remaining water. Carefully disconnect the water supply line. Next, remove the nuts securing the toilet to the floor and gently lift the toilet off. Now, the old flange removal begins. Depending on its condition, you might unscrew it, carefully break it apart, or use tools like a putty knife, chisel, or reciprocating saw to remove it. Thoroughly clean the area around the drain pipe, removing any old wax ring, caulk, or debris.
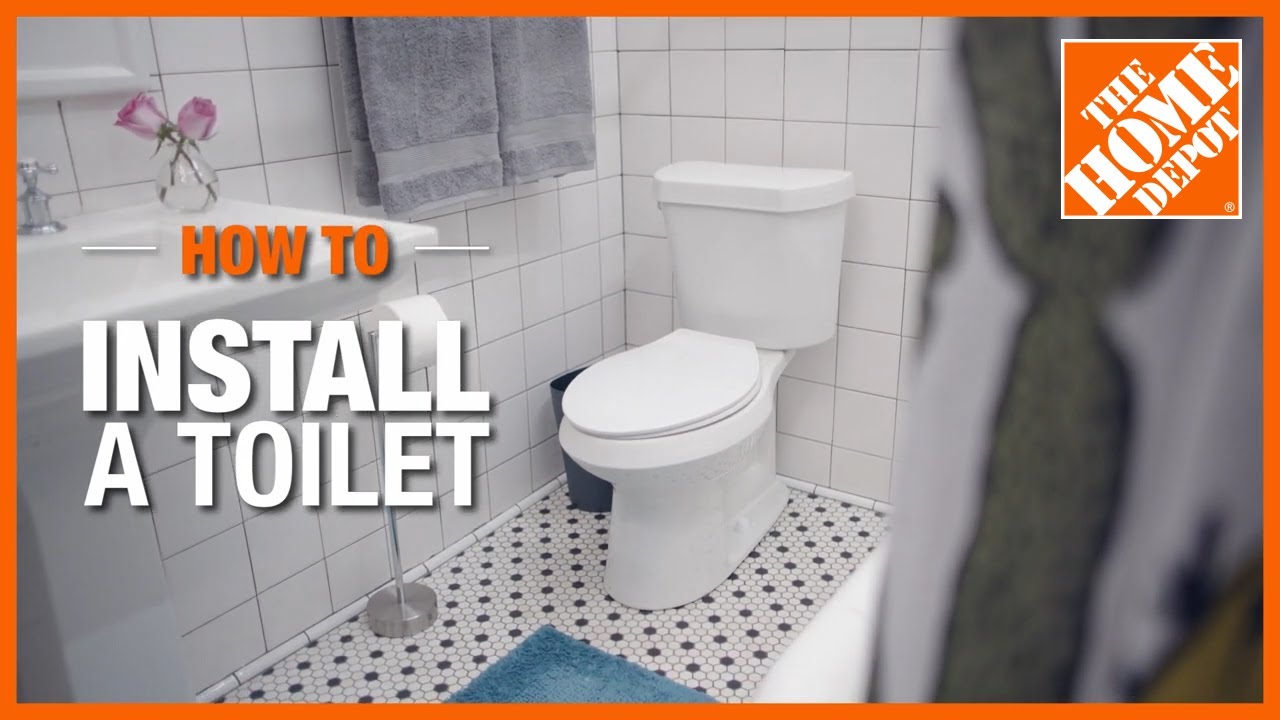
Watch: Prepare and Remove the Toilet
Installing the New Toilet Flange: Securing a Leak-Proof Seal
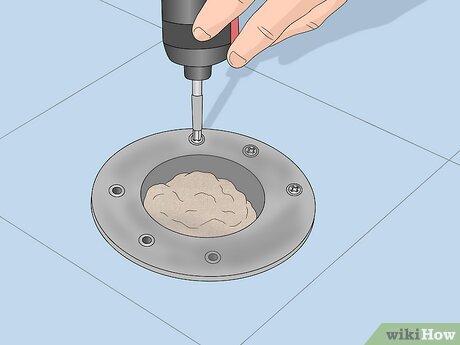
1 minDry-fit the new flange onto the drain pipe to check its fit. If your flange has a rubber gasket, install it on the drainpipe first. Secure the flange to the subfloor using screws or closet bolts, ensuring it's level and flush. If you encounter a damaged subfloor, repair it first for a stable installation. Remember to avoid overtightening the bolts to prevent cracks in the new flange.
Watch: Install T-Bolts and Wax RingCommon Problems
Safety concern: Turn off the water supply to the toilet before starting any work., Overtightening the closet bolts can crack the toilet.
Solution: Take proper safety precautions. Turn off the water supply to the toilet before starting any work., Overtightening the closet bolts can crack the toilet.
Prevention: Always follow safety guidelines before starting the project.
Unpleasant odors and lost parts escape into the drainpipe.
Solution: Plugging the drain pipe with a rag prevents sewer gases from entering the room and stops tools or debris from falling down the pipe.
Water spills onto the floor when removing the old toilet.
Solution: Using a towel or small bucket will prevent water from spilling on the floor.
Assistance is highly recommended for lifting the heavy porcelain bowl into place to avoid strain or dropping the fixture.
Solution: To avoid this issue: Be mindful of this warning and take appropriate precautions.
Toilet may rock or seal improperly if not installed level.
Solution: Use a level on top of the bowl rim during tightening to ensure the toilet is installed perfectly horizontally.
Toilets are heavy and awkward to lift. Get help if needed to avoid injury or damaging the toilet.
Solution: To avoid this issue: Be mindful of this warning and take appropriate precautions.
Toilet may scratch floor or leak water during removal.
Solution: Lay down towels or a drop cloth to place the toilet on after removal to protect the floor and catch any residual water.
Frequently Asked Questions
Is replacing a toilet flange truly a 'beginner' DIY project, and can it realistically be done in 4 hours?
While categorized as beginner, this project requires careful attention to detail, especially during toilet removal and flange installation. The 4-hour estimate is achievable for someone with basic DIY experience, but unexpected issues like rusted bolts or subfloor damage can significantly extend the time. Always plan for potential delays and have extra materials on hand.
Do I need specialized tools beyond the screwdriver, level, adjustable wrench, and putty knife listed in the guide?
For removing old flanges, you might need additional tools. A hacksaw, oscillating multi-tool, or grinder can be essential for cutting stubborn plastic or metal flanges. If dealing with a severely corroded cast iron flange, a cold chisel and hammer might be required. A wet-dry vacuum is also very helpful for cleaning debris from the drainpipe.
What should I do if I discover significant subfloor damage around the old flange after removal?
Significant subfloor damage must be repaired before installing the new flange to ensure a stable and leak-proof seal. Carefully cut out the damaged section and replace it with new plywood or cement board, ensuring it is level with the surrounding floor. Improperly repaired subfloor can lead to rocking toilets and future leaks.
How can I ensure a leak-proof seal when installing the new toilet flange?
First, make sure the subfloor surface where the flange sits is clean, dry, and level. Dry-fit the flange to confirm it sits flush with the finished floor. Secure it with the appropriate #10 3” wood screws, but be careful not to overtighten and crack the flange. The proper wax ring (or waxless seal) will then create the final watertight connection with the toilet.
The guide mentions a Flexon flange. Are there other types, and how do I choose the right one for my pipes?
Toilet flanges come in various materials like PVC, ABS, cast iron, and sometimes brass. The Flexon model mentioned is versatile, designed to fit multiple pipe types (PVC, ABS, cast iron). You should always choose a new flange that matches the material and size of your existing drainpipe, or use a universal/transition flange designed for multiple applications, to ensure a secure connection.
Are there any specific safety precautions I should take when removing the old toilet and flange?
Always turn off the water supply to the toilet and flush it to drain the tank and bowl completely before beginning work. Wear gloves to protect your hands from grime, sharp edges, and potential sewer gases. Be mindful that toilets are heavy and awkward to lift, so use proper lifting techniques or get assistance to prevent back injuries.