Shower Spigot Replacement: A Step-by-Step DIY Guide
About This Project
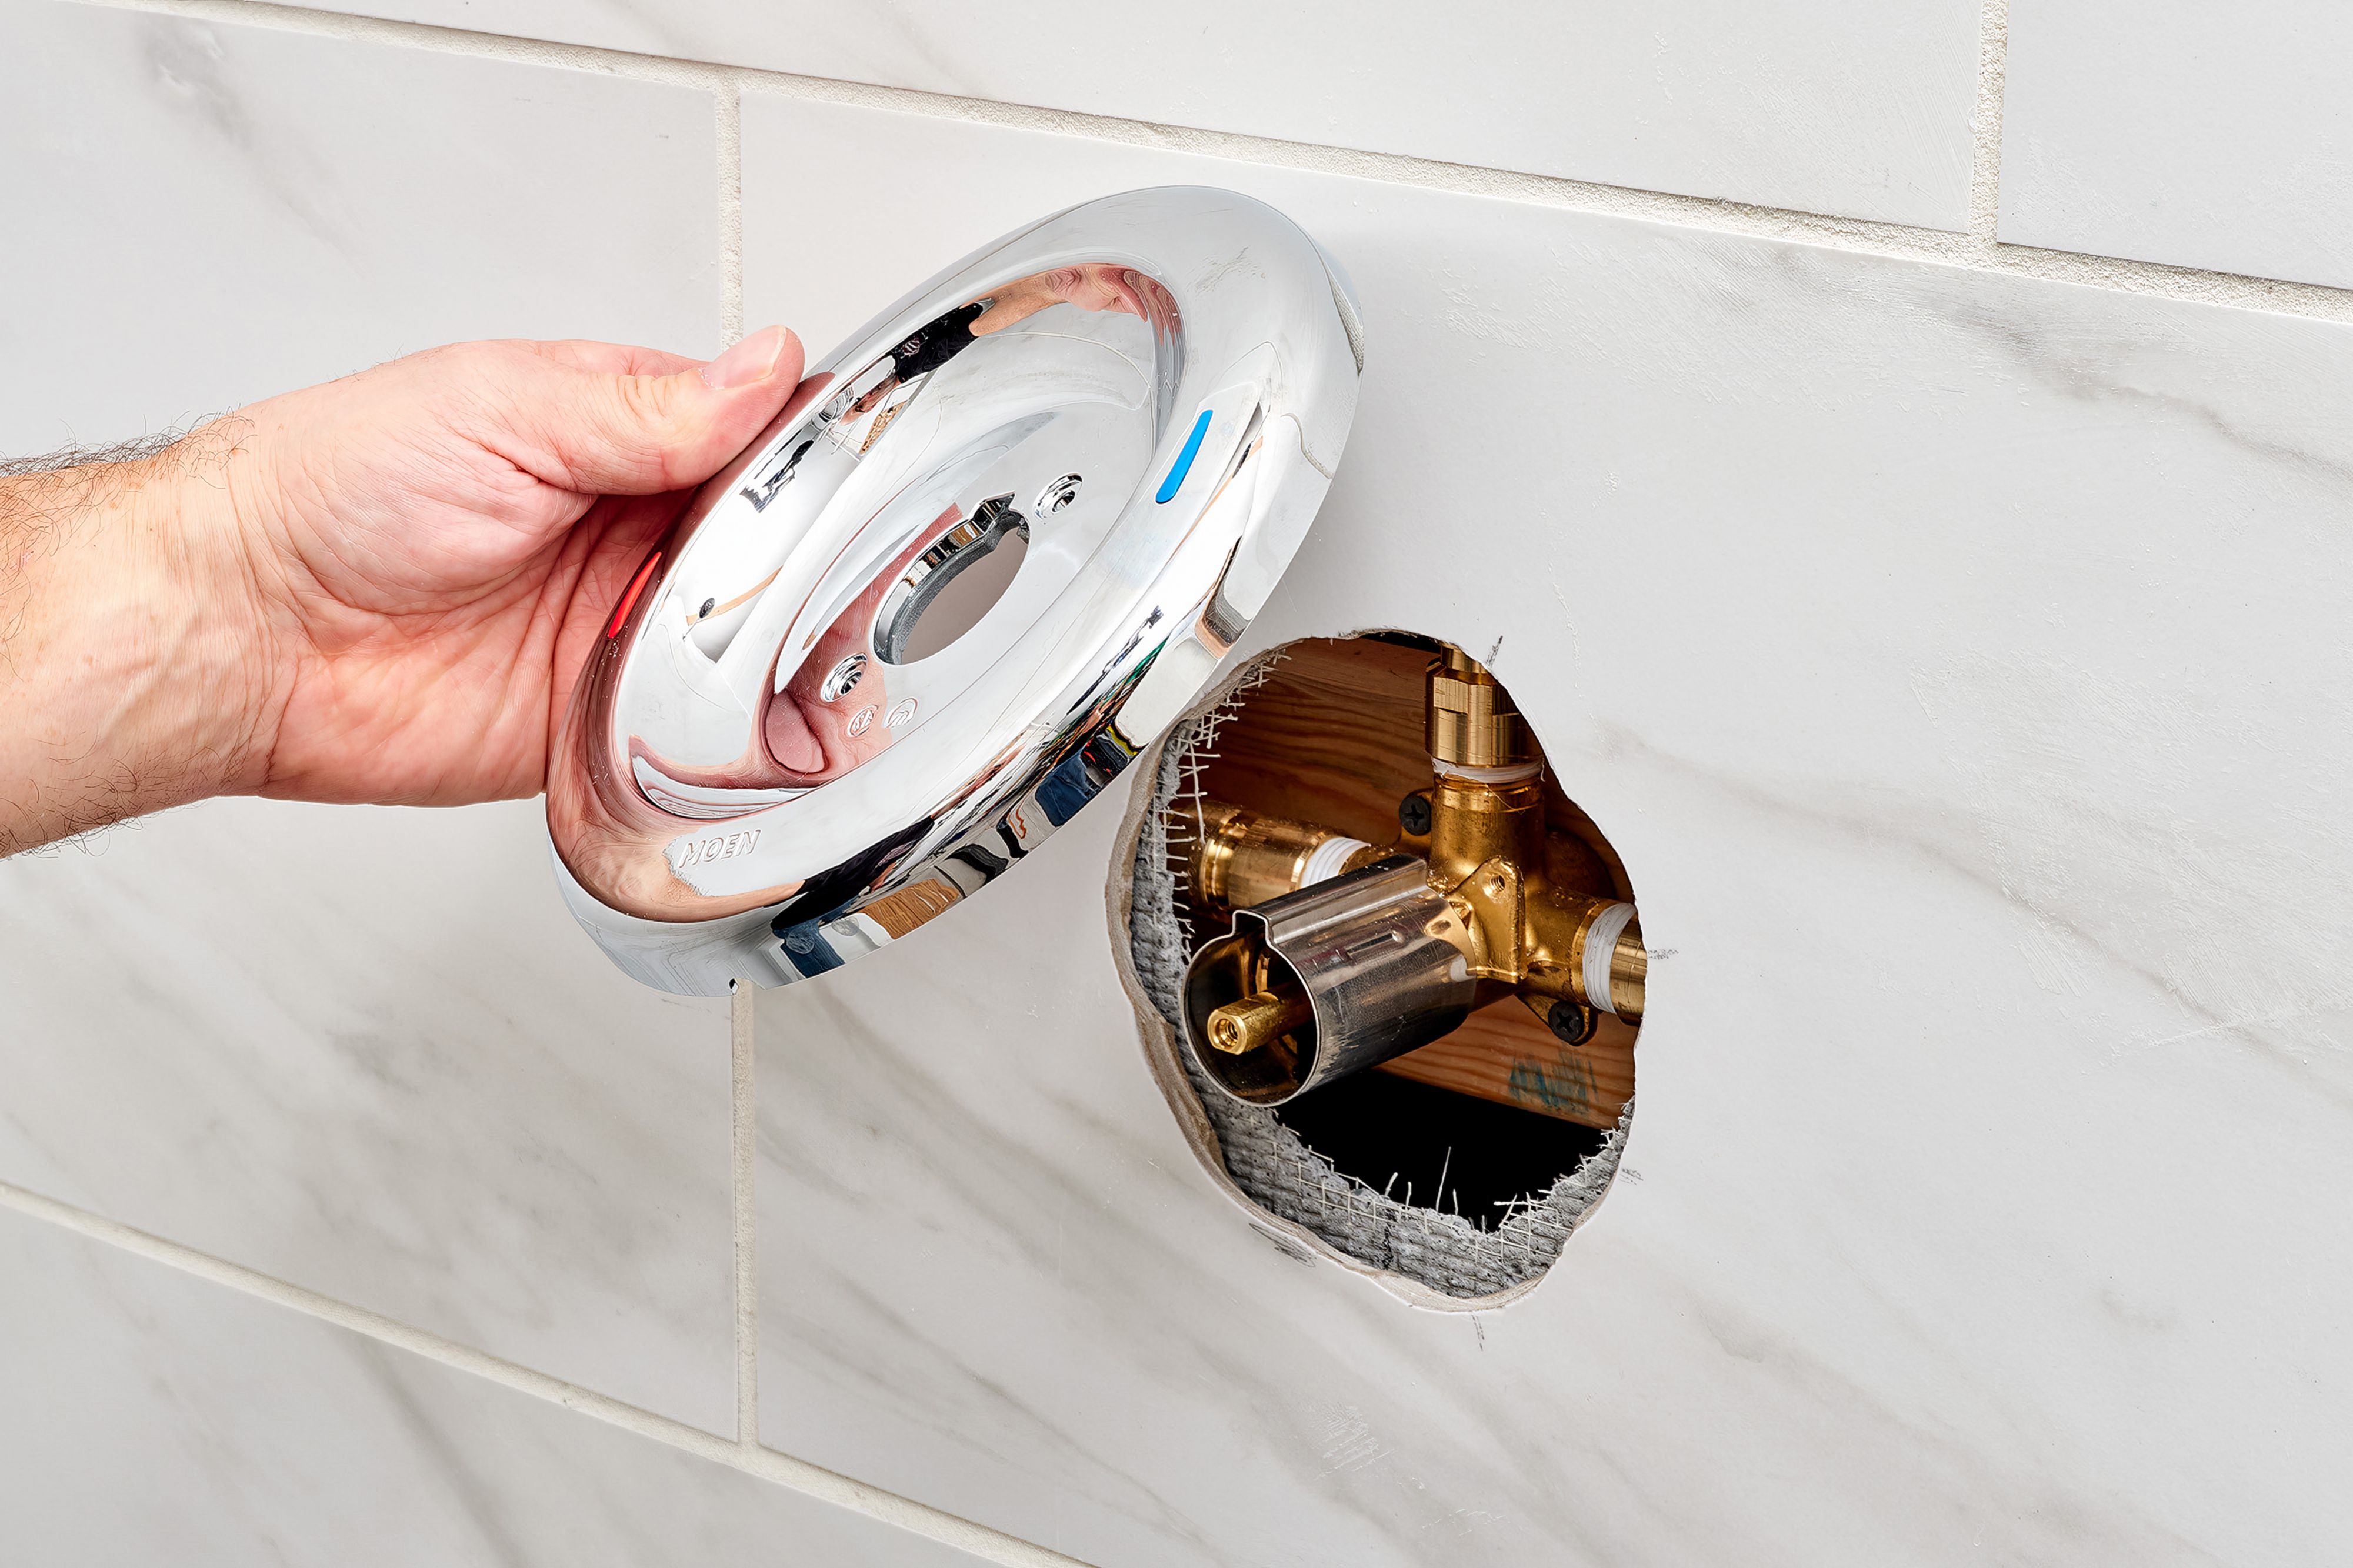
This DIY guide demonstrates how to replace a shower spigot. The project involves four main steps: 1. **Turn Off the Shower's Water Supply:** Locate and turn off the shut-off valves for the shower. If dedicated valves aren't available, turn off the main water supply to the house. 2. **Remove the Old Shower Spigot:** Unscrew the faceplate, then remove the handle and cartridge. An adjustable wrench might be necessary to loosen and remove the retaining nut. Documenting the process with photos is recommended for easier reassembly. 3. **Install the New Shower Spigot:** Reverse the removal steps to install the new spigot. Wrap plumber's tape around the threads of the shower arm for a watertight seal. Ensure proper alignment and tightening of all parts. 4. **Thoroughly Test for Leaks:** Gradually turn the water supply back on while checking for leaks at all connections, including the packing nut, handle, spout, and push fittings. If there are no leaks, the spigot replacement is successfully finished.
Best for homeowners and DIY enthusiasts.
Tools & Materials

Husky 12 in. Adjustable Wrench 90933
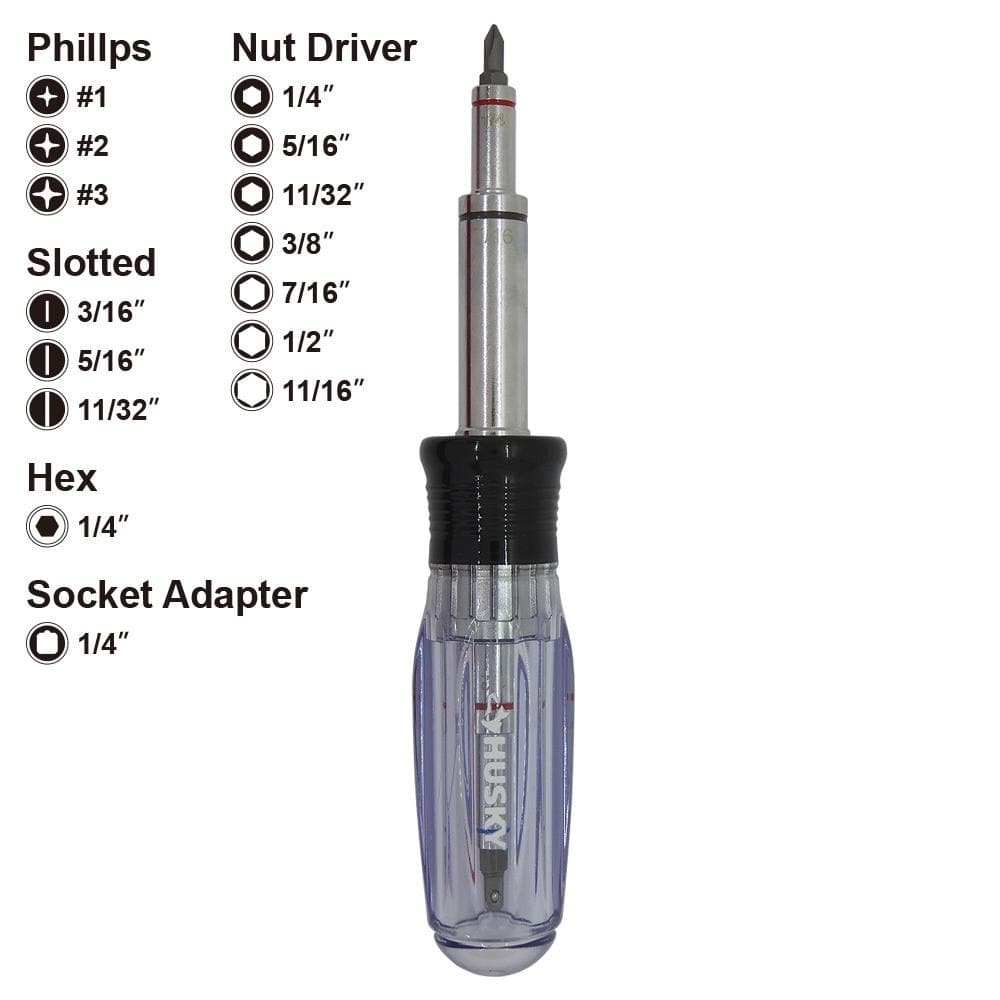
Husky 15-in-1 Screwdriver/Nut Driver 132360019
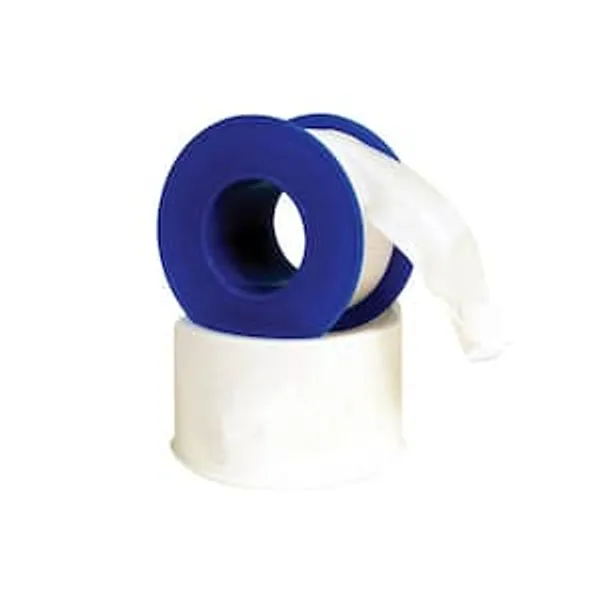
Plumbers Tape
Husky 12 in. Adjustable Wrench 90933
The Husky 12 in. Adjustable Wrench features a durable, comfortable handle. A large knurl allows for easy adjustment and a tight-fitting hex jaw design reduces slippage and tightly grips the fastener for
Husky 15-in-1 Screwdriver/Nut Driver 132360019
Reduce the number of individual screw drivers and nut drivers that you need with the 15-in-1 Screwdriver/Nut Driver from Husky. Each driver features a handle with a hex drive, 3 reversible shafts and 4 double-sided bits. The tough acetate handle resists solvents and chemicals, giving you a reliable handle. The ball and spring retention in the handle ensure a snug fit.
Plumbers Tape
Ensures leak-proof pipe joints.
Steps


Install the New Shower Spigot
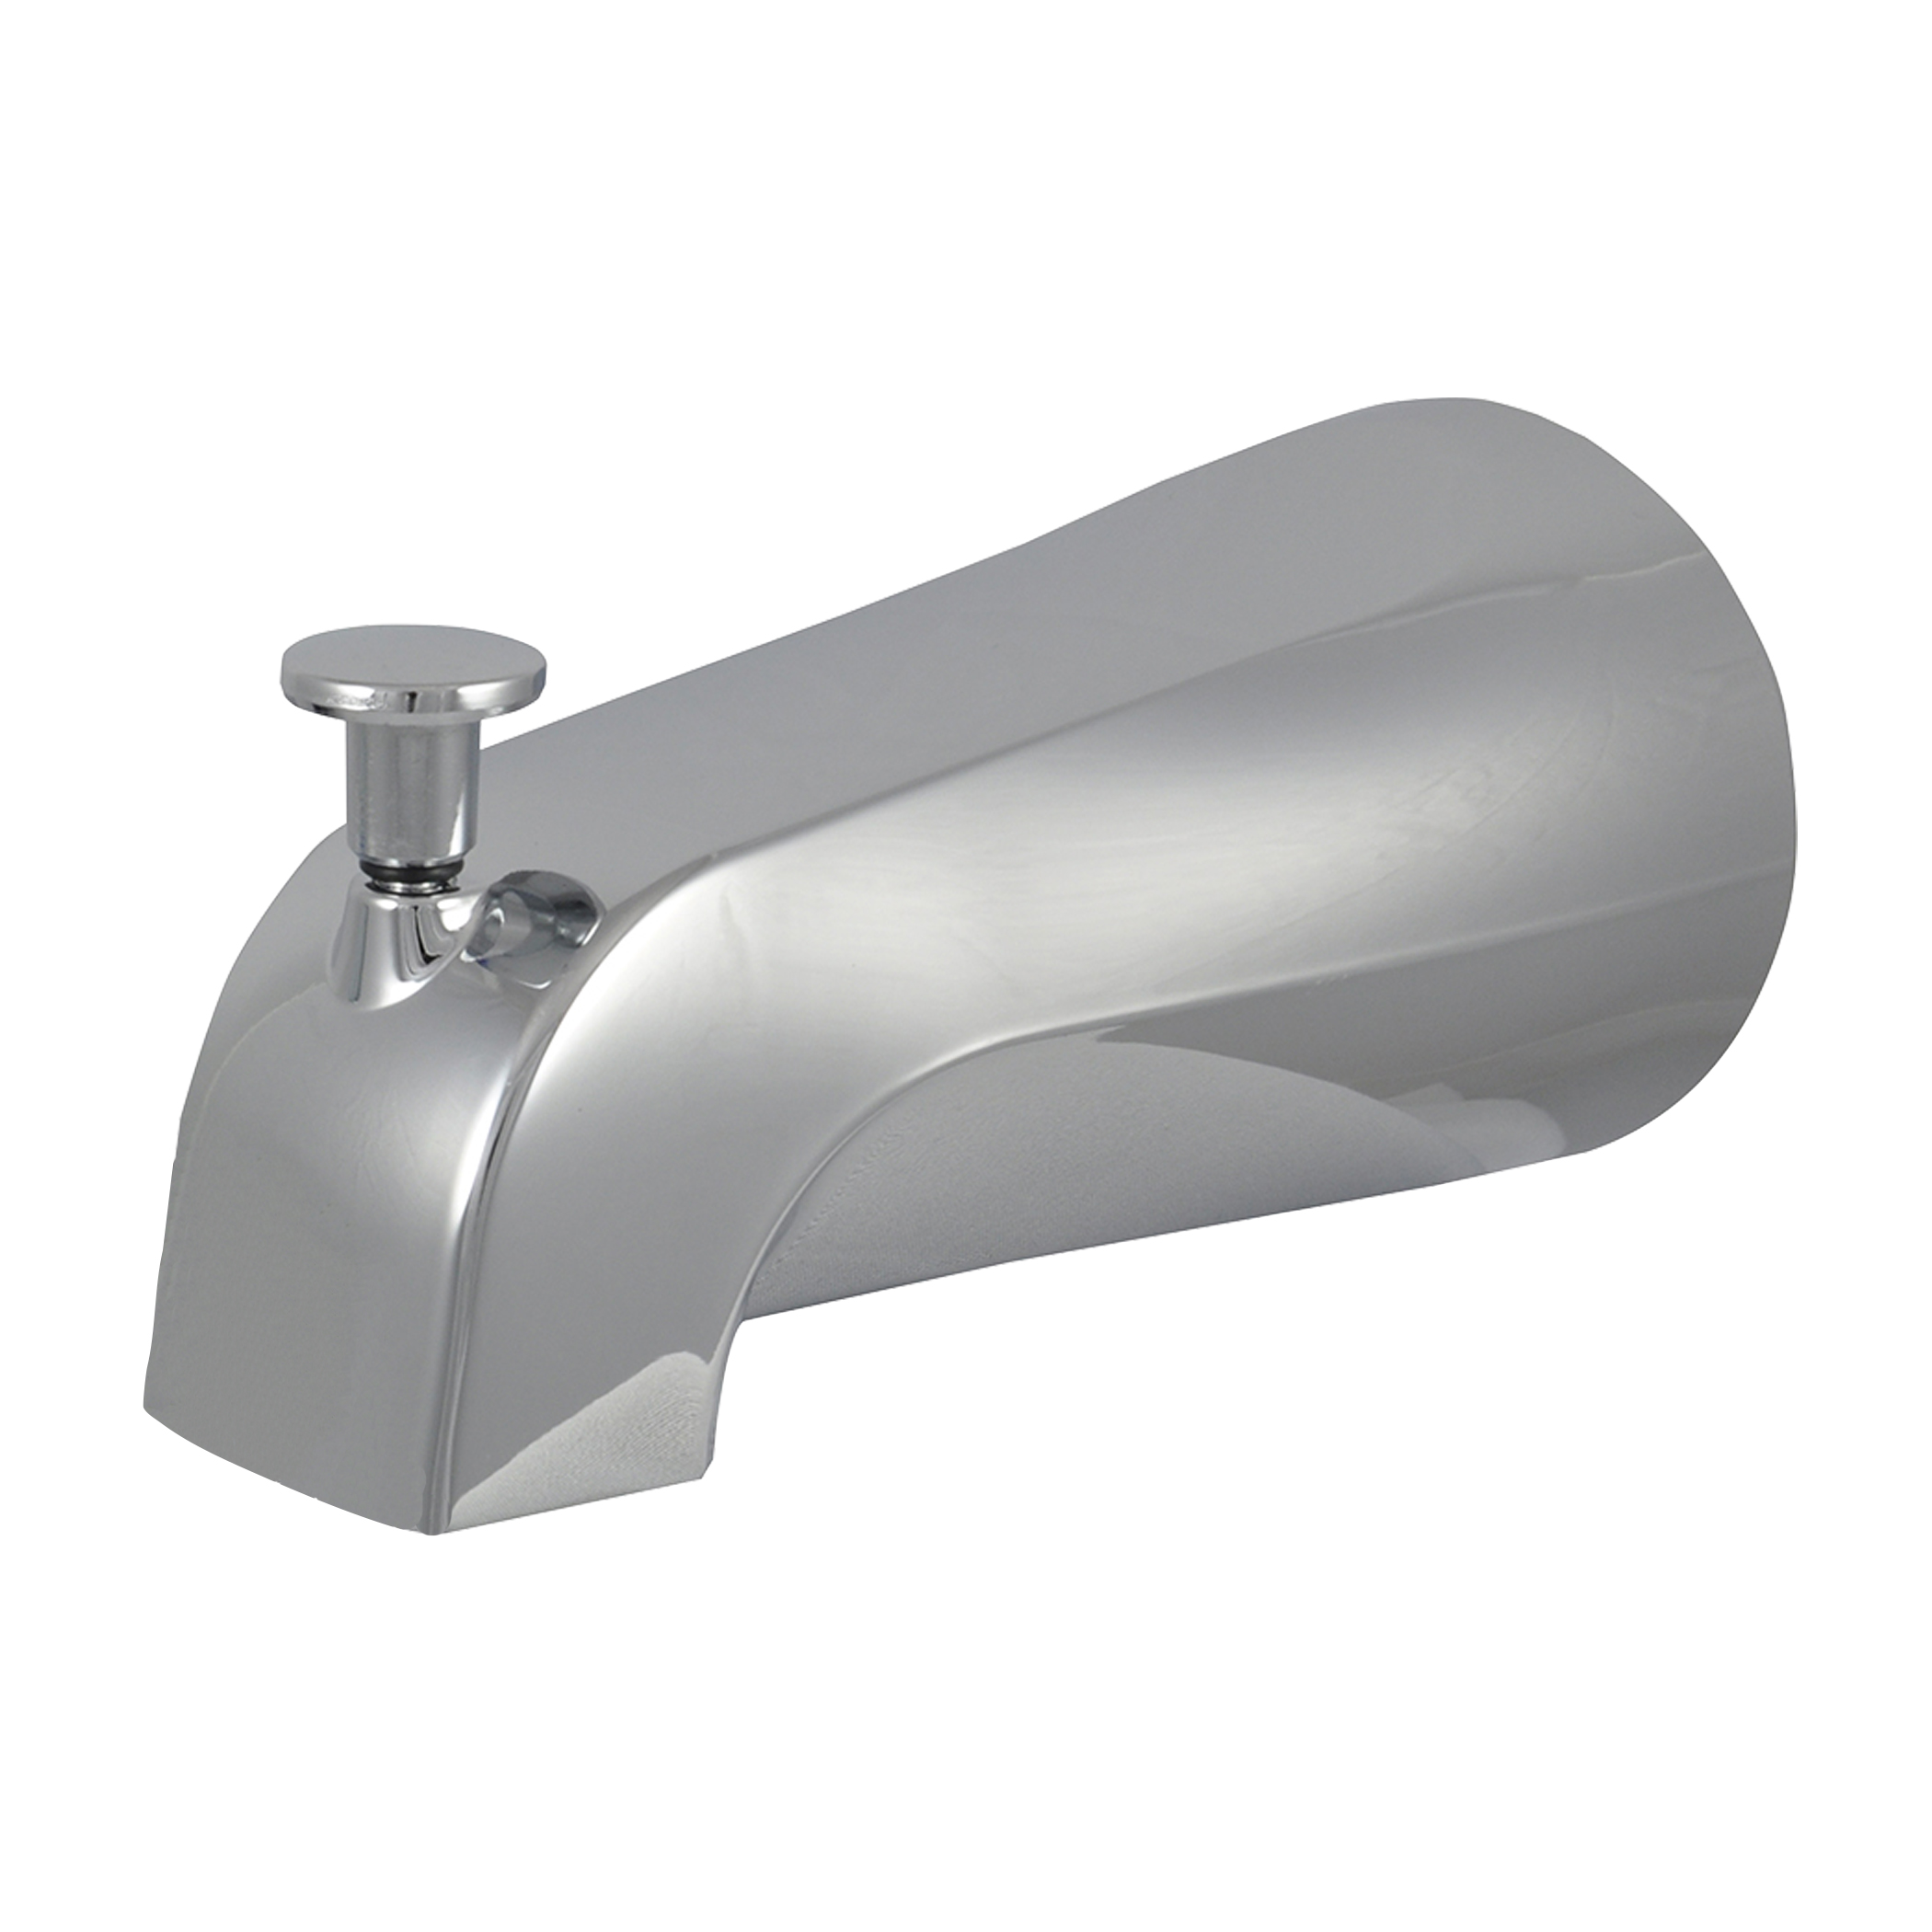
30 minsInstall the new spigot by carefully reversing the removal process. Before attaching the new spigot, wrap plumber's tape around the threads of the shower arm to ensure a watertight seal. Ensure all parts are properly aligned and tightened.
Watch: Reinstall the Tub Spout
Thoroughly Test for Leaks
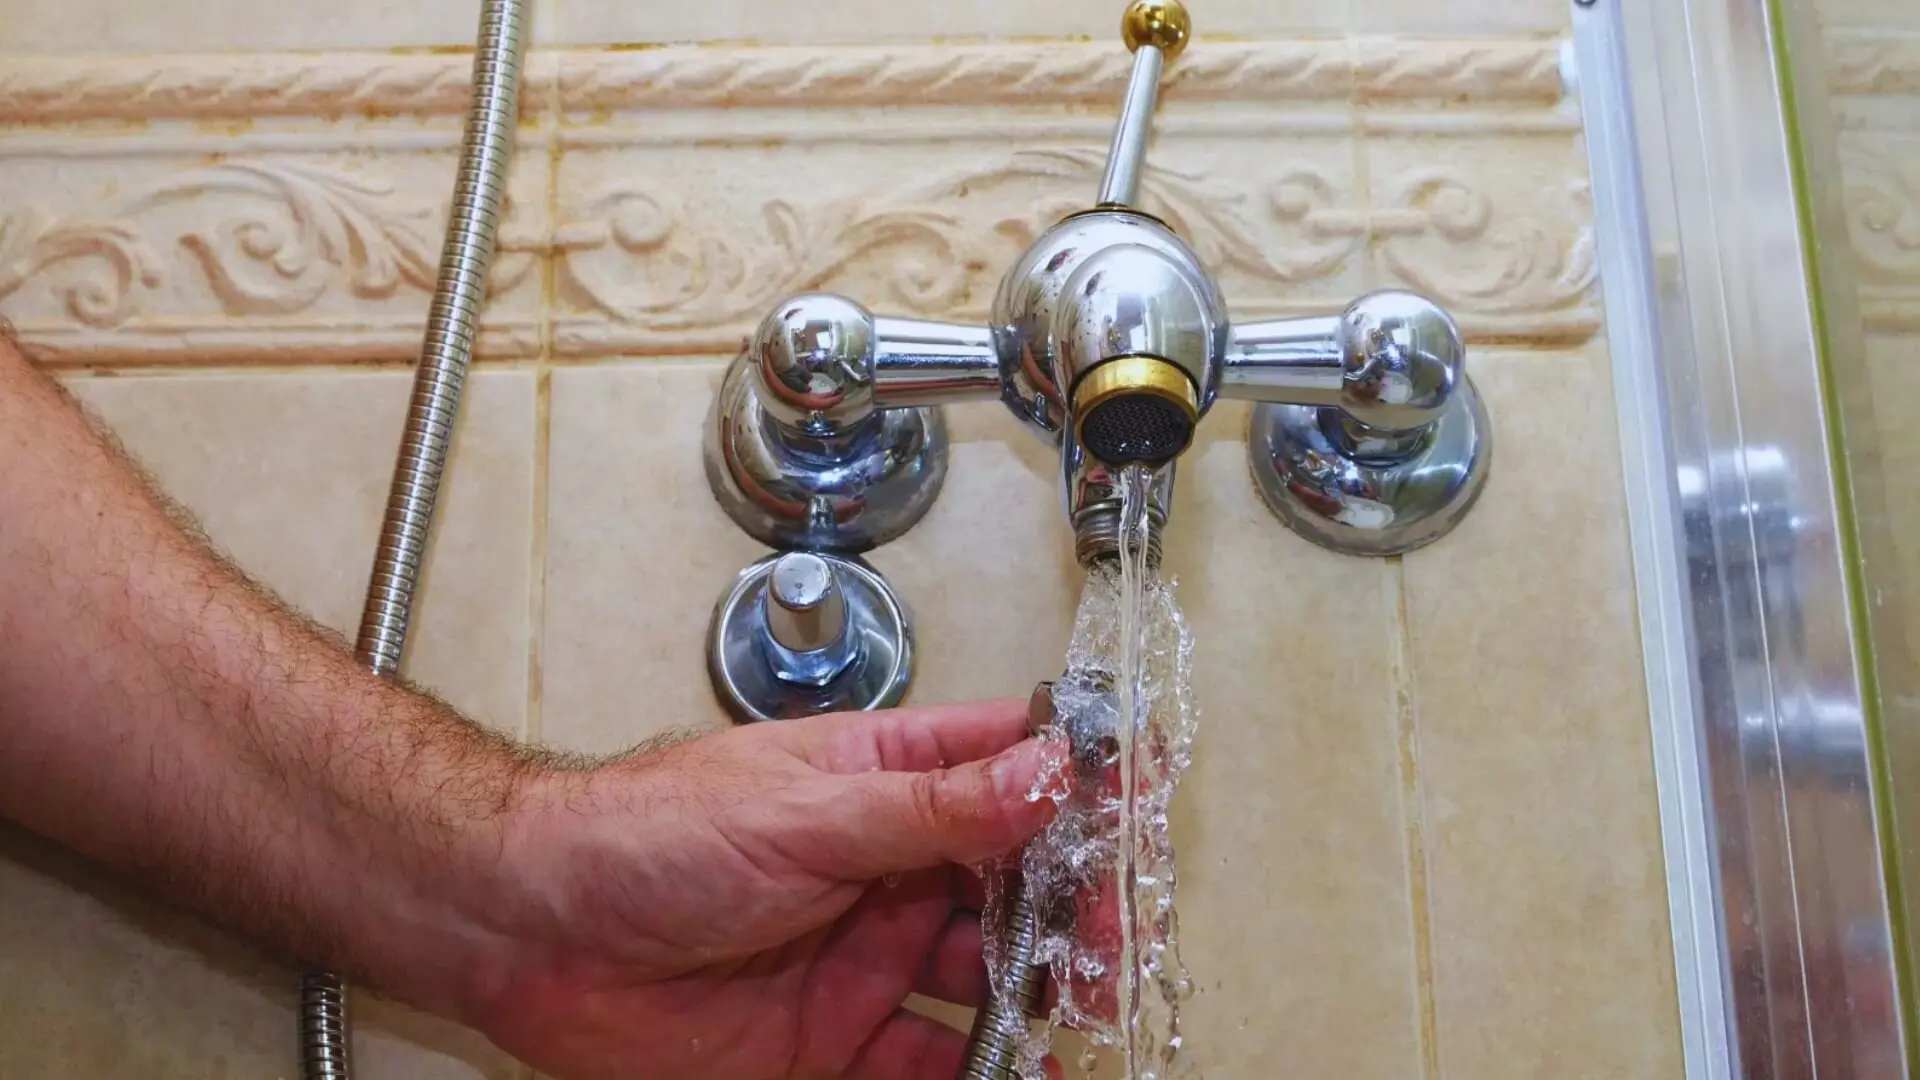
5 minsGradually restore the water supply and meticulously check for any leaks. Inspect all connections—around the packing nut, handle, spout, and push fittings. Tighten any loose fittings as needed. If no leaks are present, the shower spigot replacement is complete!
Watch: Test for LeaksCommon Problems
Confirm power is off using a voltage tester before touching any wires.
Solution: To avoid this issue: Be mindful of this warning and take appropriate precautions.
Ensure all water has stopped flowing before proceeding to the next step.
Solution: To avoid this issue: Be mindful of this warning and take appropriate precautions.
Failure to turn off the water supply will result in flooding and potential water damage.
Solution: To avoid this issue: Be mindful of this warning and take appropriate precautions.
Failure to shut off the water can lead to significant water damage.
Solution: To avoid this issue: Be mindful of this warning and take appropriate precautions.
Faucet still leaks after replacement; O-rings or valve seat may be faulty.
Solution: If the faucet still leaks, the problem may be with the O-rings or the valve seat, which may require replacement.
Sudden water flow can cause pipes to bang loudly and potentially damage the system.
Solution: Turn the water on slowly to allow air to escape the pipes and to avoid a water hammer effect.
Sudden water pressure surge can damage plumbing during spigot replacement.
Solution: Turn the water on slowly to avoid a sudden surge of pressure which could damage the plumbing.
Frequently Asked Questions
What kind of plumber's tape should I use, and why is it important for the shower arm threads?
You should use PTFE (polytetrafluoroethylene) plumber's tape, also known as thread seal tape. It creates a watertight seal, prevents leaks, and lubricates the threads, making it easier to tighten without overtightening. Wrap it clockwise around the threads 3-5 times before screwing on the new spigot, ensuring full coverage.
What should I do if the old shower spigot is stuck or won't easily unscrew?
First, ensure the water supply is completely off. If the spigot is stuck, try applying a penetrating oil to the threads and let it sit for 10-15 minutes to help loosen corrosion. For stubborn fixtures, a pipe wrench might provide more leverage than an adjustable wrench, but always be careful not to damage the piping within the wall.
How important is turning off the water supply, and what could go wrong if I skip this step?
Turning off the water supply is absolutely critical; skipping this step will result in a significant and immediate flood once you begin removing the old spigot. Always locate and turn off the dedicated shower shut-off valves first, or the main house water supply if none are available for the shower. Failure to do so can cause extensive water damage and make the project impossible to complete safely.
I'm a complete beginner; is the 'beginner' difficulty rating realistic, or should I hire a pro?
This project is rated beginner because it primarily involves basic tools and straightforward steps of unscrewing and re-screwing. However, it requires careful attention to detail, especially with water shut-off and leak testing. If you're comfortable with basic mechanical tasks and following instructions, you can successfully tackle it, but don't hesitate to call a professional if you encounter unexpected issues or feel unsure.
What's the most common reason for leaks after installing a new shower spigot, and how can I prevent it?
The most common reason for leaks is improper application of plumber's tape or insufficient tightening of connections. Ensure you wrap plumber's tape clockwise around all threaded connections 3-5 times, completely covering the threads. Then, tighten connections firmly by hand and give a final quarter to half-turn with a wrench, being careful not to overtighten and strip threads.
Are there different types of shower spigots, and how do I know which one to buy for a replacement?
Yes, shower spigots come in various styles (e.g., with or without diverter) and mounting types (e.g., threaded, slip-on). Before purchasing a replacement, remove your old spigot and inspect its connection type and length. Taking a photo or the old spigot to the store can help ensure you buy a compatible replacement.
The guide says 2 hours, but what if it takes me longer, especially with an older shower?
The 2-hour estimate is for a typical replacement without complications. Older showers might have seized parts, corroded threads, or difficult-to-access shut-off valves, which can significantly extend the time. Don't rush; allocate extra time, especially if it's your first time or if you anticipate dealing with an older fixture. Patience is key to avoiding mistakes and ensuring a watertight seal.