Shower Hardware Replacement: A Step-by-Step DIY Guide
Shower Hardware Replacement: A Step-by-Step DIY Guide
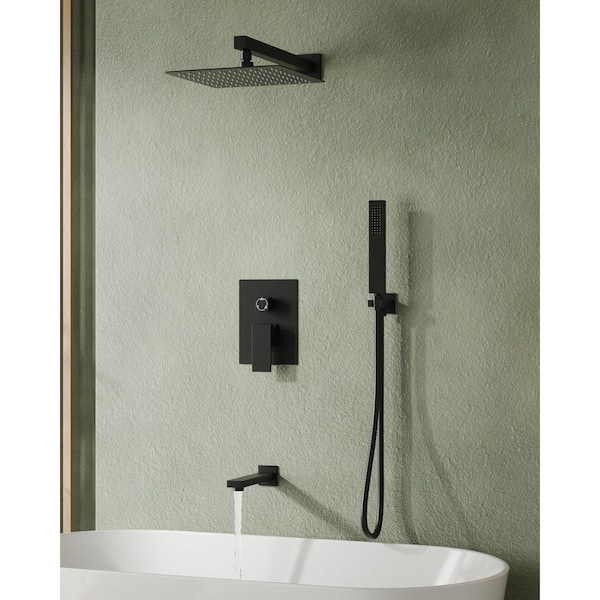
This DIY guide details the steps to replace shower hardware. First, turn off the water supply using the shut-off valves. Next, remove the old showerhead and handles, using an adjustable wrench if necessary and protecting the finish with a cloth to prevent scratches. After removing the old hardware, apply Teflon tape to the threads of the shower arm and new components clockwise. Then, install the new showerhead and handles, tightening them gently with an adjustable wrench, but avoid over-tightening. Finally, turn the water supply back on and check for leaks at all connections. If leaks occur, turn off the water, and address them by tightening or reapplying Teflon tape.
Materials & Supplies

Adjustable Wrench
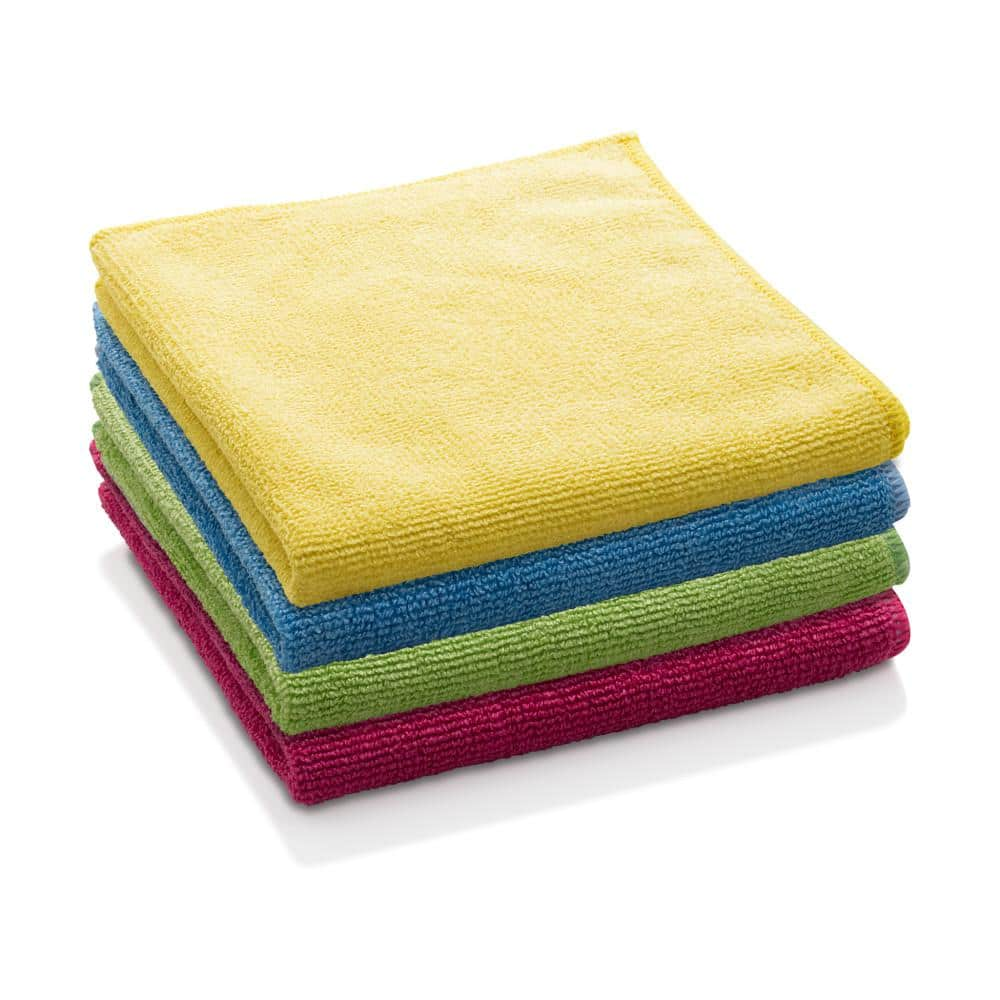
E-Cloth Microfiber General Purpose Cloths - Assorted Colors - 4 Pack 10902M

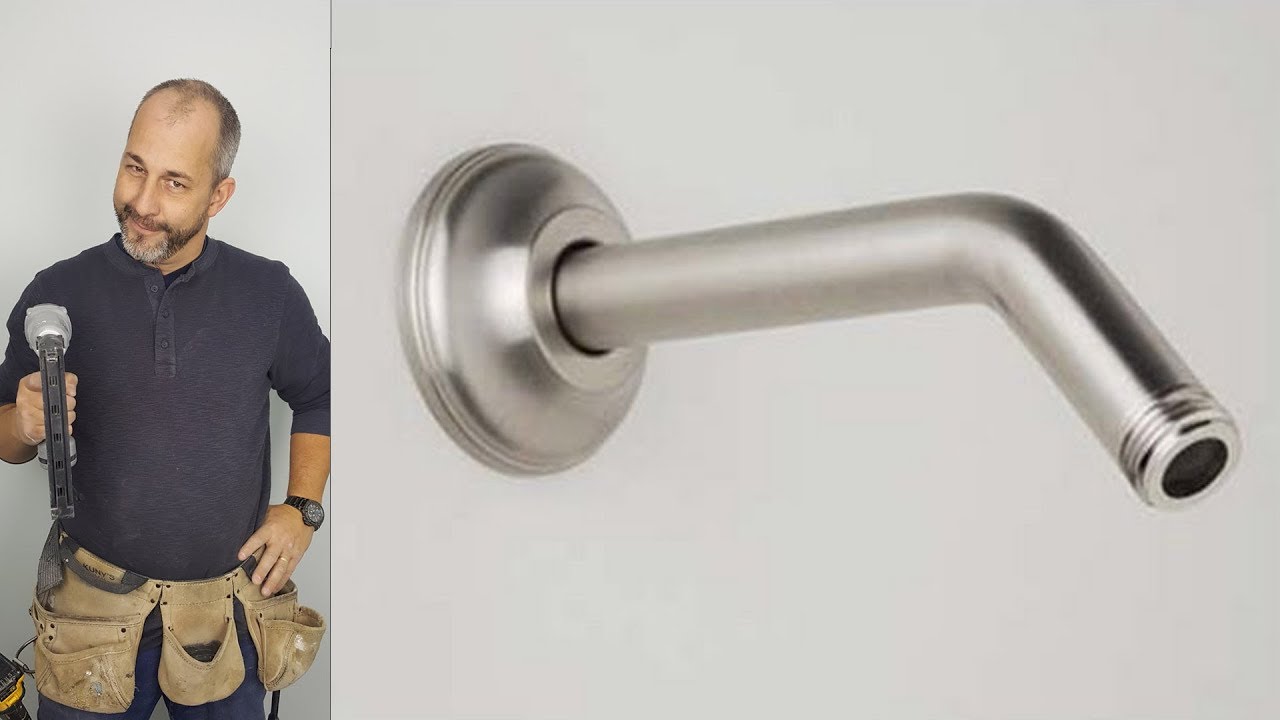
Husky 12 in. Adjustable Wrench 90933
Step 1
⏱ 2 minStep 2
⏱ 2 minStep 3
⏱ 2 min

Start DIY
30 min | 4 Steps