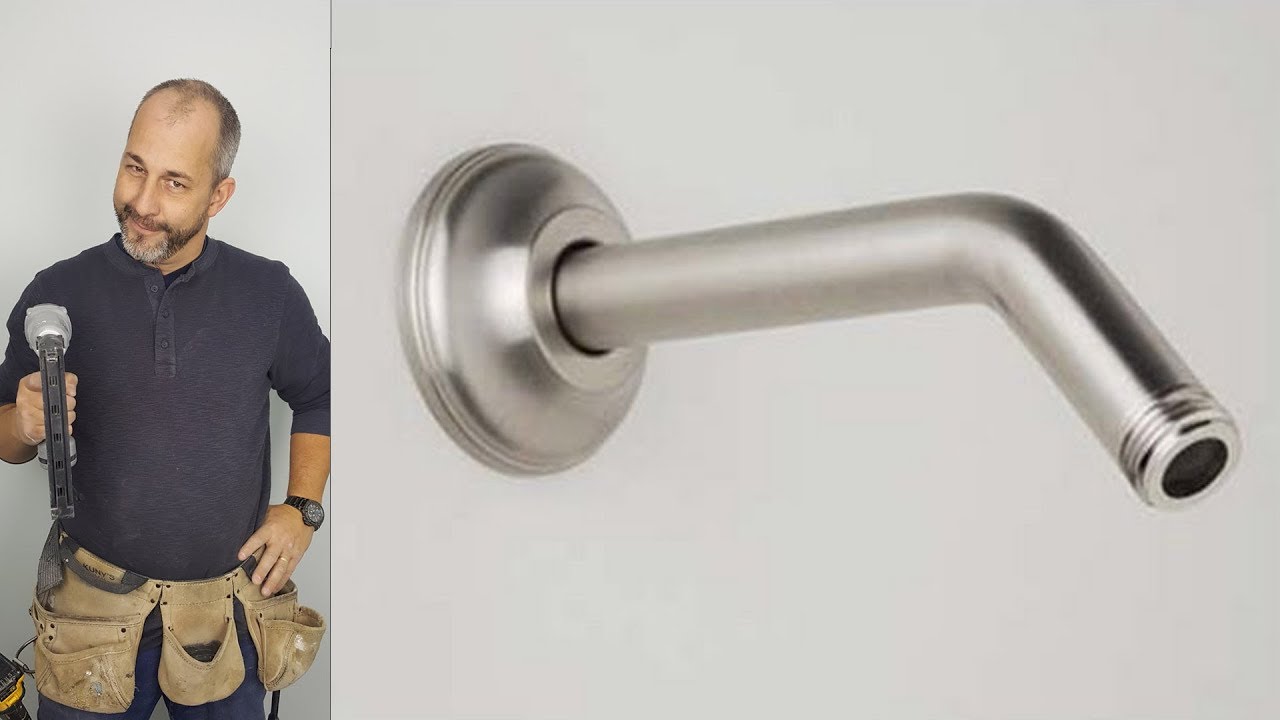
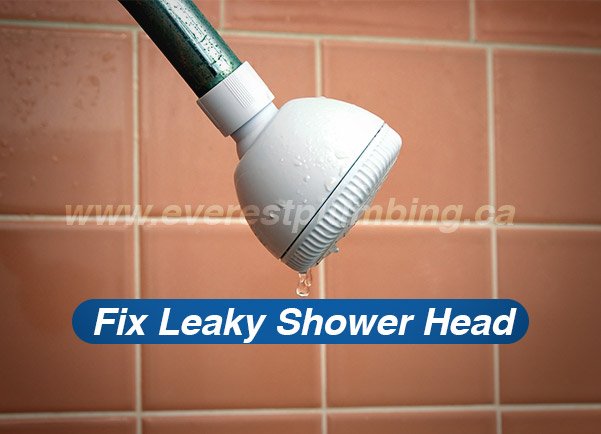
Fix a Leaky Shower Faucet: A Step-by-Step Guide
About This Project
This project details how to fix a leaky shower faucet. The first step is to turn off the water supply to the shower by locating the shut-off valves under the sink or in the basement. If there are no shut-off valves, turn off the home's main water supply. Next, remove the shower handle(s). Two-handle faucets have a screw beneath each handle cap which can be removed using a screwdriver or Allen wrench. Then remove the old cartridge which involves removing a retaining clip or nut. Use pliers or an adjustable wrench for this step. Install the new cartridge by inserting and securing it with the retaining clip or nut. Finally, reassemble the handle(s) and turn the water back on. Check for leaks at all connections, tightening and retesting if necessary.
Best for experienced DIYers and homeowners with some experience.
Tools & Materials
Husky Pocket Screwdriver (4 in 1) 632360012
VEVOR Gear Puller 2 Jaw Puller 6-Ton Manual Puller Removal 14-3/5 in. to 21-1/2 in., 3-1/5 in. to 10-3/5 in. for Slide Gear ZSDBLQD263GB4V3OMV0
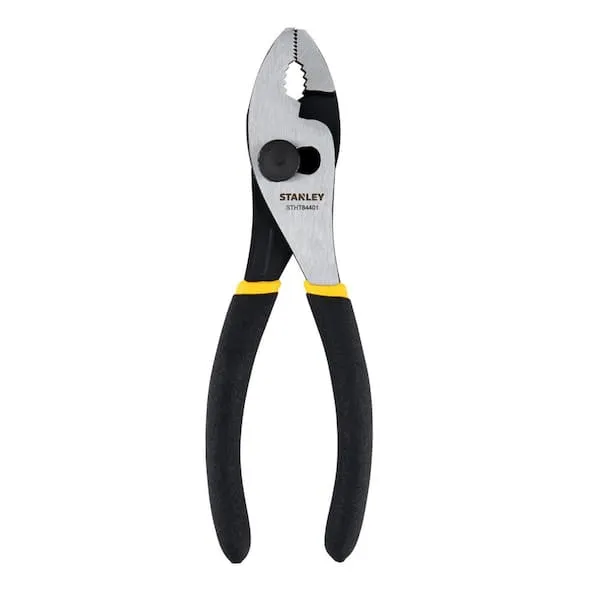
Pliers

Adjustable Wrench
Crescent 16 in. Self Adjusting Pipe Wrench CPW16S
Carnegy Avenue Metal Dollies and Hand Trucks Utility Cart in Black CGA-RUT-0980-BL-HD
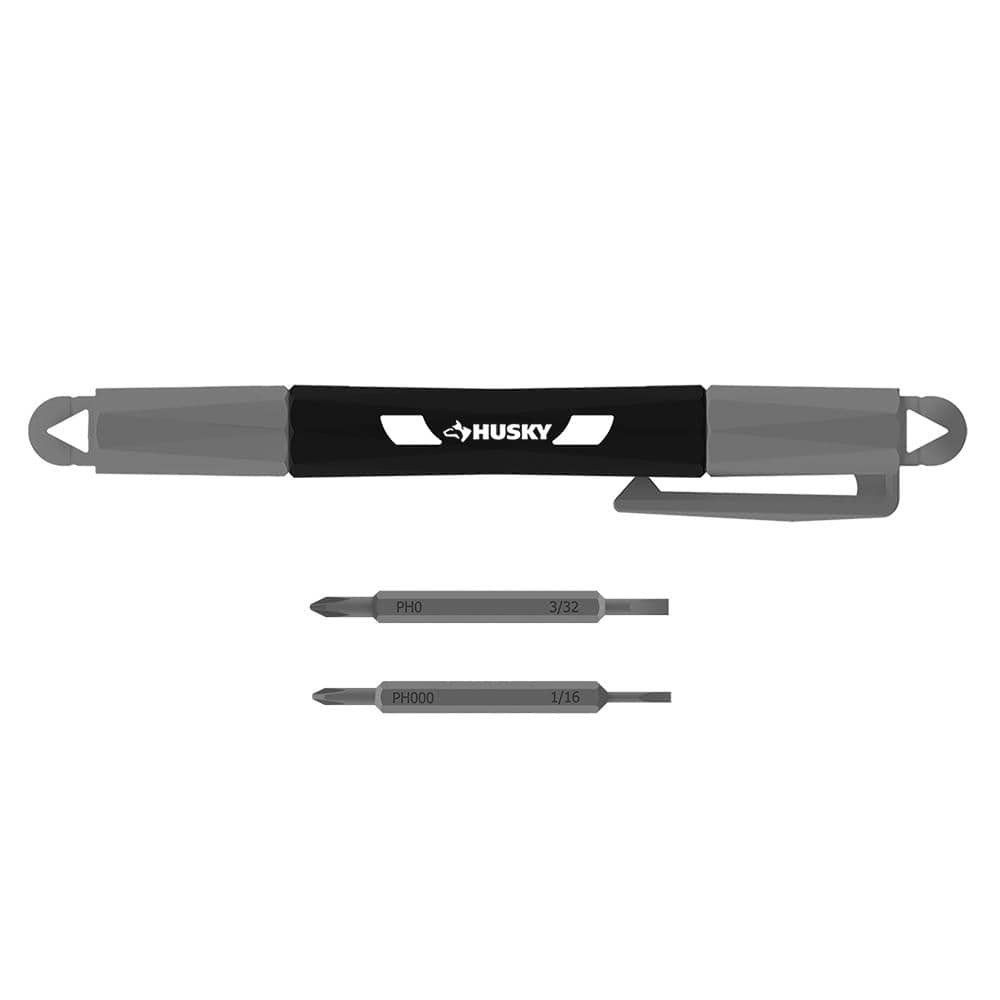
Husky Pocket Screwdriver (4 in 1) 632360012
The Husky 4-in-1 Pocket Screwdriver features 4 different tips (2 double ended bits) in 1 tool, includes #0 and #000 Phillips plus 1/16 in. and 3/32 in. Slotted tips. This tools is designed for precision
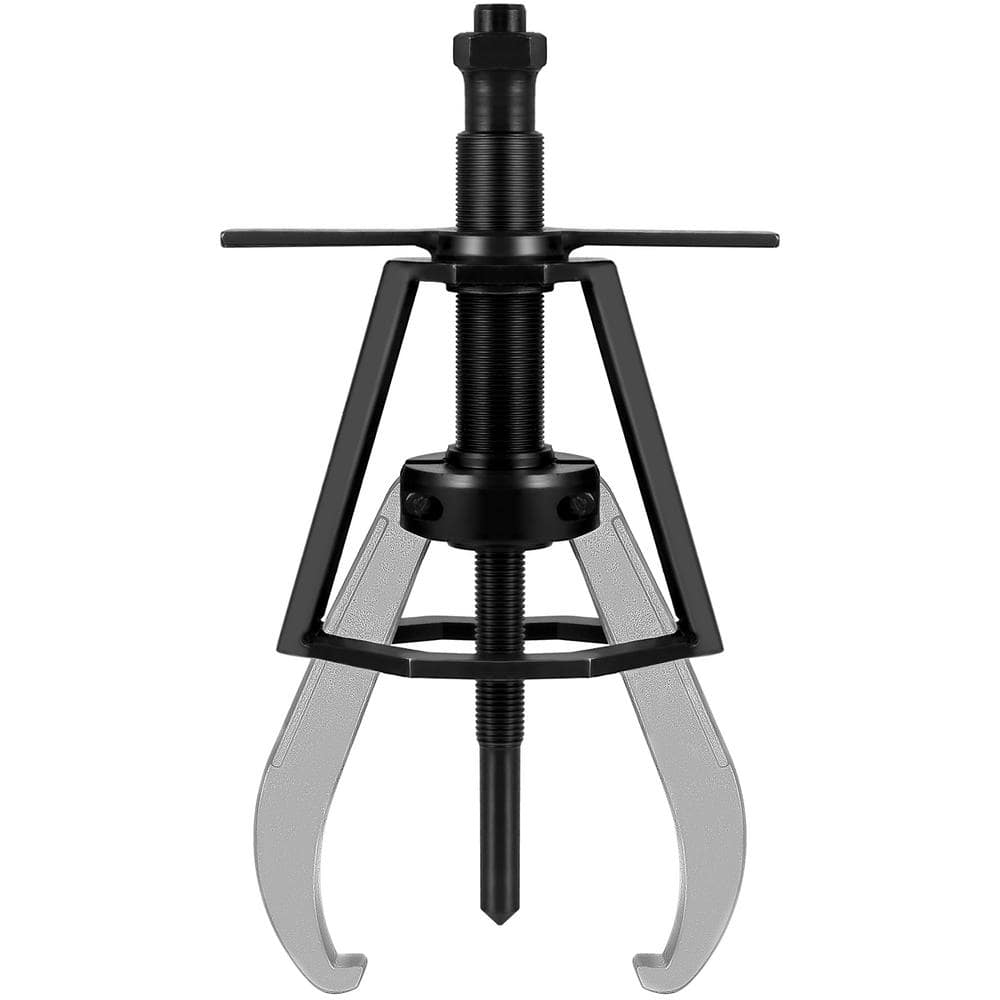
VEVOR Gear Puller 2 Jaw Puller 6-Ton Manual Puller Removal 14-3/5 in. to 21-1/2 in., 3-1/5 in. to 10-3/5 in. for Slide Gear ZSDBLQD263GB4V3OMV0
Manual Mechanical Puller. Convenient and Easy, Alloy Steel Material and 2-Jaw Gear. Our manual tool puller is convenient and easy to remove your flanges, gears, bearings and more. A T-shaped handle opens
Pliers
Grips and manipulates objects.
Adjustable Wrench
Fits various nut and bolt sizes with its adjustable jaw.
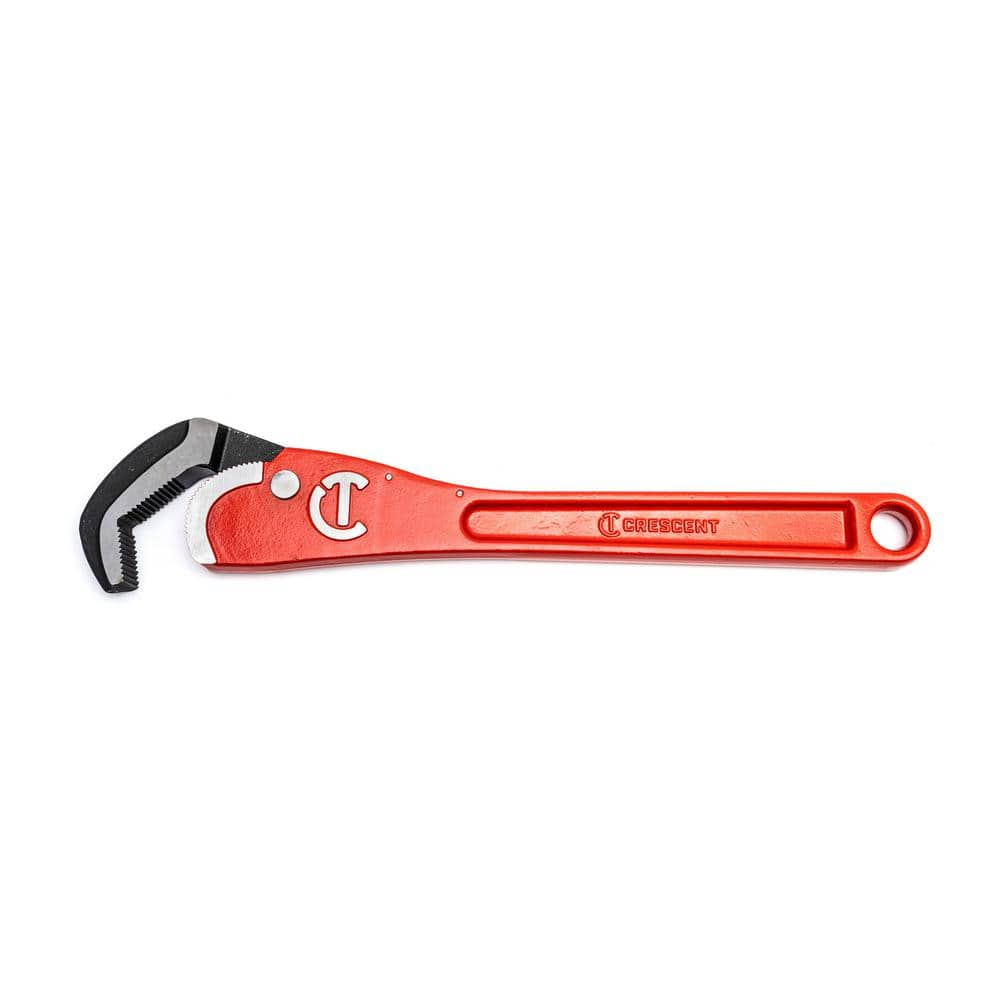
Crescent 16 in. Self Adjusting Pipe Wrench CPW16S
The Crescent Self-Adjusting Pipe Wrench features a unique head design that instantly grips and releases pipes and other types of fasteners with a fast ratcheting action. It is ideal for most surfaces including black iron, galvanized, PVC, and copper pipes, as well as nuts, bolts, and couplings. The spring-loaded head features a quick-grip and quick-release function that allows the wrench to be used with one hand.
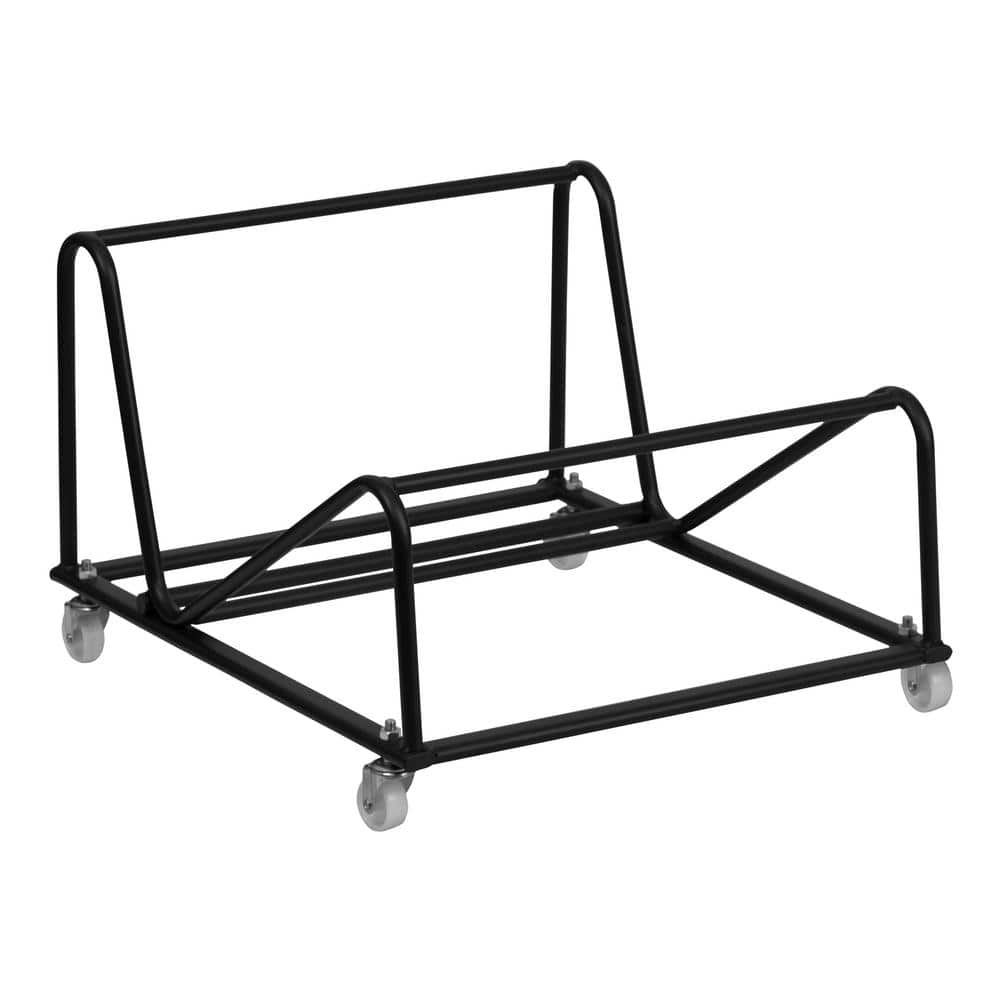
Carnegy Avenue Metal Dollies and Hand Trucks Utility Cart in Black CGA-RUT-0980-BL-HD
Work smarter, not harder and make the job easier when it is time for floor maintenance or your next event. Make moving your sled base stack chairs faster and more efficient by transporting several chairs
Steps

Turn Off the Water Supply
5 minsBefore starting any repairs, safety first! Turn off the water supply to the shower. Locate the shut-off valves—usually under the sink or in the basement. If you don't have shut-off valves, turn off your home's main water supply. Remember to always double-check that the water is completely off before proceeding.

Remove the Shower Handle(s)
10 minsCarefully remove the handle(s). Two-handle faucets usually have a screw beneath each handle cap. Use a screwdriver (or Allen wrench) to remove these screws and then gently pull off the handles. If they're stuck, a handle puller might be necessary. Take photos before disassembling to help with reassembly.


Common Problems
Stuck shower faucet handles prevent access to internal components.
Solution: If the handles are stuck, try using a penetrating oil or gently tapping them with a rubber mallet.
Stubborn faucet handles can crack or damage the valve stem if forced off incorrectly.
Solution: A handle puller is the recommended tool for stubborn handles to prevent cracking the handle or damaging the valve stem.
Be gentle when prying off the caps to avoid scratching the handle or the shower surround.
Solution: To avoid this issue: Be mindful of this warning and take appropriate precautions.
Stripped screws make faucet repair impossible.
Solution: Use a properly sized screwdriver to avoid stripping the screw.
The shower faucet cartridge breaks or becomes stuck when trying to remove it without the right tool.
Solution: A specialized cartridge puller tool is highly recommended for this step to provide even pulling force and avoid breaking the cartridge.
Limited access and poor visibility make faucet repair difficult and prone to errors.
Solution: Removing the cabinet doors provides significantly more room to work and better visibility of the plumbing components.
Failing to shut off the water supply before disassembly will result in uncontrolled water flow and potential flooding.
Solution: To avoid this issue: Be mindful of this warning and take appropriate precautions.
Frequently Asked Questions
What should I do if I can't find the shut-off valves for my shower or bathroom?
If you can't locate specific shut-off valves under the sink or in the basement for your shower, you'll need to turn off the main water supply to your entire home. This is usually found near your water meter or where the main water line enters your house. Always confirm the water is off by running a faucet before starting any work.
How do I ensure I buy the correct replacement cartridge for my shower faucet?
The most reliable way is to remove your old cartridge first and take it to the hardware store for an exact match. If that's not possible, note the faucet brand and model number, often found on the handle escutcheon plate. You can also take clear photos of the cartridge from multiple angles to help store associates identify it correctly.
Do I need all the specific screwdrivers and wrenches listed, or can I use general tools?
The listed tools, like the 4-in-1 screwdriver, offer versatility, but general Phillips and flathead screwdrivers will work for most handle screws. Pliers and an adjustable wrench are crucial for removing and securing the cartridge nut or clip. Ensure your wrench can accommodate various sizes to avoid multiple trips to the hardware store.
I'm having trouble removing the old cartridge; what are some common issues and how can I overcome them?
Old cartridges can be stubborn due to mineral buildup or corrosion. After removing the retaining clip or nut, try rotating the cartridge gently with pliers to break it loose before pulling it out. If it's still stuck, a specialized cartridge puller tool can be a lifesaver, designed specifically for difficult extractions.
Is this project truly for beginners, and can it realistically be completed in 2 hours?
Yes, this project is rated beginner because it involves straightforward steps and common tools. Most tasks are simple unscrewing and re-screwing. Two hours is a reasonable estimate, but factor in extra time if you need to locate the main water shut-off, struggle with a stuck cartridge, or need to make an unexpected trip for parts.
What if my shower faucet is still leaking after I've replaced the cartridge and reassembled everything?
First, recheck all connections to ensure they are tight but not overtightened, especially the retaining clip or nut for the cartridge. Sometimes, O-rings in the faucet body might also be worn; inspect these if they are accessible and replace them if damaged. If the leak persists, the faucet body itself might be damaged, or the new cartridge could be faulty, requiring further investigation.
After reassembling everything, what's the best way to turn the water back on and check for leaks safely?
Turn the water supply back on slowly, especially the main shut-off, to prevent a sudden surge that could cause new leaks. Once the water is on, immediately check all connections for drips or sprays, particularly around the faucet base and where the cartridge was installed. If you find a leak, turn the water off, tighten the connection slightly, and retest until it's resolved.