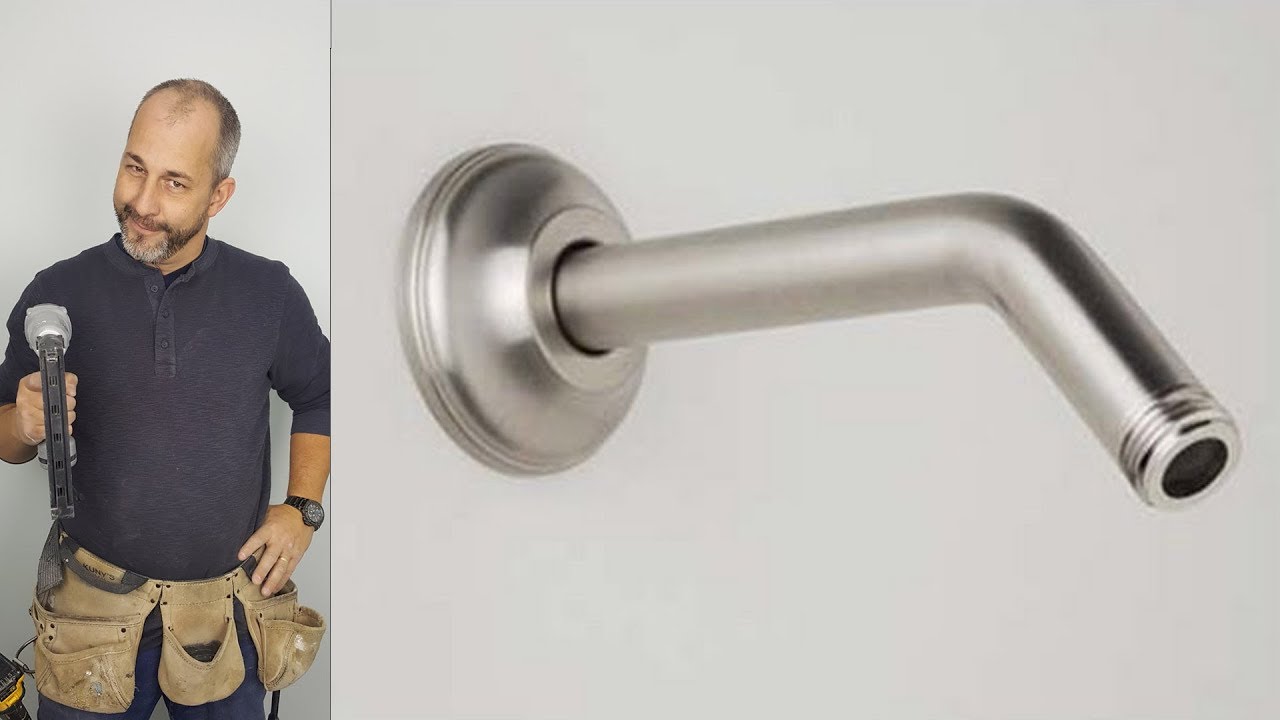
Shower Valve Cartridge Replacement: A Step-by-Step DIY Guide
About This Project
This guide details replacing a shower valve cartridge. First, turn off the water supply. Then, remove the shower handle, typically by unscrewing a setscrew under a decorative cap. Next, remove the escutcheon plate to access the cartridge retaining nut or clip. Using pliers, remove the retaining nut/clip. Pull out the old cartridge, possibly needing pliers for a better grip. Insert and secure the new cartridge, applying plumber's grease to its O-rings for a good seal. Finally, slowly restore the water supply and check for leaks, testing both hot and cold water.
Best for experienced DIYers and homeowners with some experience.
Tools & Materials
Screwdriver

Blaster 18 oz. PB Penetrating Oil (Pack of 12) 26-PB
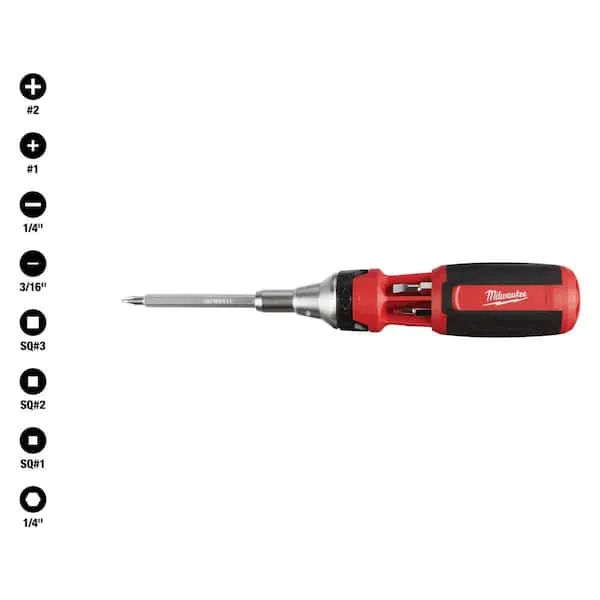
Screwdriver (Multi)
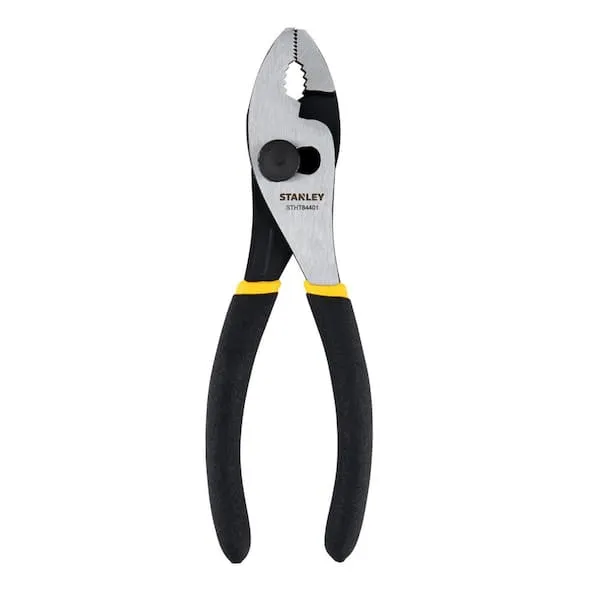
Pliers

Carnegy Avenue Black 20 in. W x 30 in. H Bulletin Board CGA-HGW-524929-BL-HD
Oatey 1 oz. Plumber's Grease 30620
Screwdriver
Essential for assembling the cart with screws and installing hardware like gate latches.
Blaster 18 oz. PB Penetrating Oil (Pack of 12) 26-PB
The #1-selling penetrant since 1957, PB Blaster quickly busts loose rusted or frozen parts caused by rust and corrosion. PB Blaster penetrant also contains a non-evaporating lubricant that protects against
Screwdriver (Multi)
Multiple bits for versatile use.
Pliers
Grips and manipulates objects.
Carnegy Avenue Black 20 in. W x 30 in. H Bulletin Board CGA-HGW-524929-BL-HD
Add a bit of rustic charm and functionality to your home, office or classroom with this Rustic Wall Mount Cork Board. With its black solid pine wood frame, it not only provides a stylish touch but is also sturdy and durable. Use the included wood push pins to secure your notes, photos, or artwork, or let it stand alone as a piece of decorative wall art. The cork board is easy to hang, either vertically or horizontally with the inlayed hanging hardware. This makes it a versatile addition to any space, providing an easily accessible place for communication or showcasing sentimental items. Whether it's a shopping list, a reminder, or a child's masterpiece, this board is perfect for displaying it in style.
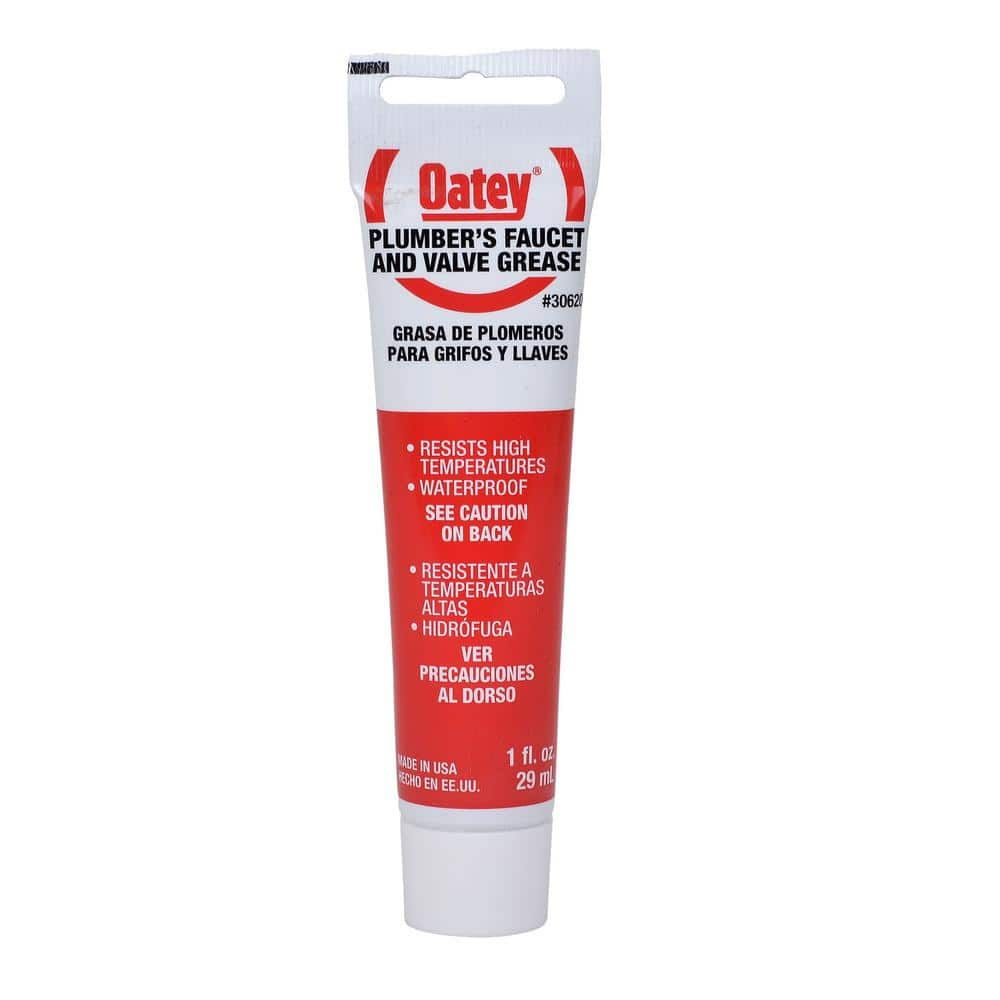
Oatey 1 oz. Plumber's Grease 30620
A special combination of lithium soaps, solvent refined base stocks and additives. Formulated for many plumbing applications. Makes hard turning faucets work smoothly.
Steps


Common Problems
Cartridge dislodges, causing leaks and water damage.
Solution: Ensure the retaining clip is fully seated to prevent the cartridge from being pushed out by water pressure.
Scalding hot water due to an unadjusted temperature limit stop.
Solution: The cartridge may have a temperature limit stop. You can adjust this before installation to set the maximum hot water temperature to prevent scalding.
Do not install the new cartridge if old gaskets are still inside the valve body, as this will cause a leak.
Solution: To avoid this issue: Be mindful of this warning and take appropriate precautions.
Do not overtighten the nuts or the set screw, as this can damage the parts.
Solution: To avoid this issue: Be mindful of this warning and take appropriate precautions.
Spout leaks or doesn't seal properly if not fully seated.
Solution: Ensure the spout is fully seated on the body before proceeding.
Be careful not to scratch the faucet finish when removing the handle. Use metric Allen wrenches if standard sizes don't fit.
Solution: To avoid this issue: Be mindful of this warning and take appropriate precautions.
Stripped set screw head due to incorrect Allen wrench size.
Solution: If you're unsure of the set screw size, use a set of Allen wrenches to find the one that fits snugly to avoid stripping the screw head.
Frequently Asked Questions
Is replacing a shower valve cartridge a genuinely beginner-friendly DIY, and how long should I expect it to take?
Yes, it is considered a beginner-friendly project, primarily involving basic removal and reinstallation steps. While the estimated time is 2 hours, allow for extra time, especially if you encounter stubborn or corroded parts.
What specific tools and materials are essential for this shower cartridge replacement project?
You will need screwdrivers (multi-bit is useful), pliers, and the new shower valve cartridge itself. Don't forget plumber's grease to lubricate the O-rings on the new cartridge for a proper seal and easier installation.
What if I encounter difficulty removing the old cartridge or its retaining clip/nut?
For older fixtures, parts can be corroded. Apply penetrating oil and let it soak, then use sturdy pliers to gently wiggle and pull the cartridge out. Ensure you are using the correct type and size of pliers for the retaining clip or nut to prevent stripping or damage.
What is the most critical safety step I need to take before starting this project?
The most crucial step is to completely shut off the water supply to your shower, or ideally, to your entire home, before you begin any disassembly. Failure to do so can result in significant water damage and flooding.
How can I be sure I'm buying the correct replacement shower valve cartridge for my faucet?
The most reliable method is to remove your old cartridge first and take it to a hardware store or plumbing supply shop to match it exactly. Alternatively, identify the brand and model number of your shower faucet, as cartridges are often specific to manufacturers.
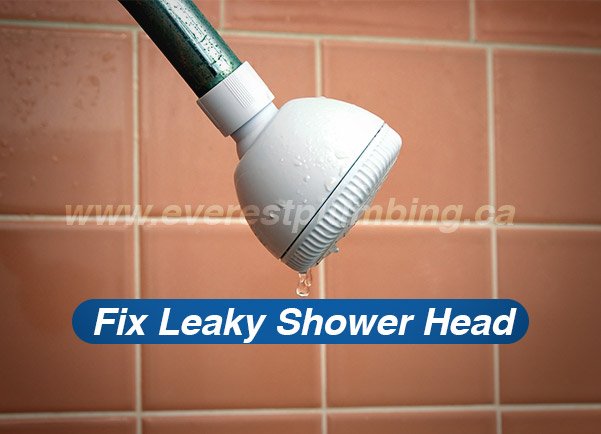
I've replaced the cartridge and reassembled everything, but I still have a drip or leak. What could be the issue?
First, ensure the new cartridge is fully seated and the retaining clip or nut is securely tightened. Check that the O-rings on the new cartridge were properly lubricated with plumber's grease and are not pinched or damaged. Also, inspect the valve body for any debris that might prevent a perfect seal.